Farmhouse Living Room // The Prettiest Chandelier
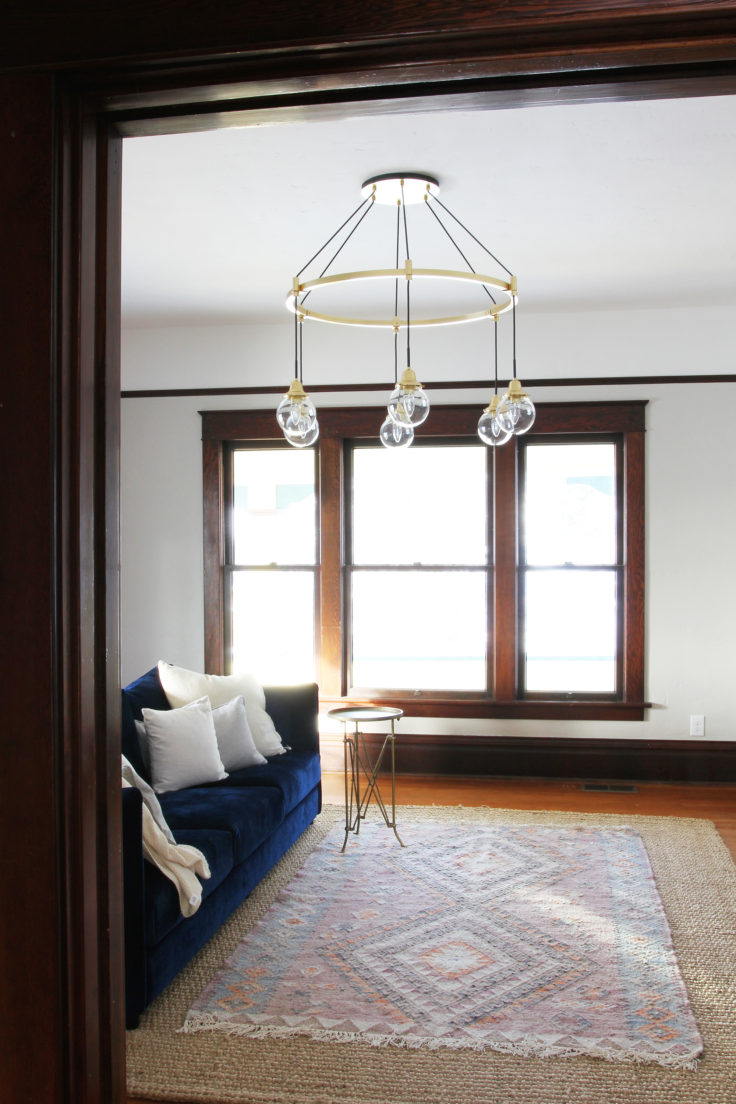
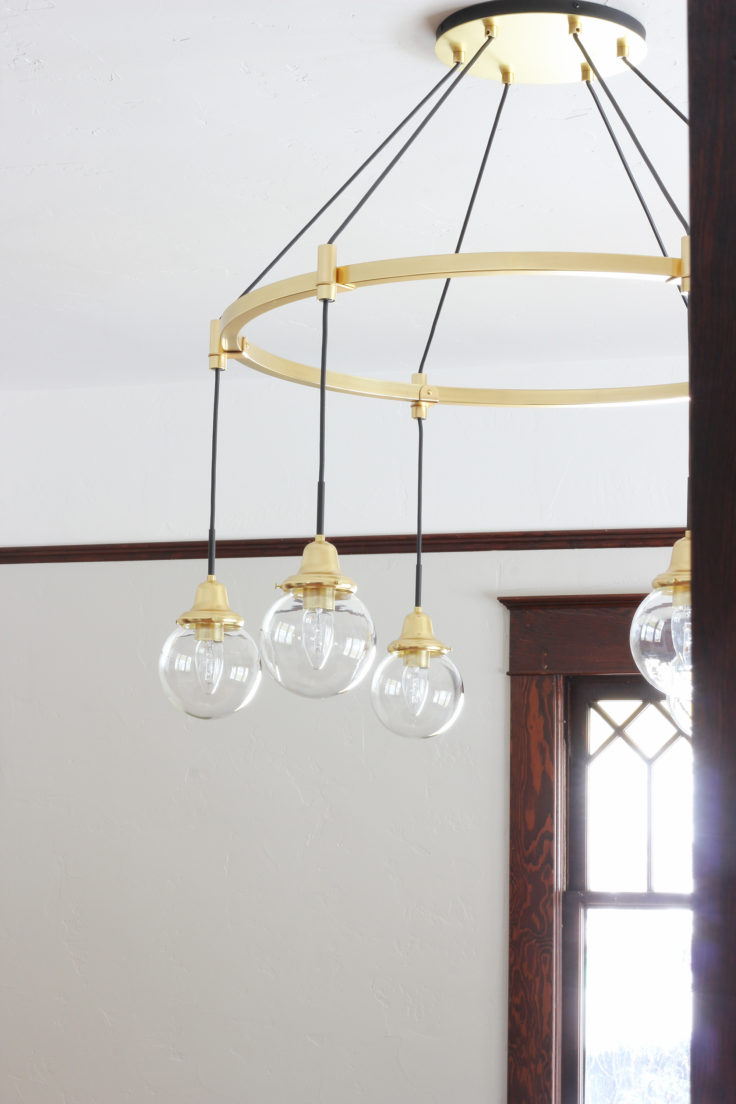
THE FARMHOUSE It's been a couple of weeks since we talked about the Farmhouse living room, and I'm dying to show you what came in the mail! The prettiest chandelier I ever did see...

 Sources: Chandelier | Sofa | Rugs, top and bottom (similar) | Side table | cotton blanket (aka the softest blanket ever!)
When it came time to pick out an overhead light fixture for this space, I knew I wanted something sculptural and eye-catching. I briefly thought about trying a more modern-shaped light like this, but I was skeptical that it would feel appropriate in our 105-year-old home or be something that fits in with my decor style. So instead I focused my search on something timeless, pretty, circular (to break up all the square lines in this room), and brass. When I saw the Rose City Chandelier on Rejuvenation's website, I knew it was the one!
Being the reformed blogger that I am, I immediately approached Rejuvenation to see if they'd be interested in partnering with us on this project. To my utter amazement and joy, they agreed. So I'm thrilled to tell you guys that this post is in partnership with my all-time favorite lighting store, Rejuvenation (who also has awesome house wares too, by the way...I mean, could this and this be any more beautiful or perfect for my home?)!!!
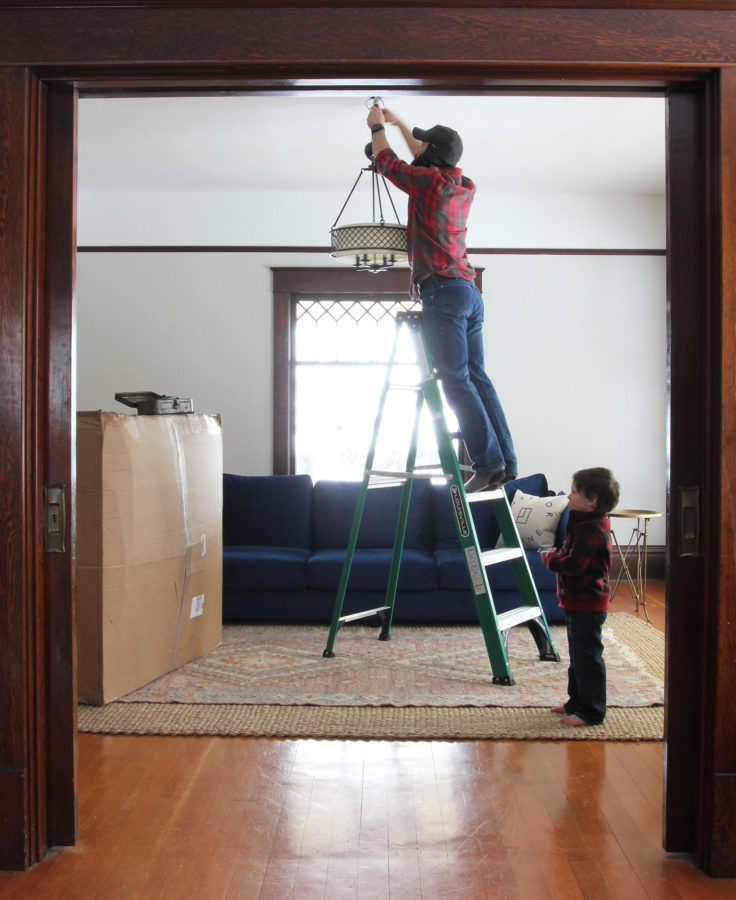
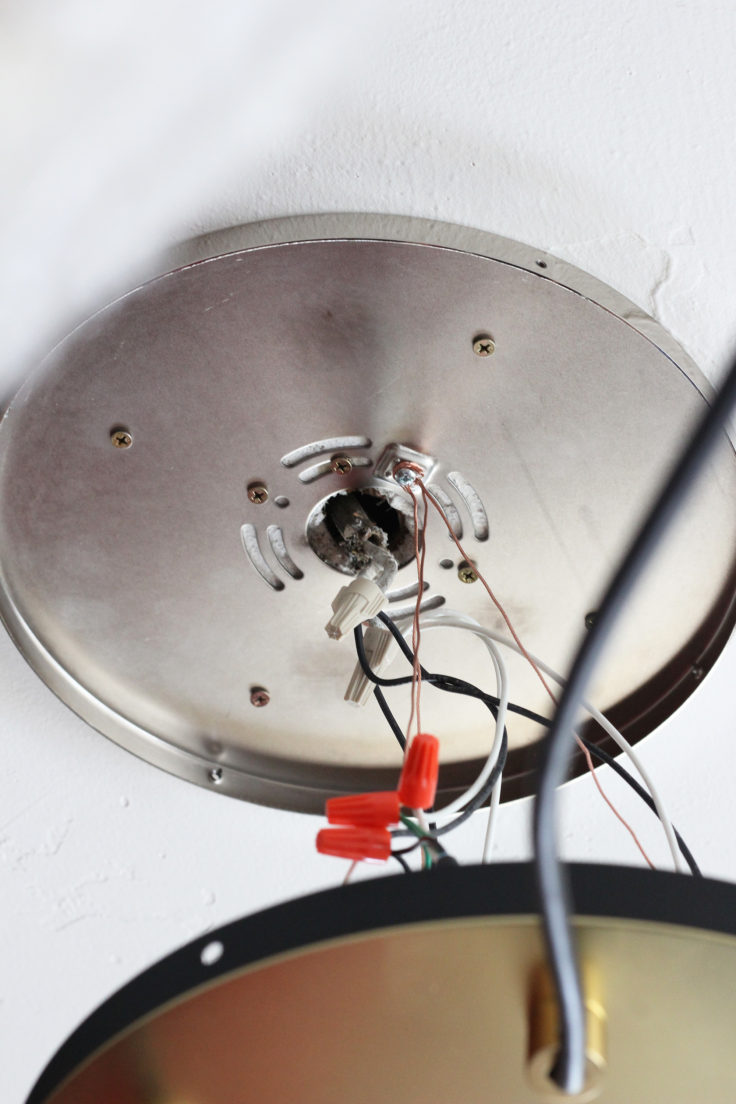
Of course, installing new lighting in old homes is tricky. You never quite know what will be behind those switch plates/fixtures/outlets. Not only is there sometimes extensive out-of-date wiring (I'm looking at you knob and tube), but often you get a mix of old and new wiring, which makes even the simplest task, like swapping out a light fixture, super unpredictable. In our master bedroom, we found extensive knob and tube when installing the new overhead light, and decided to change it out, which lead us to rewire most of the upstairs. When we took down the fixture in the living room, we unfortunately found more knob and tube. But this time we decided to take the easy road: install the fixture now and add rewiring the living room light to our to-do list. So we got to work taking the old and not-so-pretty fixture down (finally!).
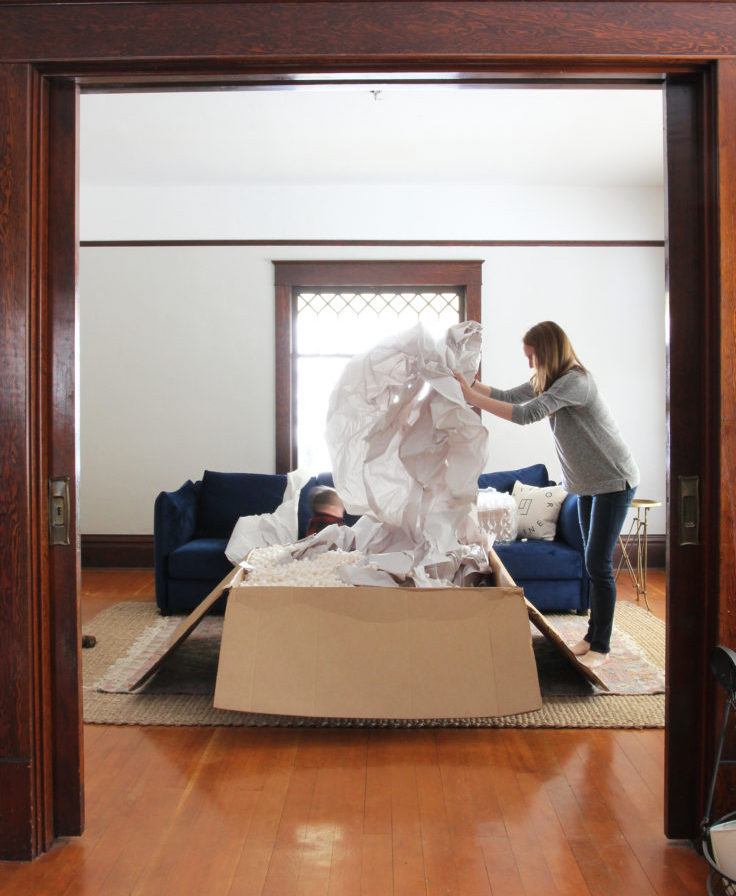
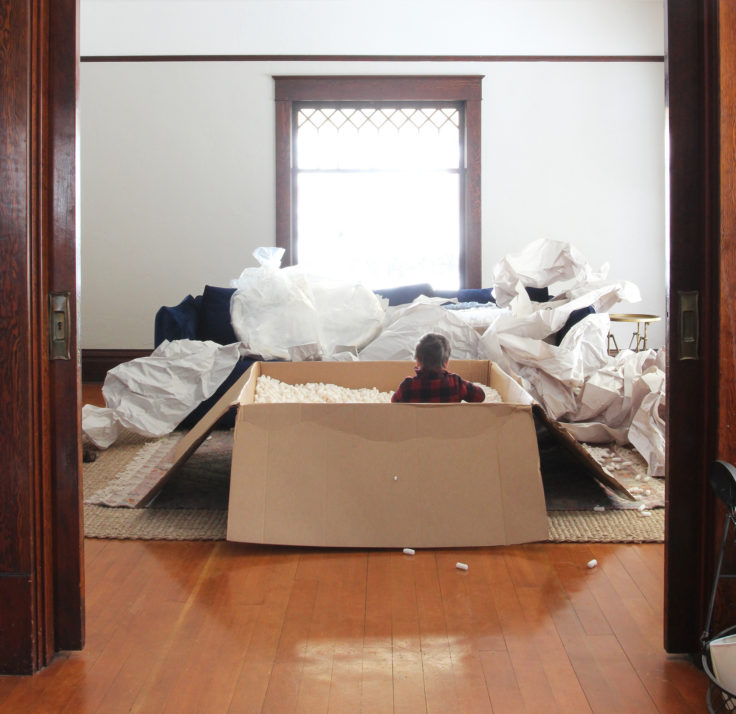
After we removed the old fixture, we opened up that giant Rejuvenation box. To Wilder's utter delight, it was filled with those water-soluble peanuts, which entertained him (and Brooks when he woke up from his nap) for hours. Thank you Rejuvenation!
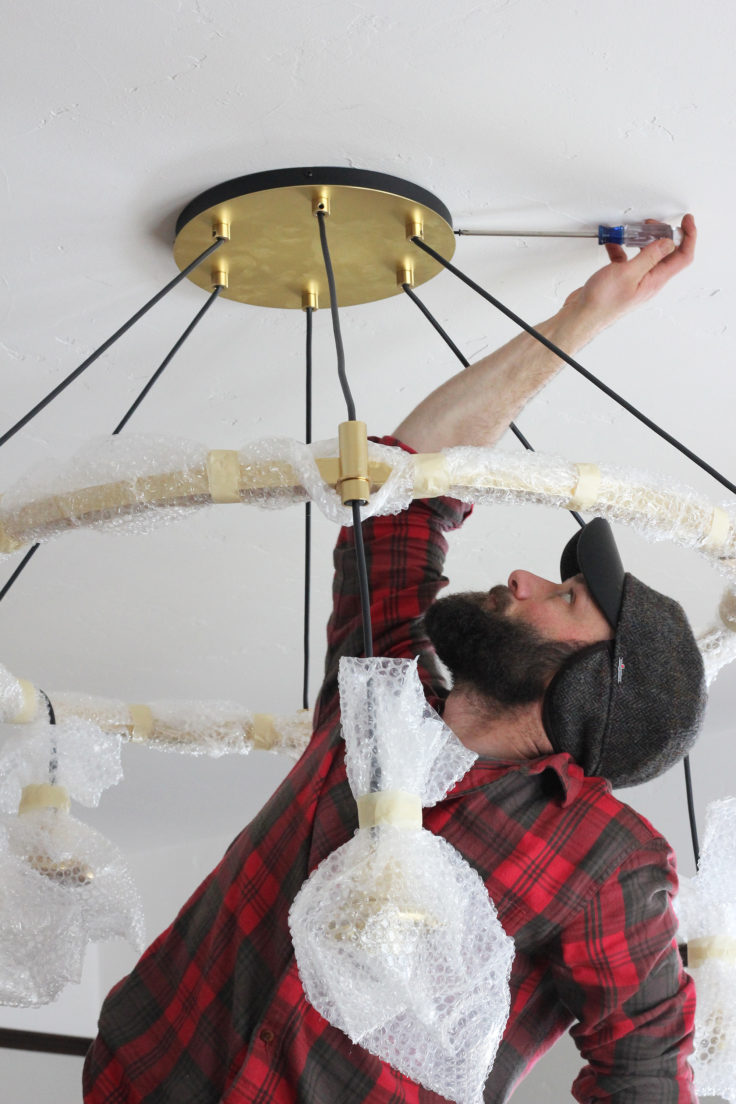
Installing the new chandelier was quite easy, although the sheer size of it made this a 2-person job (it's 36" wide). We started by turning off the power to the fixture. Which for Garrett meant turning off the switch to the light, but most responsible (and safe) adults would turn off the breaker. For the record, I'd always suggest you take the responsible adult route and turn off the breaker when working with electricity (that applies to you too, Garrett)! Next we removed the back panel of the fixture and installed that to the ceiling, finding both joists and lathe to attach to.
Garrett connected the fixture's wires to the house wires using wire nuts, and then screwed the chandelier to the back plate while I held it up. To keep the fixture protected, we left the bubble wrap on while mounting.
Lastly, we screwed in the light bulbs (okay, so we drove to town, bought light bulbs, stopped by the taco truck for lunch, returned home, and then screwed them in), affixed the globes and voila! The prettiest chandelier I ever did see...in my living room!

As with most Rejuvenation fixtures, the length is customizable so we went with 40" measured from ceiling to bottom of globe (for reference, our ceilings are 9'6"). It's definitely on the low side for a living room fixture, but since we're planning to add a large, board-game-friendly coffee table beneath, I think it'll be the perfect height. We also have a 'no ball throwing' rule in our house (technically more of a guideline), so I'm hoping we won't have to replace any of those hanging glass globes anytime soon. But I suppose it'd be a small price to pay for having such a beautiful fixture. And for having such fun, energetic little kids ;)
Now that the chandelier and sofa are in, I cannot wait to finish decorating this room! Garrett mentioned that he doesn't like the jute rug (something to do with too many browns in here), and I see where he's coming from. I'm planning to keep the rest of the finishes light in color, soft to the touch, and lots of vintage to make sure we achieve a comfortable, welcoming, farmhouse-esque feel.
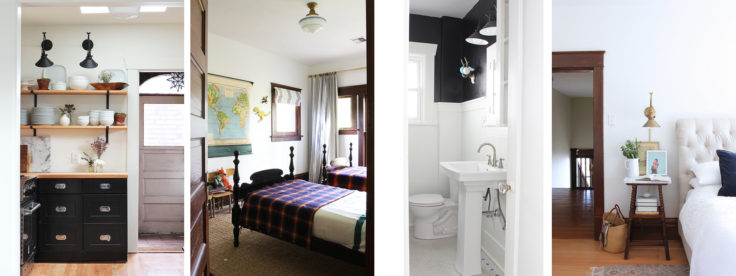
I'm off to scour my favorite vintage and salvage shops (not to mention our garage) to finish up this room. Wish me luck! And in the meantime, I'll leave you with a few other rooms we've remodeled using Rejuvenation lights (BTW none of the fixtures below were sponsored, we just really love their stuff!).
Dexter kitchen, Imbrie | Wilder's bedroom, Jefferson | Dexter bathroom, Fords Mill Double | Farmhouse master, Imbrie
Thank you Rejuvenation for making such beautiful lighting and partnering with us on our Farmhouse living room! I love you guys <3
xoxo
-Cathy
p.s. more on this room: pulling up the carpets, paint, picking out the sofa, inspiration, and getting the sofa!

