A Garden Enthusiast Plans a Garden
THE FARMHOUSE
A garden enthusiast…that’s me. I’m far from an expert when it comes to gardening. Heck, I’ve killed every indoor fiddle-leaf fig tree I’ve ever bought. But I grew up with a vegetable garden in the backyard and I have high hopes that our kids will too. It’s a pretty cool thing to know where your food comes from and the effort it takes to produce it.
So this year we made it a goal to tame our wild garden area, plant some vegetables, and create a relaxing seating and eating area to enjoy our summer evenings in.
We had four main goals when it came to planning out our garden. And it turns out that our goals are surprisingly similar to the goals we’ve had for basically every indoor space we’ve ever renovated. Funny how that works!
Make it inviting
I envisioned raised garden beds, a place to sit and eat, gravel paths, and string lights. I figure if we want to be in this space, keeping the garden up will be a lot easier.
Keep it low maintenance
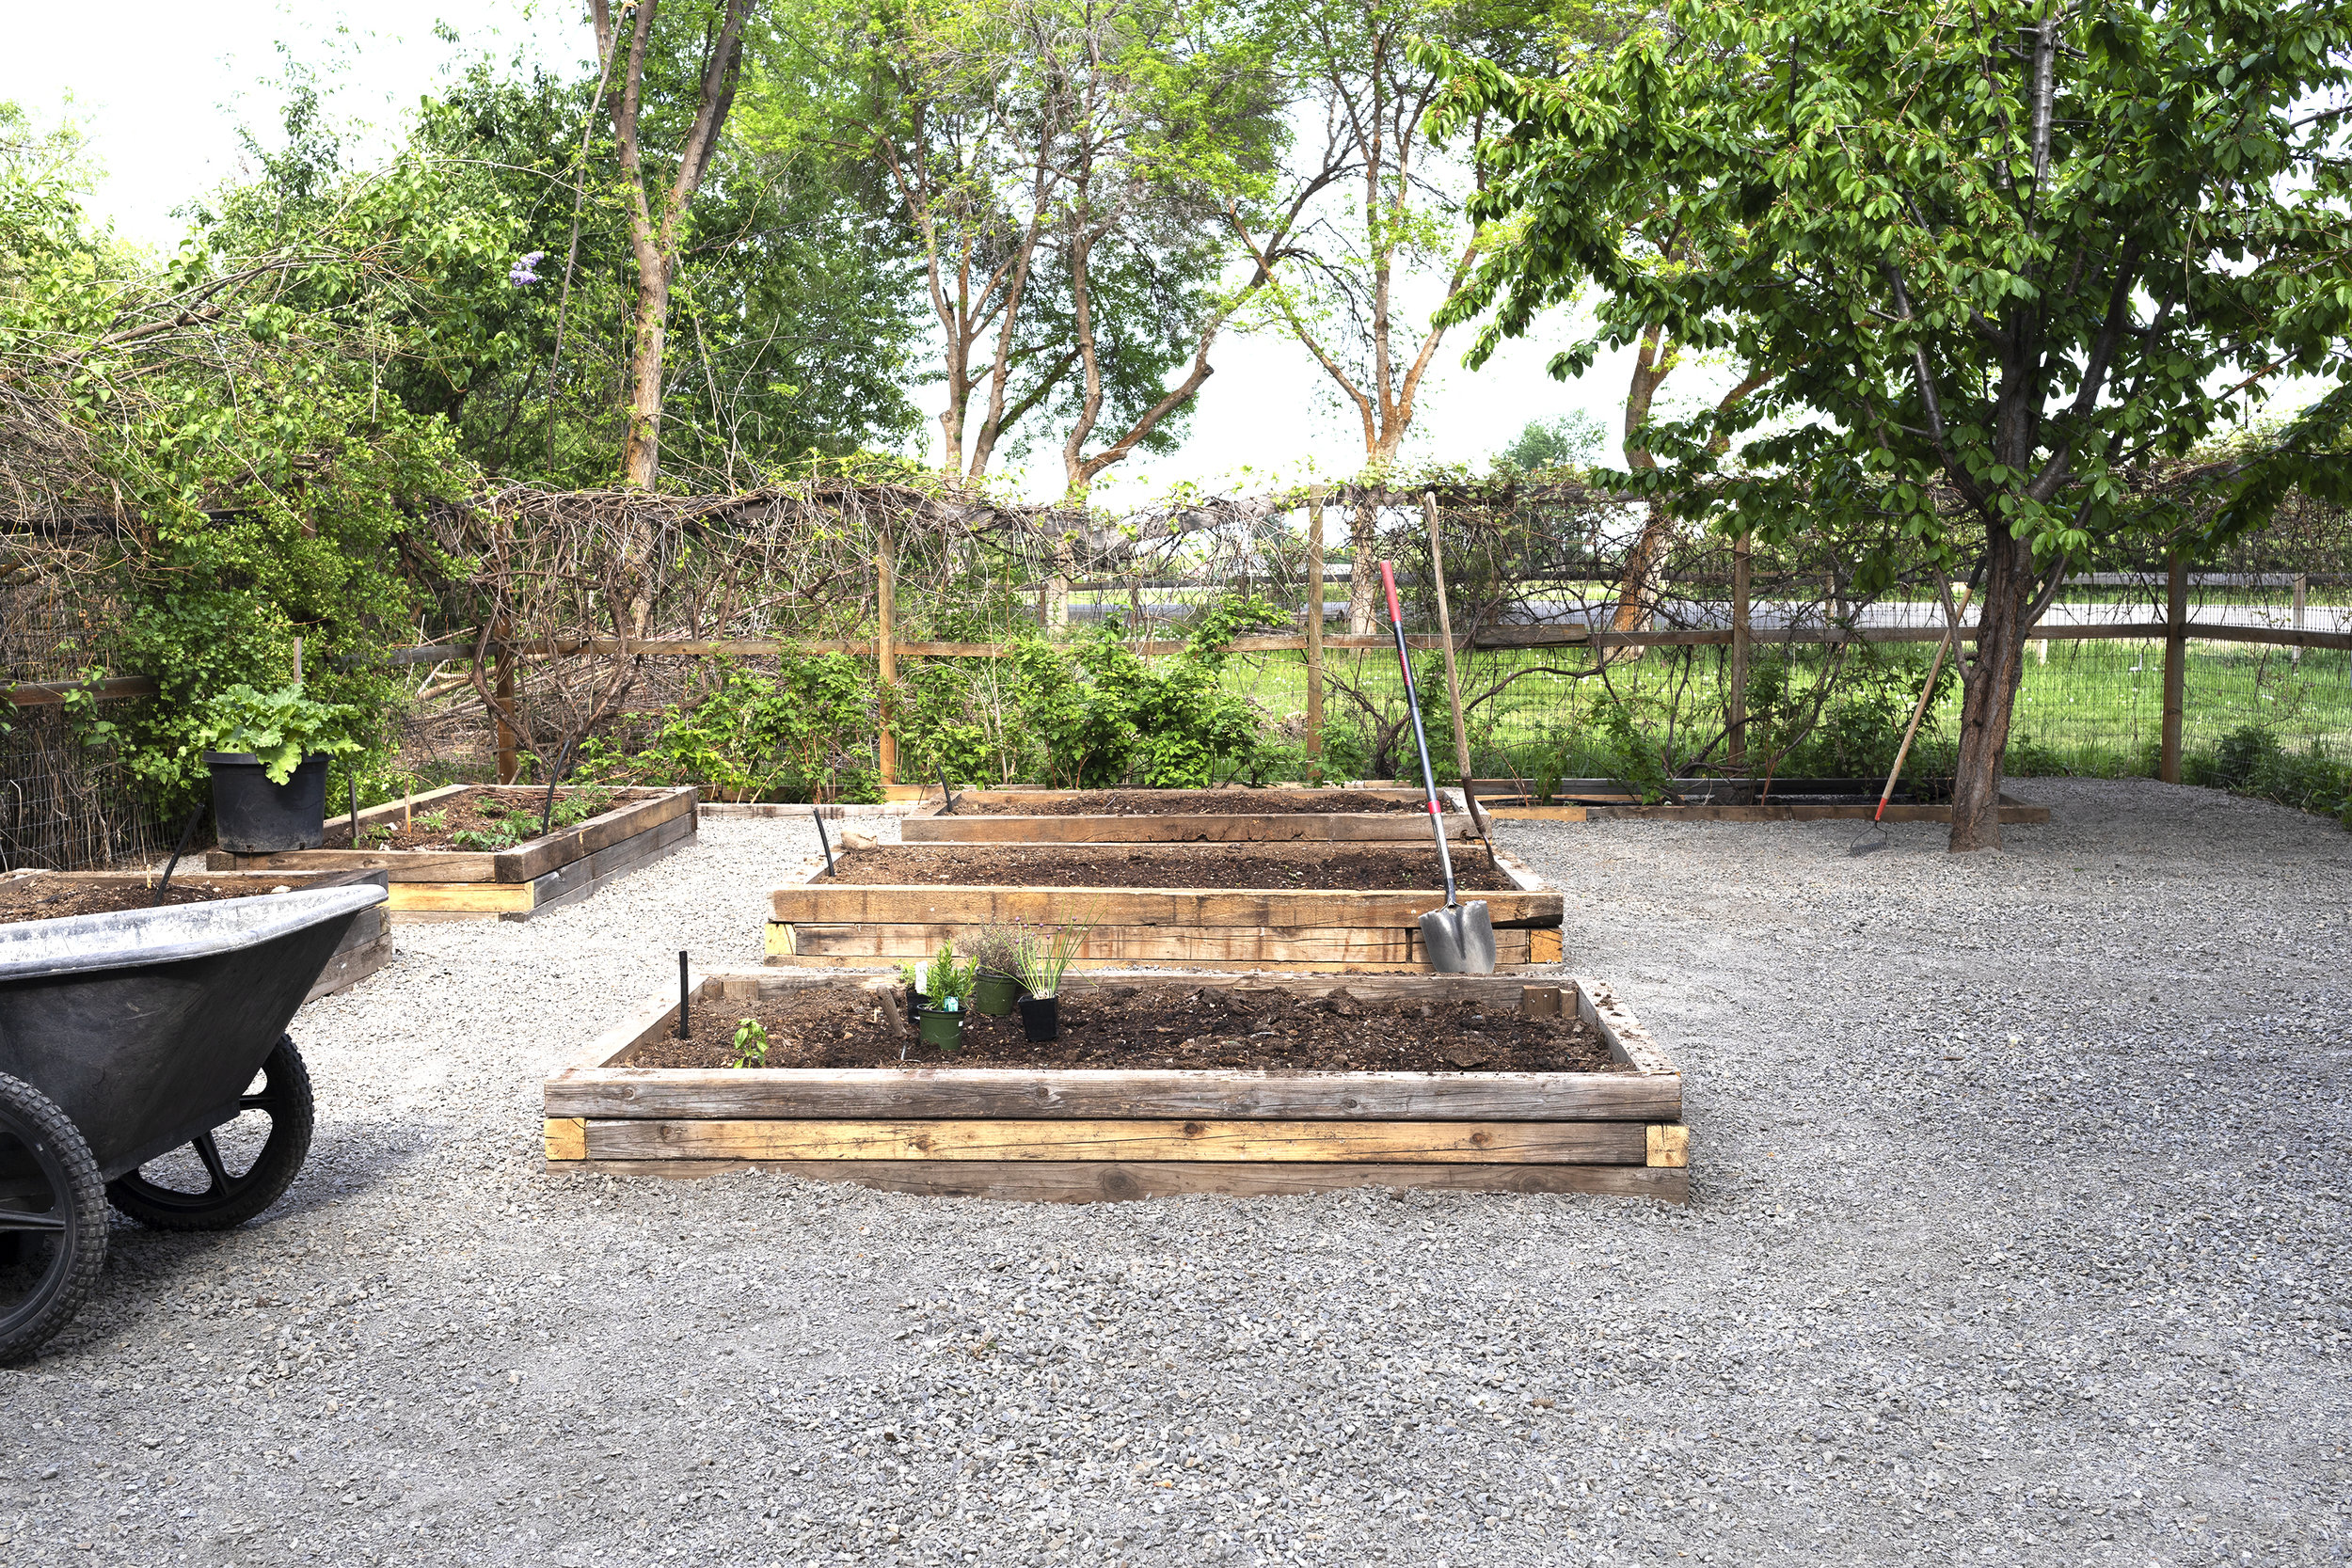
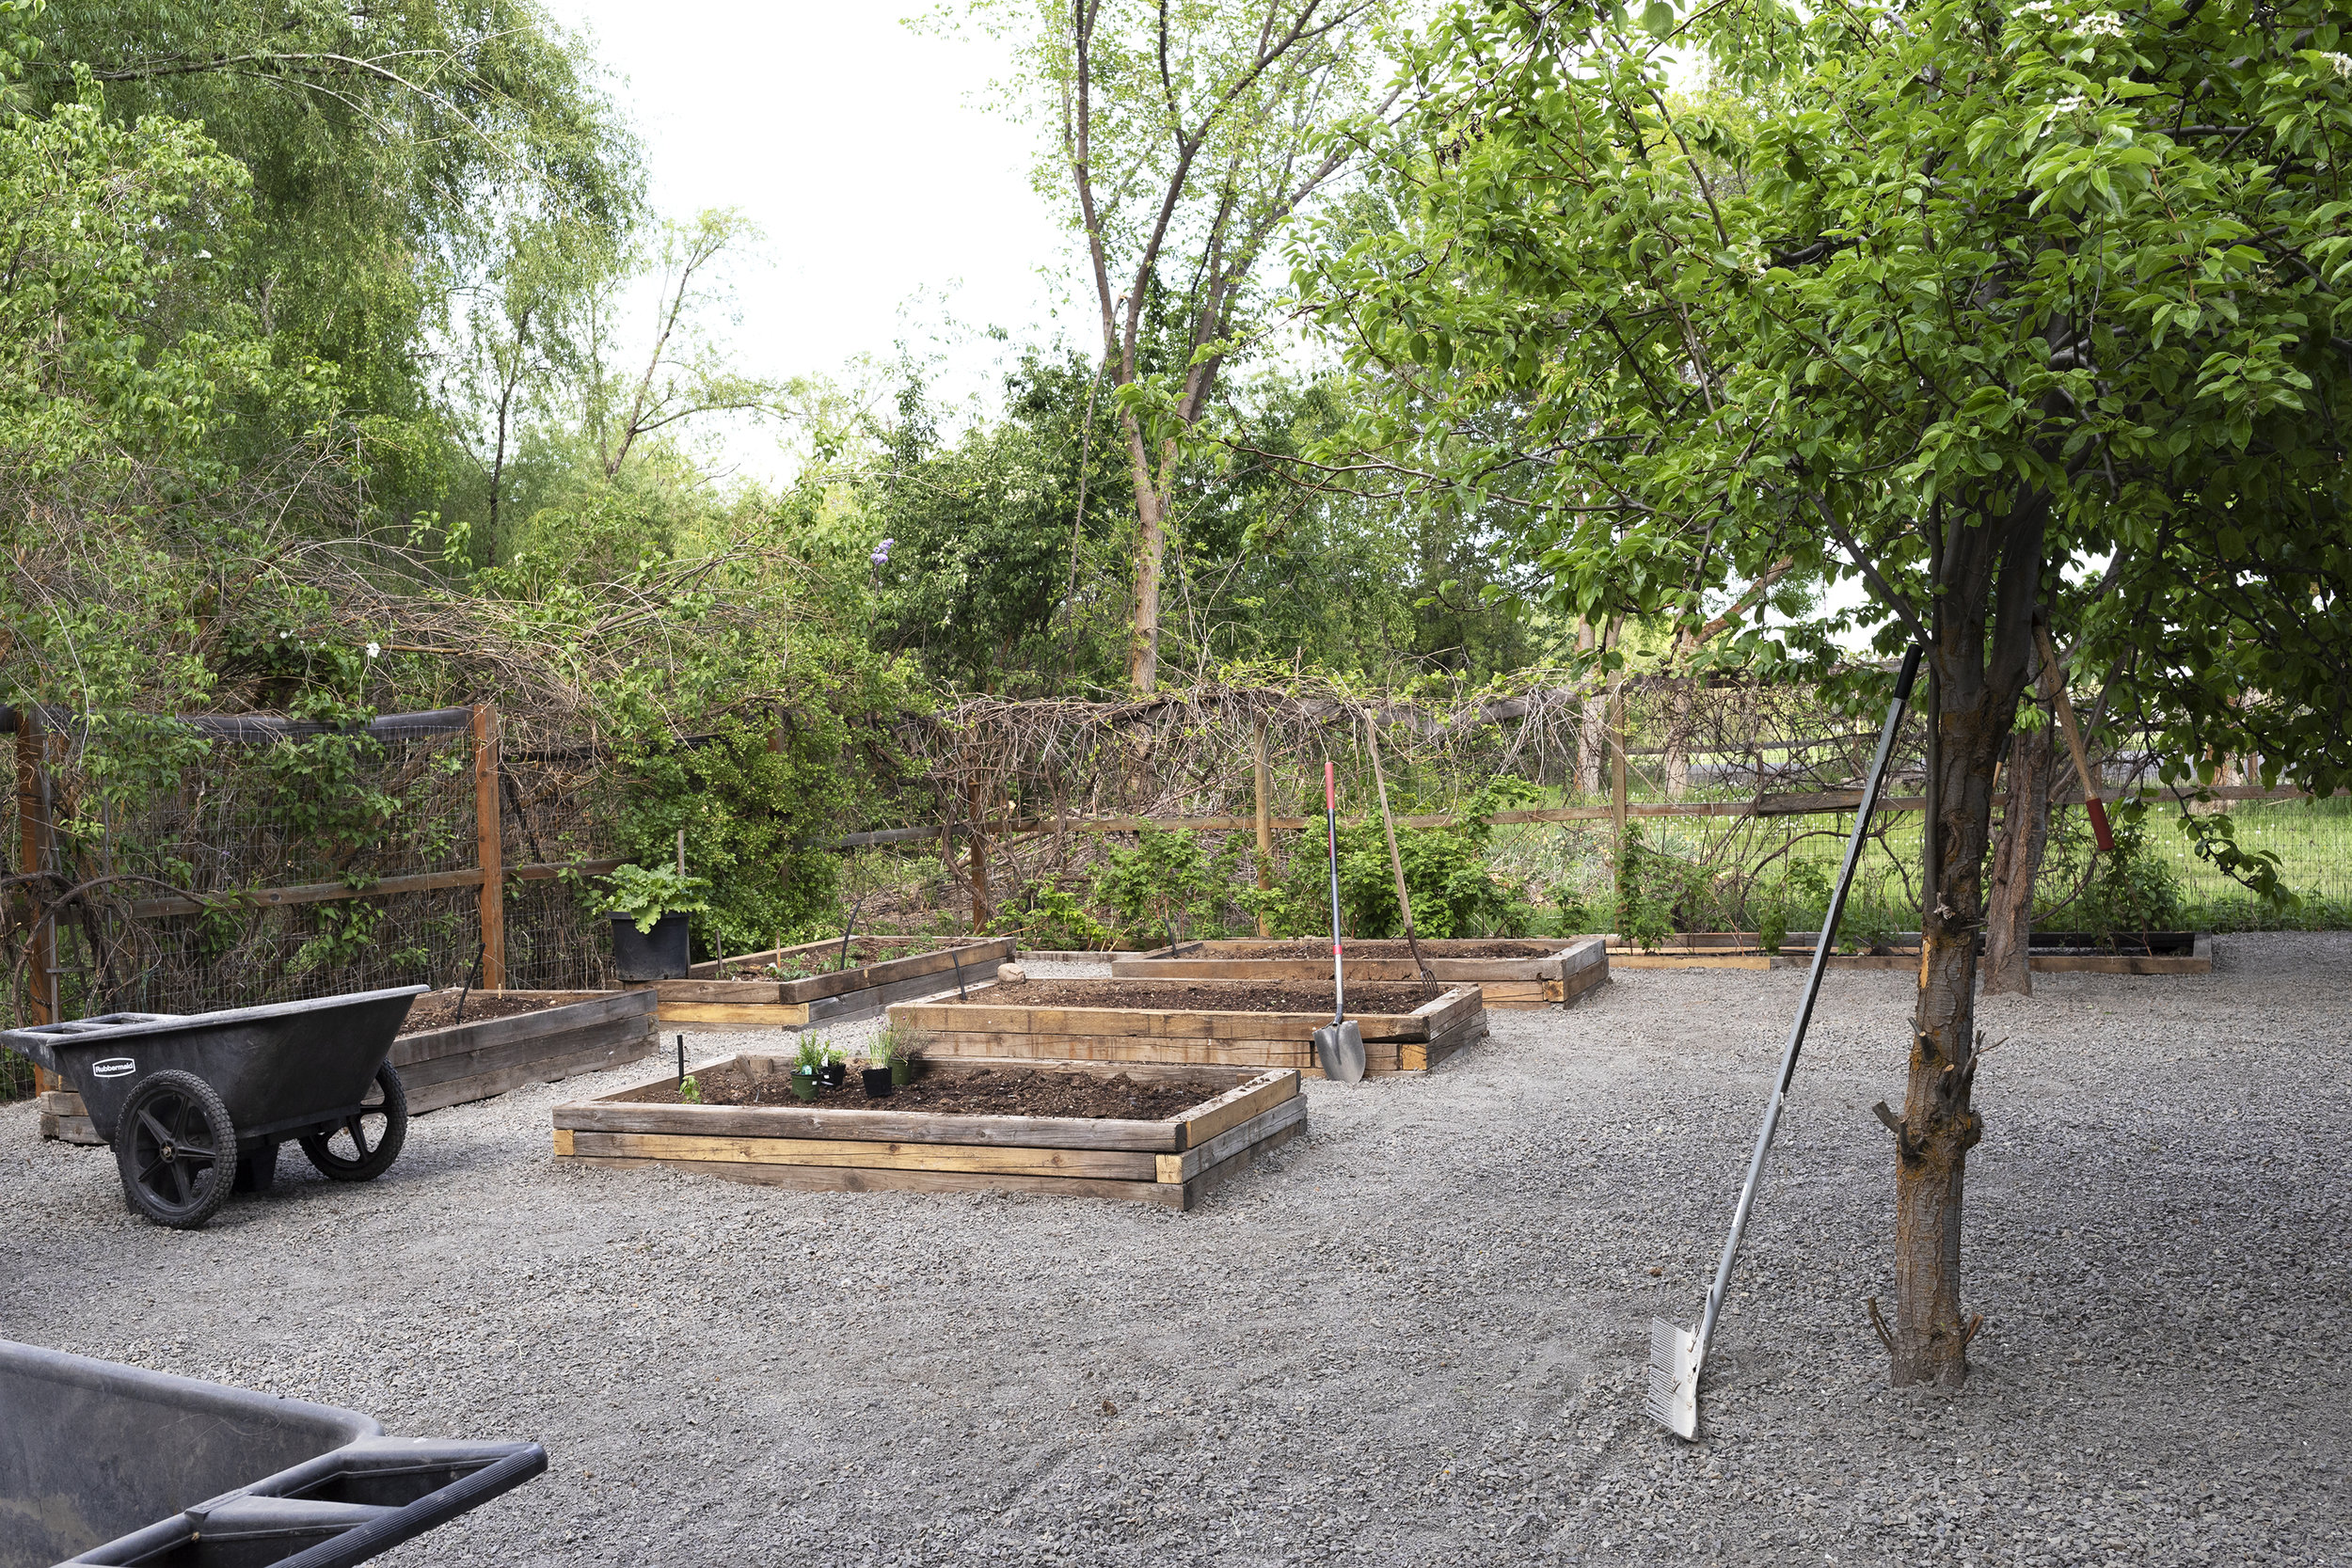
Dragging a hose out and watering our garden every night is not high on our priority list. So we ran a hose to each raised bed that runs off a timer and is attached to our irrigation system. You can see the black hose sticking up in the beds (still need to run the drip lines). Another task we’re hoping not to spend much time on…weeding. So we added a weed barrier below the gravel and patio area.
work with what’s already here.
Just like an old house, this garden had great bones. It had a tall deer fence (a necessity around here), mature grapes, raspberry plants, fruit trees, and a lilac bush. We of course kept it all, and transplanted the raspberries that had spread wild around the garden into a 4’-wide strip at the back of the garden. Here’s hoping they stay contained!
Grow the things we like to eat
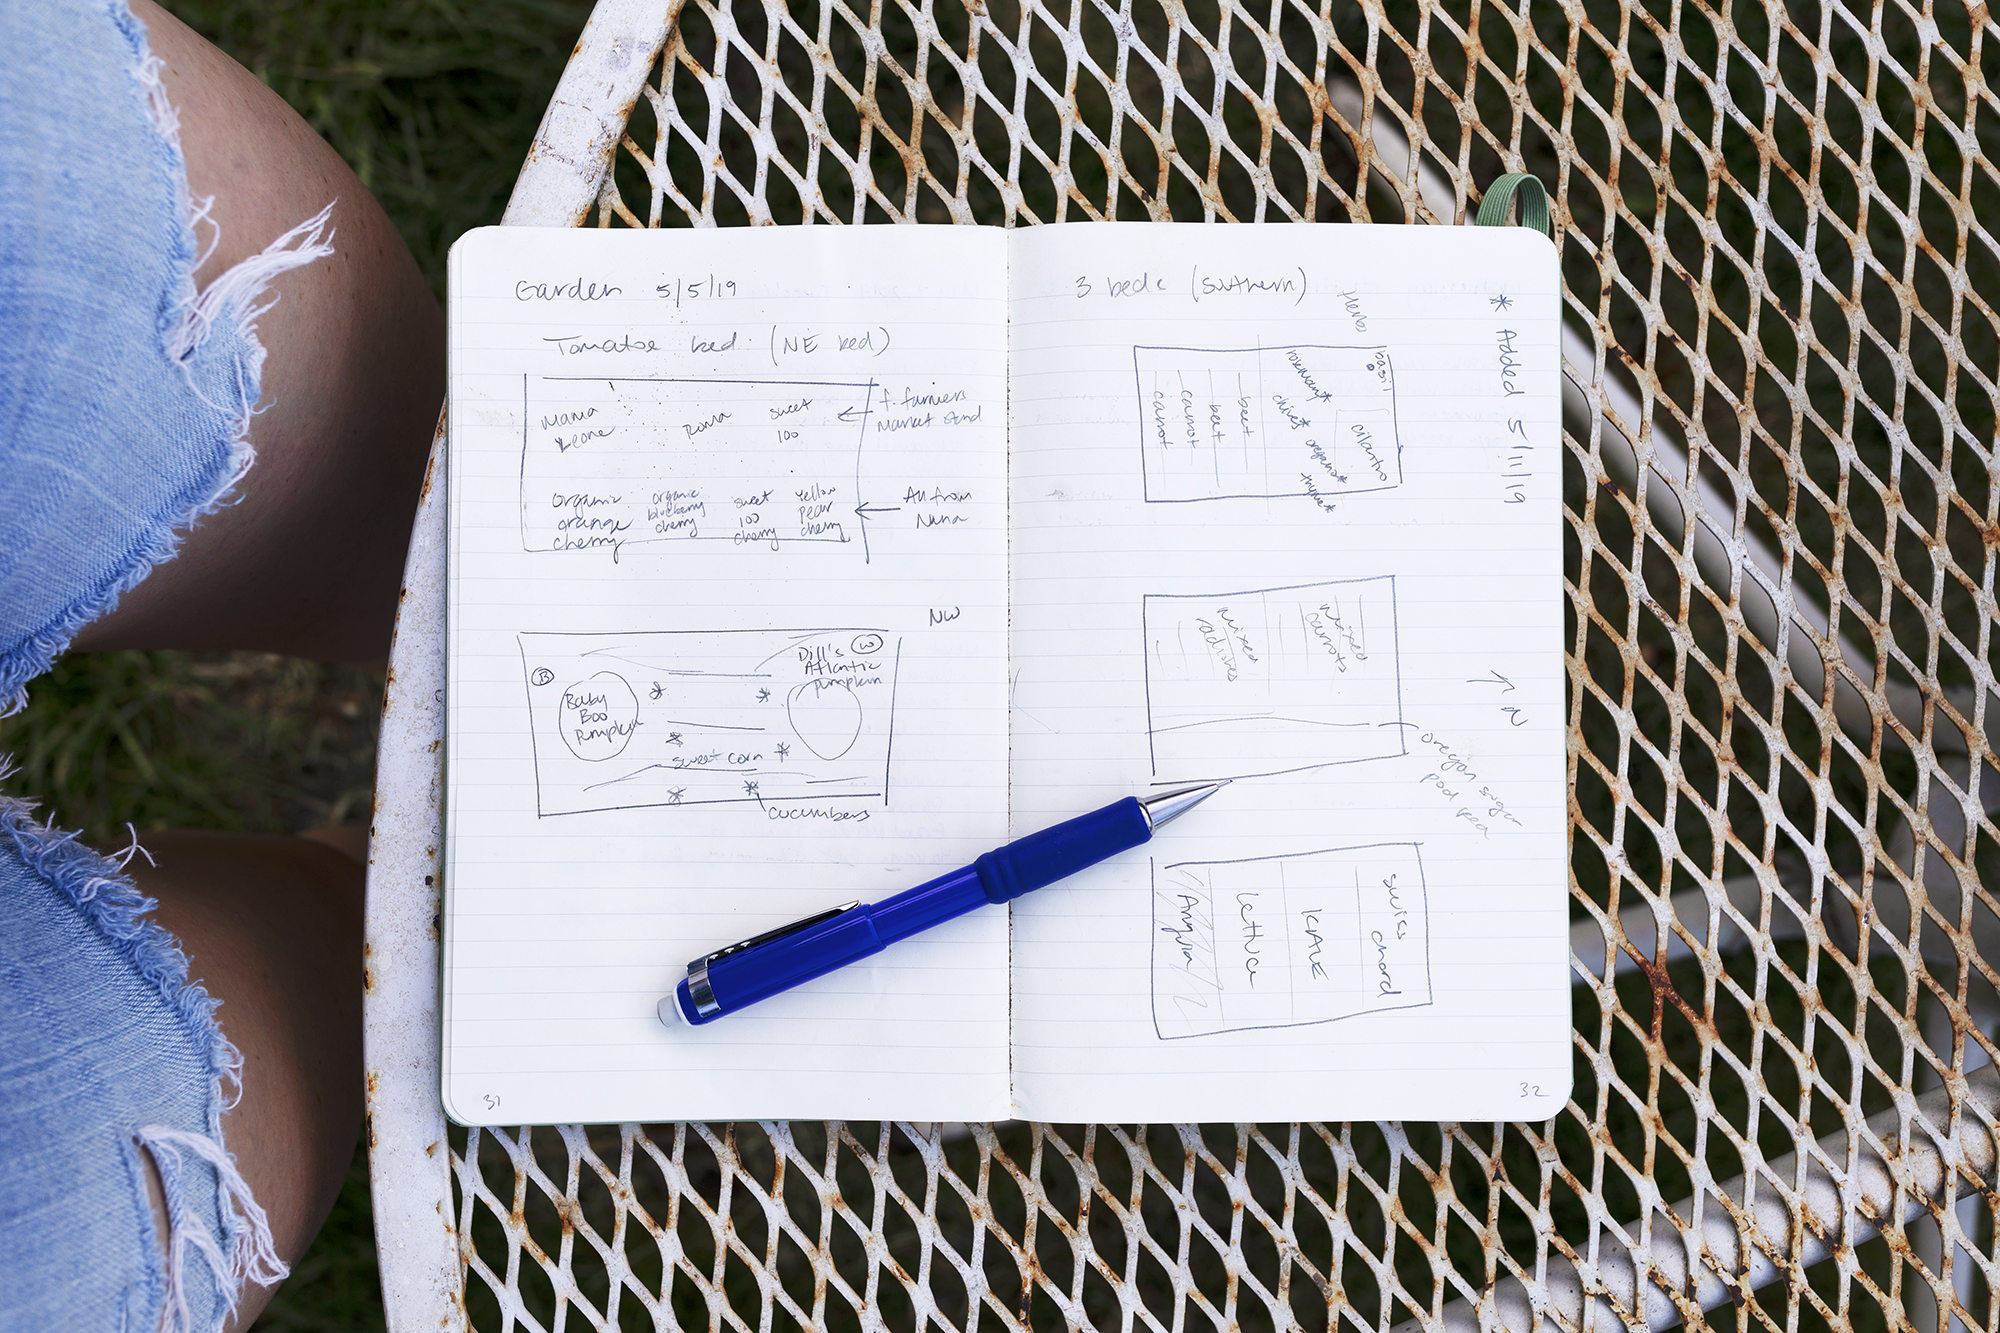
Our last goal was to grow things we like to eat. That means lots of greens, eat-straight-from-the-vine veggies (cherry tomatoes and peas), carrots, beets, corn, and the crowd favorite…raspberries. The kids each picked their own pumpkin variety and those are in a box as well.
The process
We’re not done with this garden yet but we’ve made a TON of progress. We started this project a couple weeks ago with pruning. It’s amazing what a few years of neglect can do to grapes, fruit trees, lilacs, and what not, and we had to spend a couple days cutting. We then collected the sticks and created a massive burn pile.
After that, we built our raised garden beds. We opted for five 4’x8’ raised beds. The lumber we used for these is reclaimed, which just means we found it in Nana and Papa’s spare wood pile. We have more for future beds if we want to add some later.
Thankfully at this point we had an excavator rented (for digging our new gas line trench) so we used that to scrape the garden into a semblance of level and then fill the beds with dirt. Although this tool isn’t necessary, it saved us a lot of time and even more sore muscles. We did have to remove a section of the fence in order to get the excavator into the garden, but I had wanted a bigger gate anyway so no complaints.
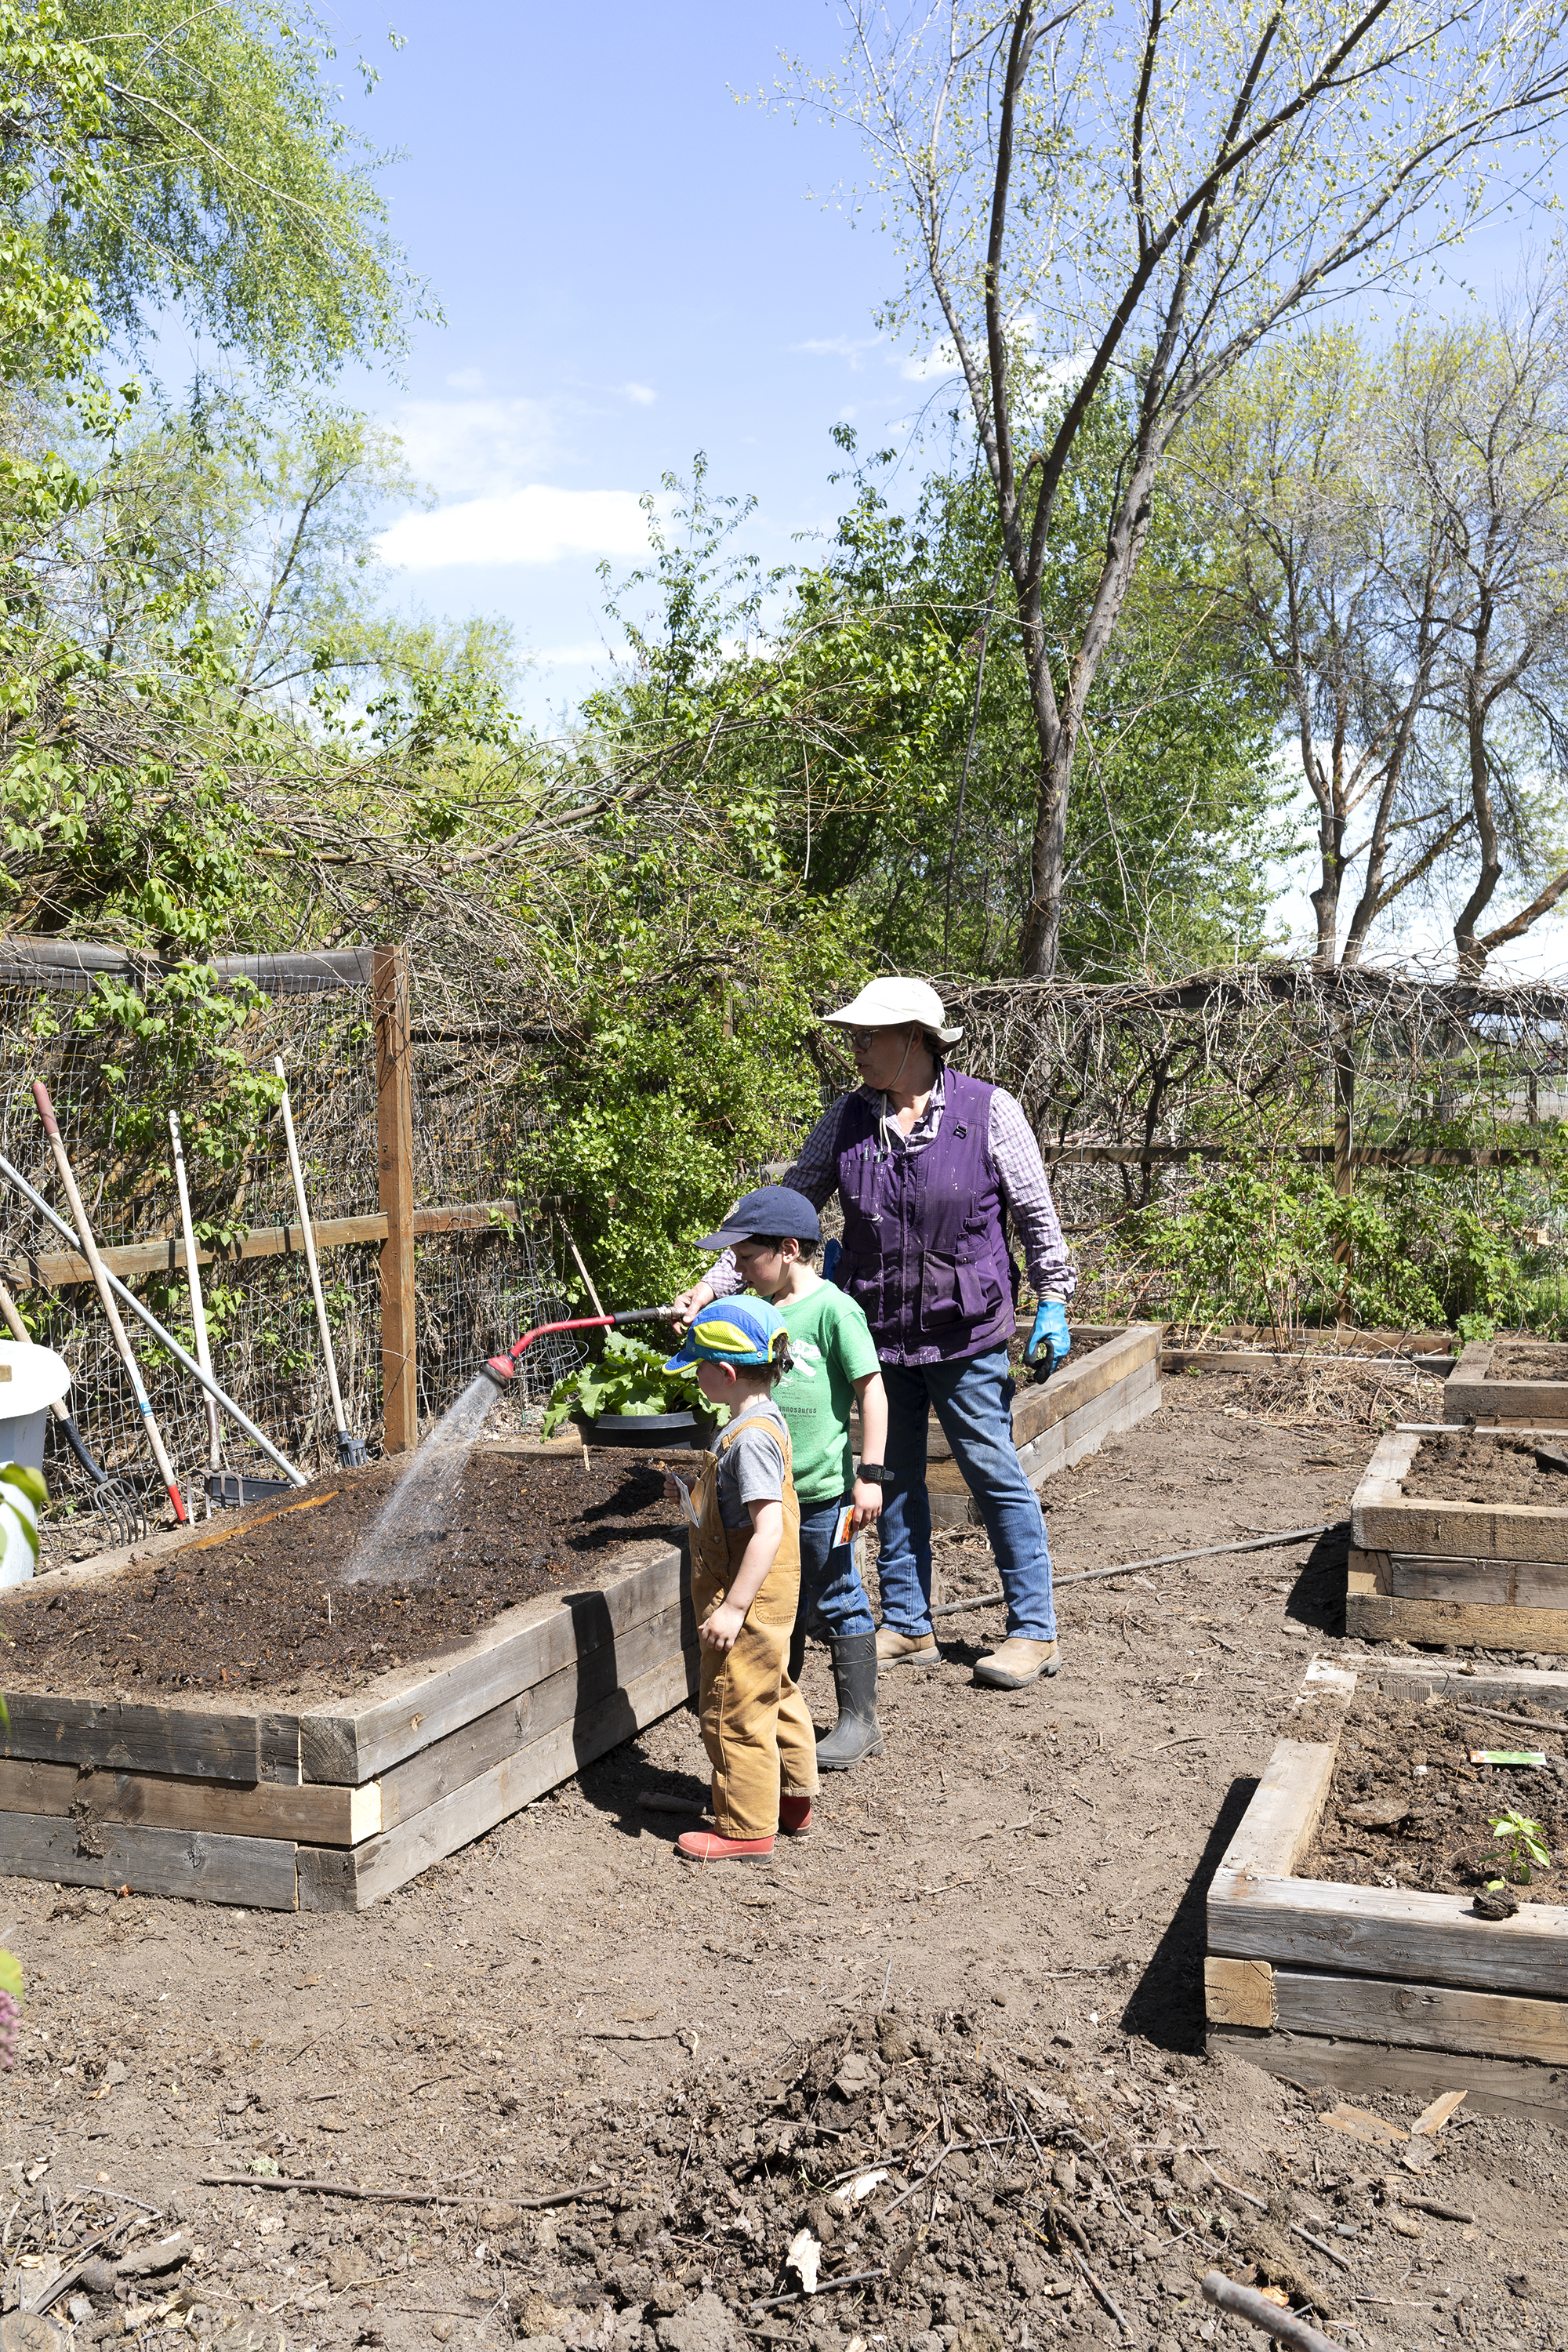
Nana came over to help us plant the garden beds. She’s one of those people that can grow anything, so we were very thankful for her insight and help. Nana brought some tomato starts with her (she recommends planting them low in the soil so only a few leaves stick out) and gave us enough of her compost to top all of our beds with.
One tip if you have young kids…write down what you planted right away! Daphne pulled out our plant markers just as soon as we put them in the ground. And I was really thankful I had jotted down what we had planted in my bullet journal first!
Next up was weed barrier. As I mentioned earlier, we want this space to be low maintenance, so limiting weeds was a high priority. I took this picture when we had laid down about 2/3rds of the weed barrier, but ended up covering all the exposed dirt.
We got 15,000lbs of gravel (5/8 minus) delivered to the Farmhouse and it just barely filled the garden area. We had them drop the load at our back gate and then used a tractor to bring it by the bucket full to the garden. We then shoveled, wheel-barrowed, and raked the gravel into place. It was a BIG job! BTW, the gravel cost $250 including delivery.
This weekend we also compacted the gravel using a rented plate compactor and worked on the new gate. There’s at least a week worth of work left. Here’s what we aim to accomplish:
Top the gravel with pea stone
Finish the new gate
Add 2”x6” top rails to the raised beds (to make weeding easier)
Build the patio with 16” pavers (set in sand)
Repairs to the original fence
Finish the irrigation
After that, it’ll be all garden parties and salads for us!


