DIY // How to Paint ANY Wood Floor
THE FARMHOUSE
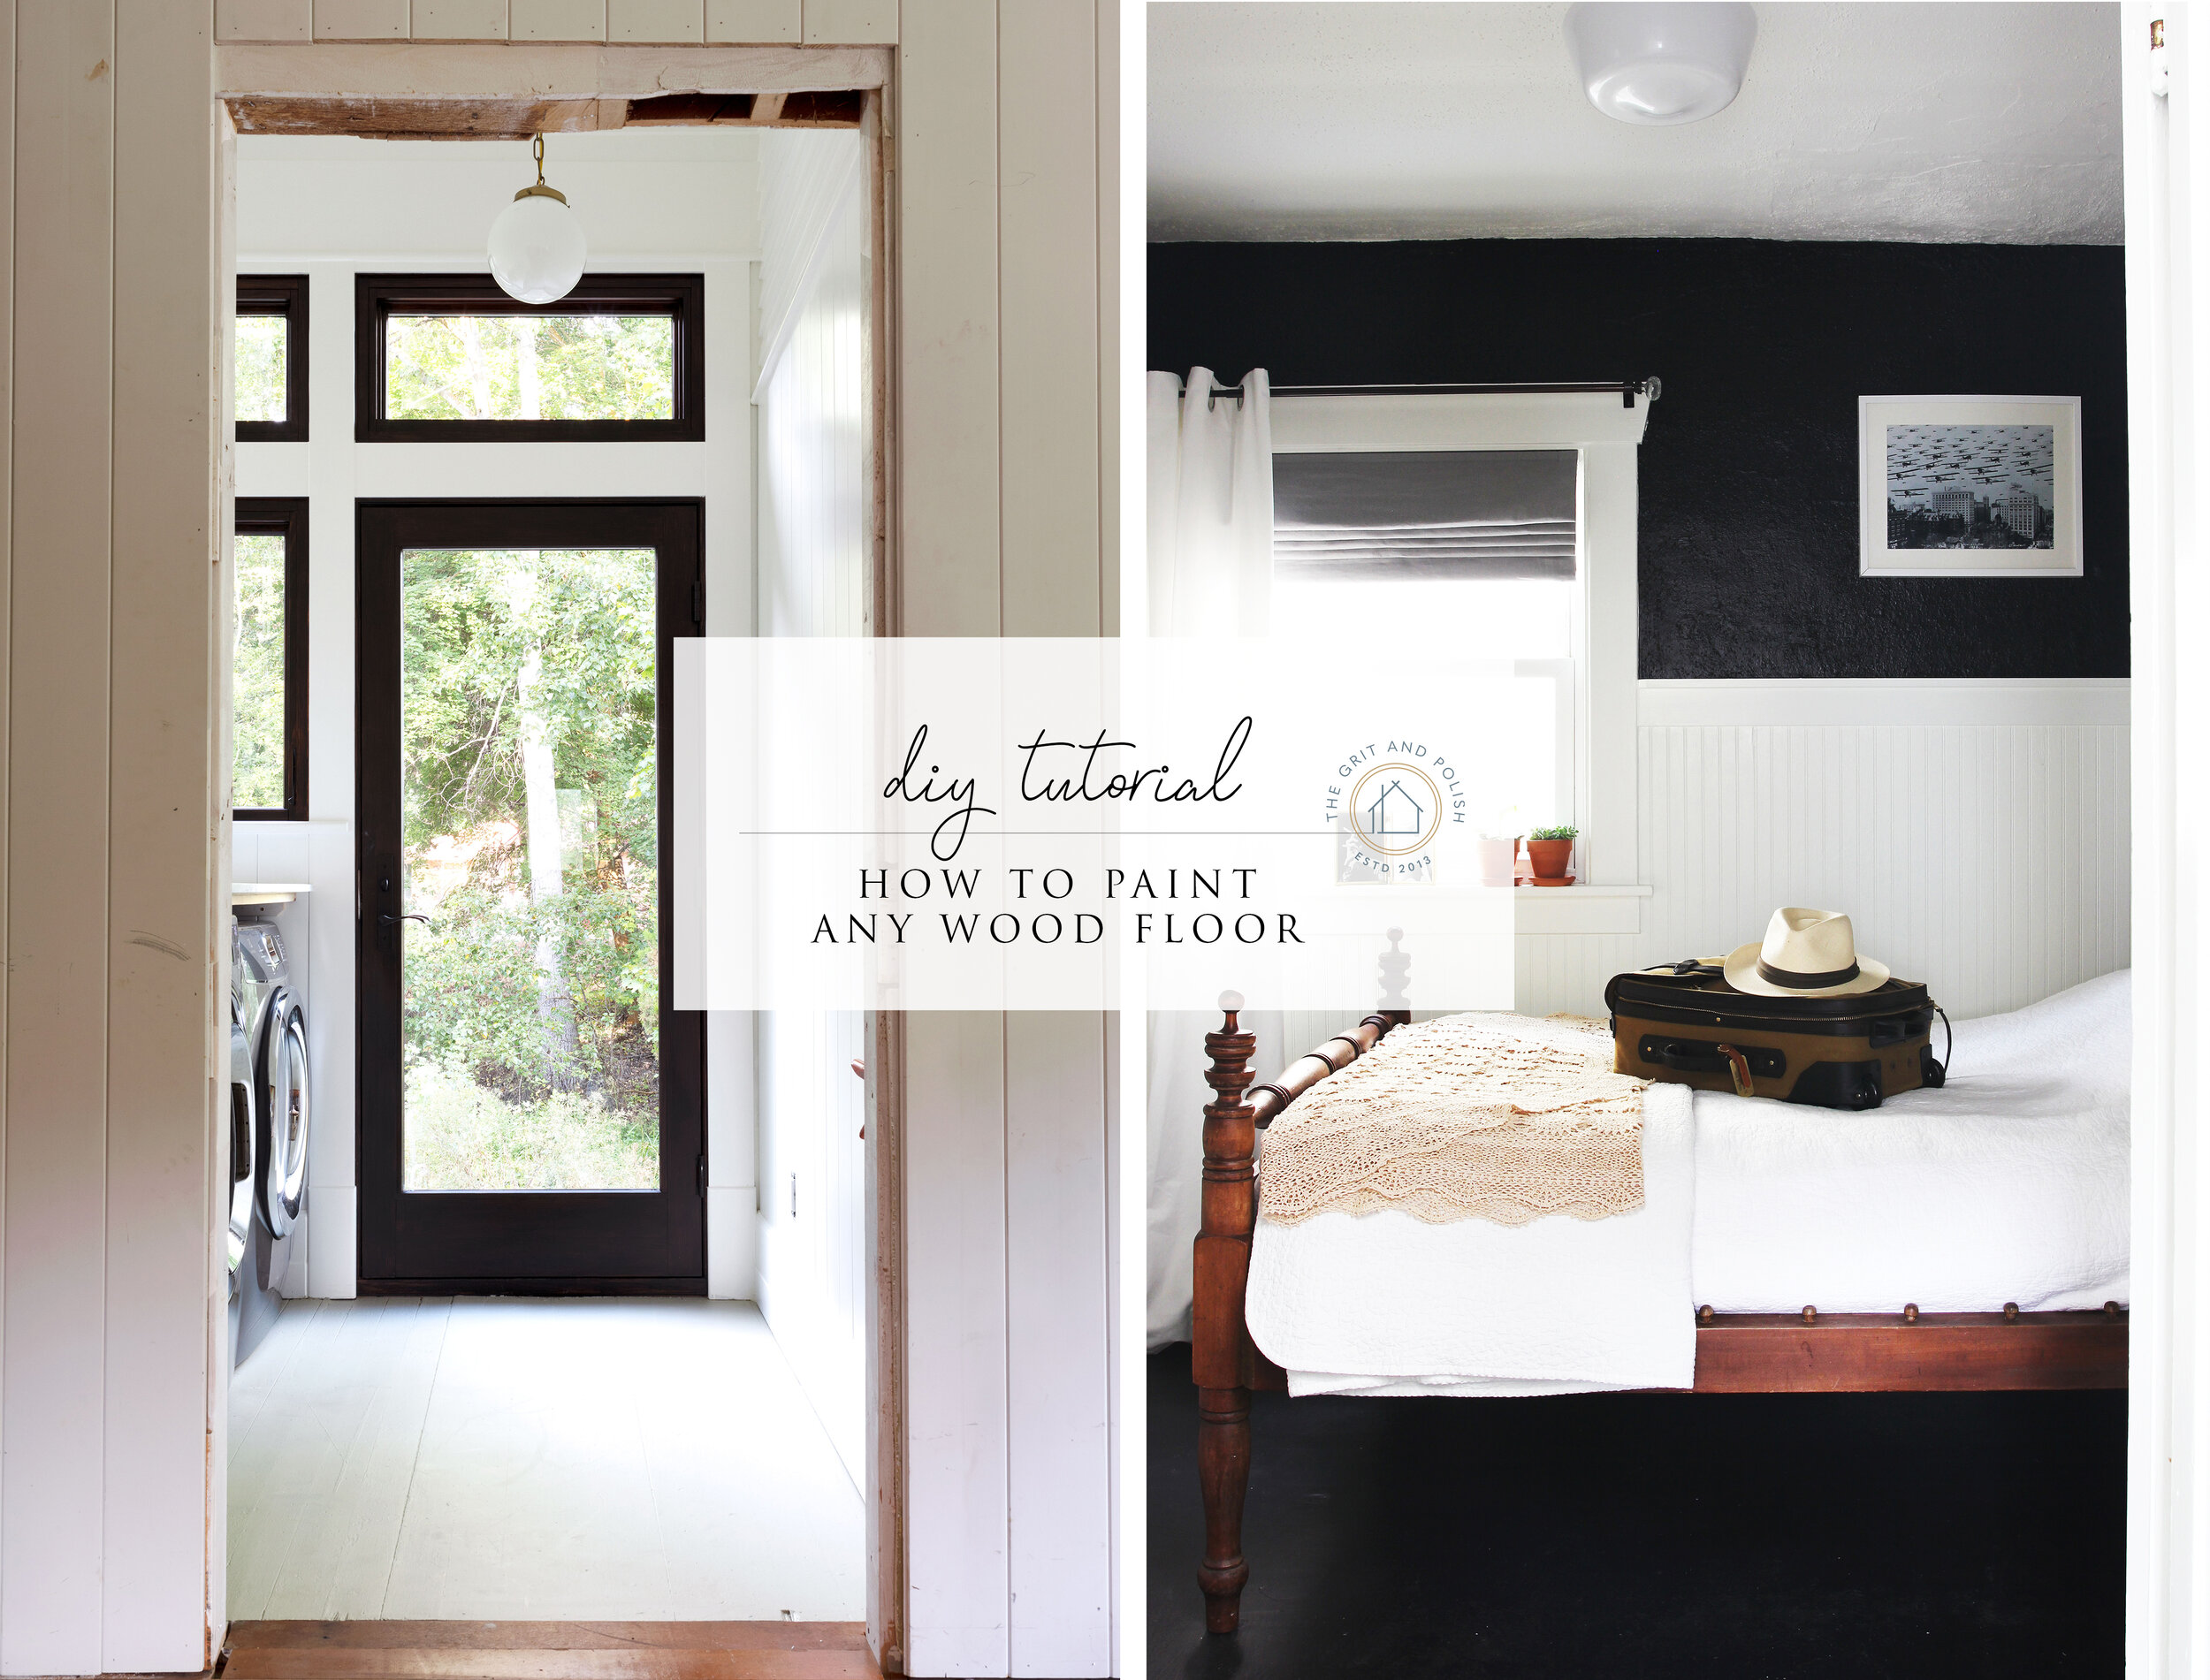
Last week we painted our laundry room floors. It only took 2 days and $30 to transform them. TWO DAYS AND 30 DOLLARS! We’re talking budget remodeling at it’s finest. But they don’t look budget. Painting wood floors has a long tradition throughout this country and beyond - they’re classic! Read on for why we opted to paint our laundry room floors as well as a DIY tutorial on our simple method for painting wood floors.
Why paint wood floors?
The single biggest reason we consider painting wood floors, is to extend their life. When hardwood floors are 100+ years old and refinishing is questionable, painting is a great alternative. It’s also an inexpensive alternative to replacing flooring, and less work, too. And leaving the floors in place means less waste in the landfill.
Painting floors can also help hide imperfections. The paint evens out dents and gouges and unifies uneven finishes. It’s certainly not perfect, but painted floors look a lot more ‘finished’ than roughed-up old floors do.
Now is probably time to tell you that neither of the products we used on our floors are designed for floors. Ha! So during this DIY I’ll note other products you might want to consider, but the steps will be the same.
So why didn’t we use floor-specific paint this time around? Well painting these floors was a stop gap solution for us, since we’re planning to refinish all of the Farmhouse’s floors eventually. And this paint should be a lot easier to remove than oil-based, super-durable floor paint. We also had a can of Valspar Signature in our basement and we liked the color, so we went for it.
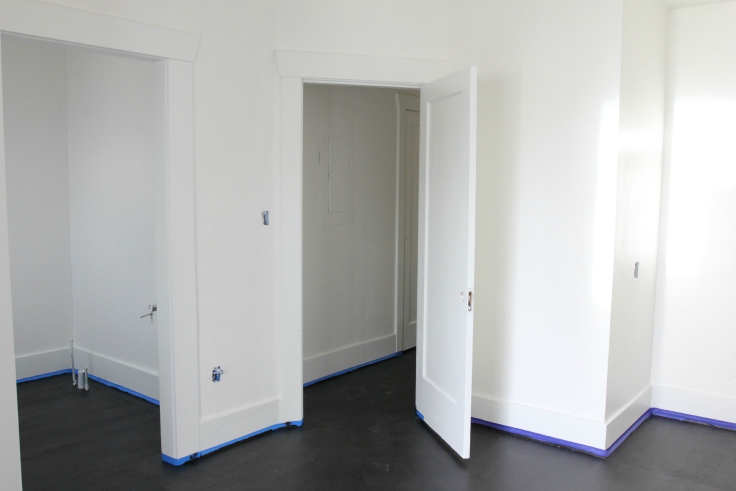
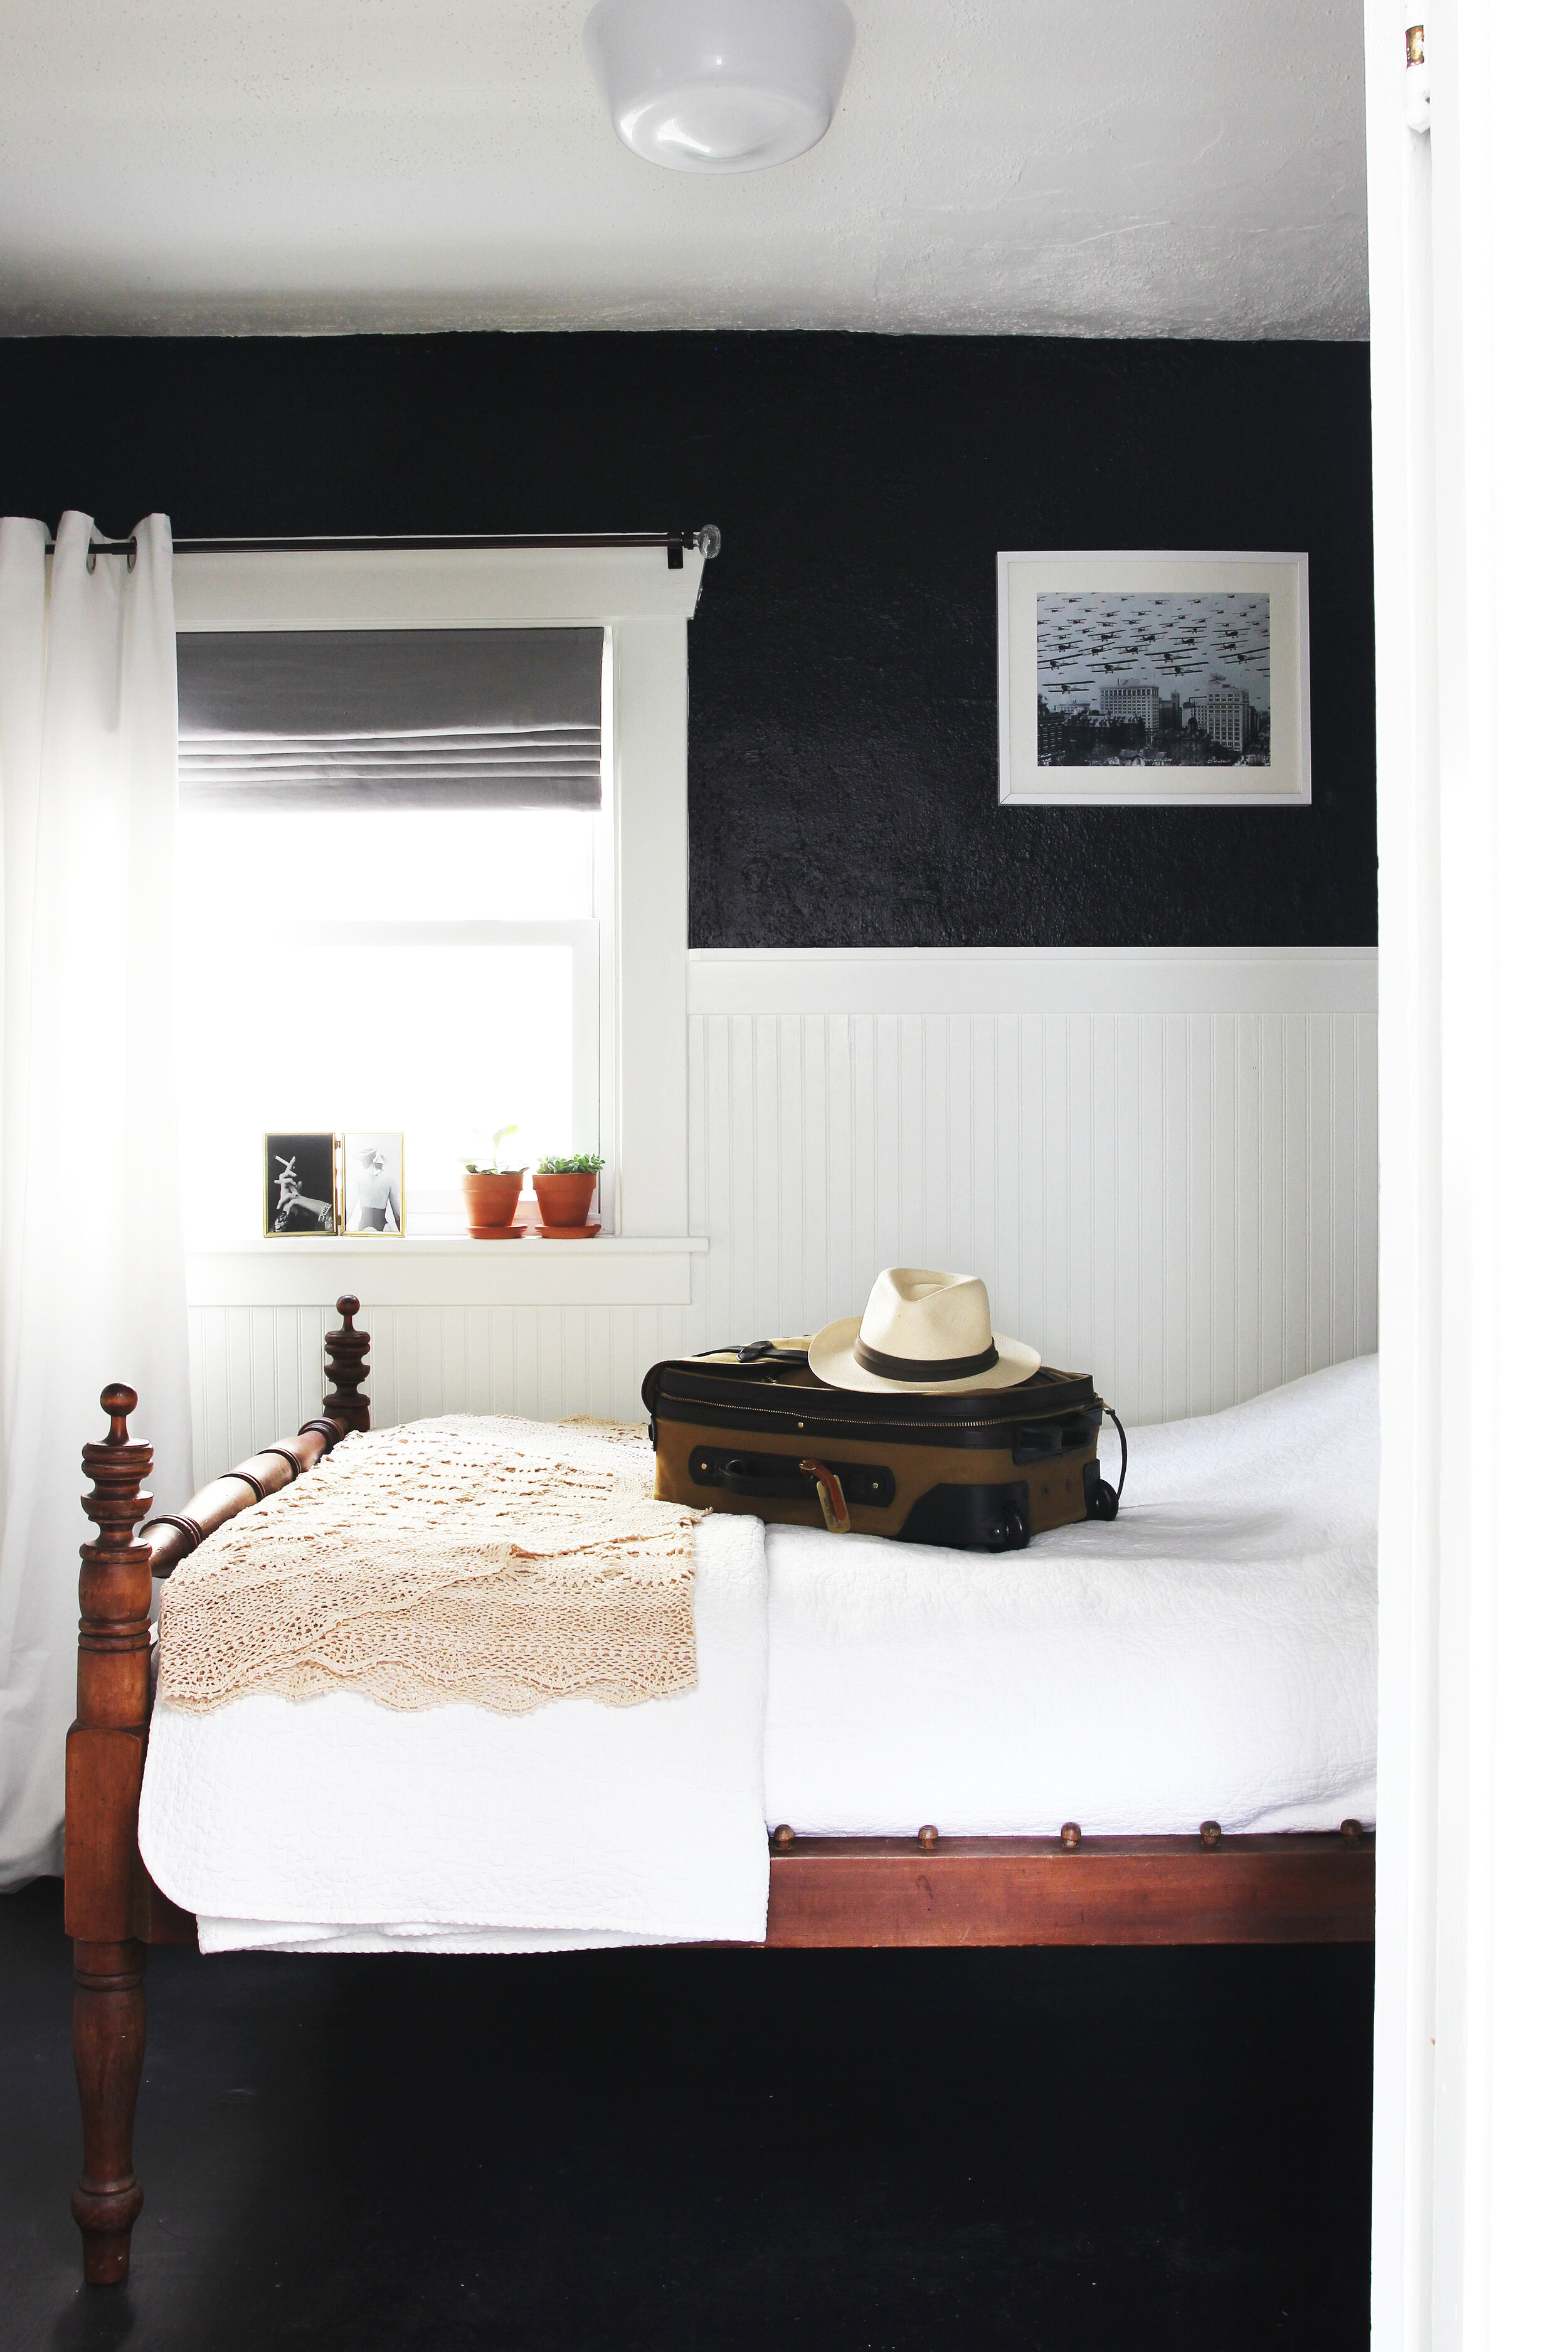
This is actually the second time we’ve painted wood floors. The first time was at the Dexter house back in 2015, where we painted the wood floors in the bedrooms with BM’s “Patio and Floor”, a paint specific for floors. We gave everything a good sand (there was a couple coats of chipped paint already on the floors) and a coat of primer and the product took 6 days to dry. The floors still scratched within the first month. Ugh. But in the end, the black floors look a million times better than what was there…and painting was a whole lot easier than replacing! But this experience definitely taught us to always use a top coat (step #3 below) and also gave us the courage to try an “easier method” and non-floor-specific paint at the Farmhouse.
DIY // how to paint wood floors
time: 2 days +
level: beginner
format: blog post
Materials & Tools
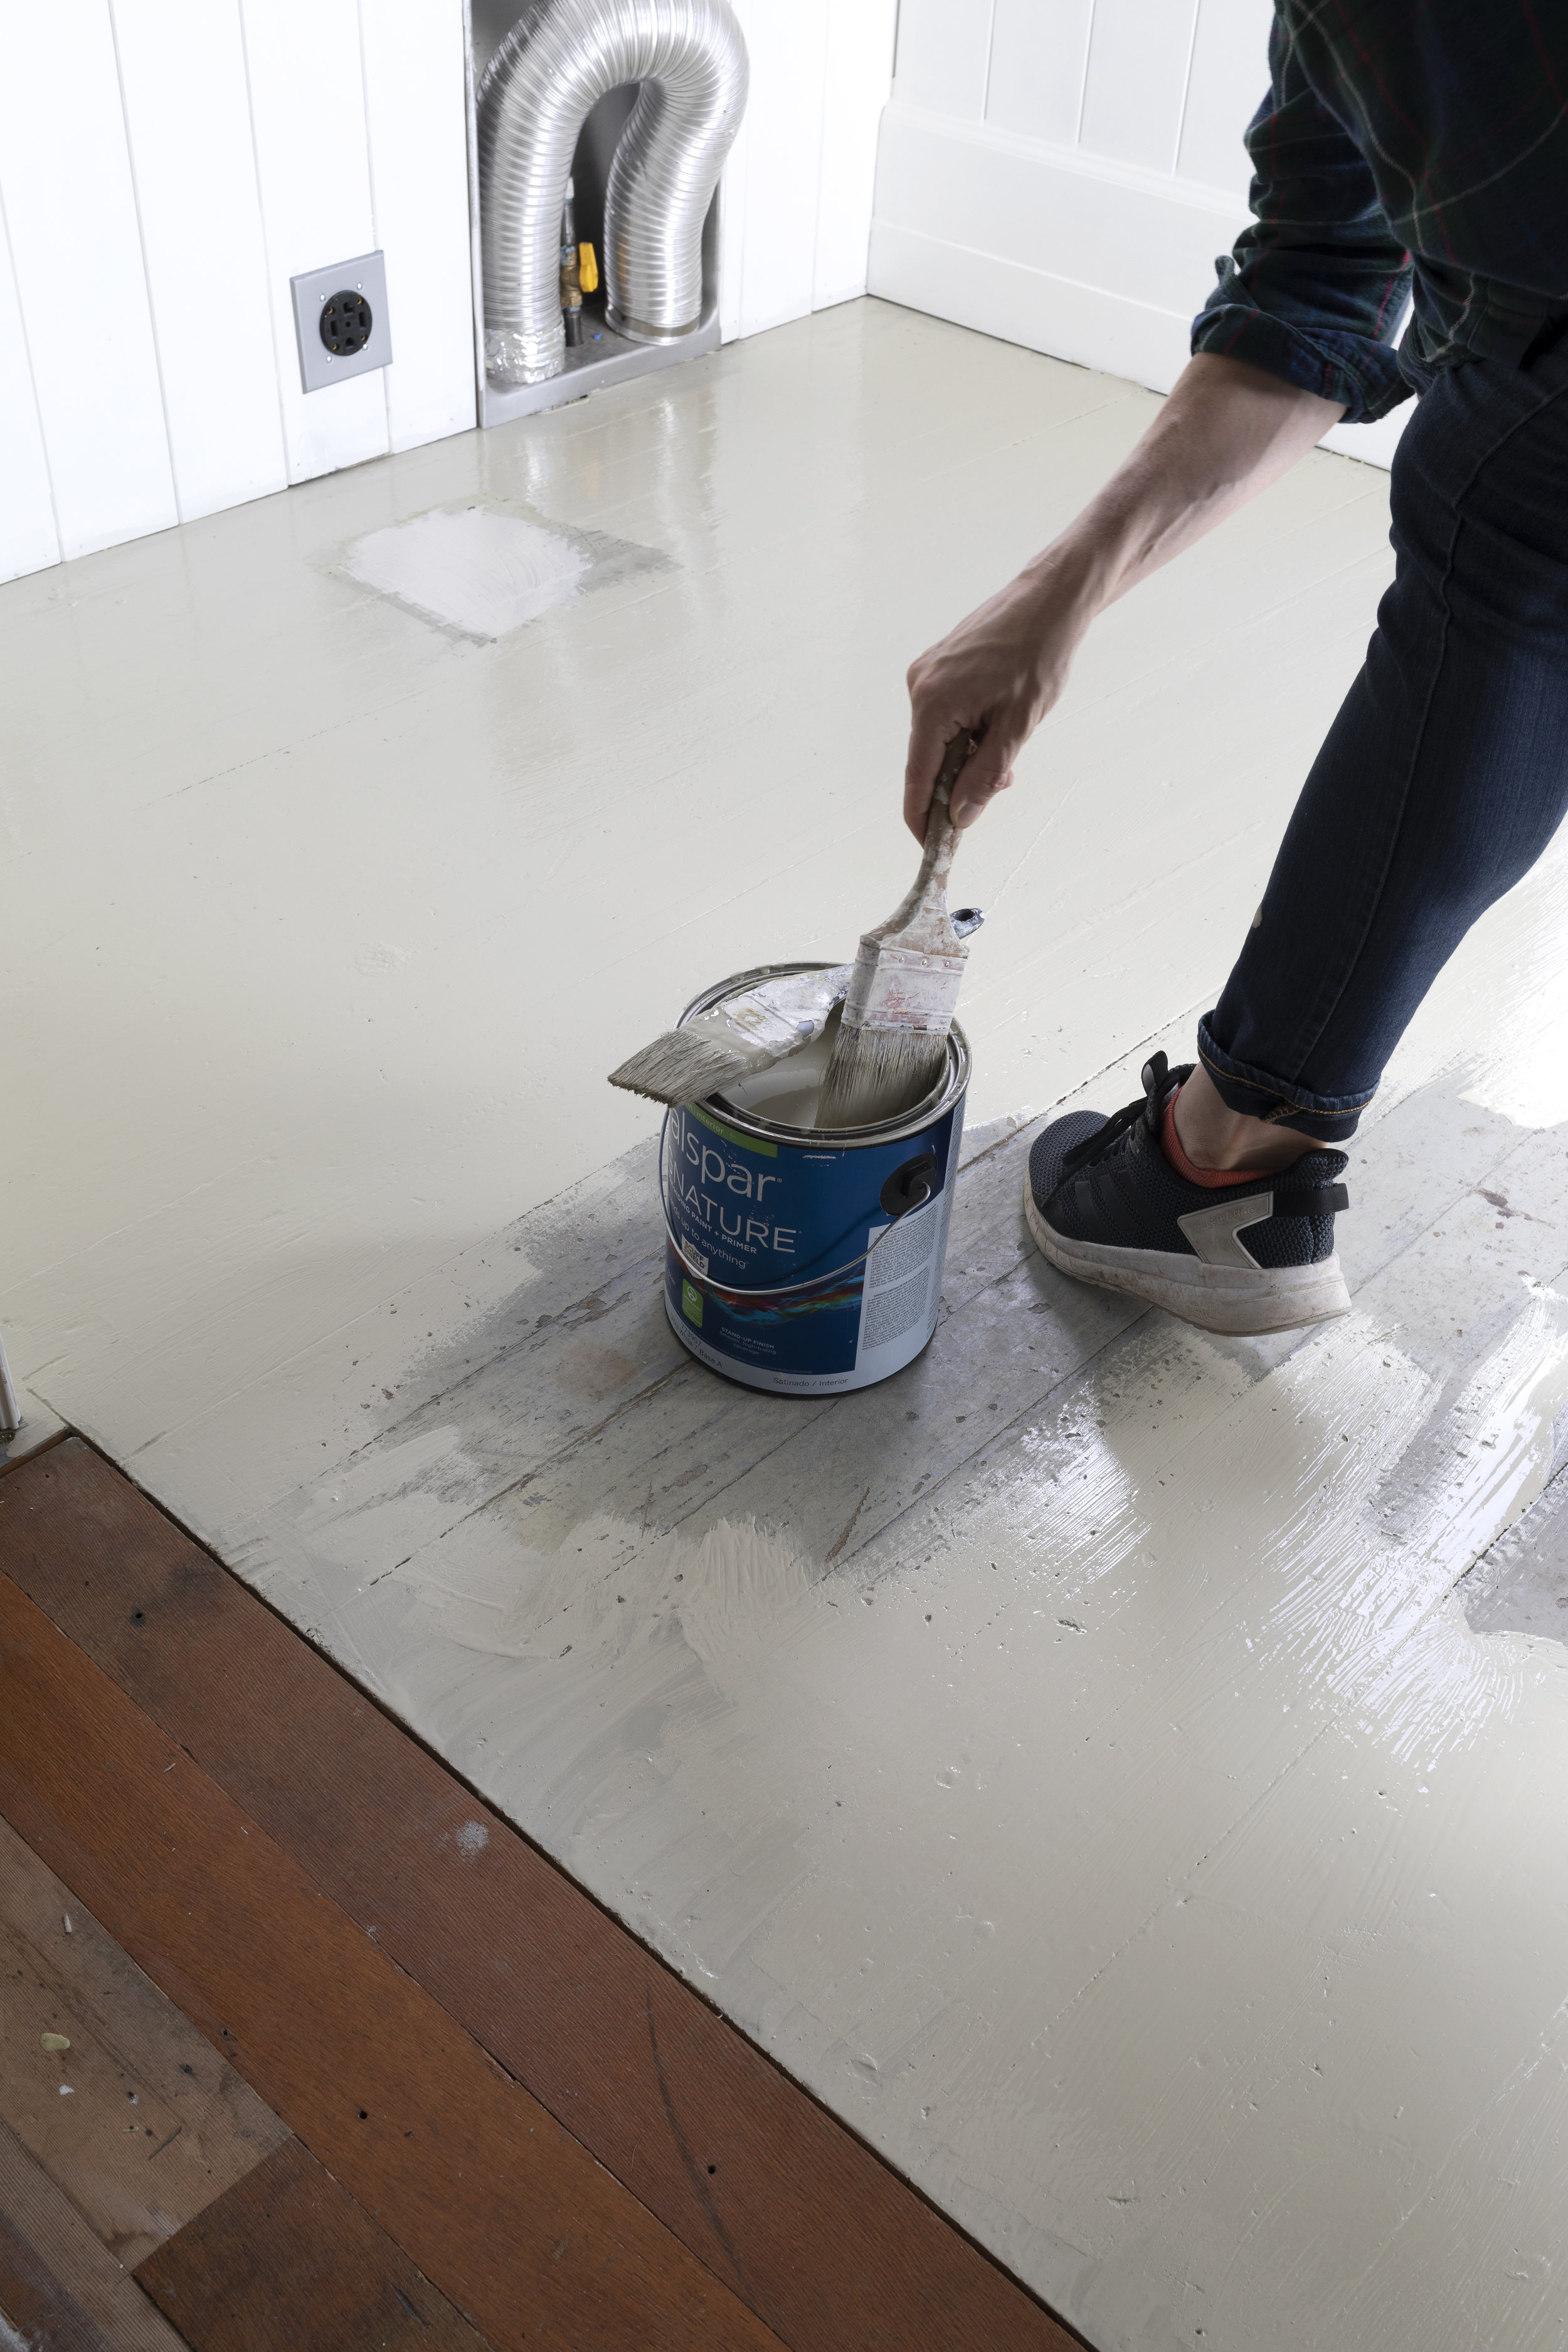
Paint (we used what we had on hand, Valspar Signature in Hunter’s White)
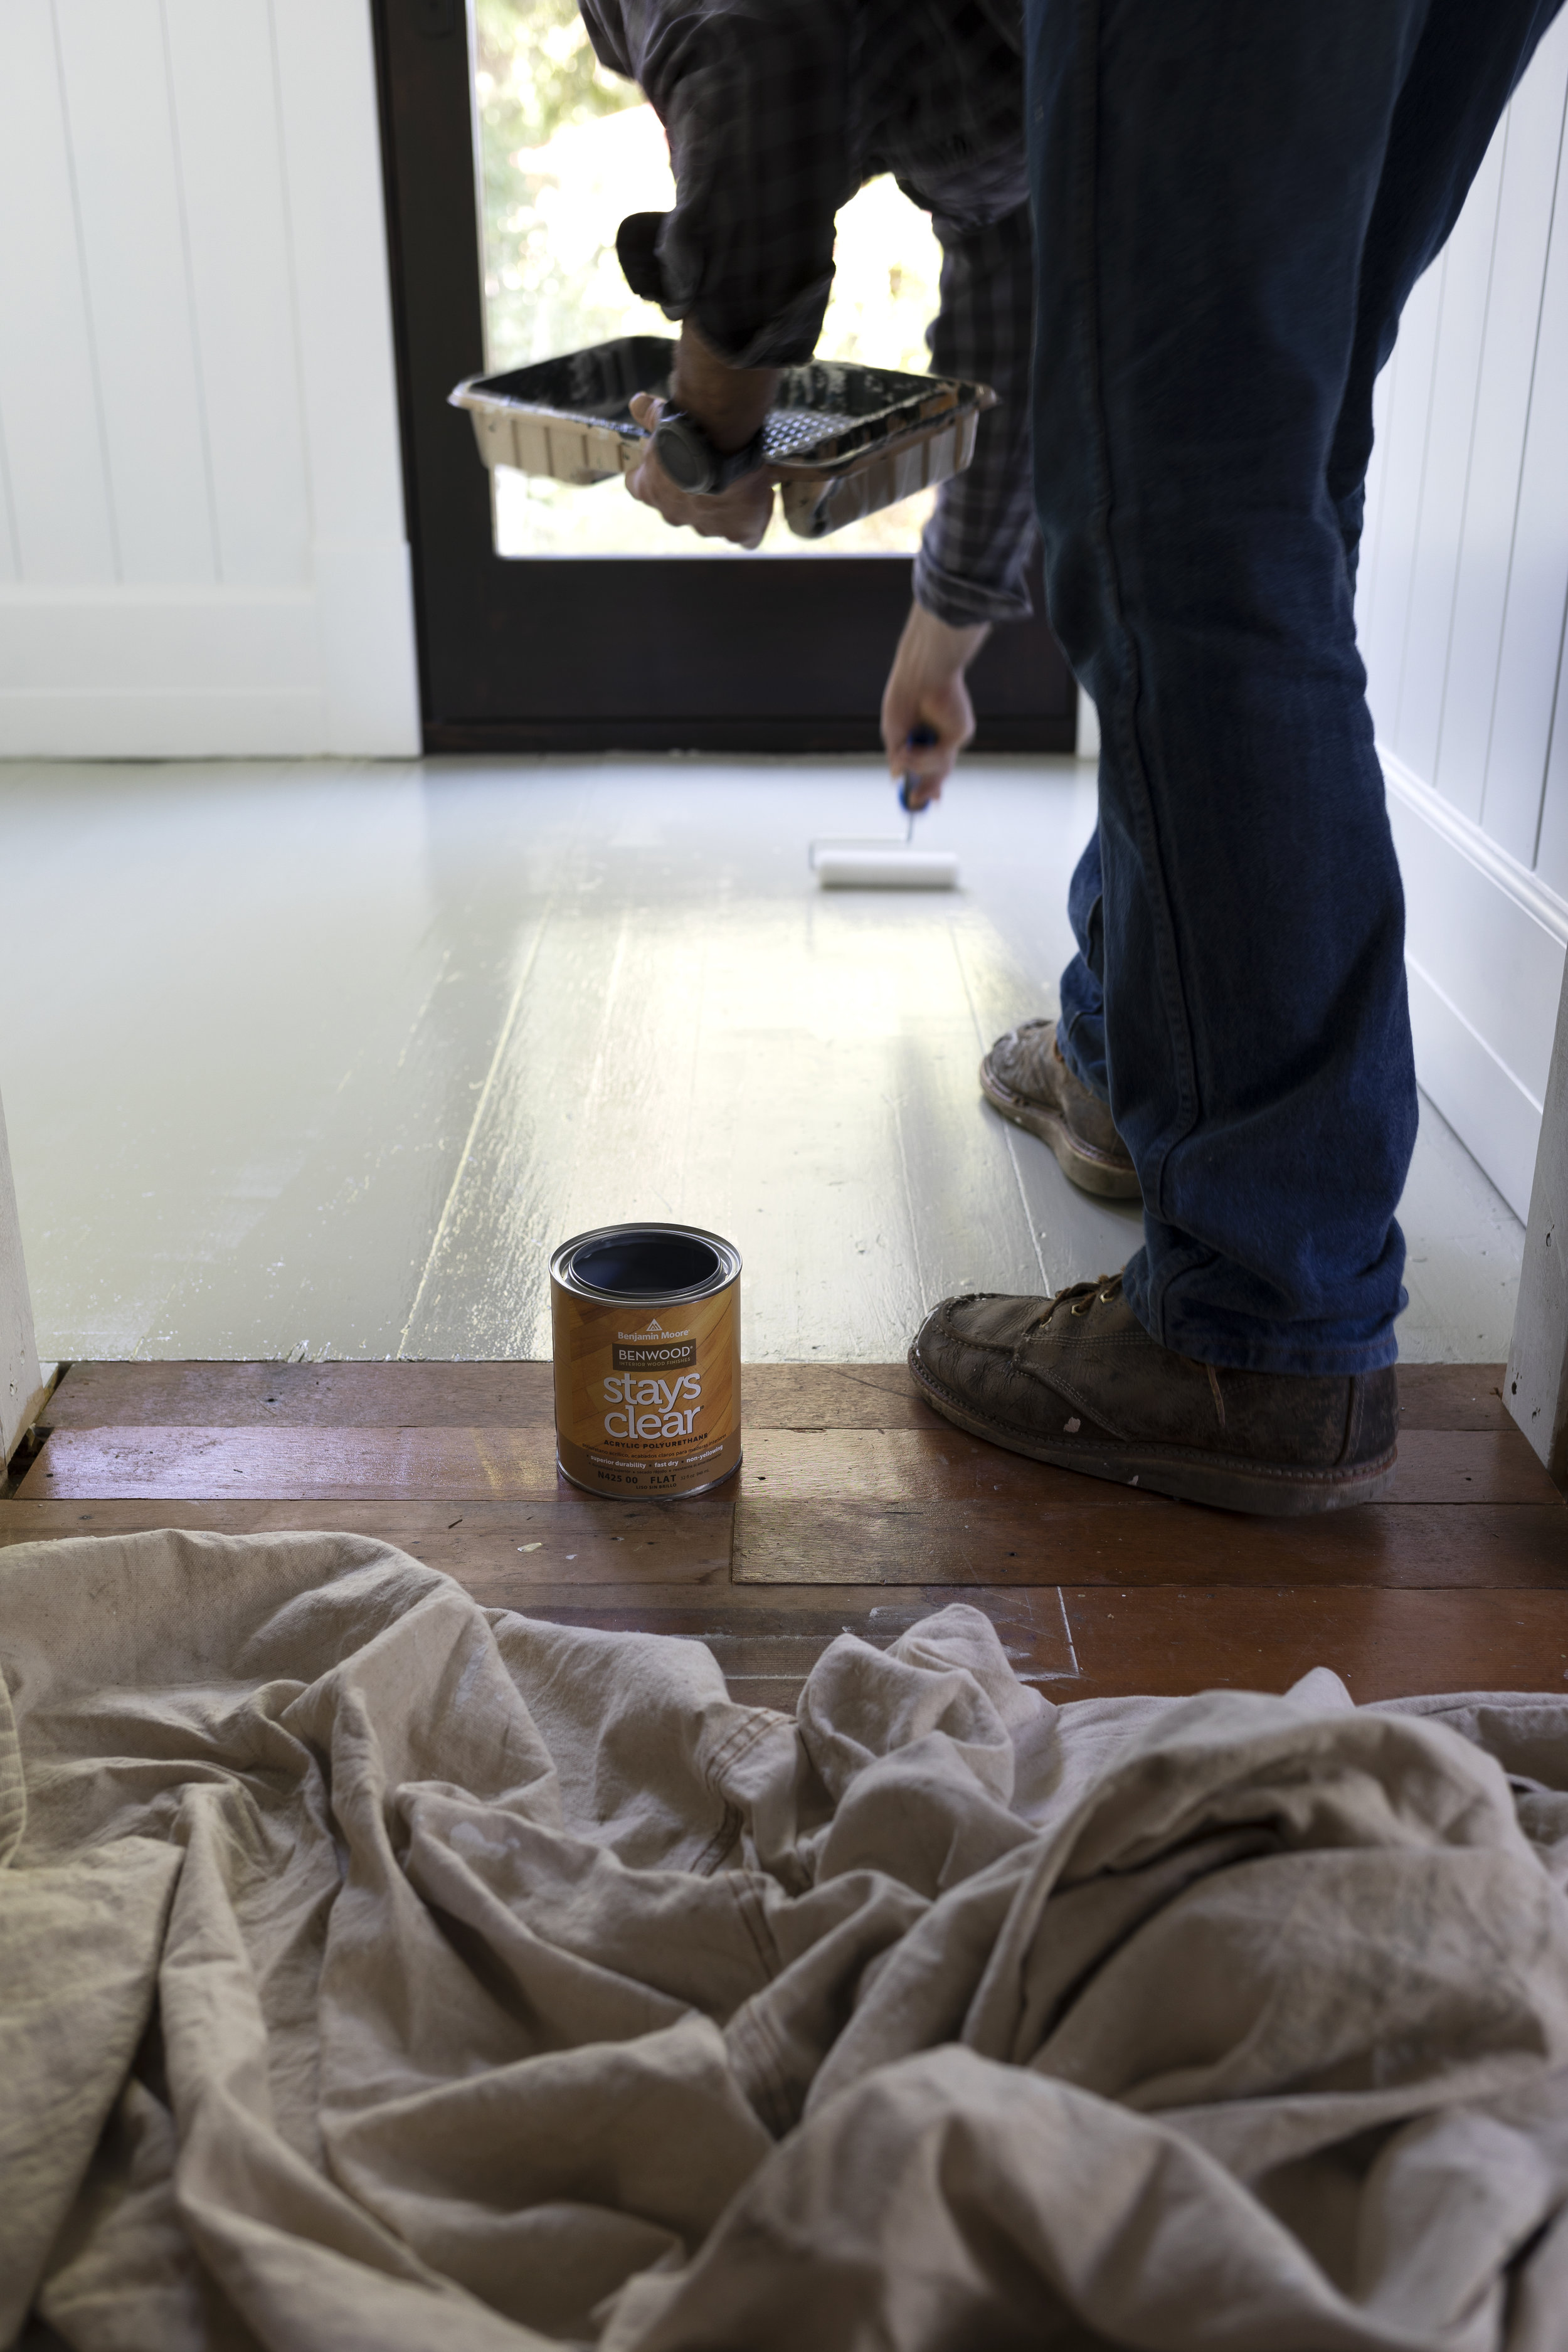
Finish (we used Benjamin Moore’s Stays Clear, recommended by our paint store)
paint brush and/or roller (with low nap)
cleaning supplies
alt: sandpaper, primer, floor patching
Step 1 prep the floors
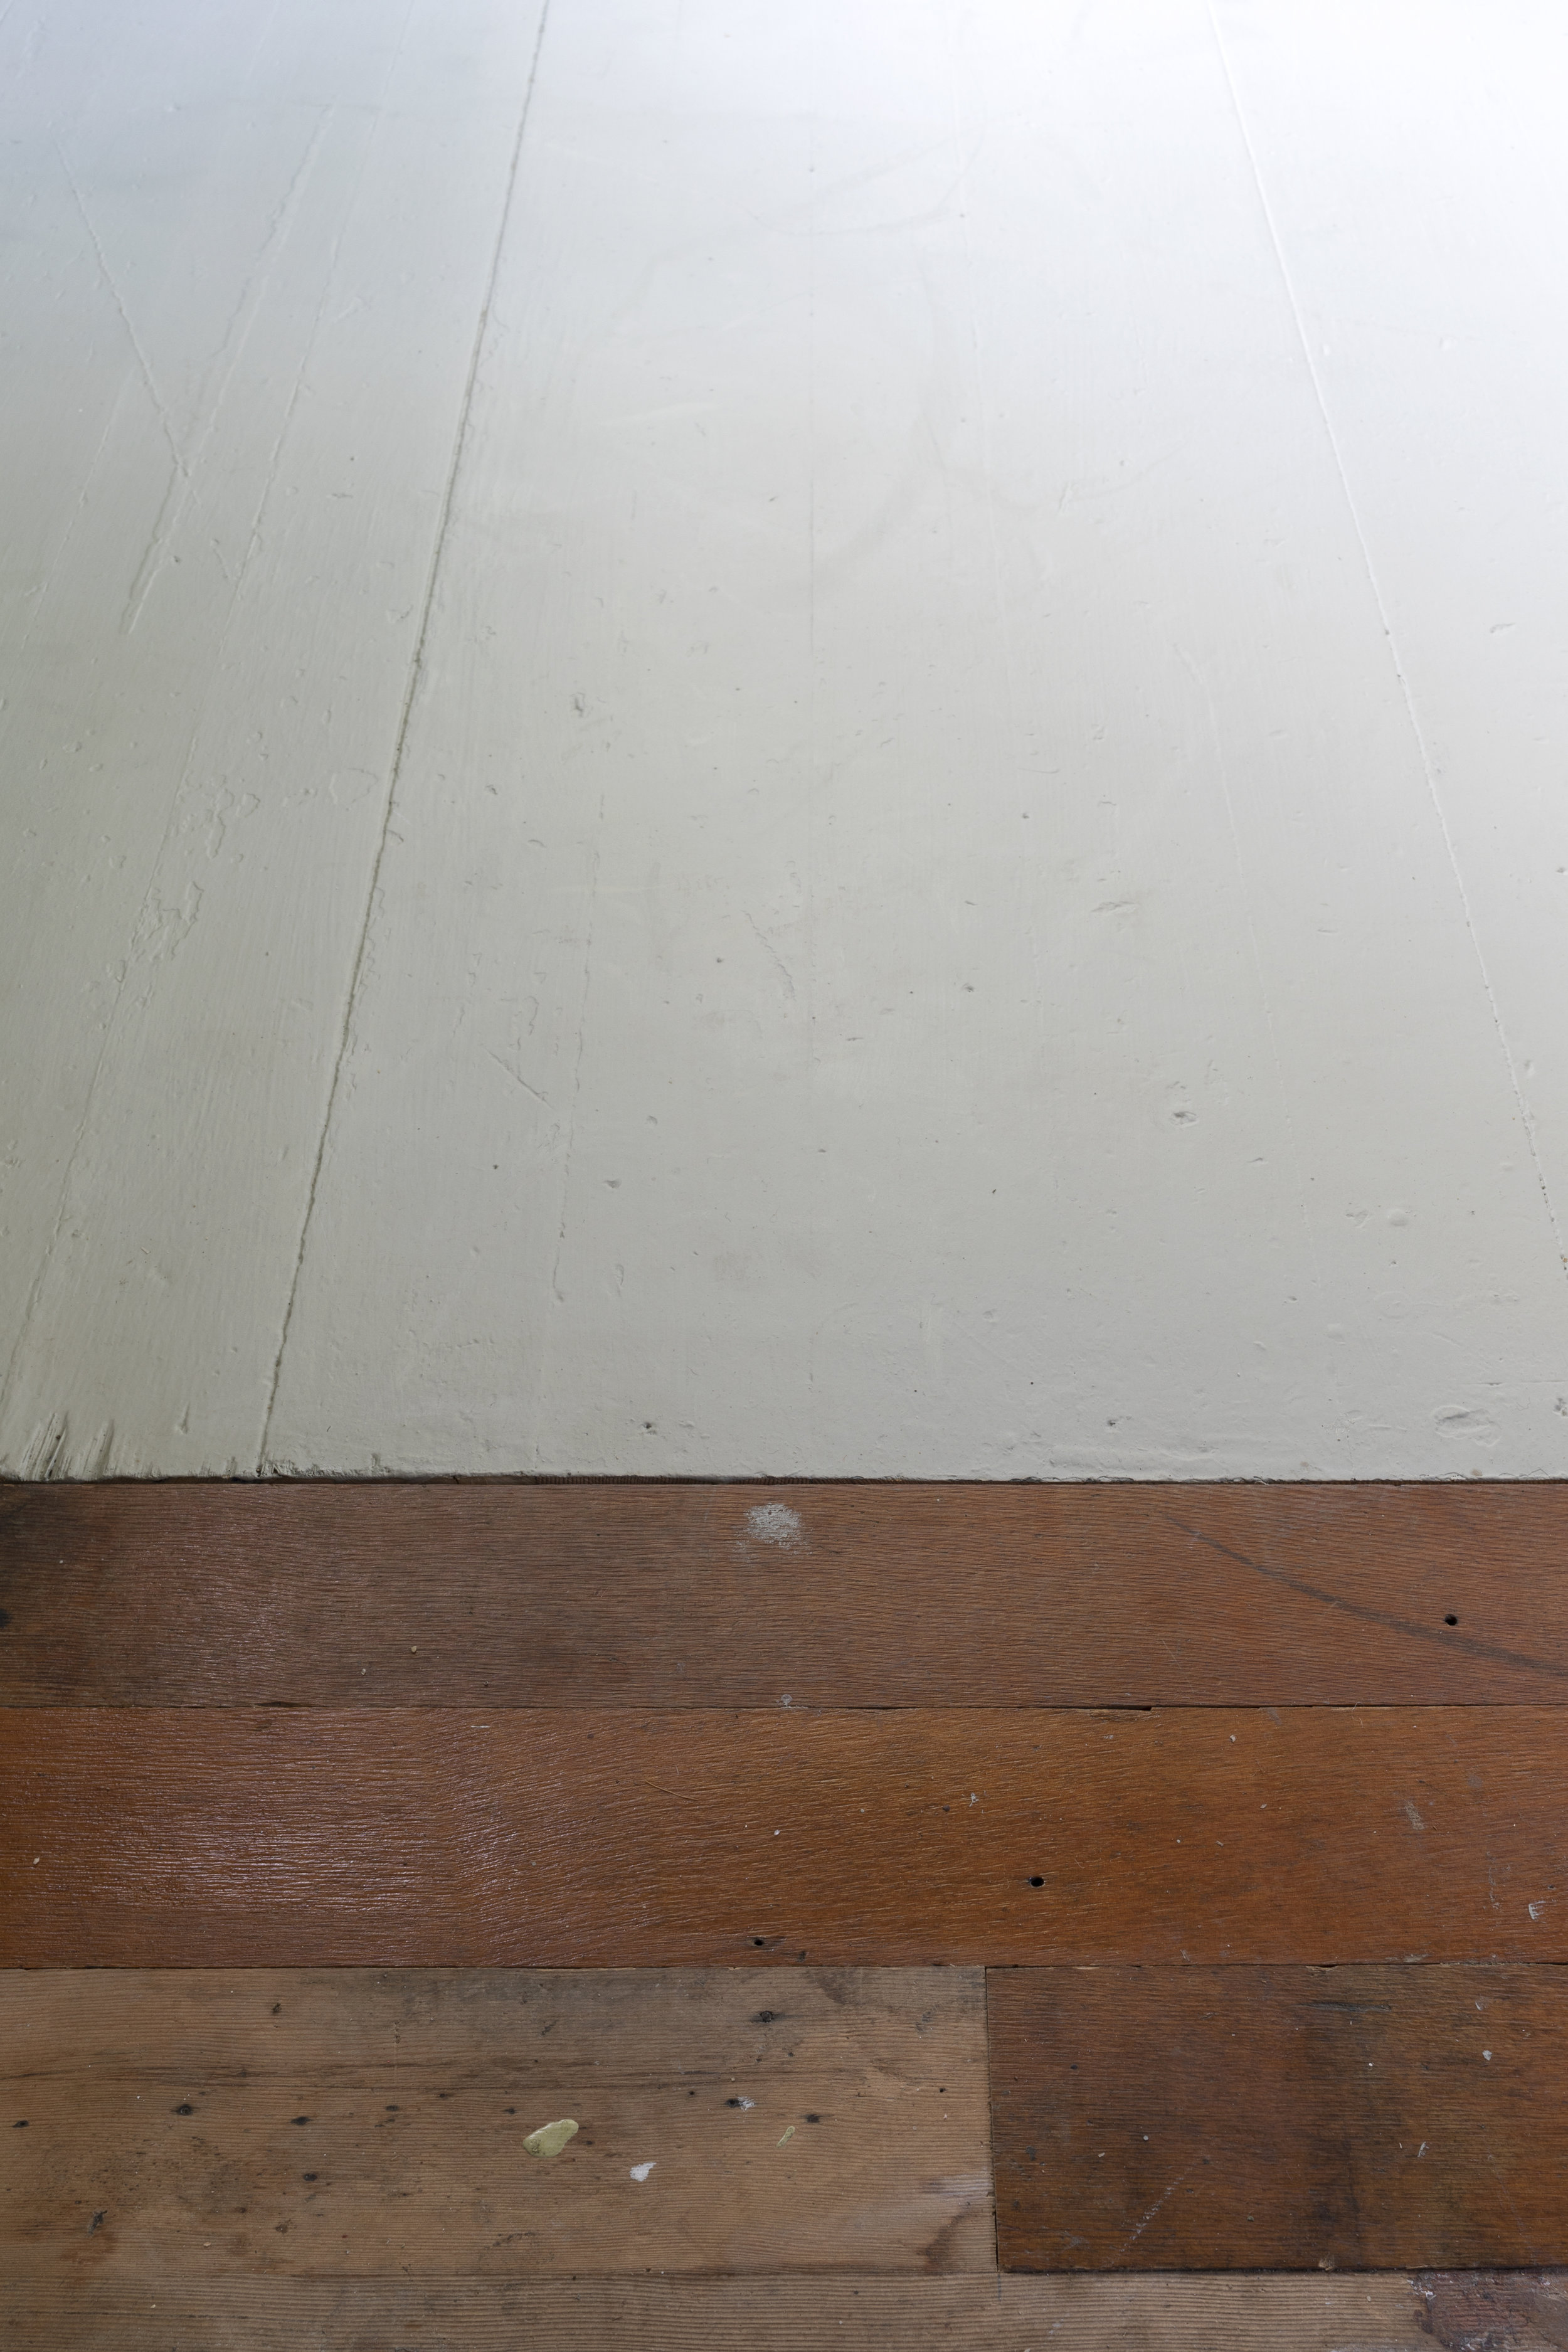
Your floors should be clean, receptive to paint, and relatively flat (but not smooth) before painting. To prep our floors, we started by infilling a couple missing floor boards (we found some extras in our basement…gotta love old houses!). We actually didn’t paint these new boards, but I wanted to show this in case anyone has to do something similar. We glued and nailed down the new boards.
You can see the new boards didn’t end up perfectly level with the rest of the floor, but that’s okay with us. This is a old house and we’re cool with the charm of imperfect floors for a few years until we get around to refinishing them all. If you’re not okay with it, sand them down until they’ll level with the other boards.
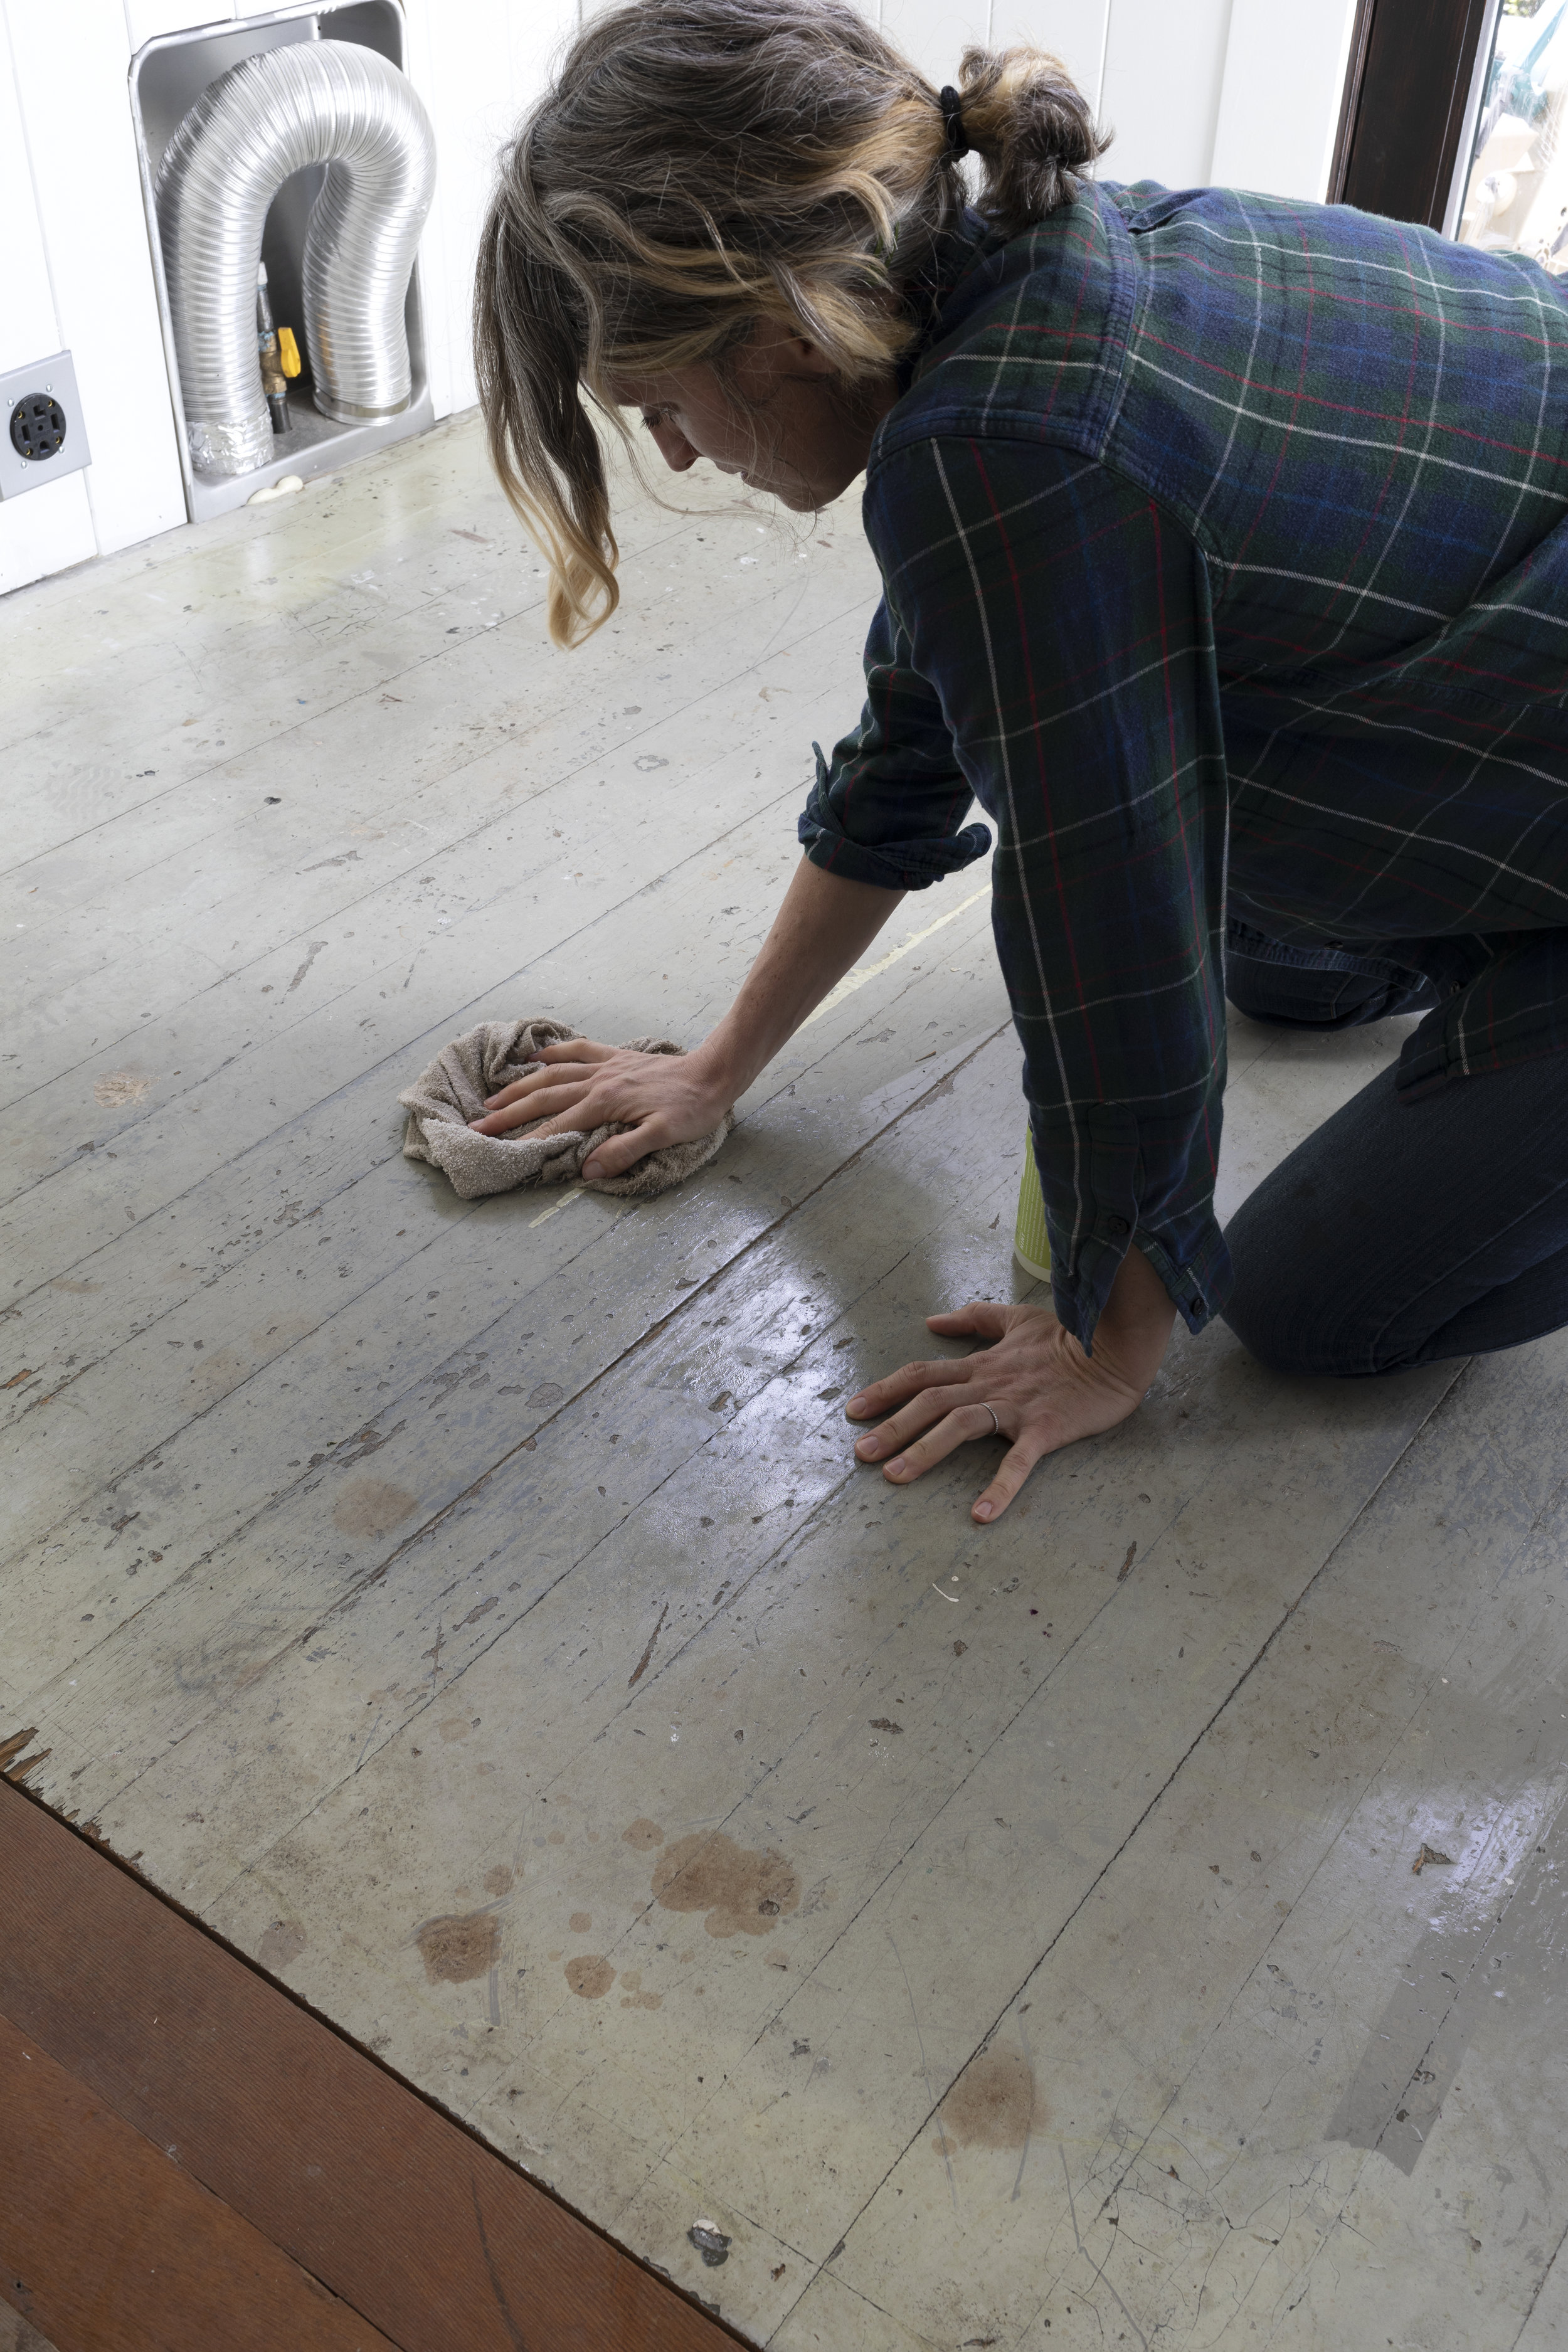
Next we cleaned the floors using an all-purpose cleaning spray and a wet rag. The goal here is to pull up anything that’s not attached to the floor.
That’s all the prep we did, because our floors already had paint on them and were in pretty good condition. But if your floors are super smooth, have a poly finish (or anything you worry might bleed through the paint), or are really dinged up, you’re going to want to give the floors a sand, getting down to a ~100 grit. You want to make sure the surface isn’t too smooth to accept paint or too uneven to get a good coat. You might also consider adding a coat or 2 of good primer (something with stain blocker). This will help the paint adhere and keep previous finishes from coloring the paint.
tip: tint primer, if you’re using it, to match your paint! Painted floors can scratch and it’ll be a lot less obvious if the primer matches the paint color.
Step 2: Paint
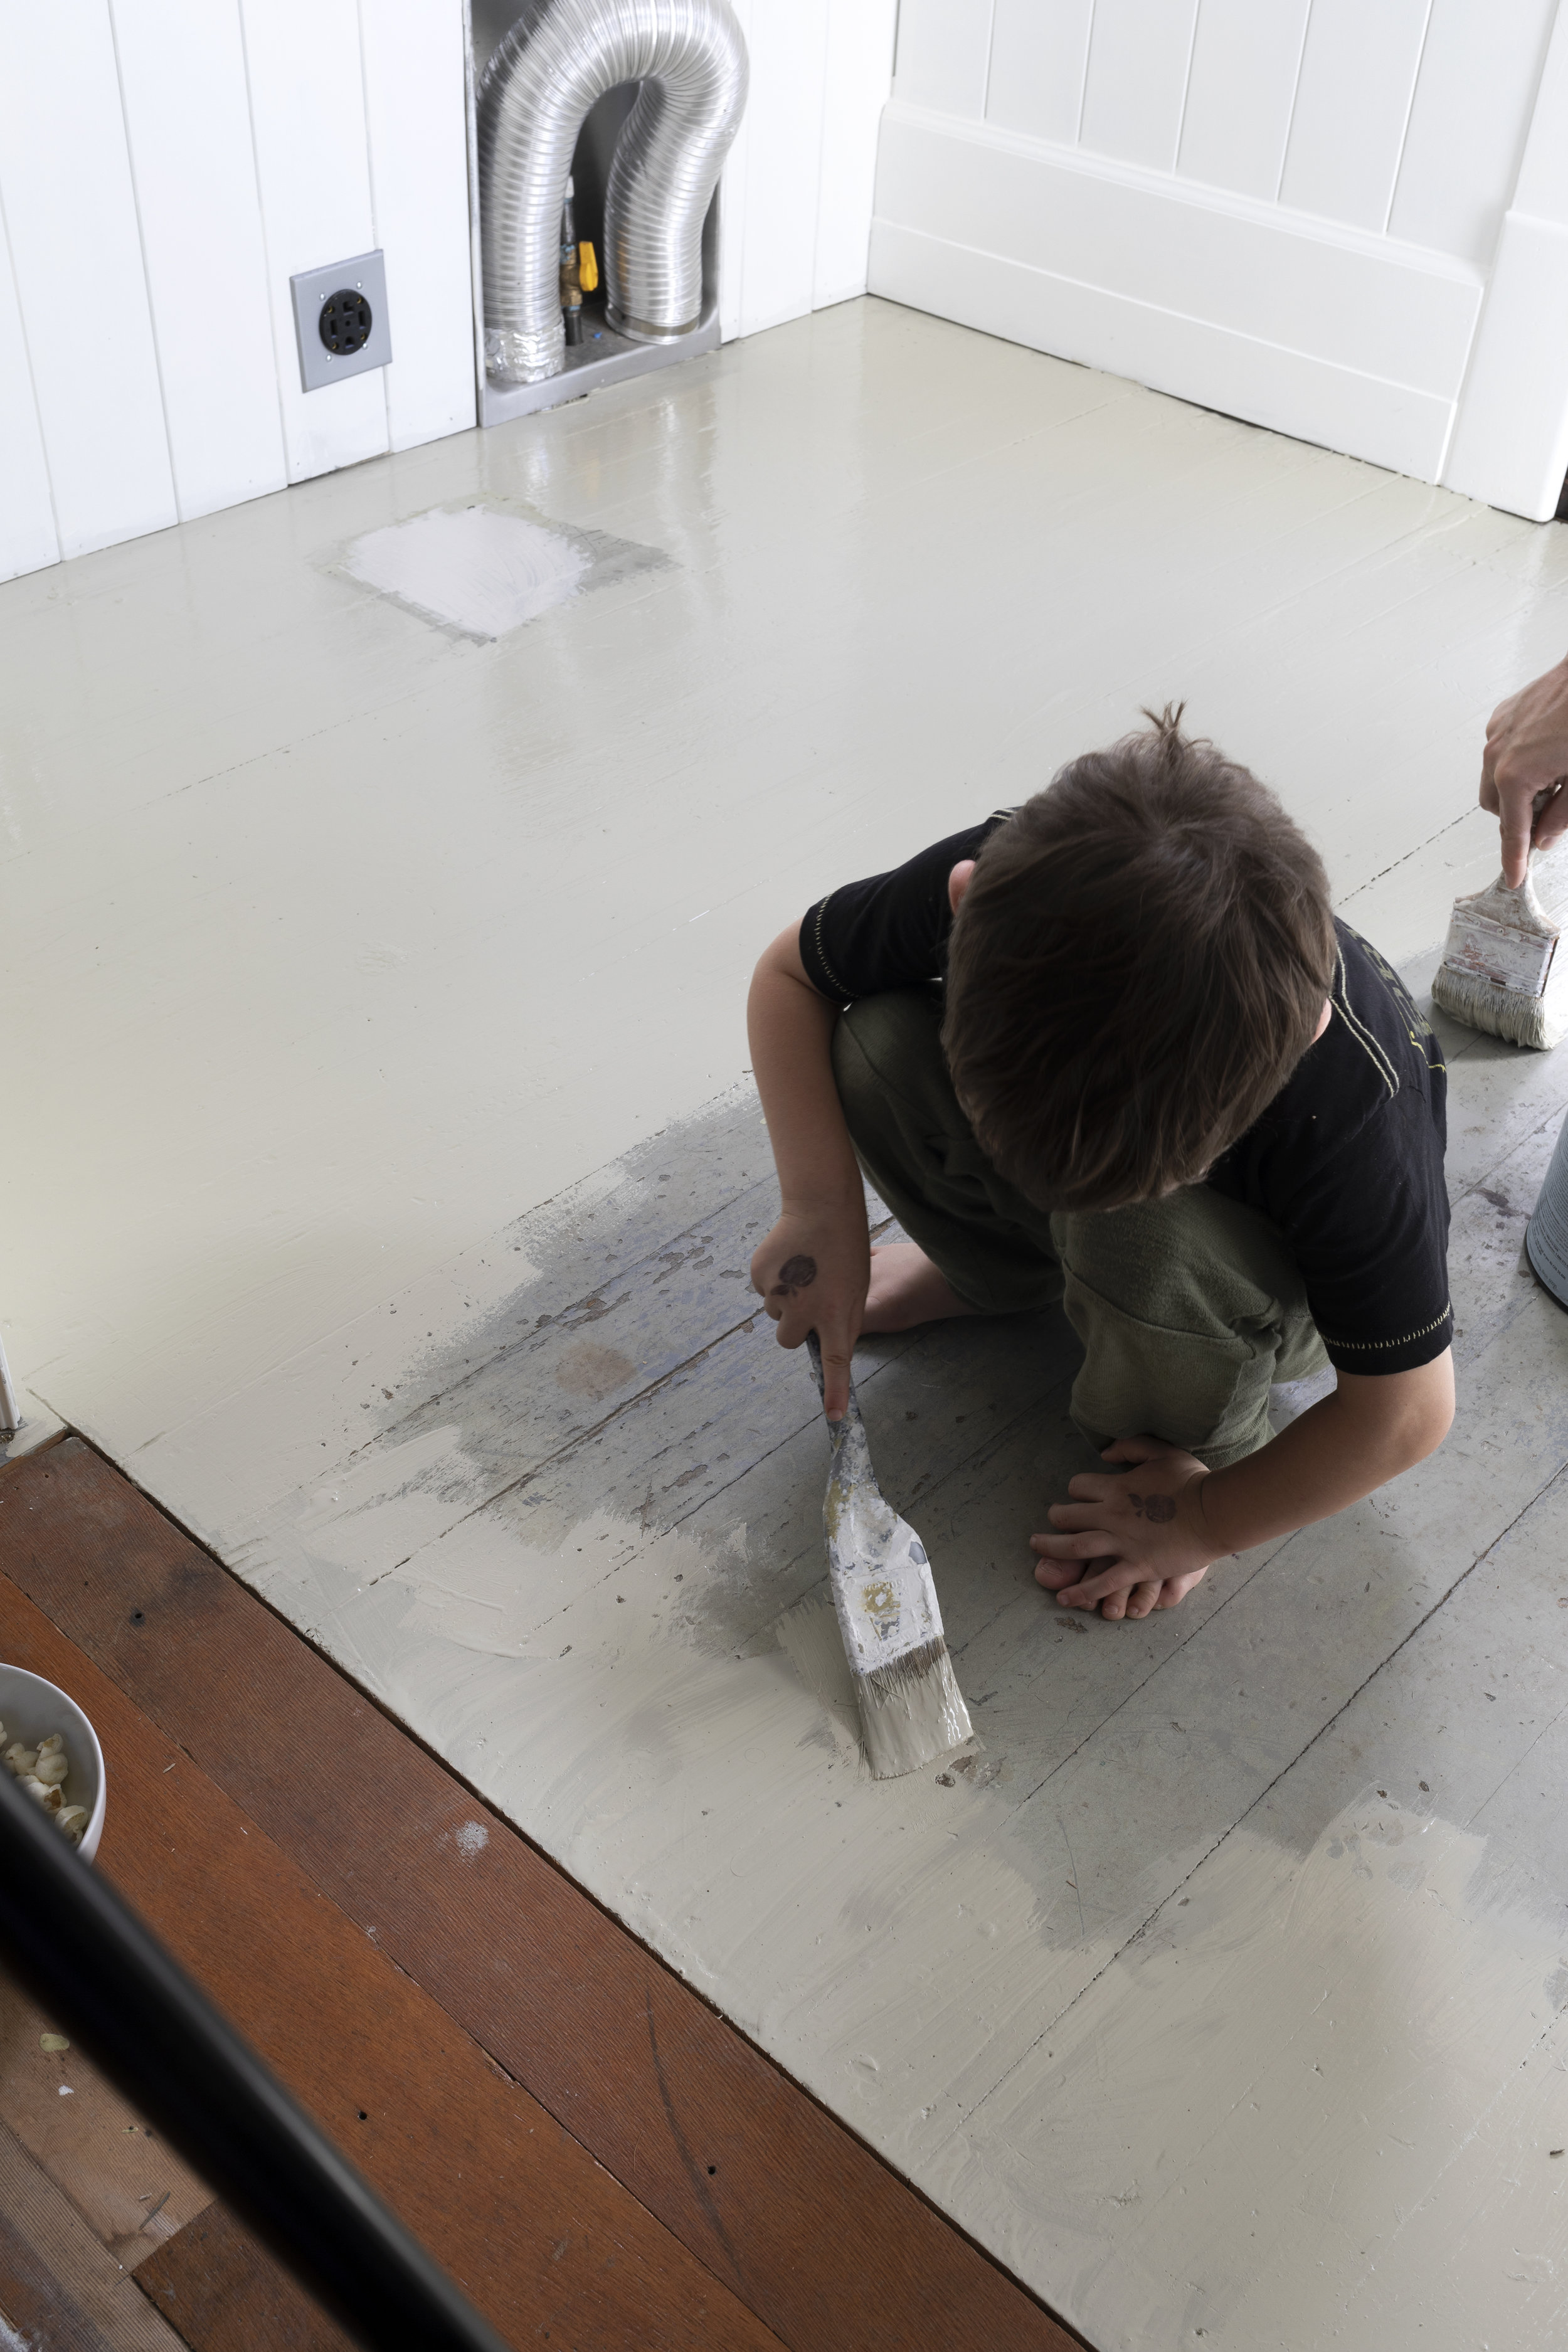
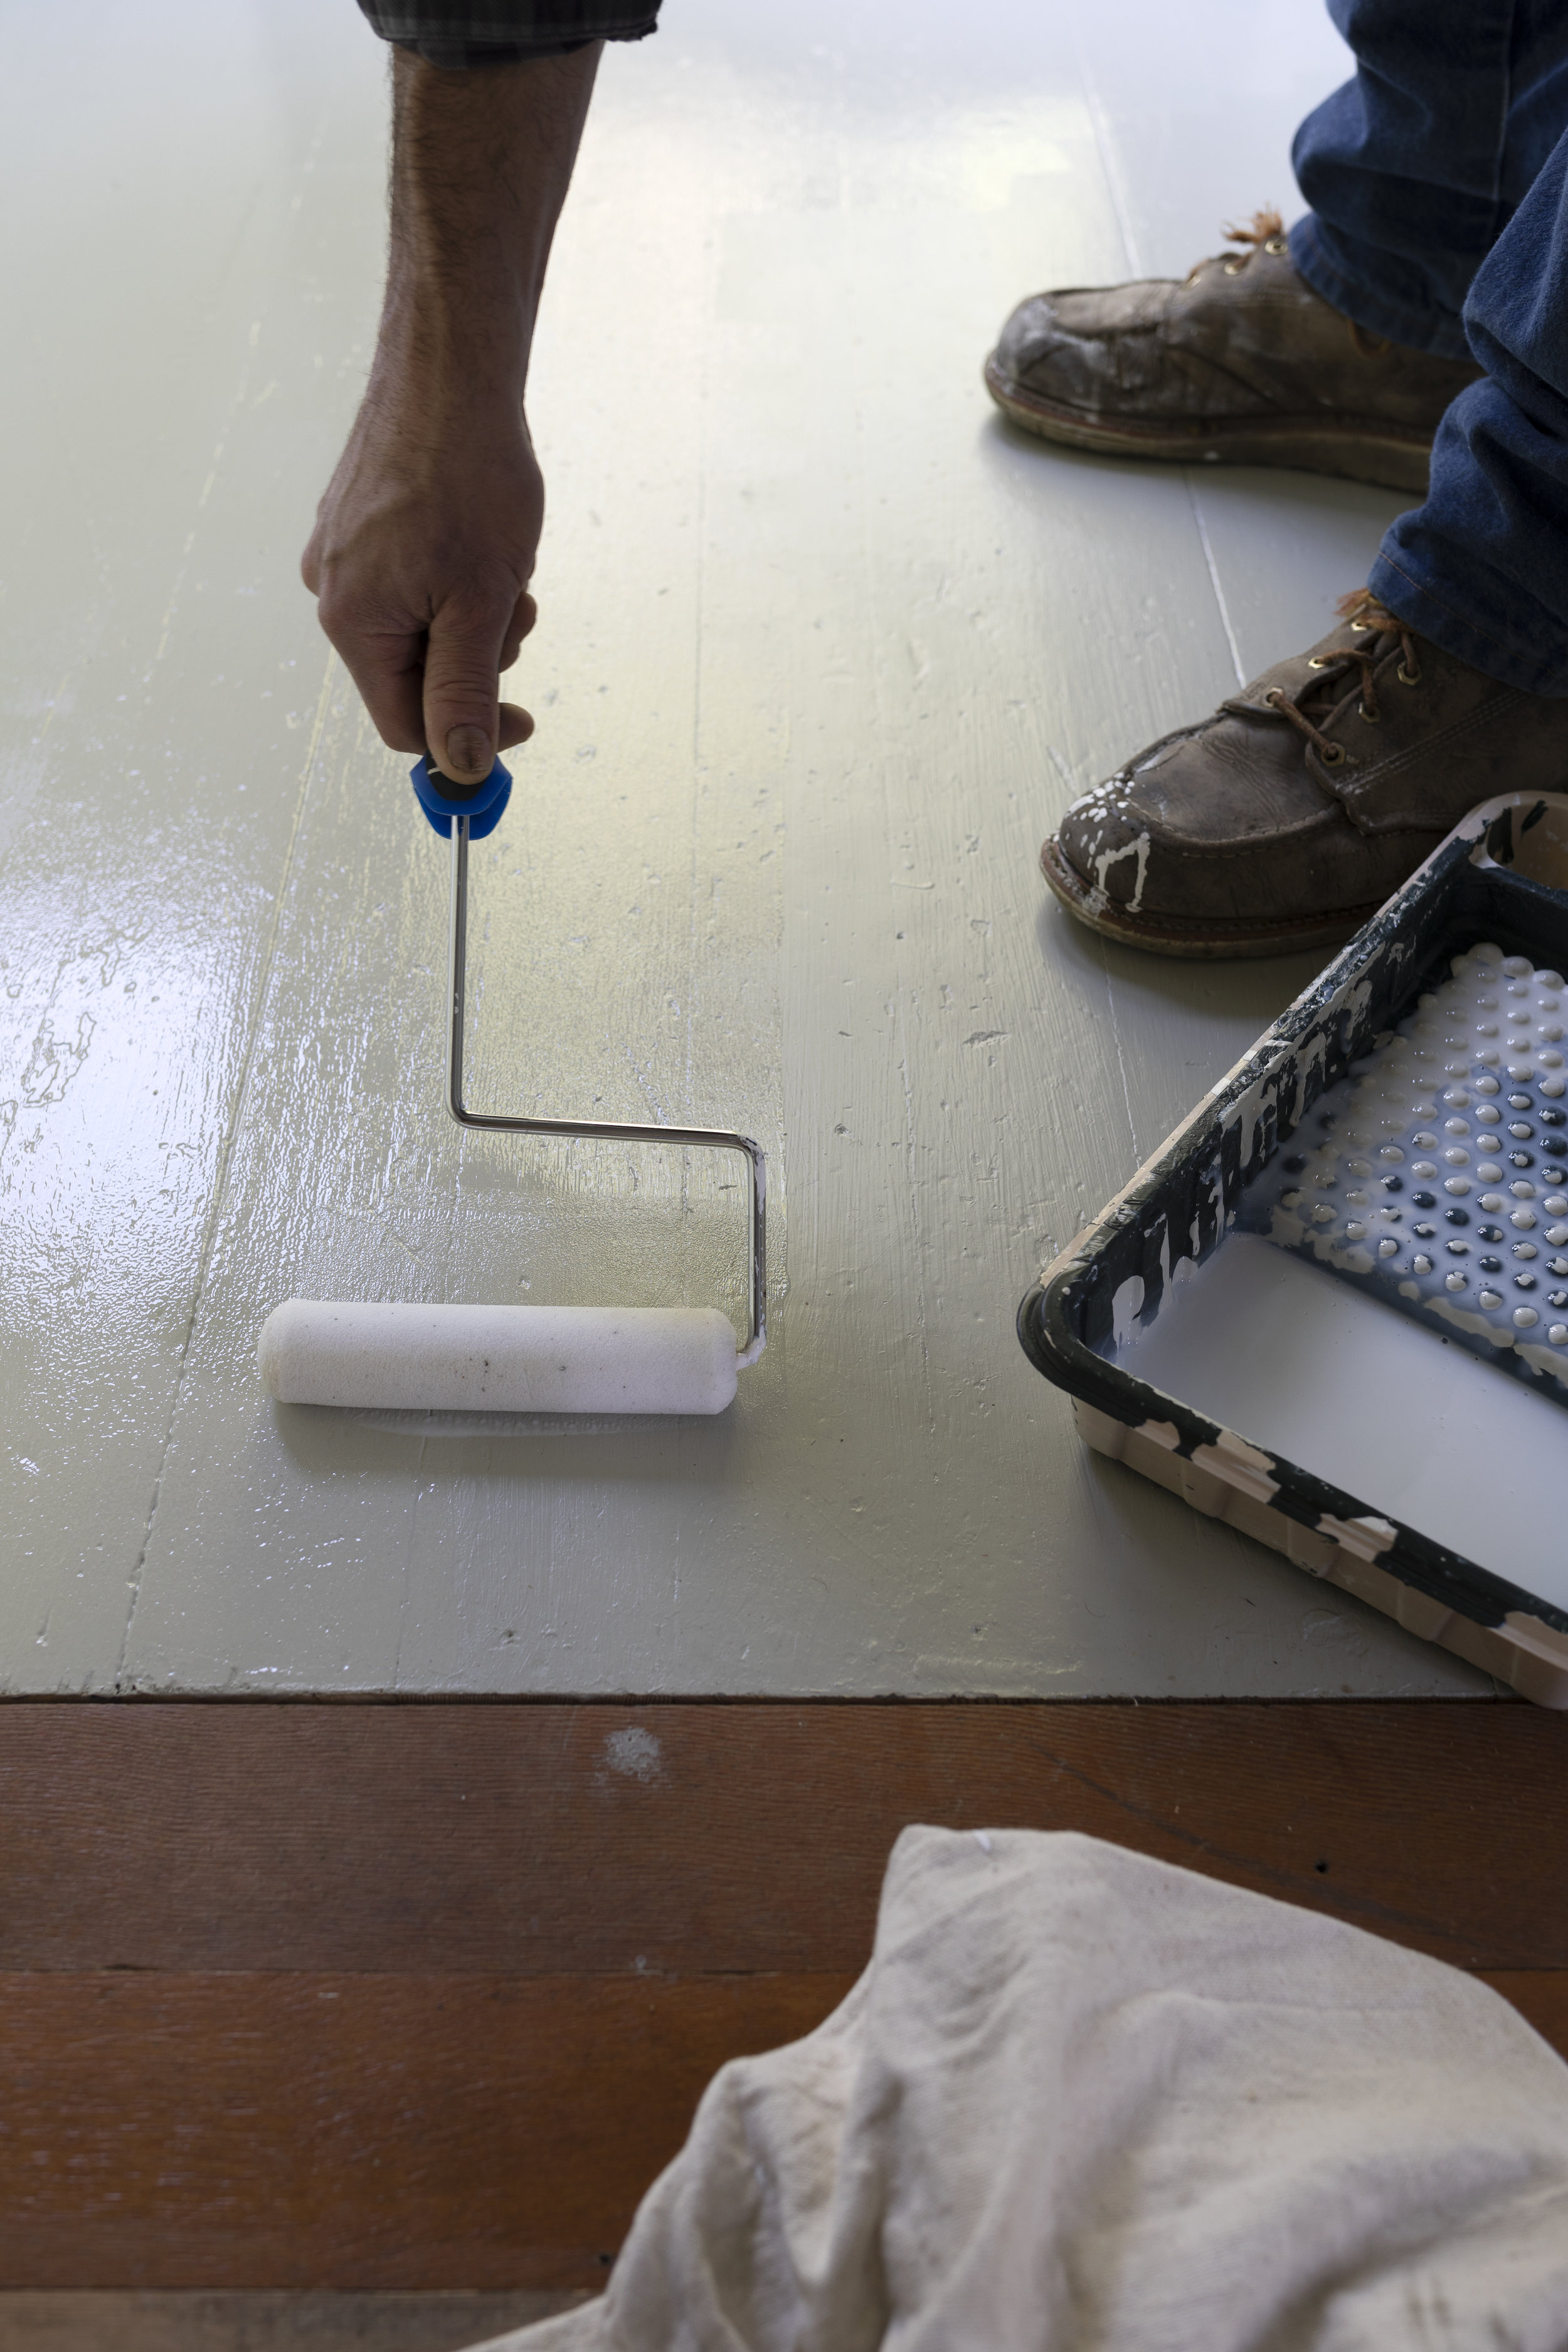
We opted to use a paint brush for this step, because this is such a small space, but a low-nap roller works great too. We laid down 2 coats of paint for consistent coverage, painting with the grain. Make sure to allow adequate time to dry between each coat (as recommended on the paint can).
We used a latex interior paint, which was not designed for floors. I like the lower VOC’s of this product and the fact that this paint should come up relatively easy when we go to refinish the floors later on. If you want your painted floors to last through an apocalypse, you should consider a floor-specific paint, even something oil based (I’ve heard that marine paint works well too, though have never tried it). Paint stores are the experts here, so ask questions and see what they recommend when you go in!
tip: darker paint colors take longer to dry. When we painted the Dexter House floor’s black it took days for each coat to dry.
Be sure to paint yourself towards an exit, so you have a way to leave the room. You can literally ‘paint yourself into a corner’ when painting floors. Eeek!
Step 3: Finishing coat
Based on our experience with painting floors, I strongly recommend a top-coat/sealer. Something that will protect the paint from scuffing and scratching. We went to our local paint store to ask about a product, and they recommended ‘Stays clear’, an acrylic polyurethane (we opted for flat). It went on beautifully with a roller! I will note that the can says that it’s not recommended for floors, but if a painting company uses it, I feel good about it.
We added 3 coats of finish, allowing time to dry between each coat. Thankfully it’s a quick-dry product and shouldn’t yellow over time like some polyurethanes will.
Once that dries, you’re done!
That’s it! Our laundry room has new floors and all for the price of a can of finish. The next day we moved the washer and dryer back into this space and got this room up and running!
We will have a door mat in this space since it’s by an exterior door, so I don’t anticipate a lot of excessive wear on the floors (famous last words…). But I’ll make sure to do an update in the future with how they hold up!

