Our Hill House Nickel Gap Wall Paneling - Design, Products, + DIY Tips
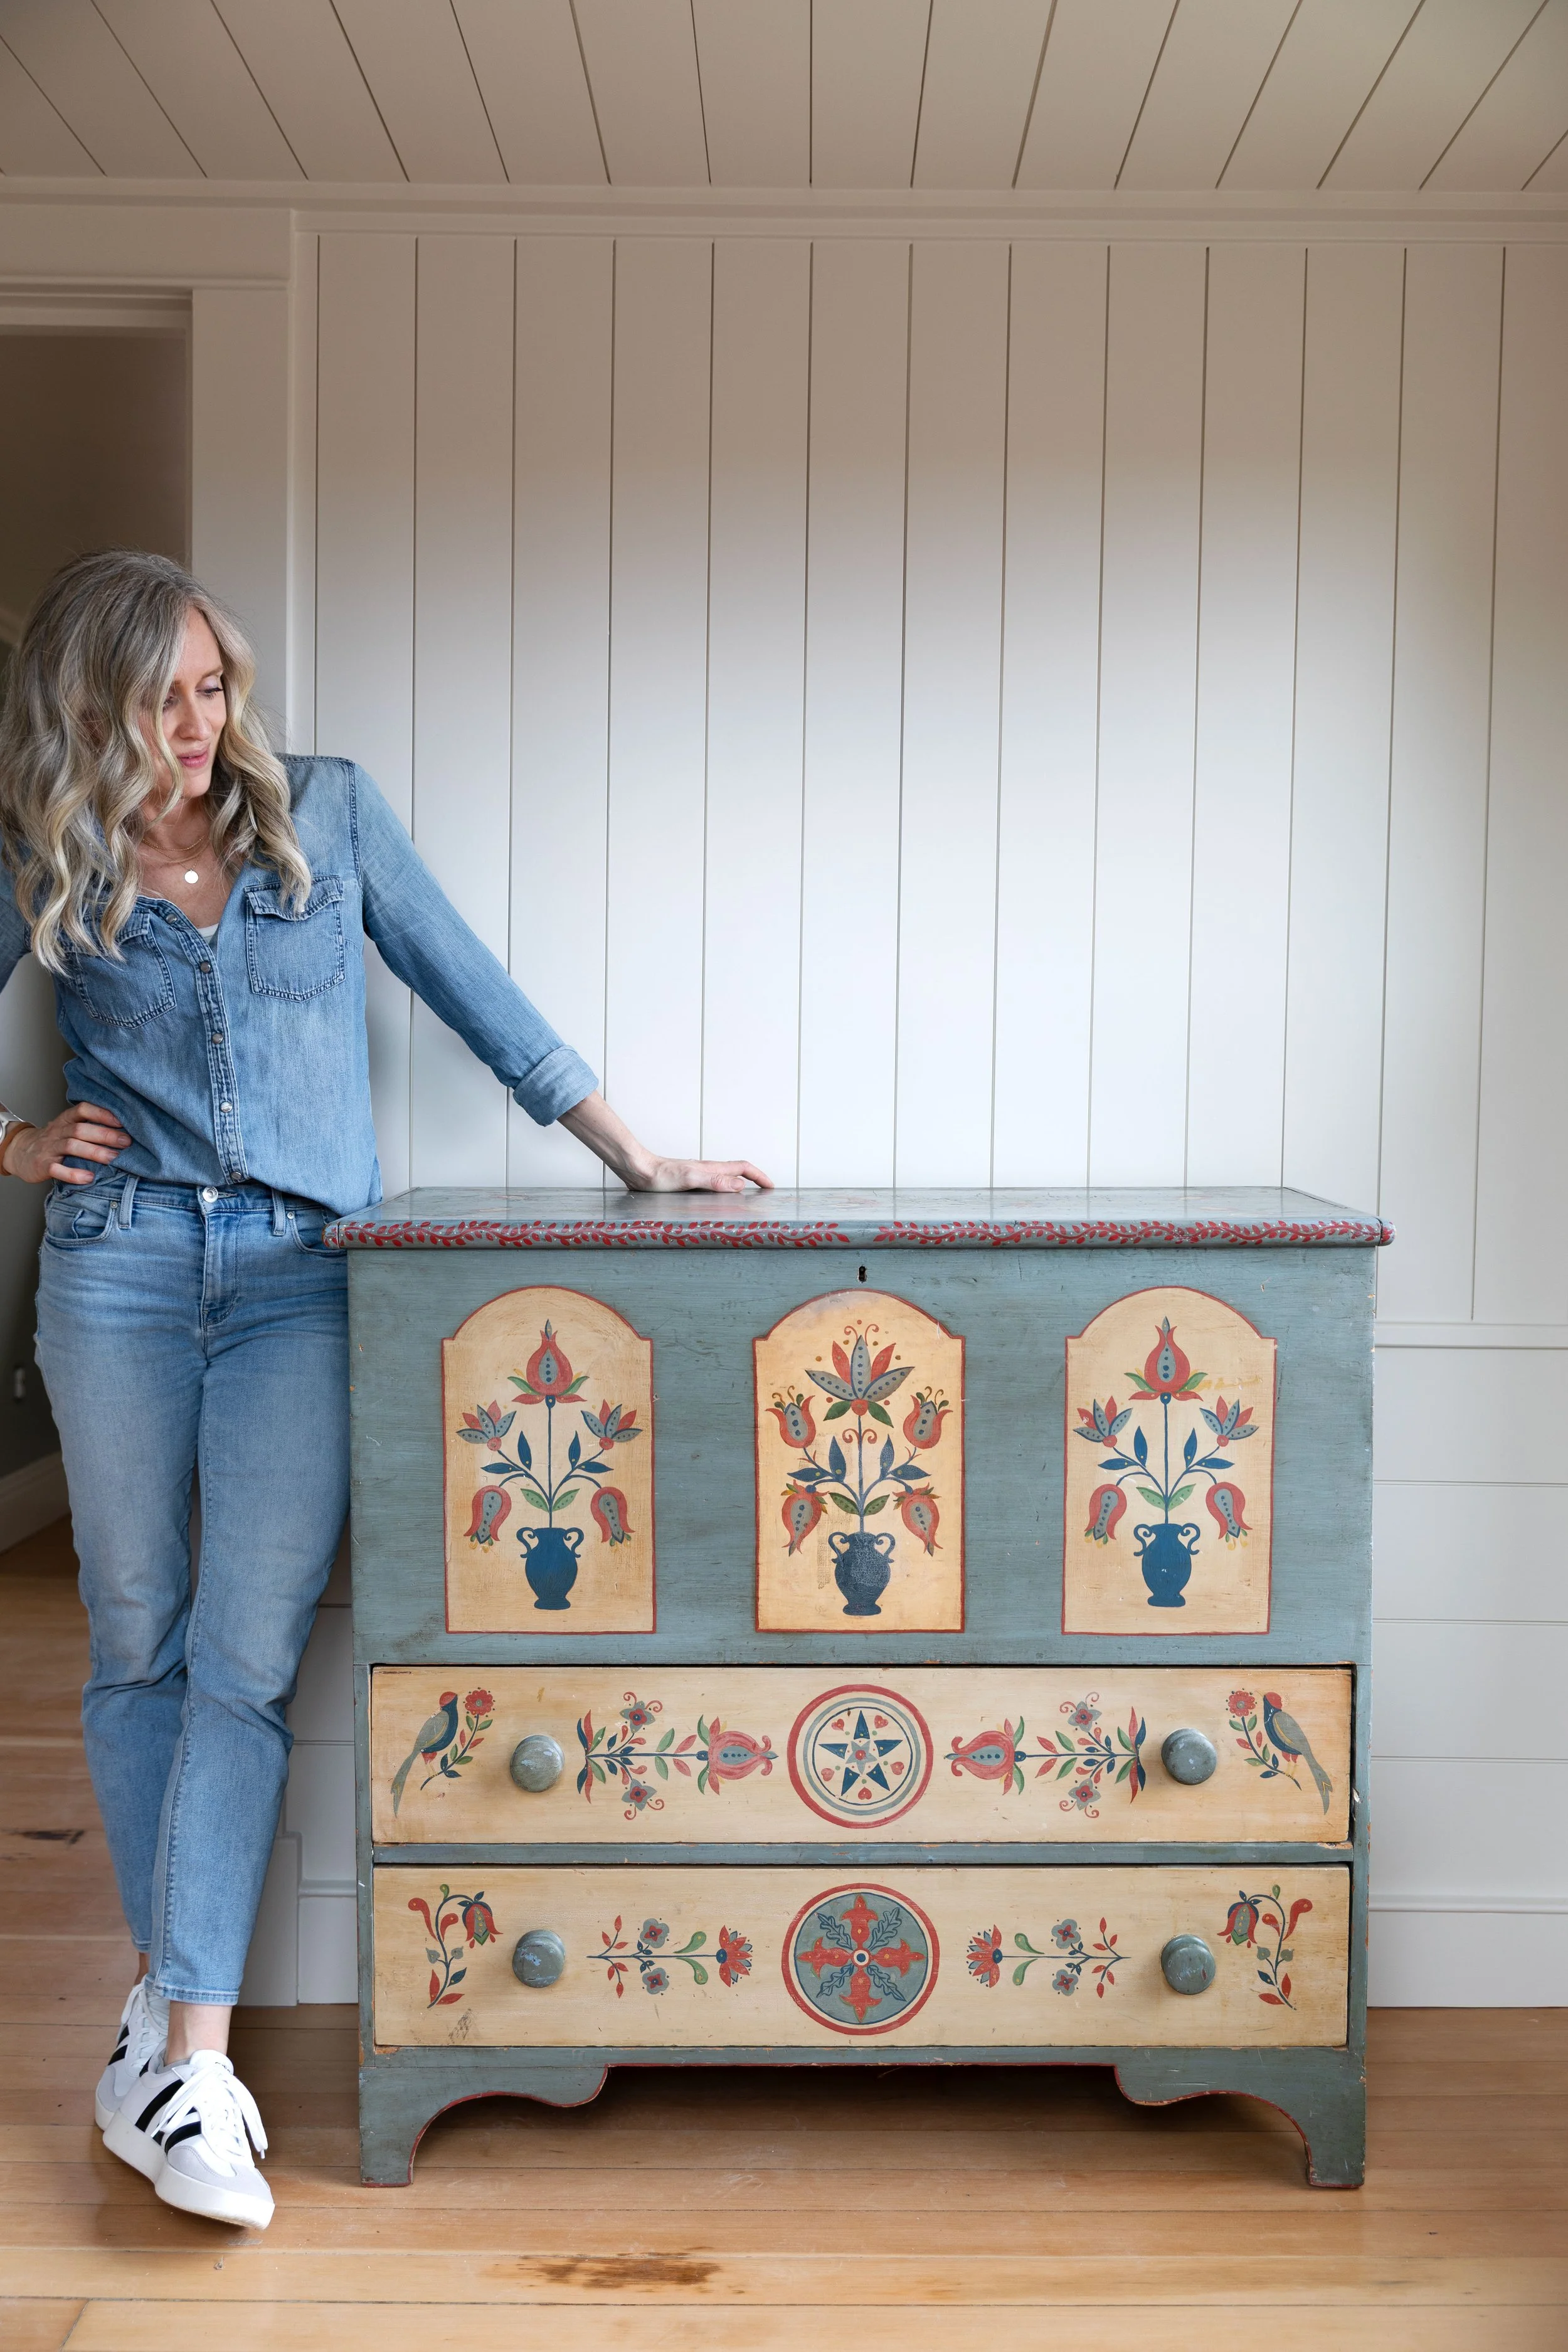
THE HILL HOUSE
One of the biggest transformations in our Hill House renovation to date has been the wall paneling! When we first moved in, the upstairs walls were covered in 1970s faux paneling and it wasn’t doing the house any favors. Over the past year, we’ve heavily renovated this space and we knew it would be easy for it to end up feeling like a plain sheetrock box, something we desperately wanted to avoid.
Our solution: paneling! It felt like the right way to bring back character, interest, and a sense of history to this 1910 home. And now that it’s finished, it’s easily one of my favorite details upstairs! Today we’re sharing it all - design inspiration, dimensions, products, layout decisions, and a few lessons we learned along the way. Let’s get into it…
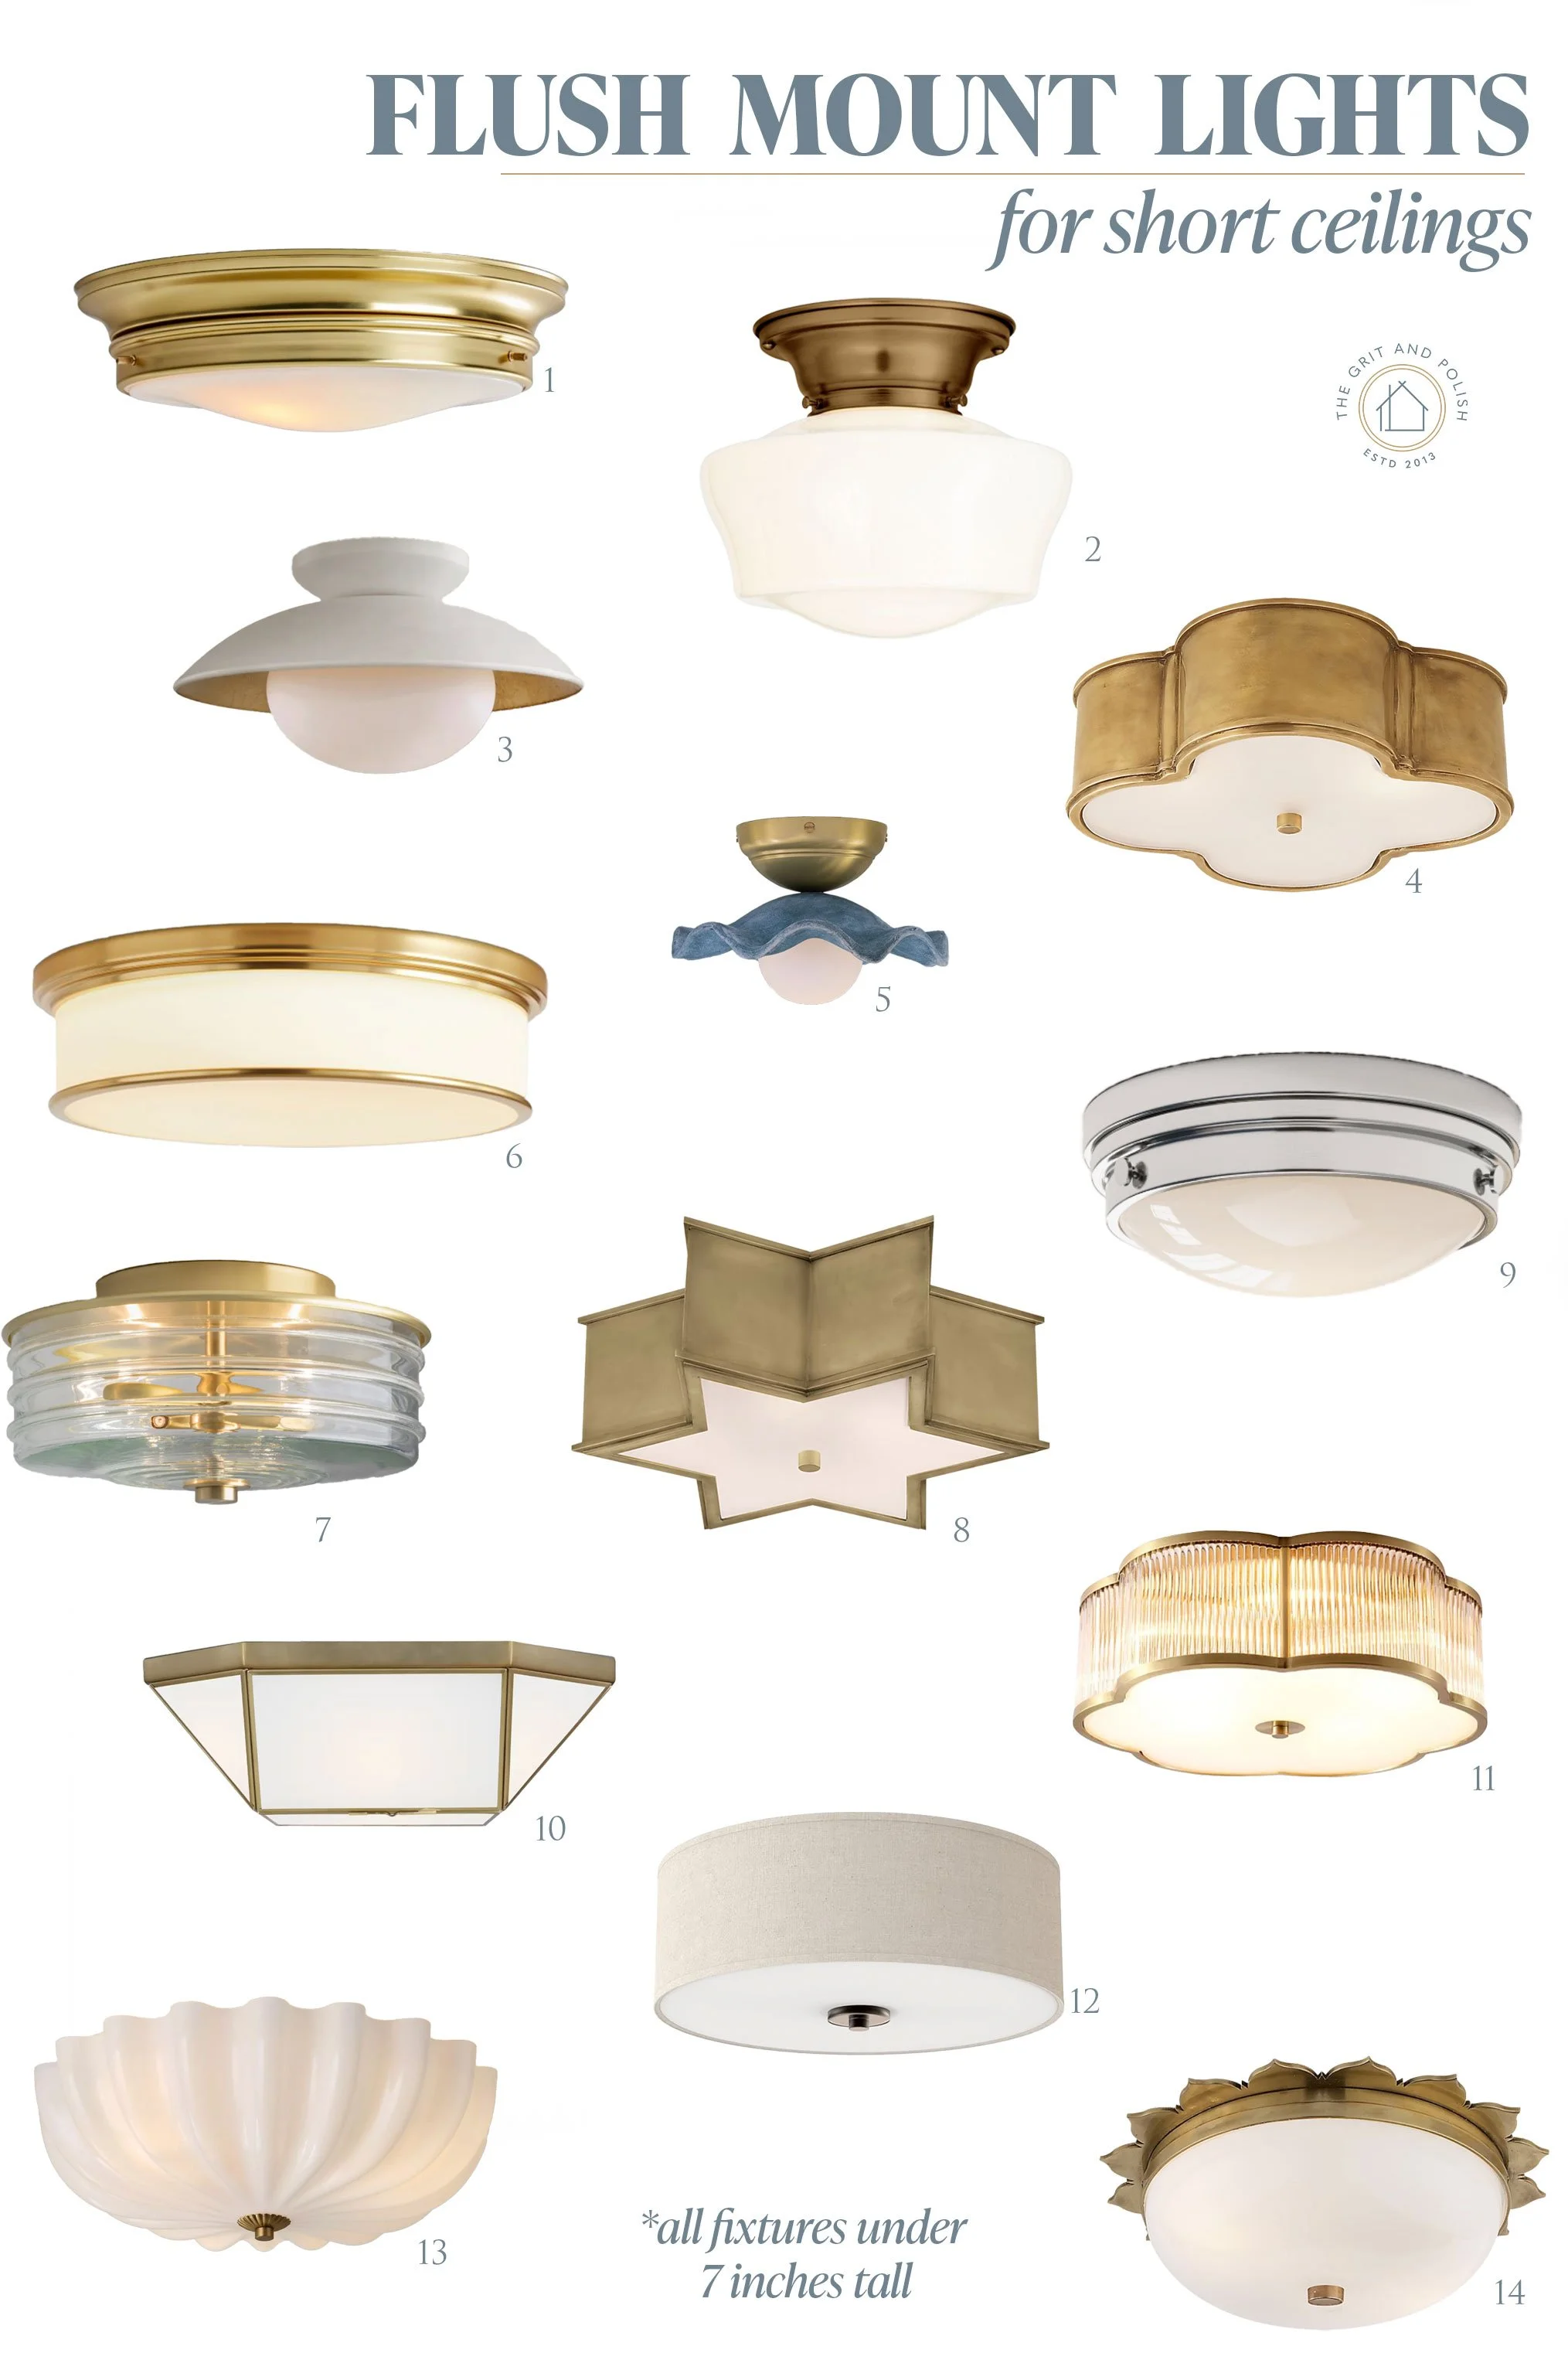
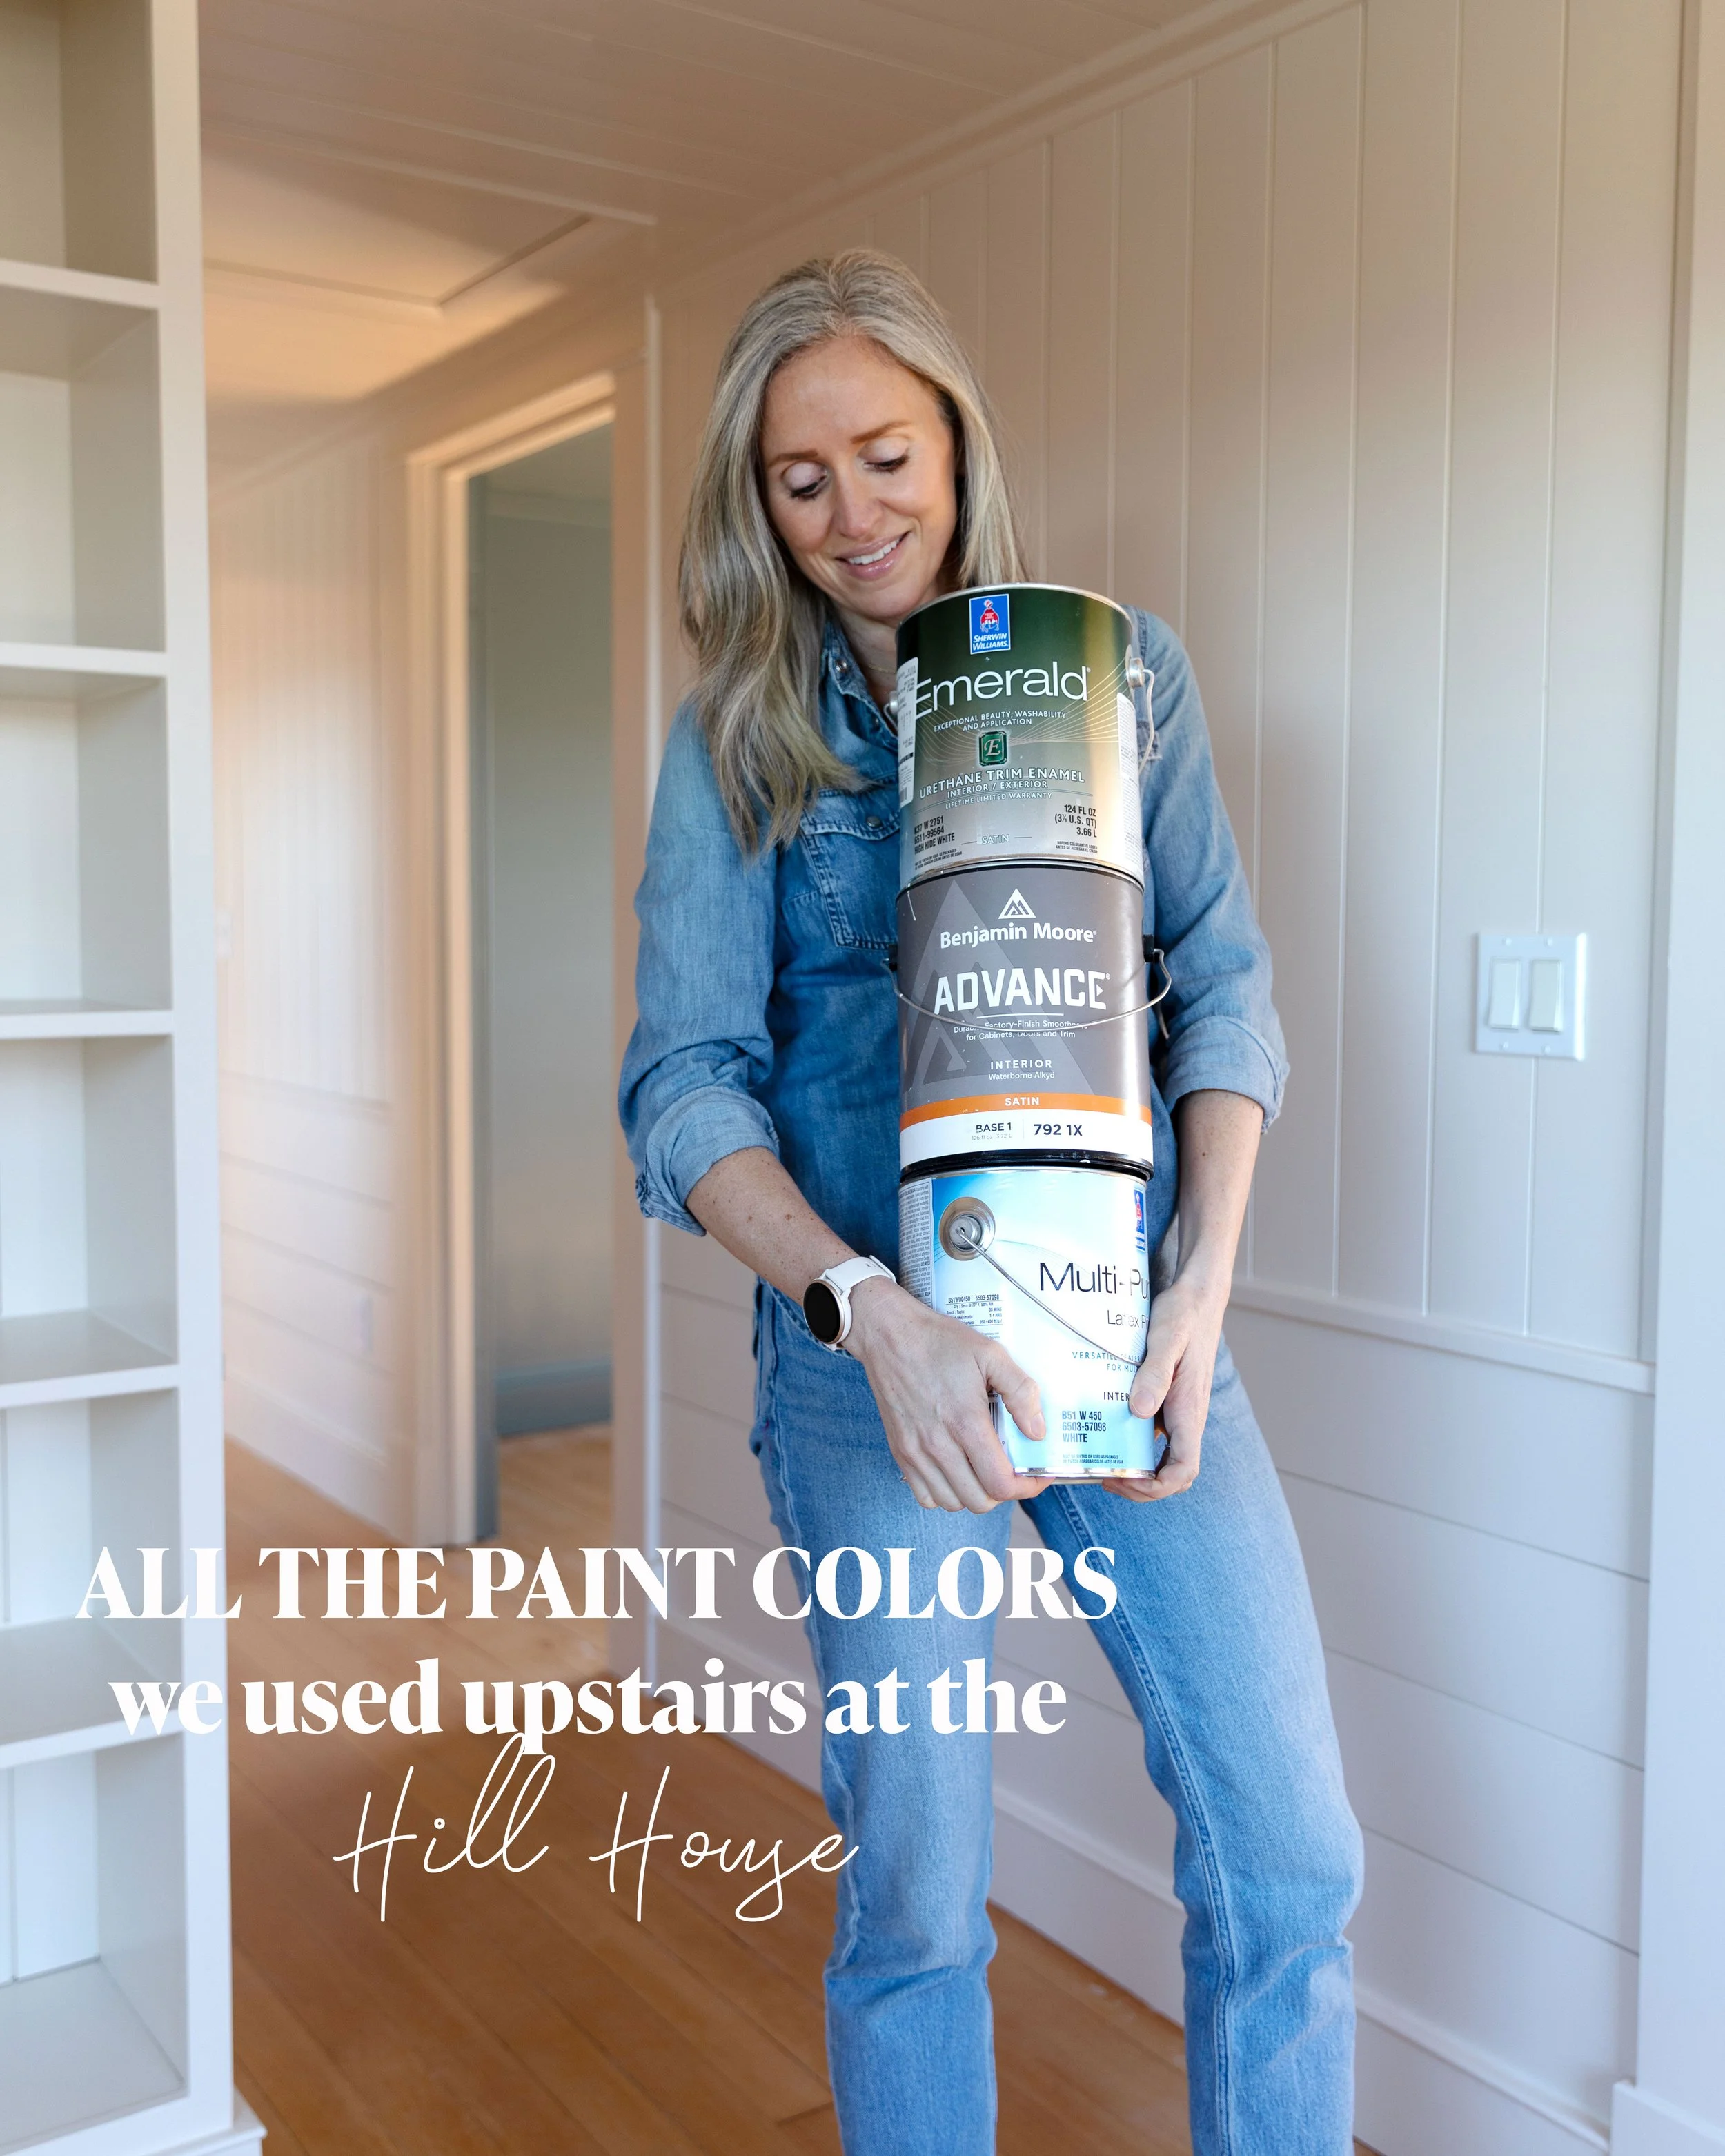
light fixture, floors, paint colors throughout, paneling boards
The Paneling Design
Our paneling design was inspired by projects from architect Gil Schafer III, whose interiors are gorgeous and always feel timeless and traditional. I own all three of his books (this one and this one are my favorites) and reference them constantly when we’re working through details like paneling and trim. What really stood out to us in some of Gil’s projects was the mix of panel orientations - horizontal boards on the lower wall and vertical above. It’s that historic and fresh (my favorite combination!) and just right for the Hill House. So we used:
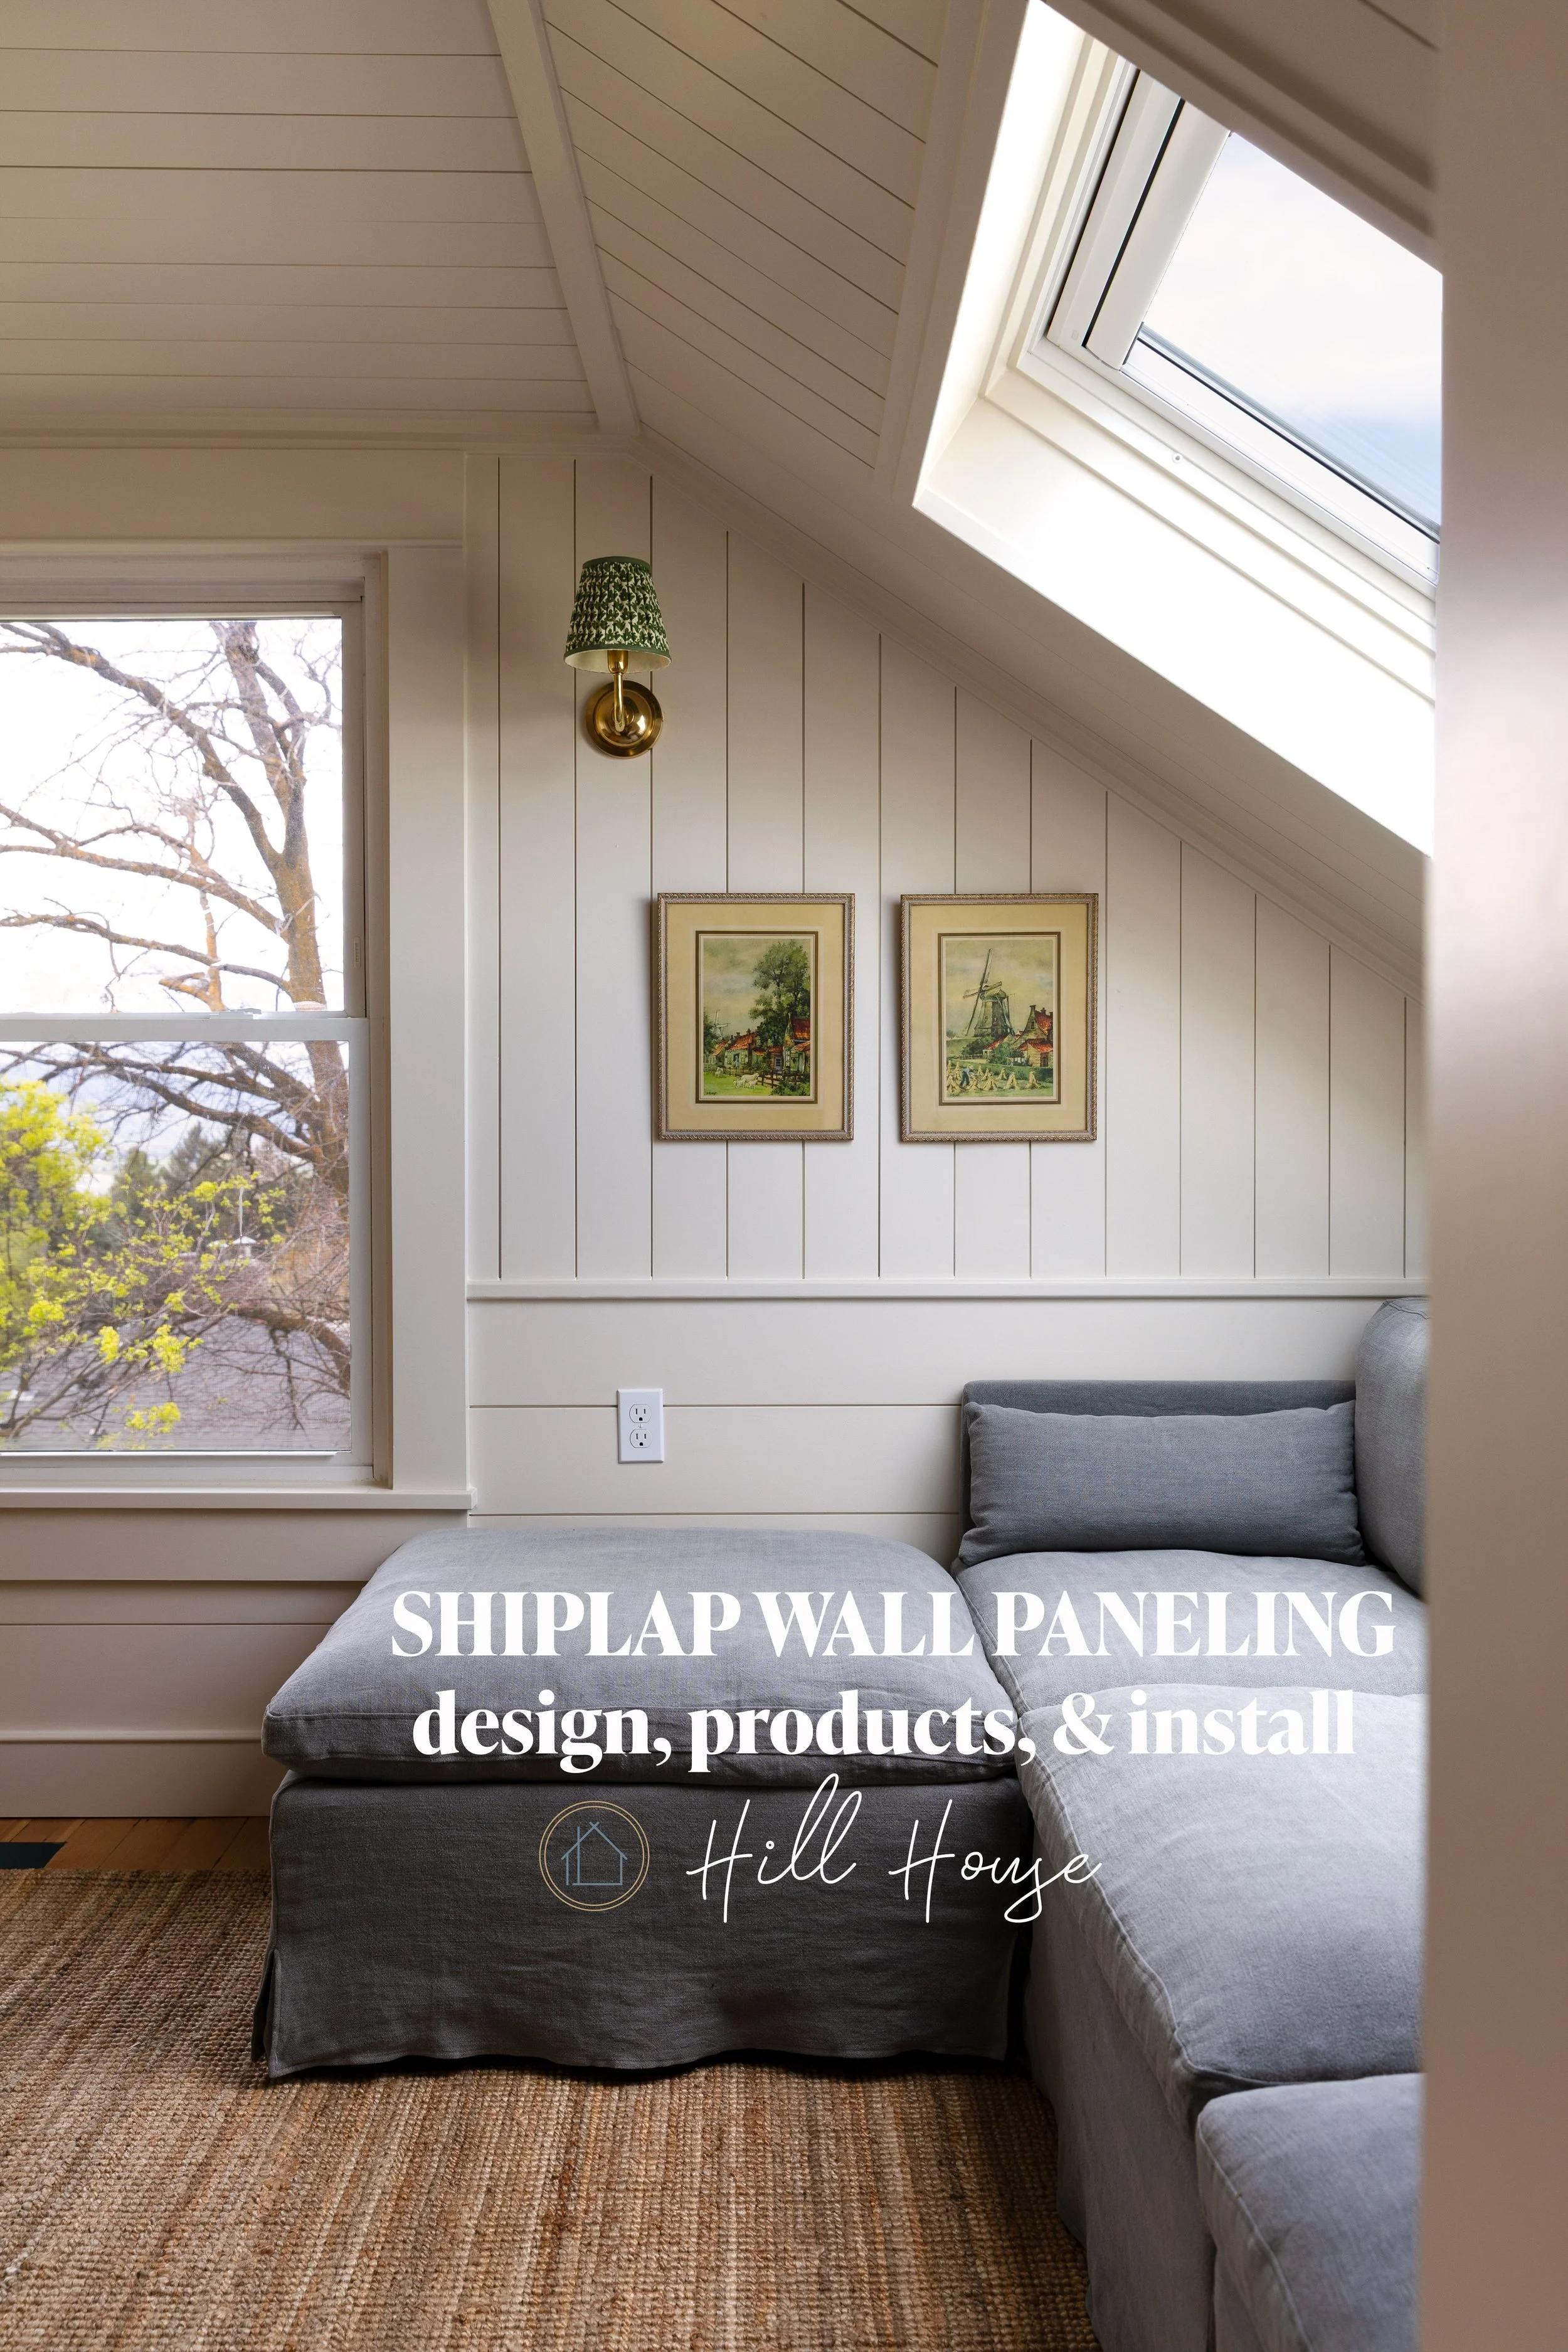
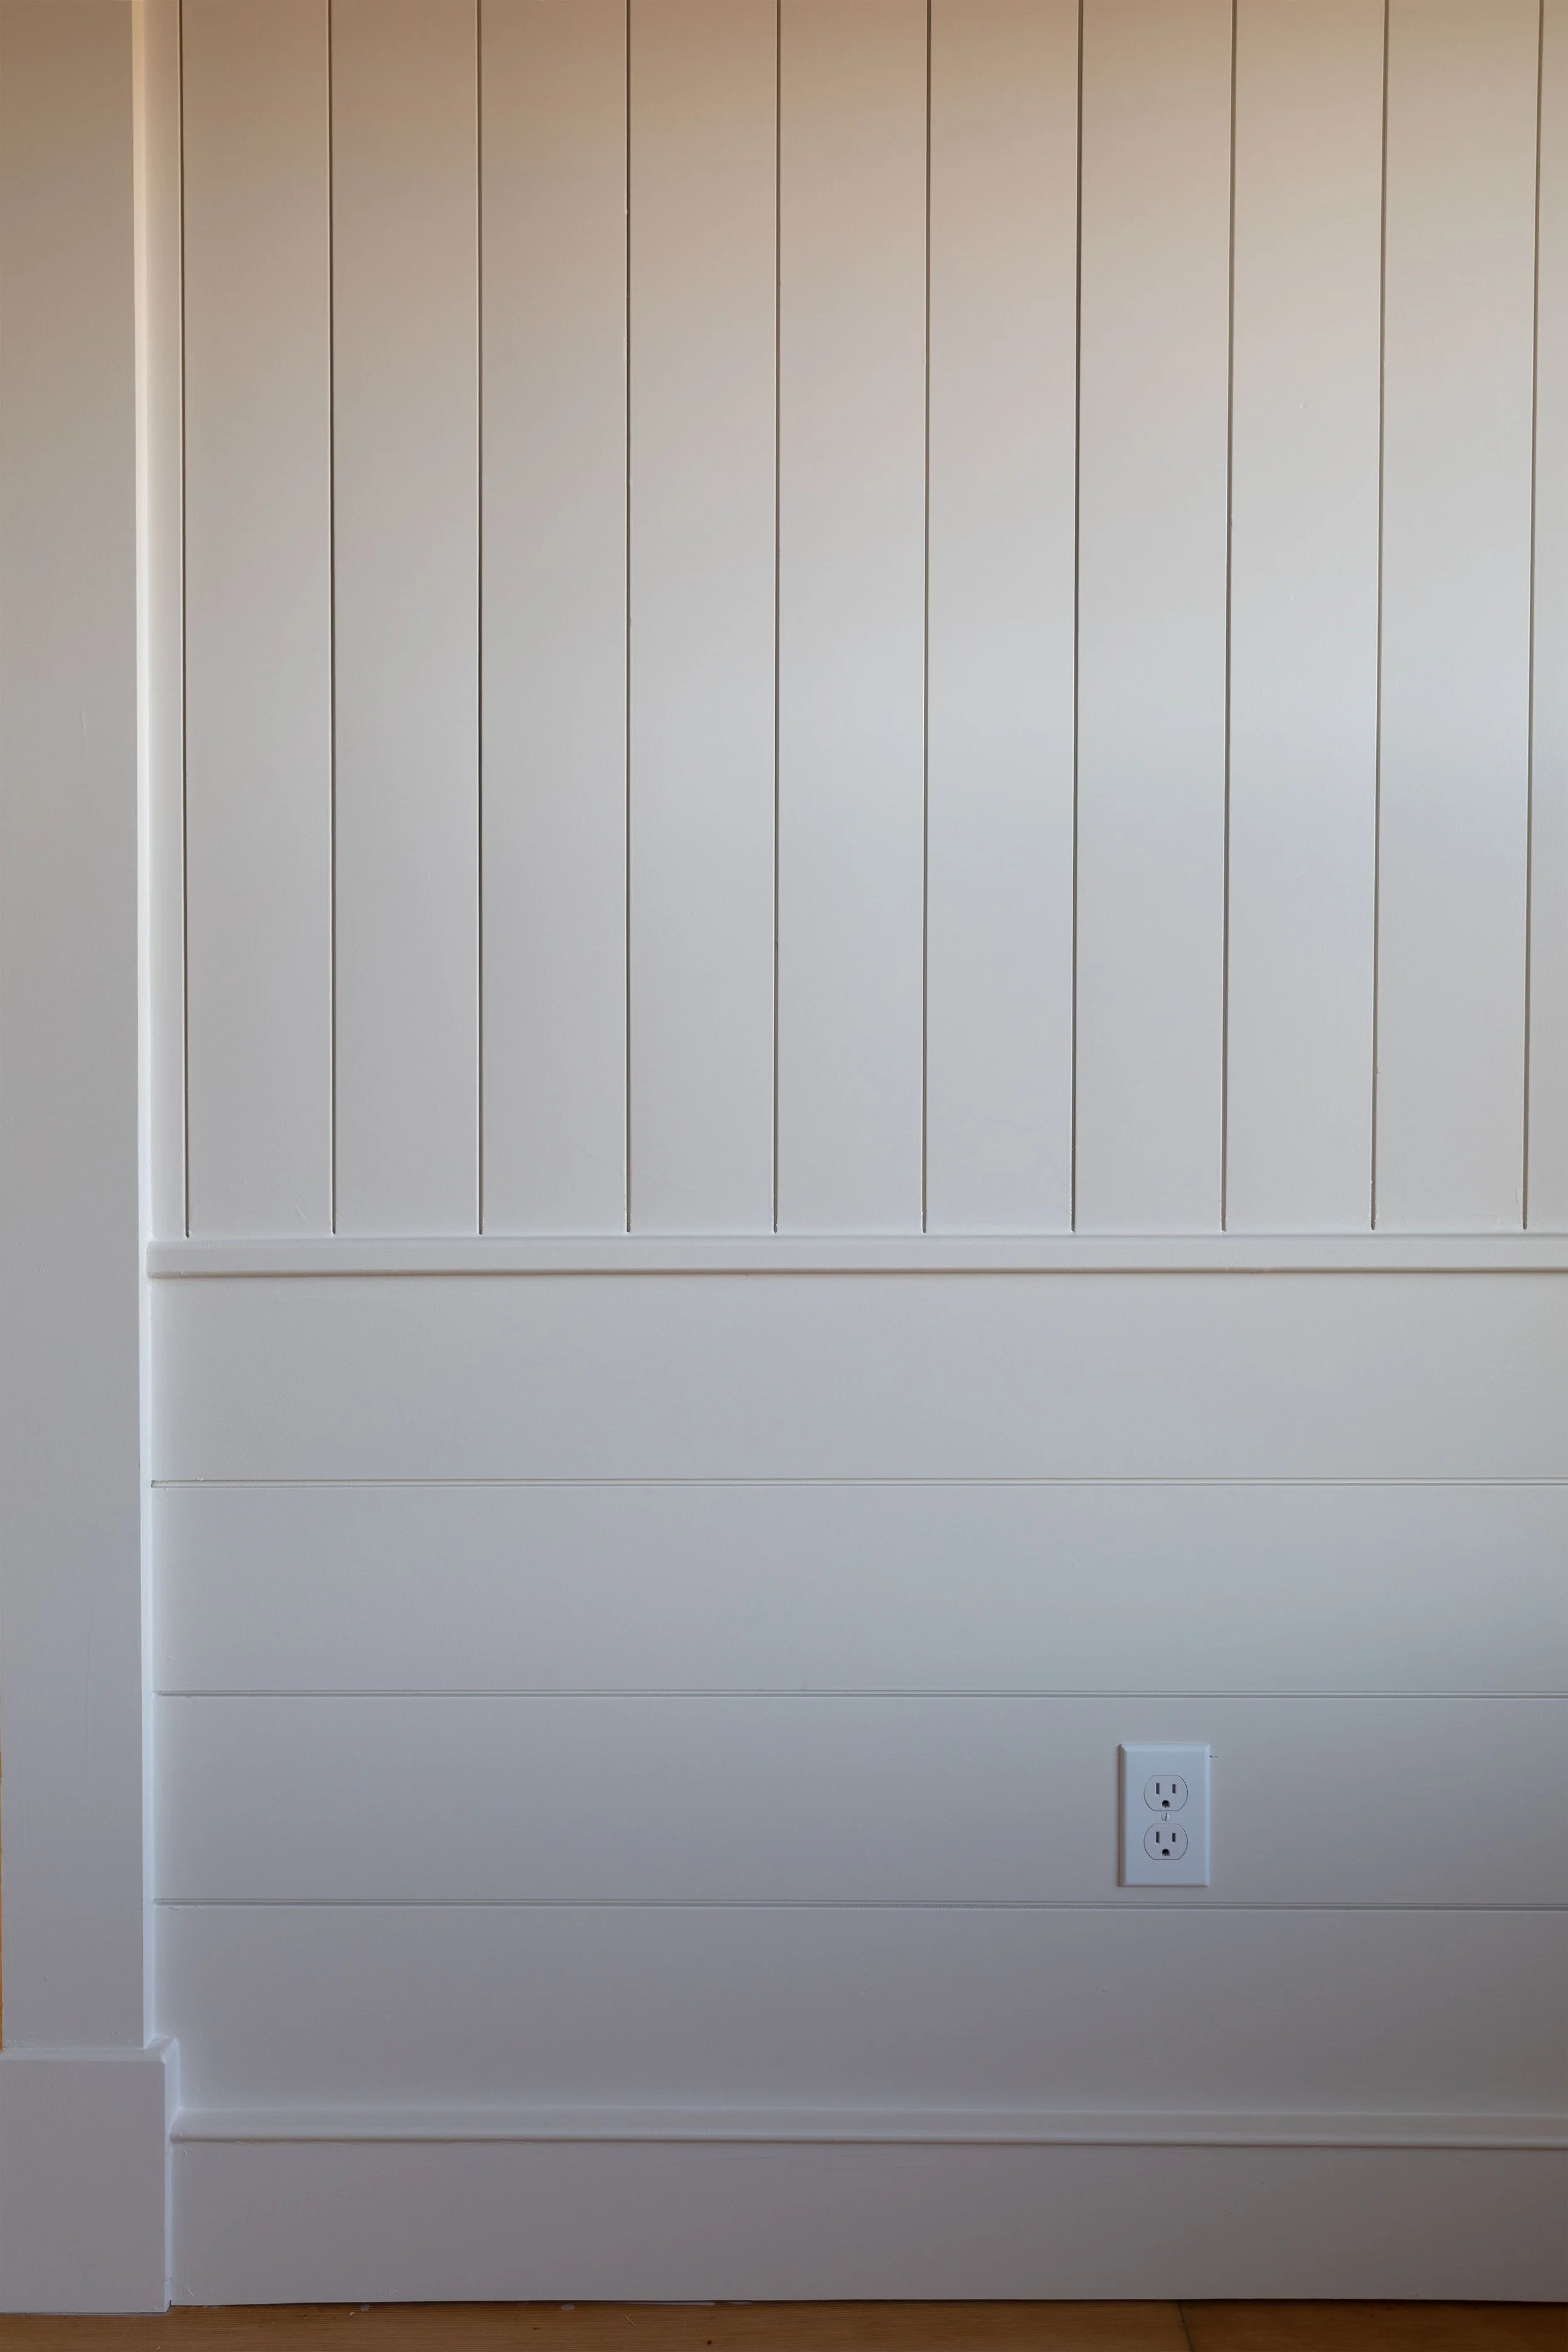
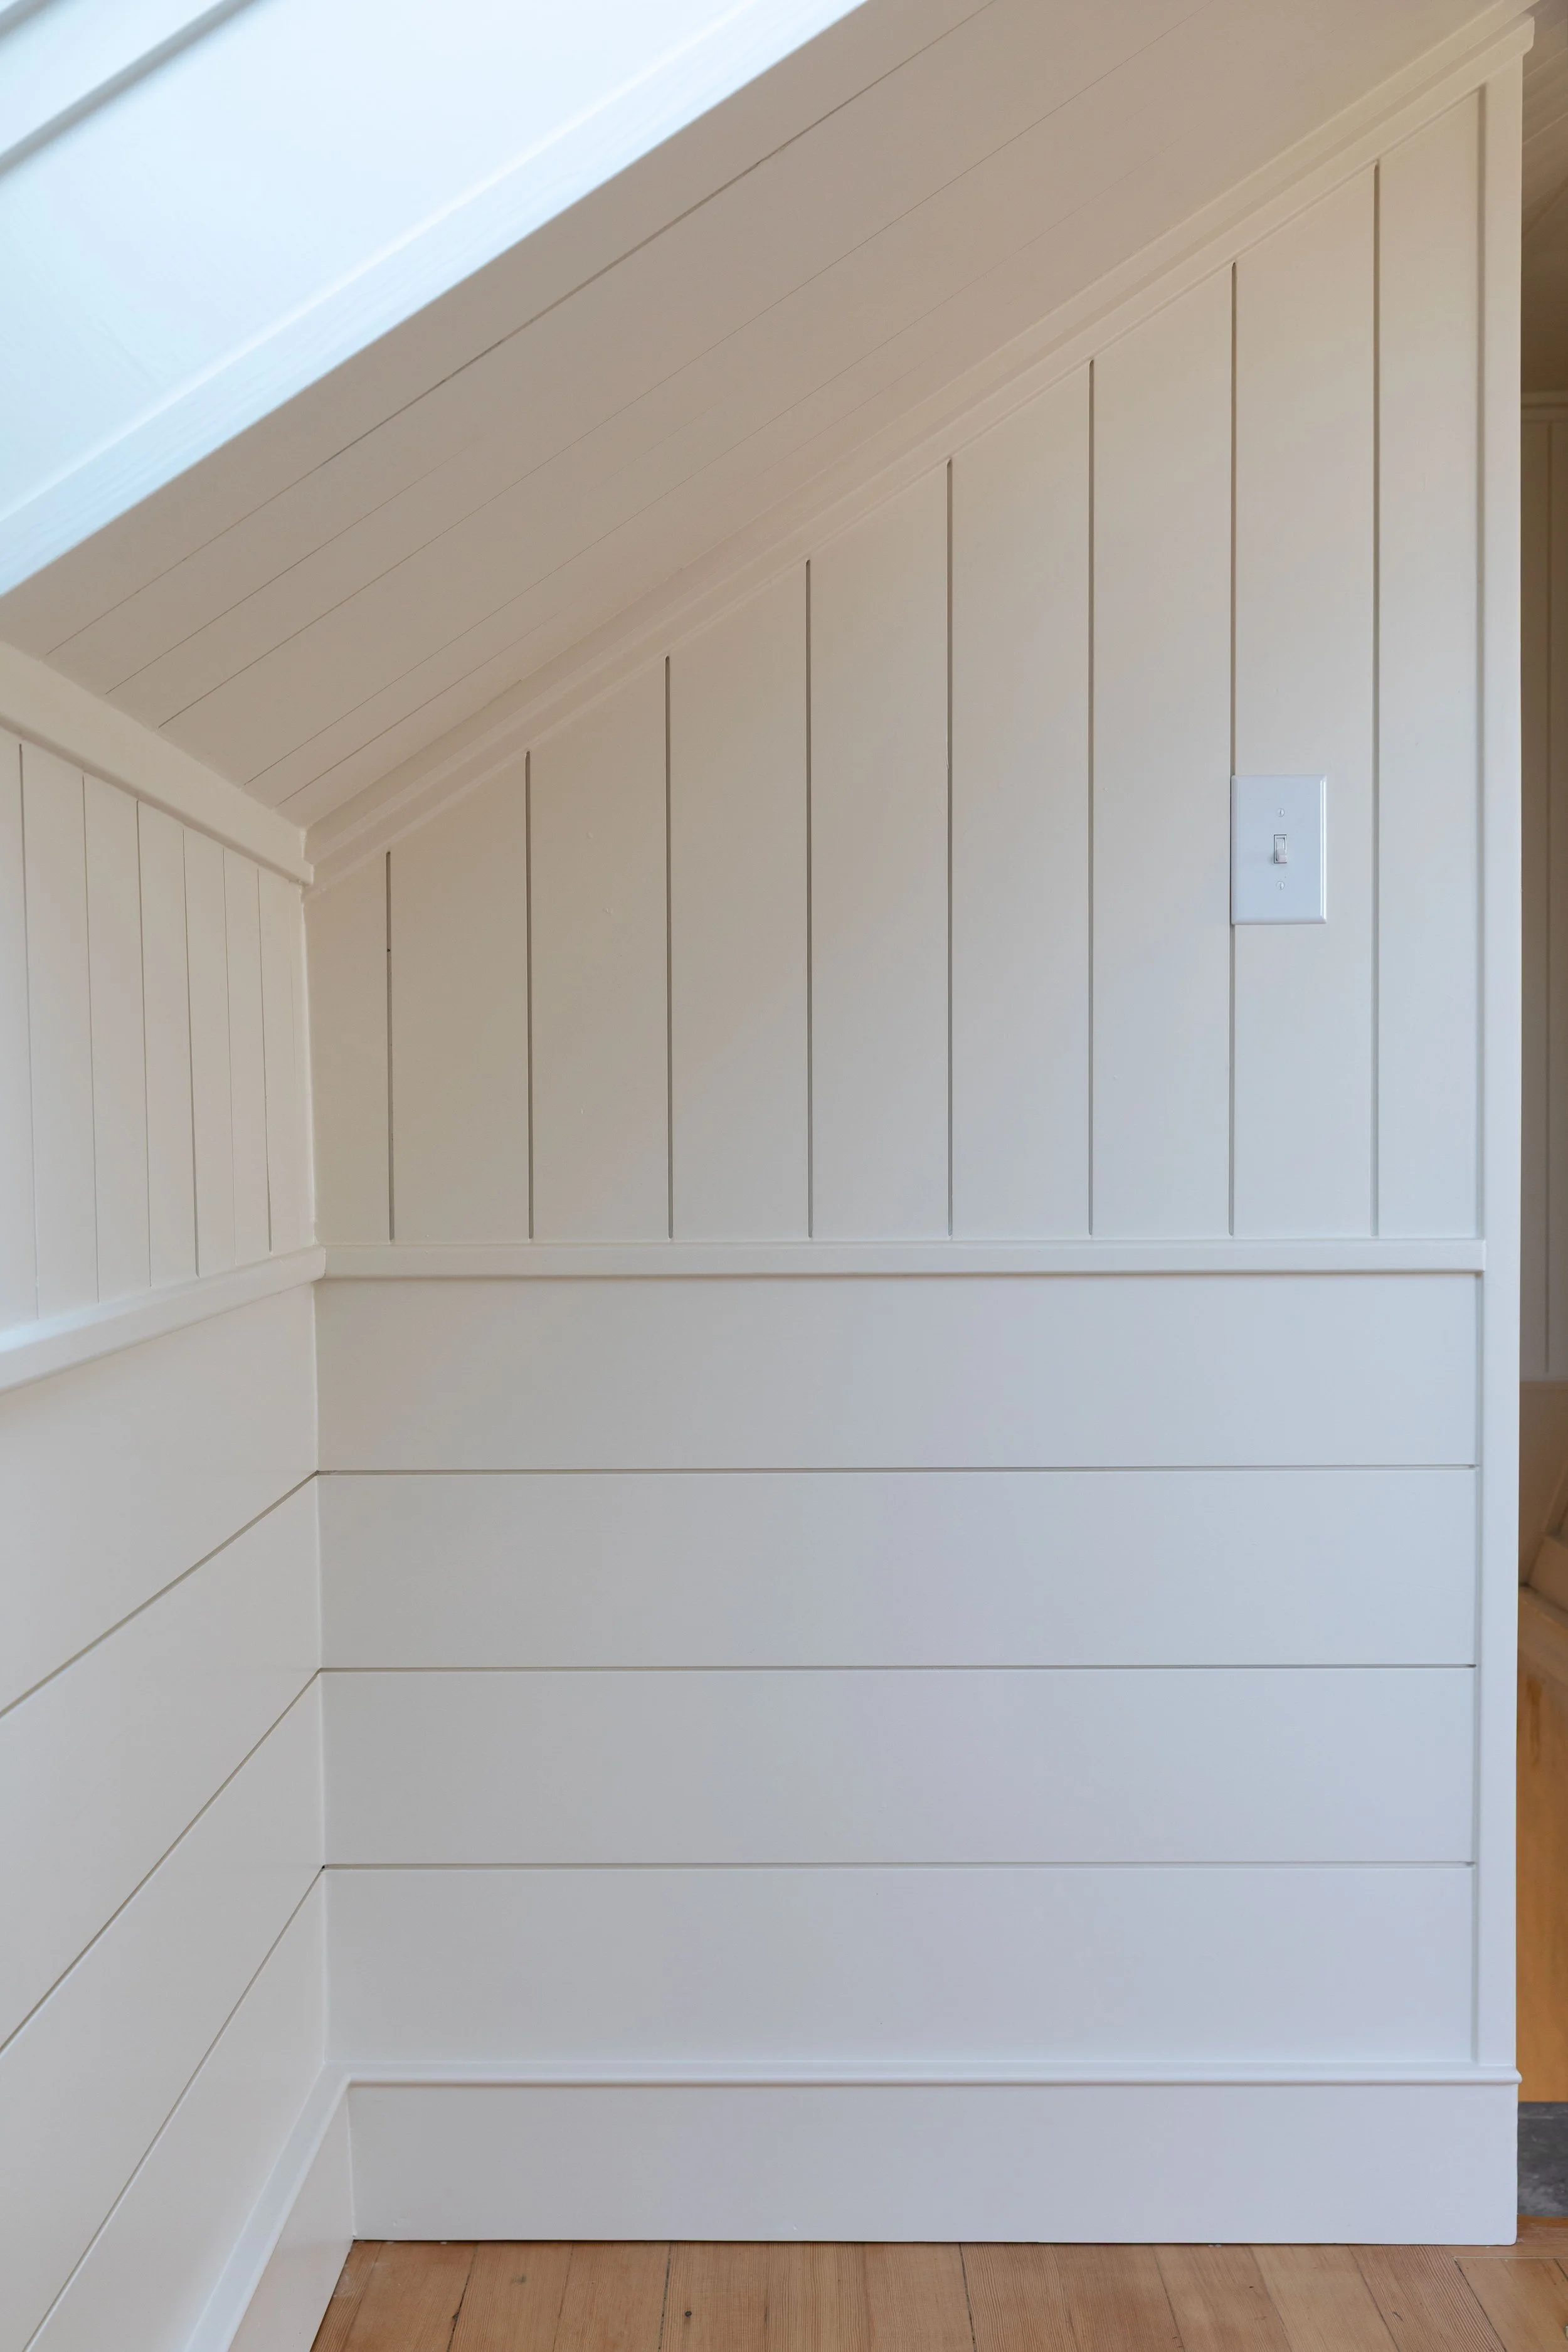
Vertical nickel gap paneling above
Horizontal paneling below
A simple horizontal trim rail separating the two
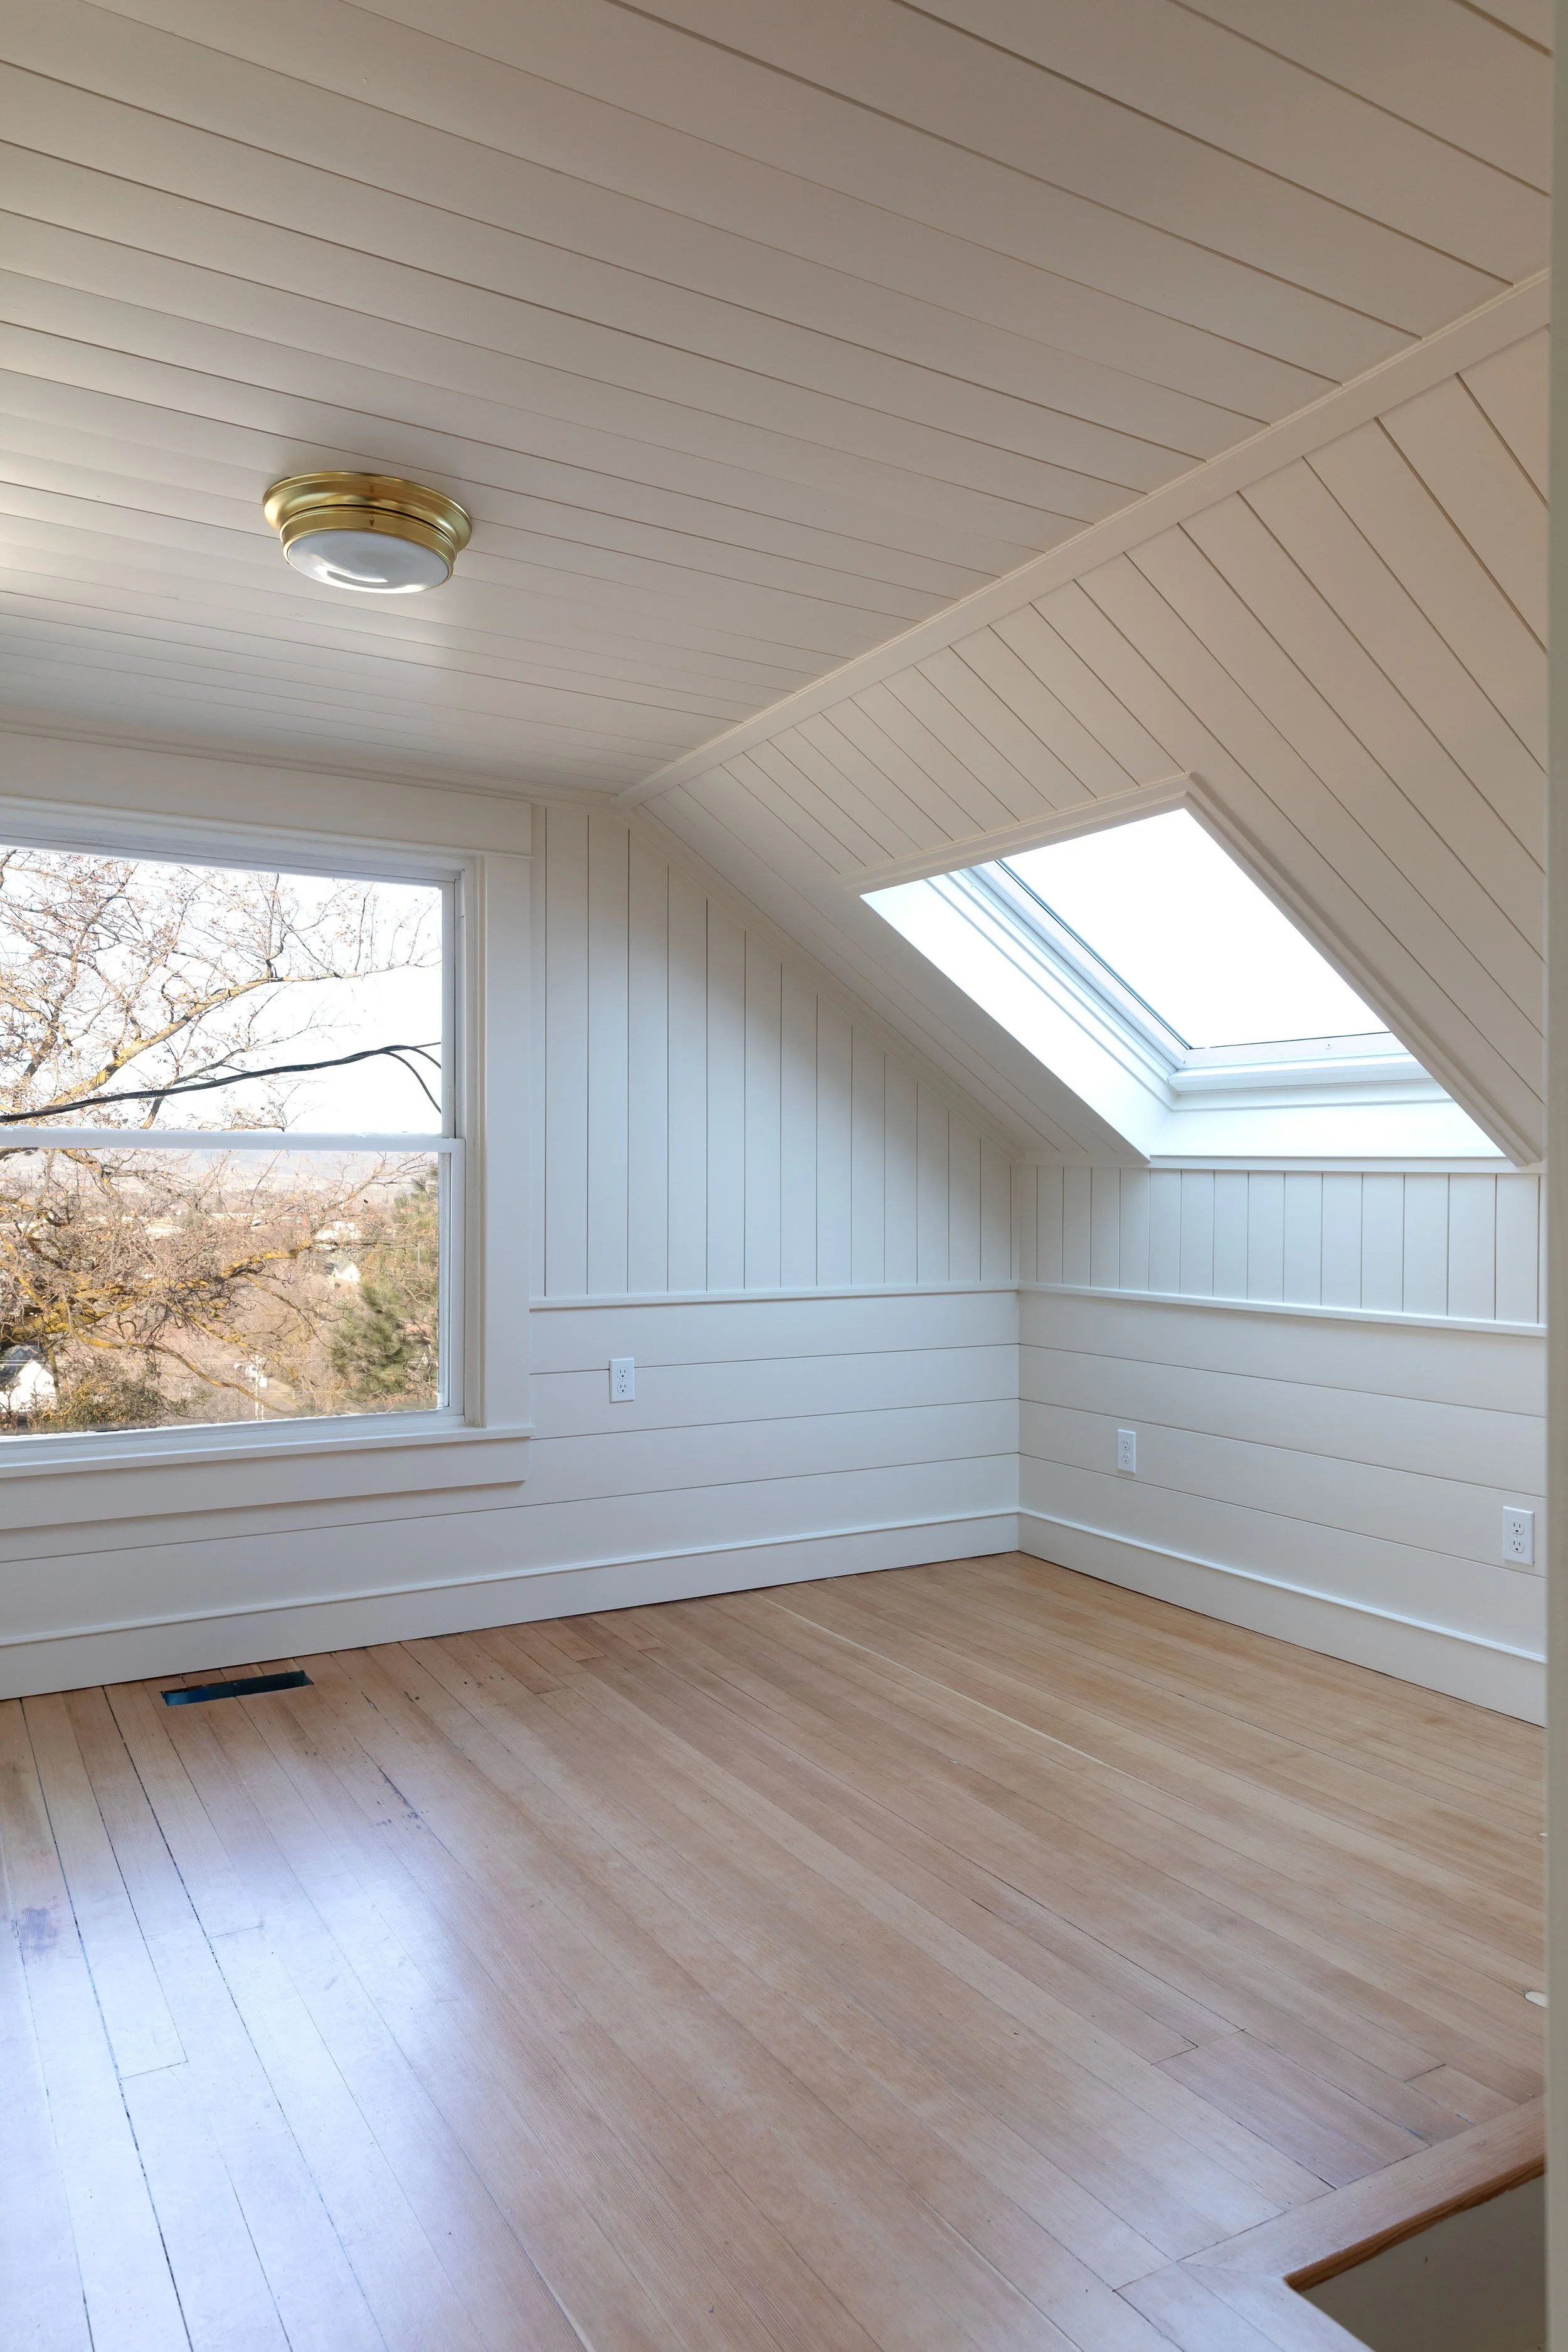
This combination creates interest without feeling busy. And it also solves a few practical challenges like helping the sloped ceilings feel taller and lending durability to our walls (this is, after all, mostly a kids’ space).
Paneling Dimensions
Even with the basic design in mind, the final dimensions took us some time to nail down. We started with a mock up, played around with dimensions and scale until it felt just right for our space. We have short 7’ ceilings up here so we were after a cozy feel rather than something grand. Here’s where we landed…
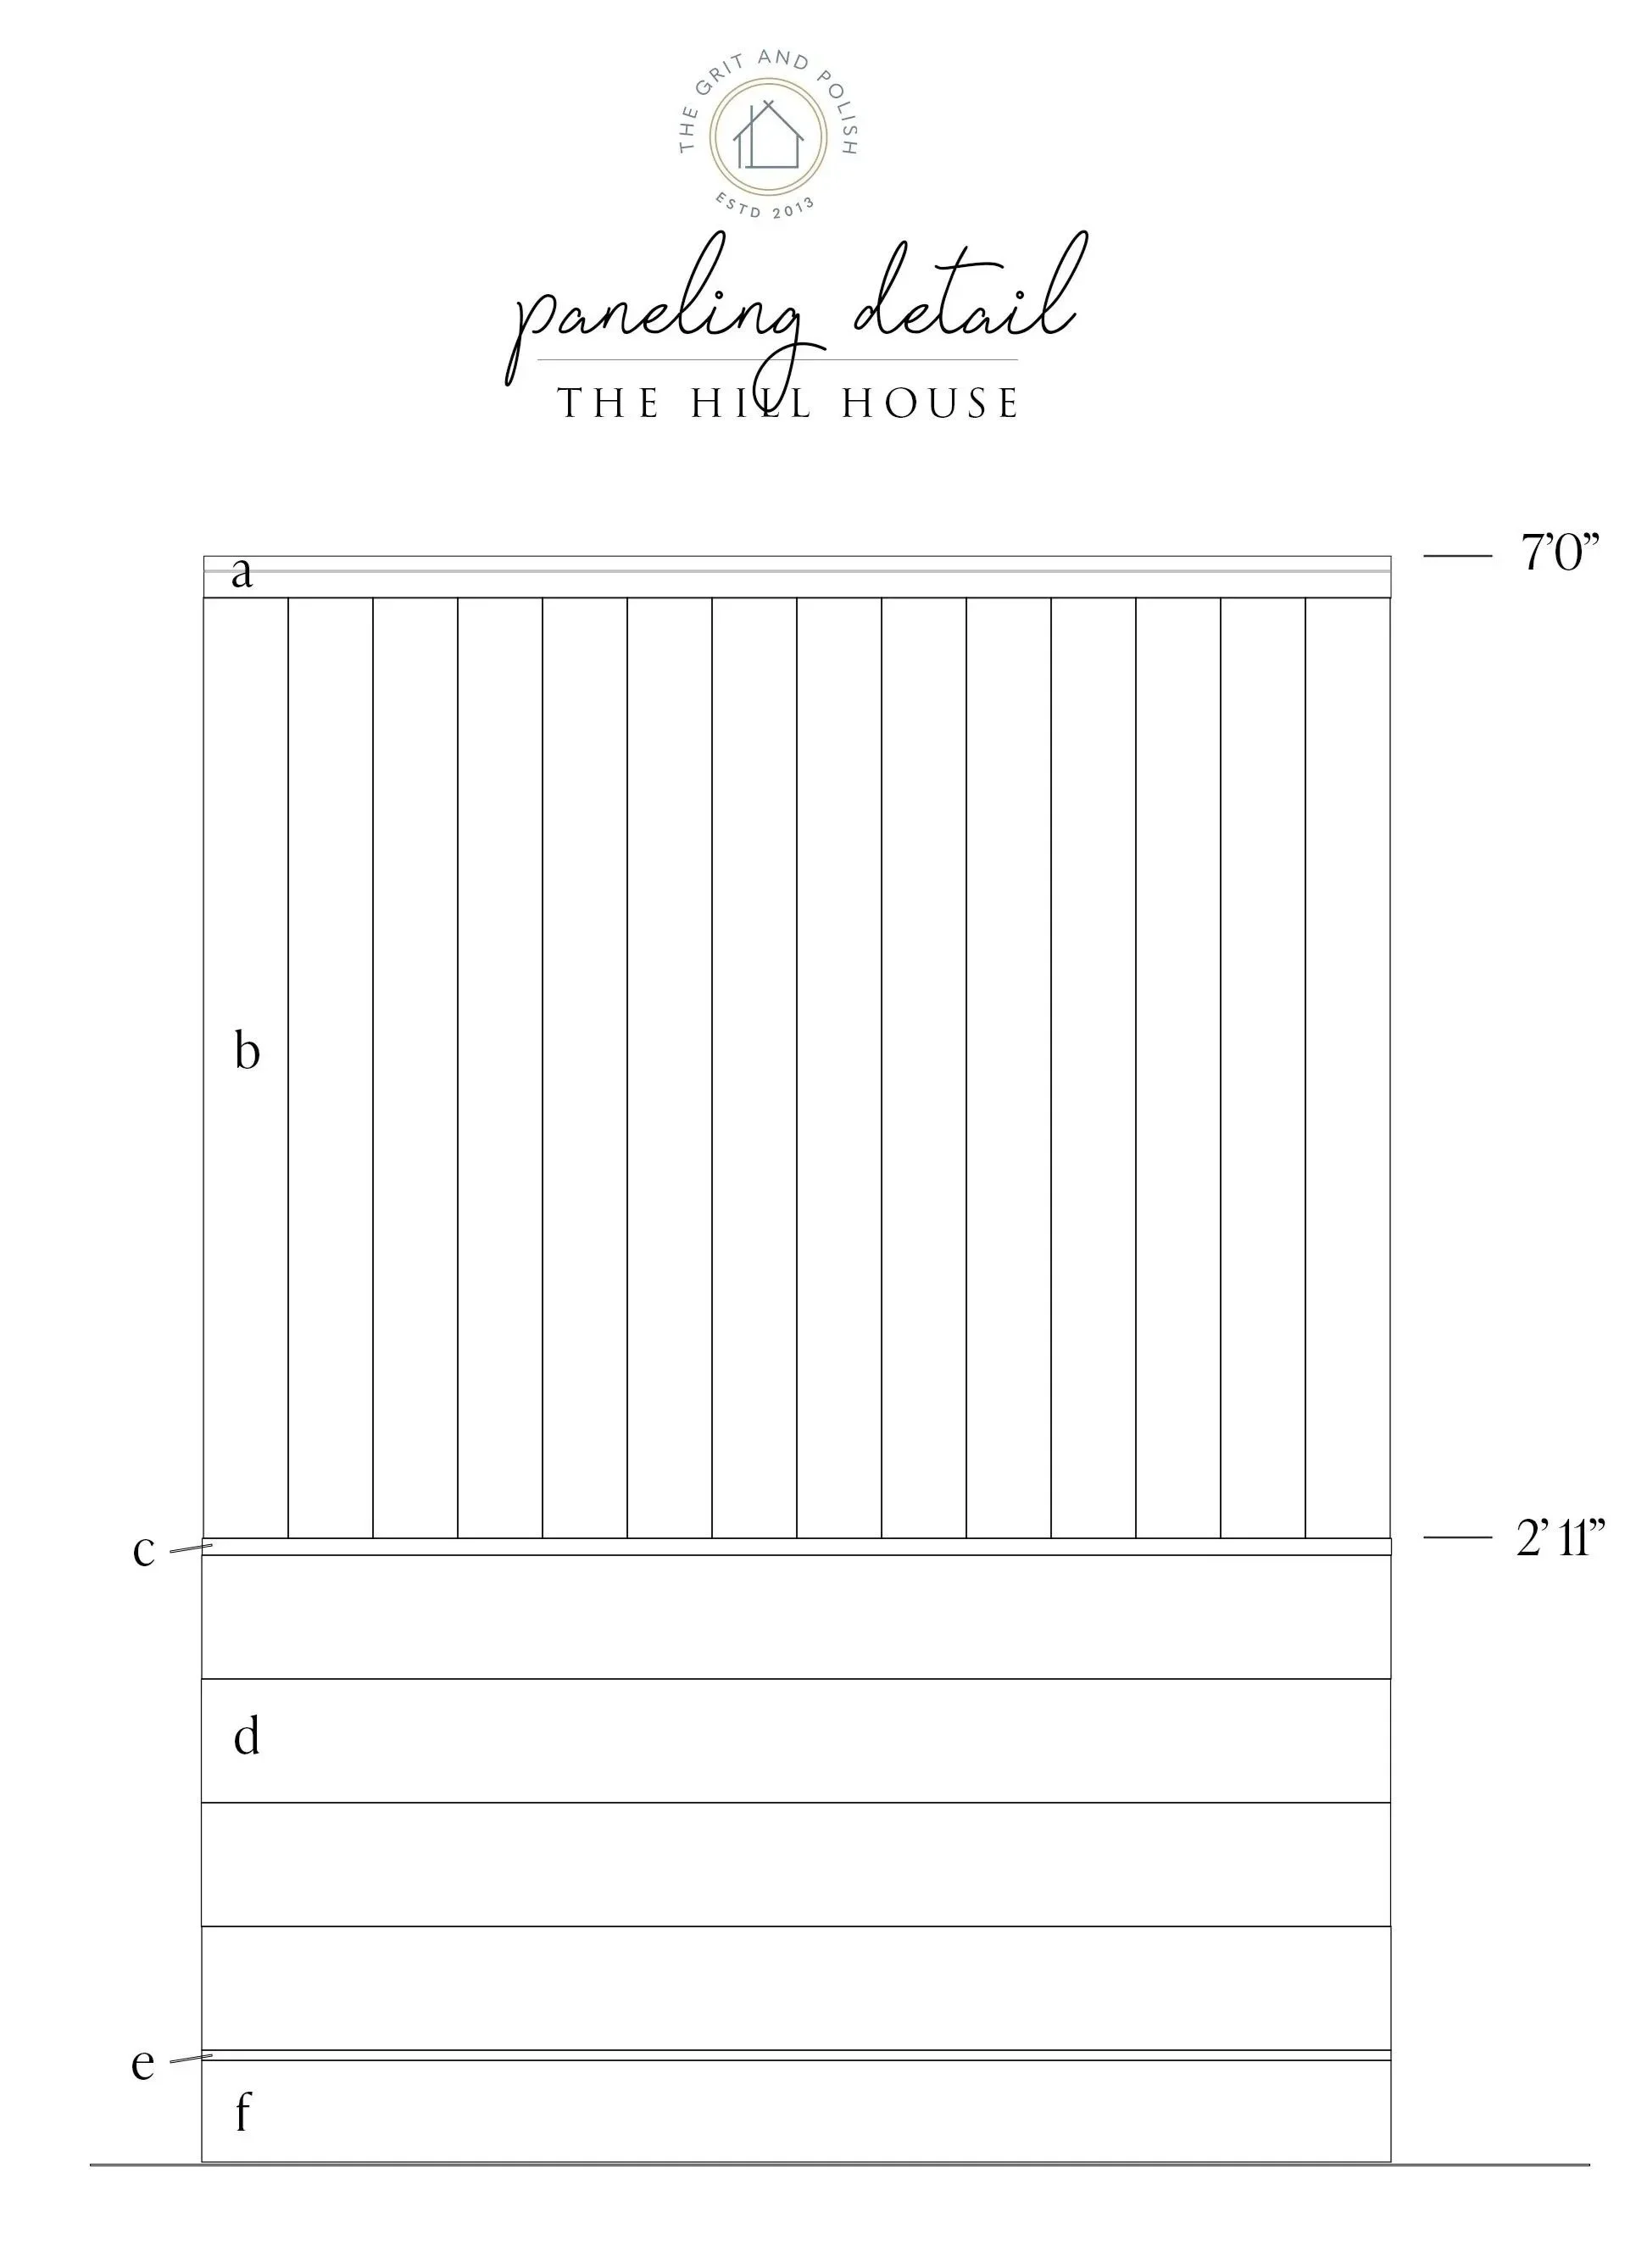
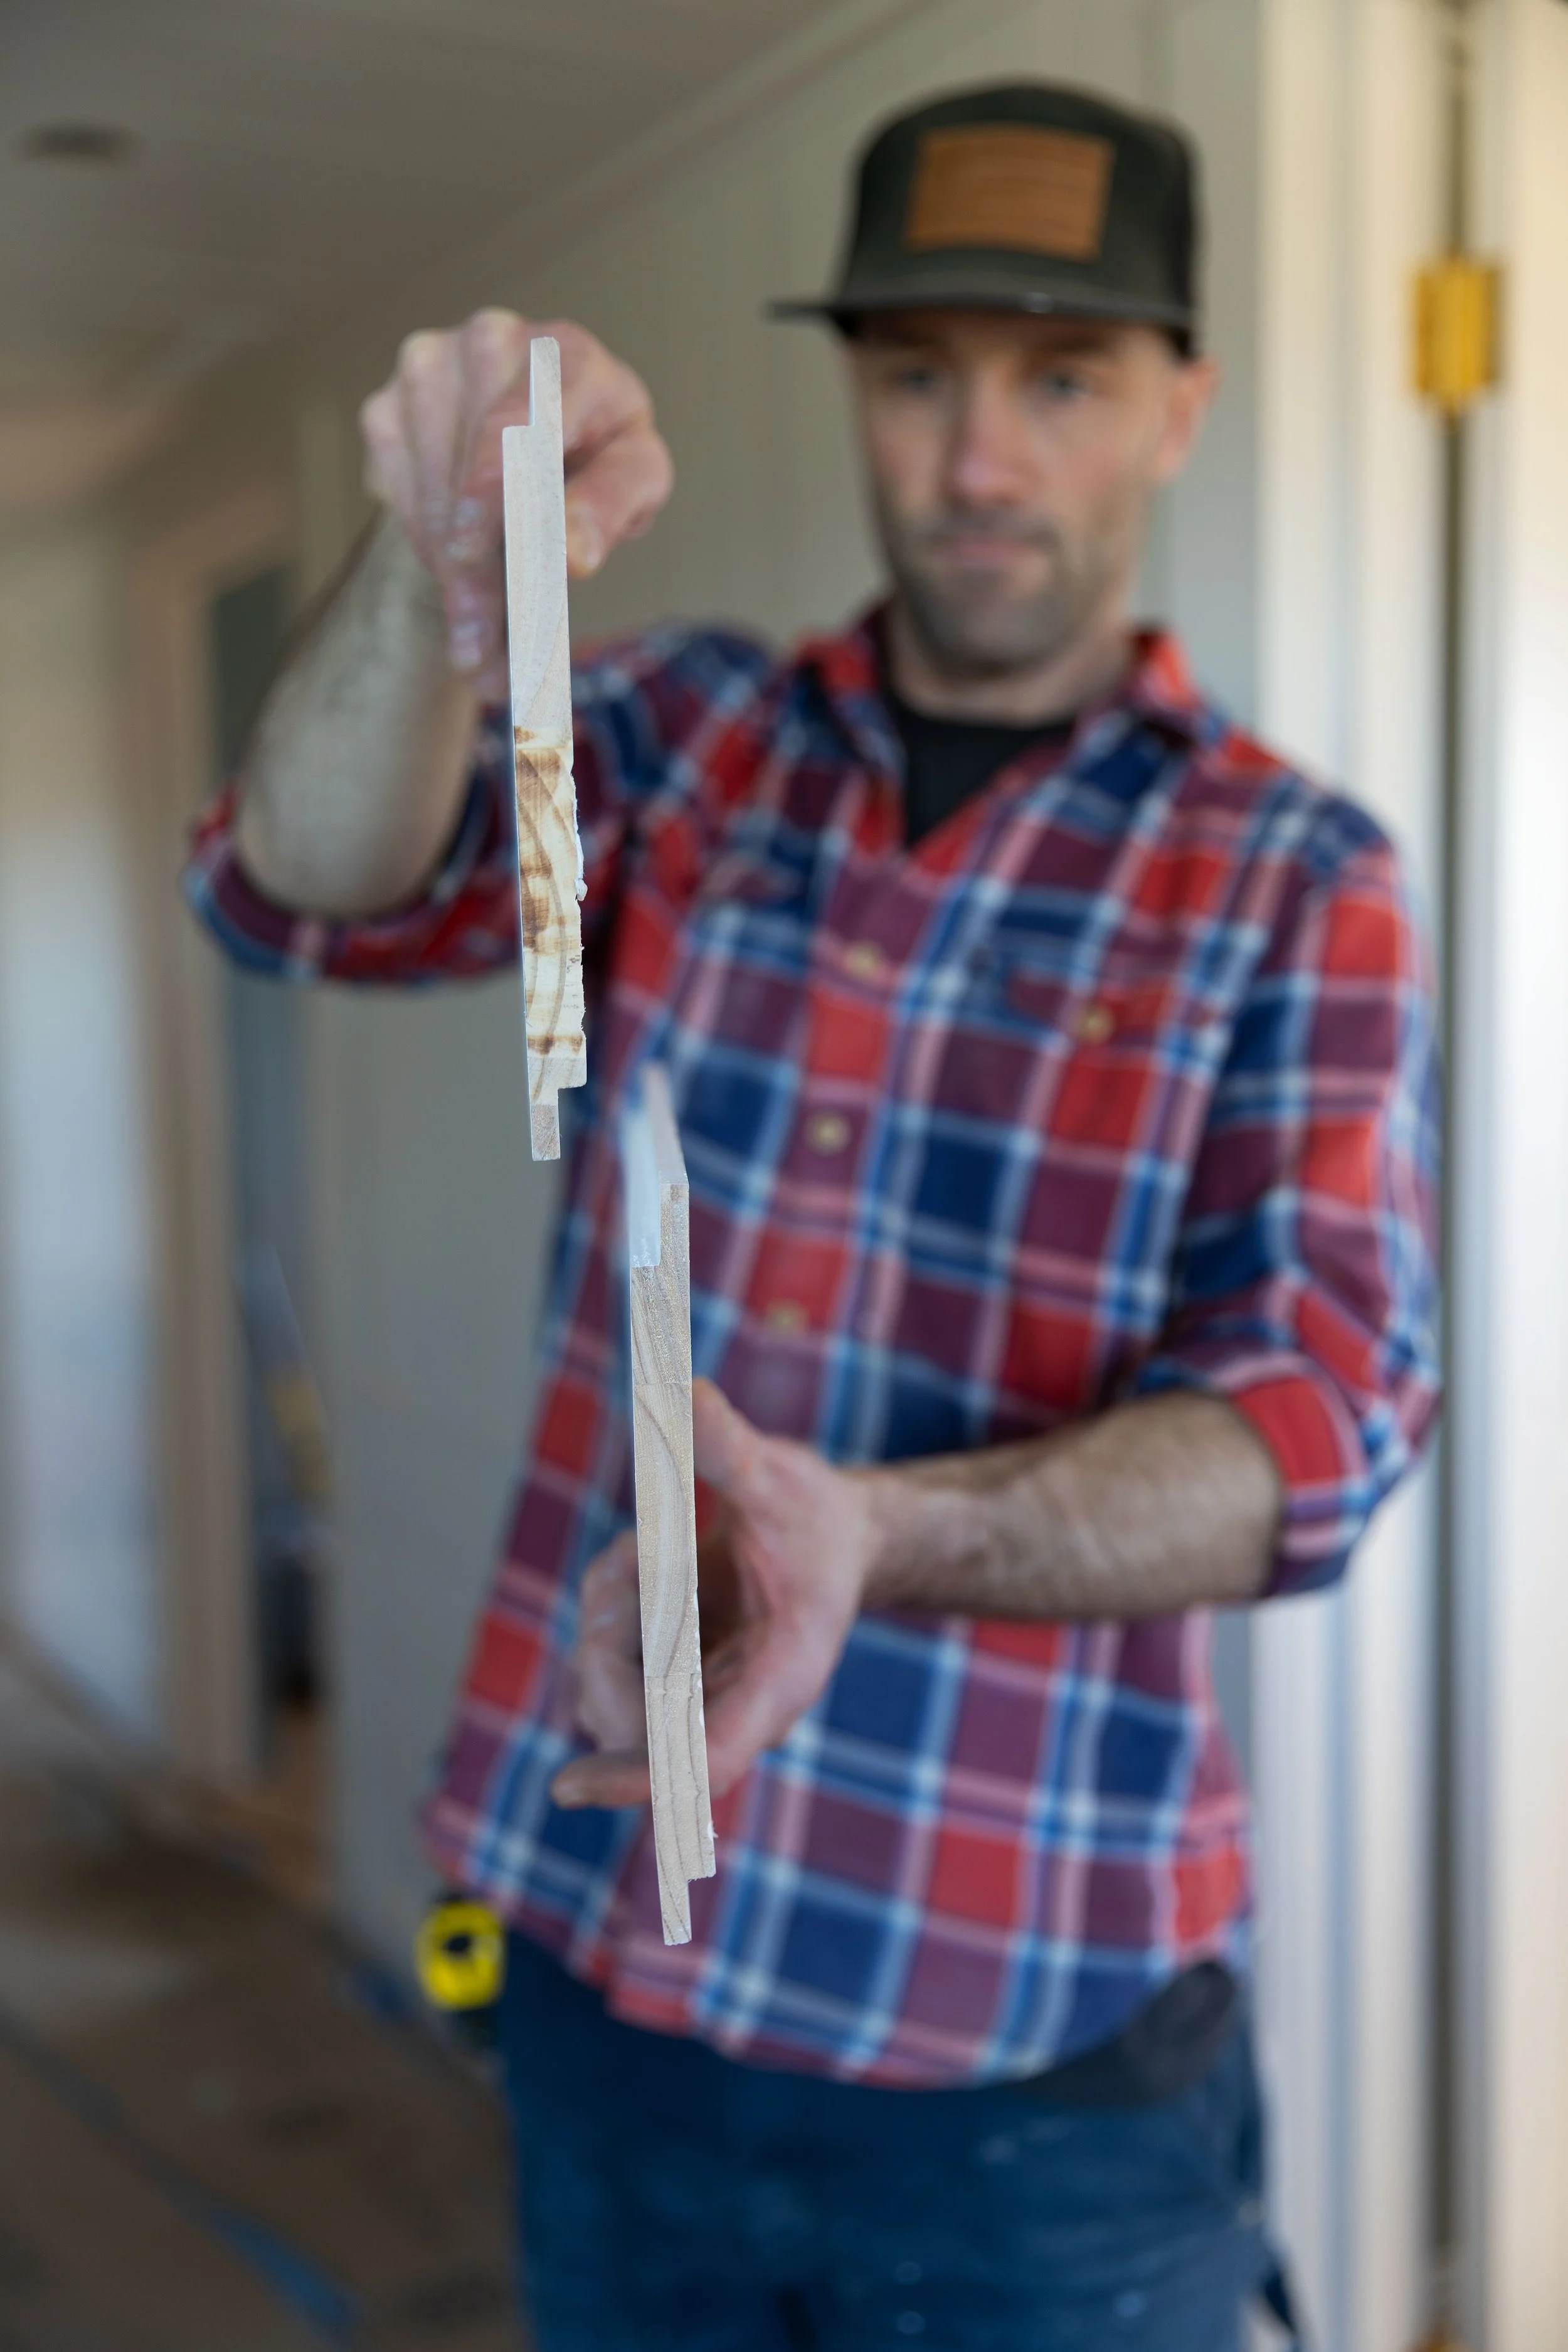
Here are the materials we used (listed in actual dimensions). We sourced the linked materials from Home Depot and everything else locally at our lumber store.
a - 1 1/2” x 1/2” round-over laid over the shiplap as crown (3/4”x1 1/2" installed on ceiling abutting the round-over to finish the crown)
c - 1 1/8” square (S4S) with front corners gently softened with router (using 3/16” radius round-over bit)
e - 1 1/4” x 7/16” tall parting bead (bullnose)
f - 3/4”x4 1/2” base, built out 1/2” from paneling
These proportions were just right for the Hill House. But… they won’t necessarily work in someone else’s house (or downstairs at the Hill House for that matter). Here are a few guiding principles that we used and may be helpful for others to get their design just right…
👉 Base the design on an inspiration image
We liked Gil Schafer’s work from this book and this book. Starting with an inspiration image really helps guide you into a good end product.
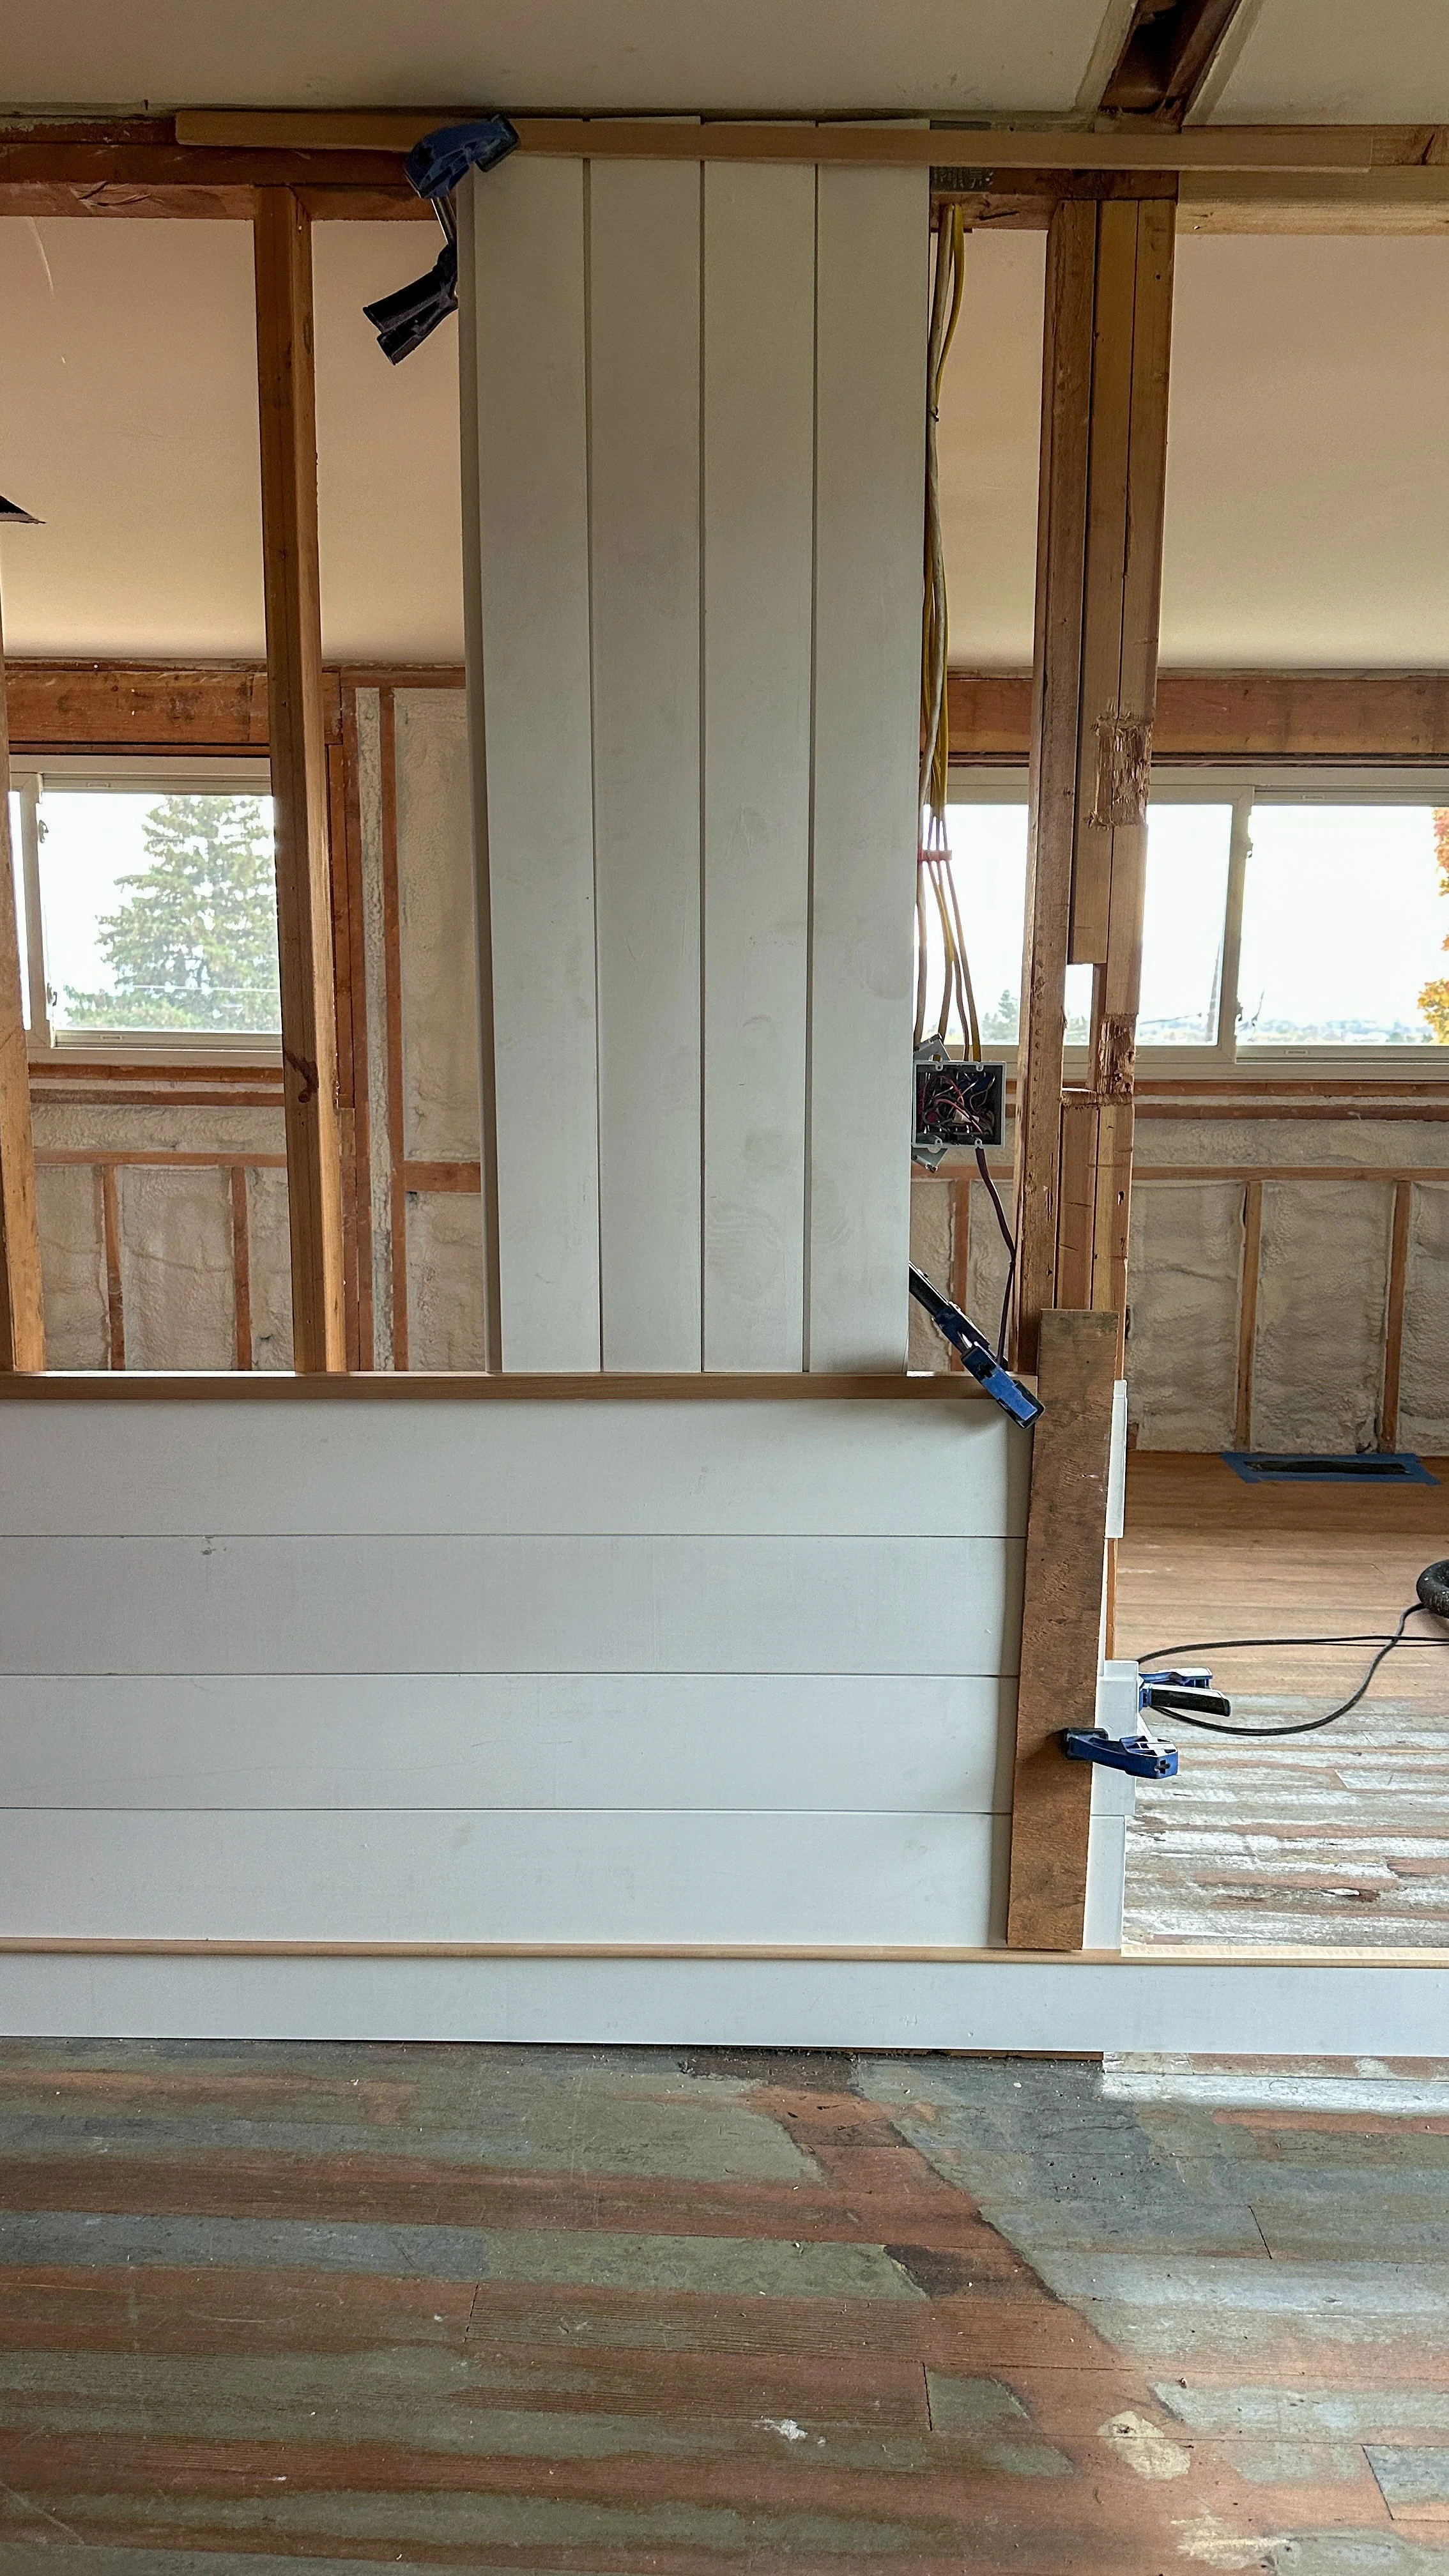
👉 Do a mockup
Get a few pieces of the products you’re considering, and clamp/tape/temp them in place. Play around, step back, him and haw, and adjust until it feels just right. We did this process way back in the Fall (before we refinished the floors) and here’s what it looked like…
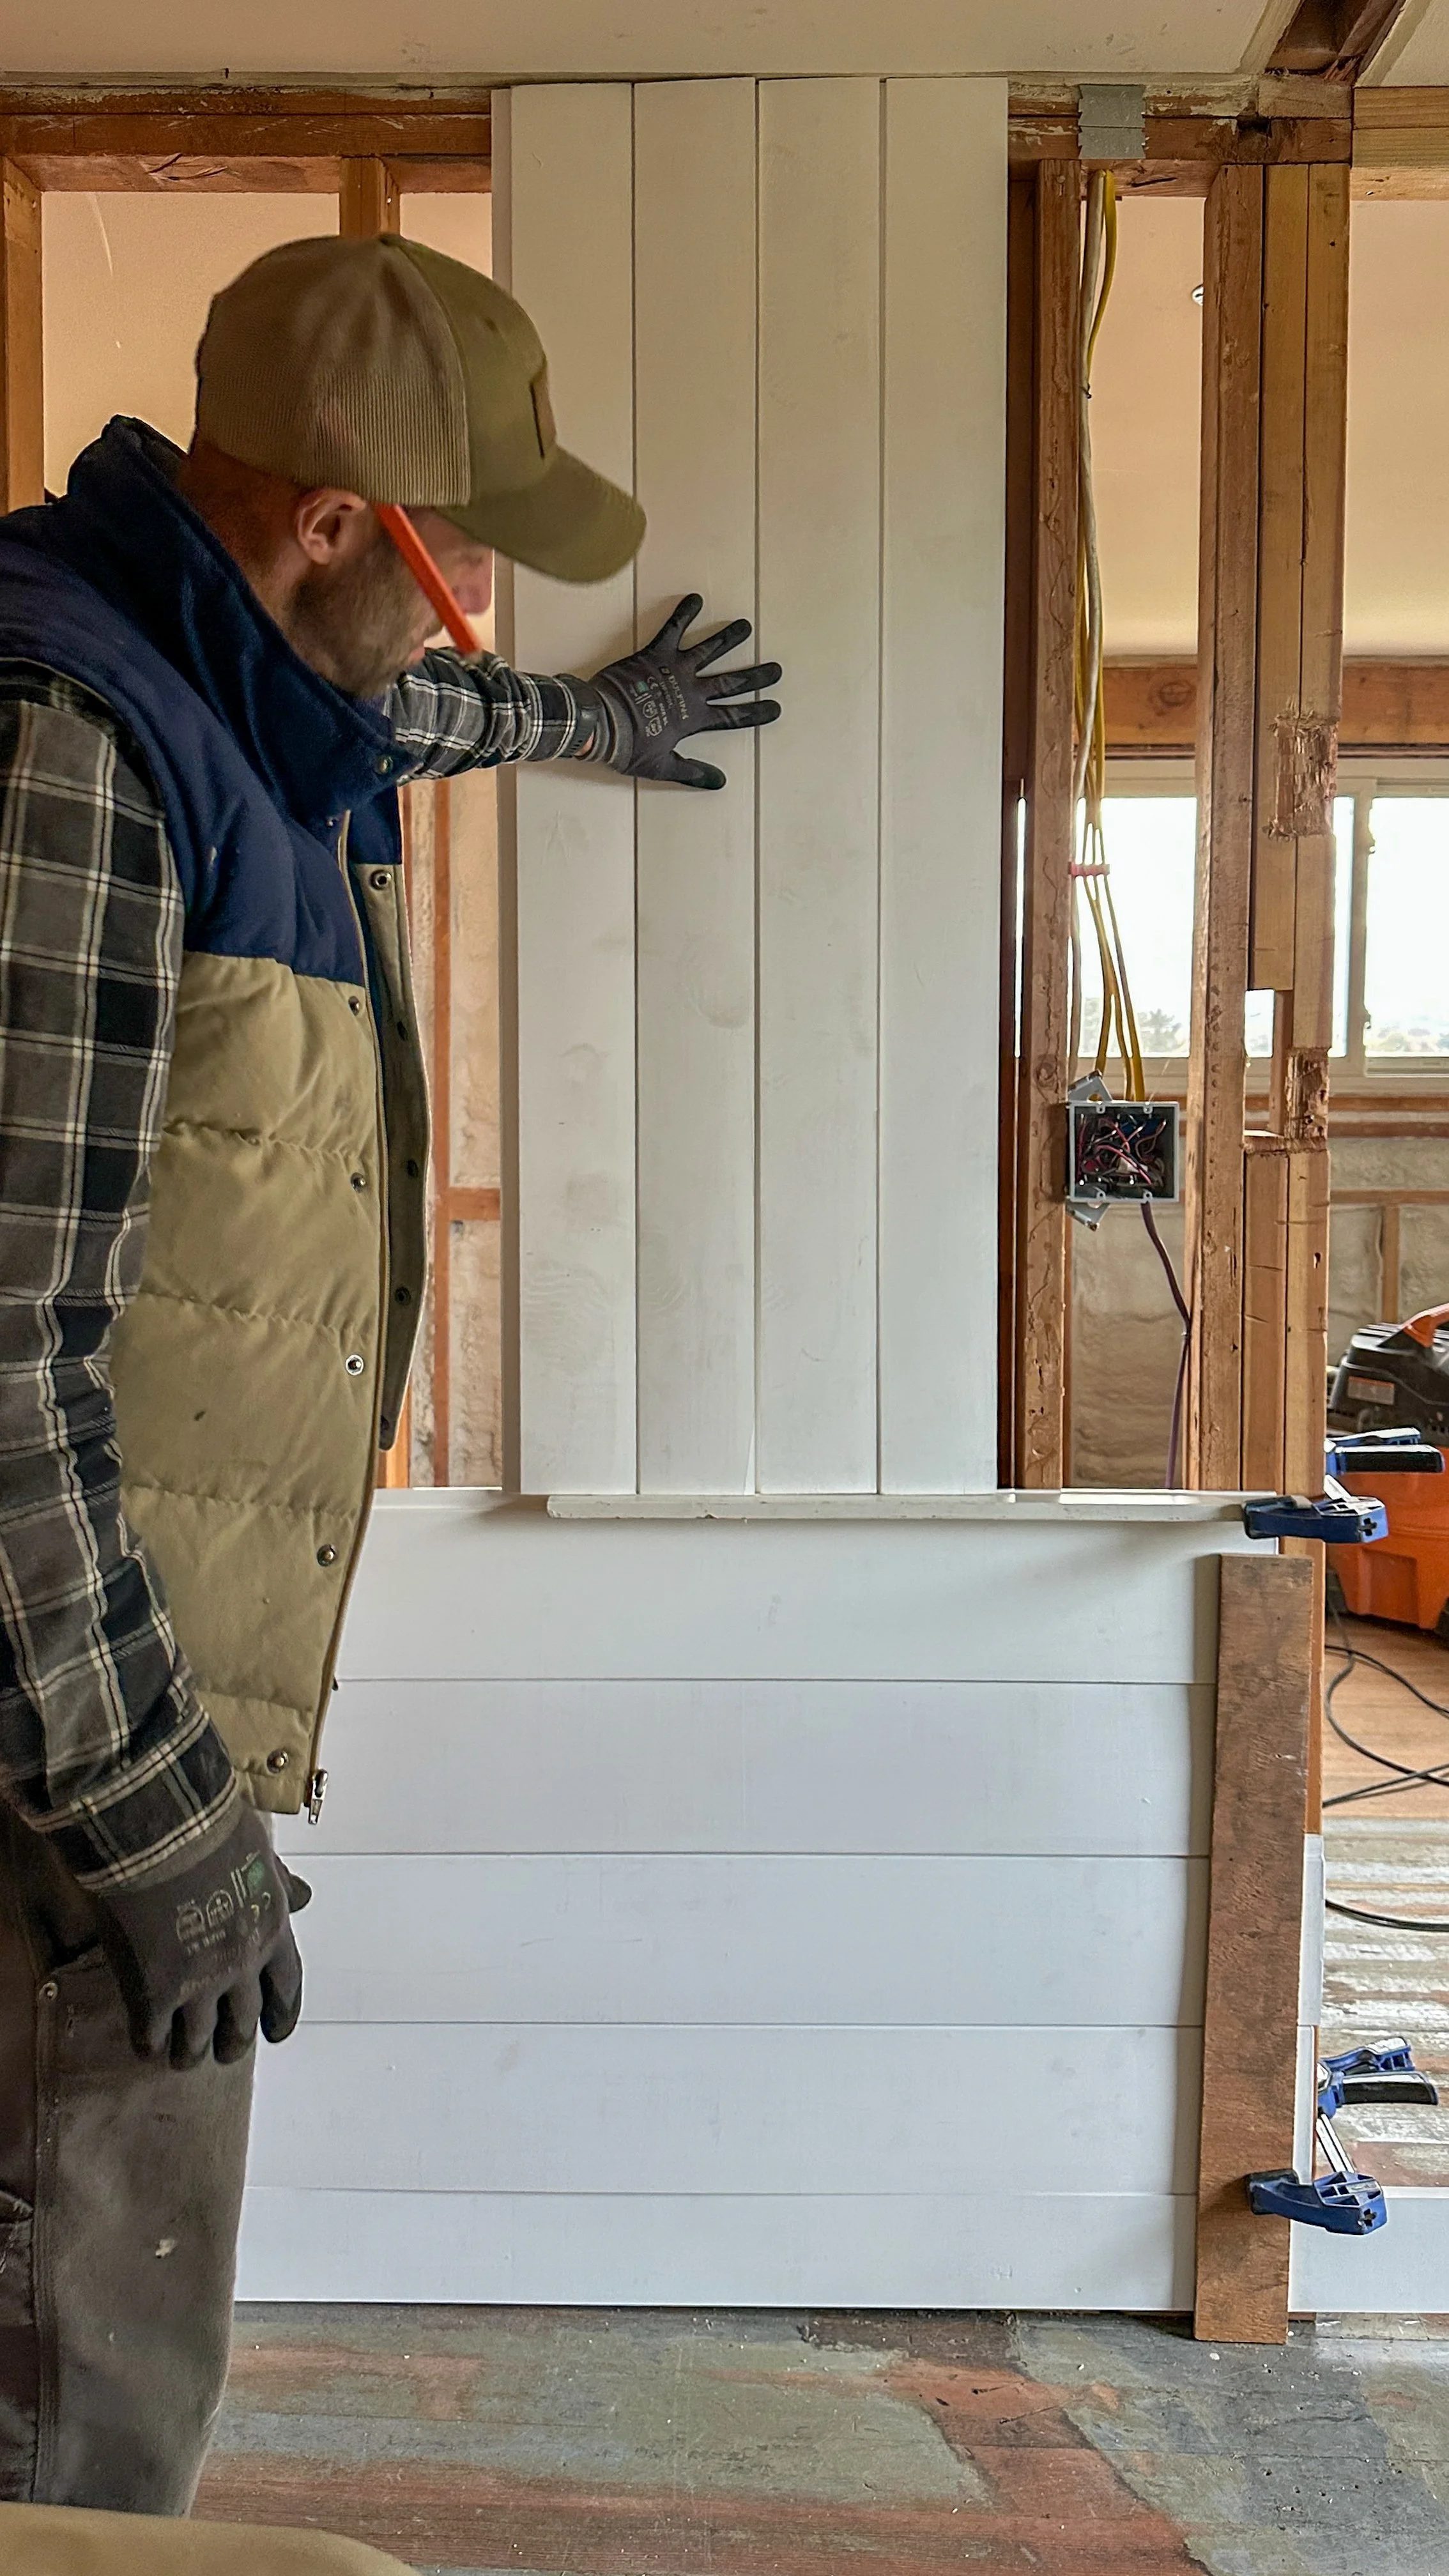
We started with a fairly basic setup and then added the parting bead and crown detail. After leaving this next iteration up for a few days, we felt ready to move ahead with it.
👉 Start with the golden ratio
General design looks good in thirds so we started with a horizontal wainscot that took up 1/3 of the wall and vertical panels for 2/3. In the end, that felt a little short on the bottom so we brought the wainscot up to about countertop height (3’) and that felt better to our eyes.
The Nickel Gap Paneling We Used
We used Arauco Nickel Gap boards, which we found at Home Depot. These are pre-primed, pine boards with a small built-in spacer that creates a consistent nickel-sized gap between each board.
Why we liked them:
Consistent spacing (huge time saver!)
Pre-primed and paint-ready
Smooth, clean finish
Readily available mid-project
Easy to install - each board simply overlaying the next
We originally found these at Home Depot while sourcing materials and reached out to Arauco to see if they’d be a partner. They ended up partnering on an Instagram Reel, but this post isn’t sponsored.
Bottom line: this nickel gap shiplap is a really solid, accessible product and it worked beautifully for the Hill House.
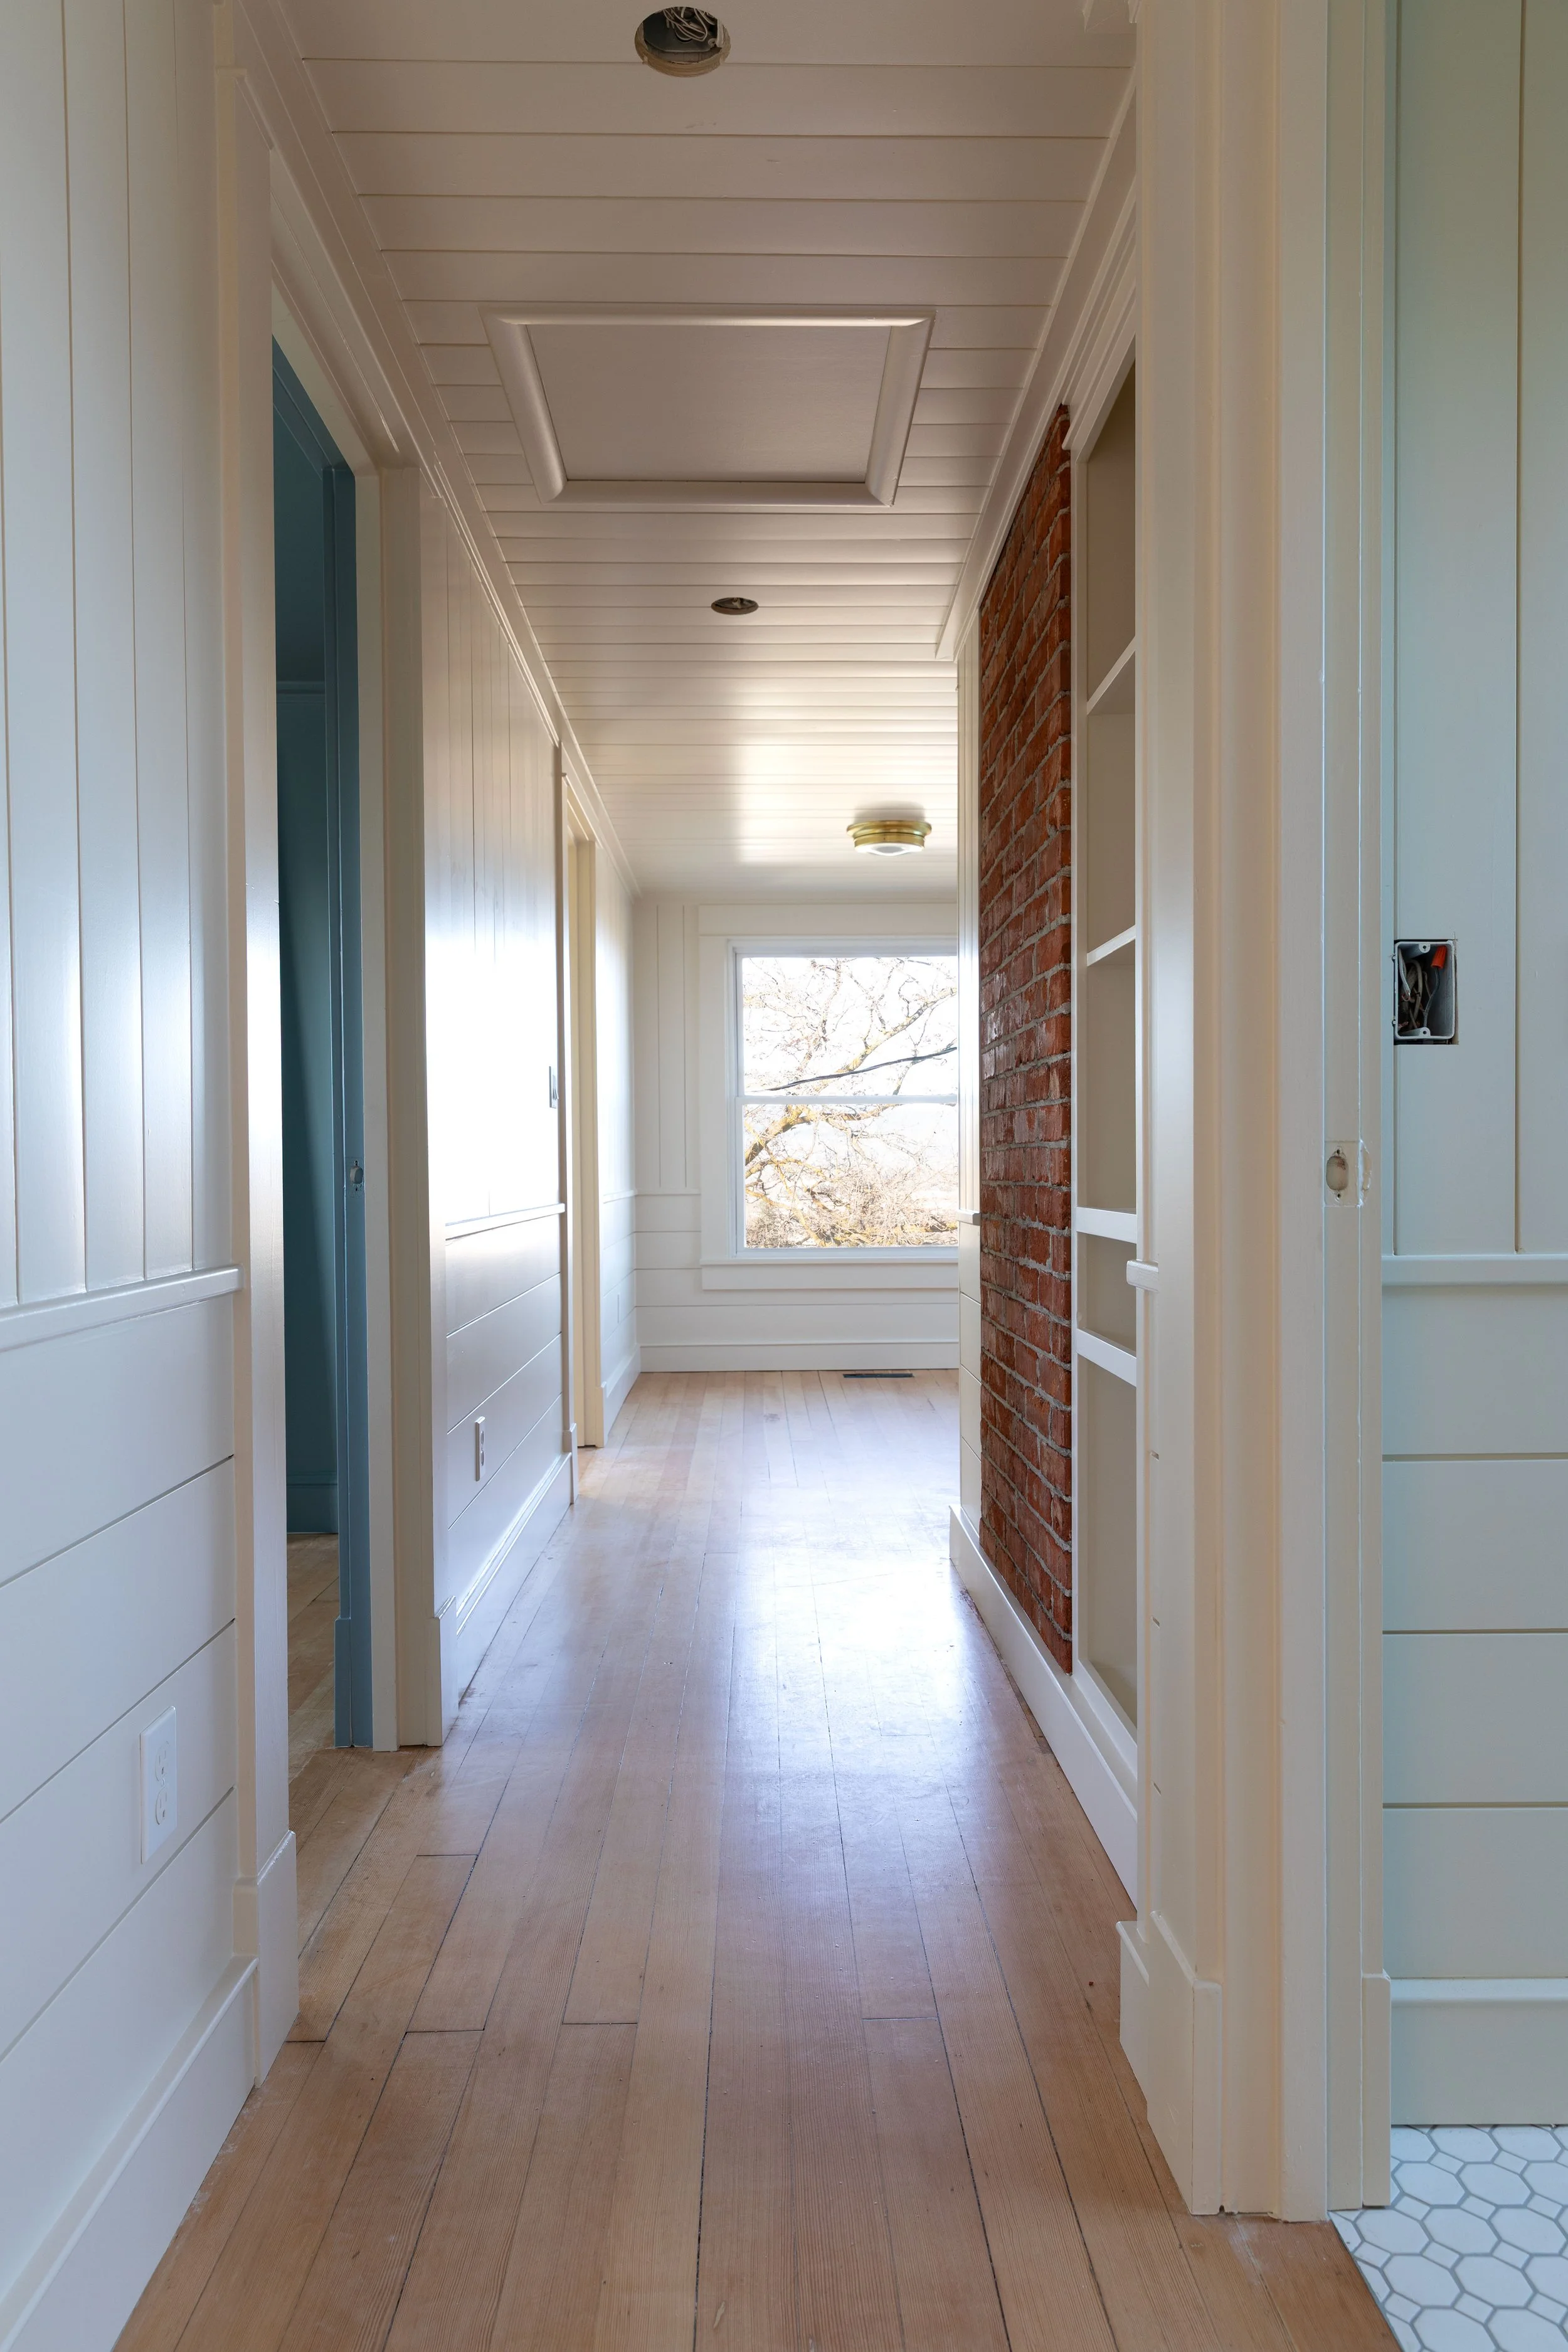
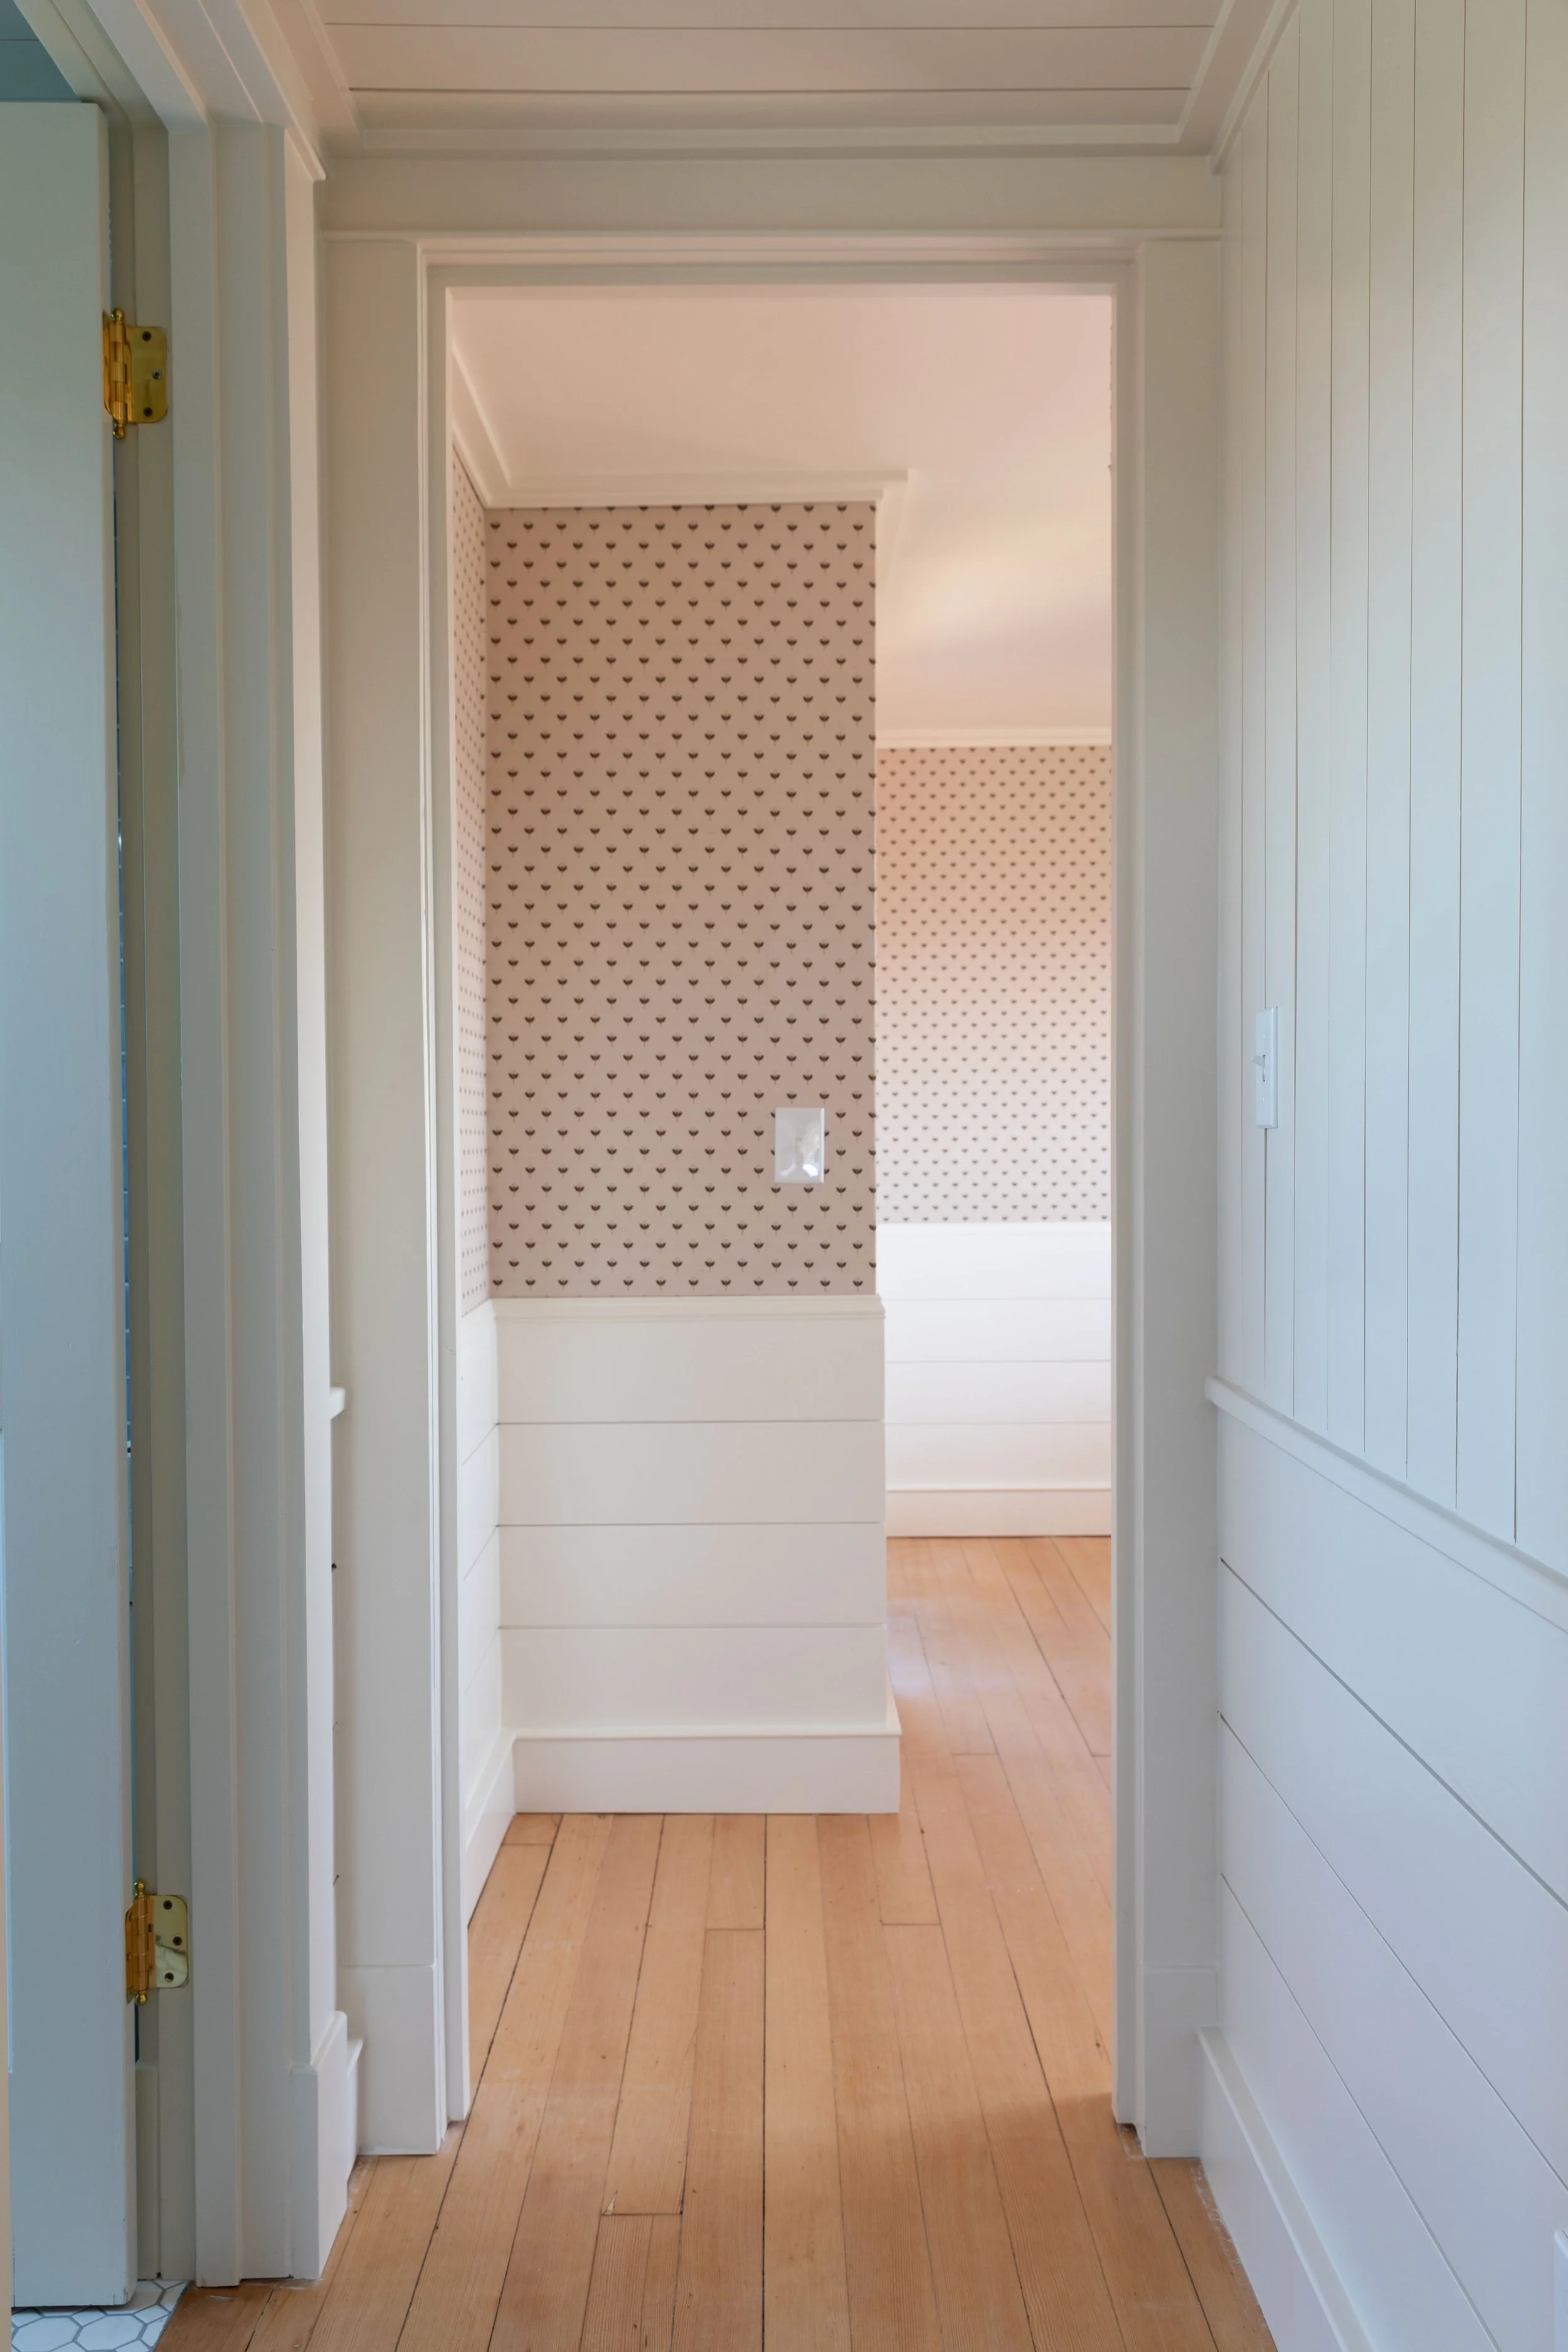
Where We Used Paneling
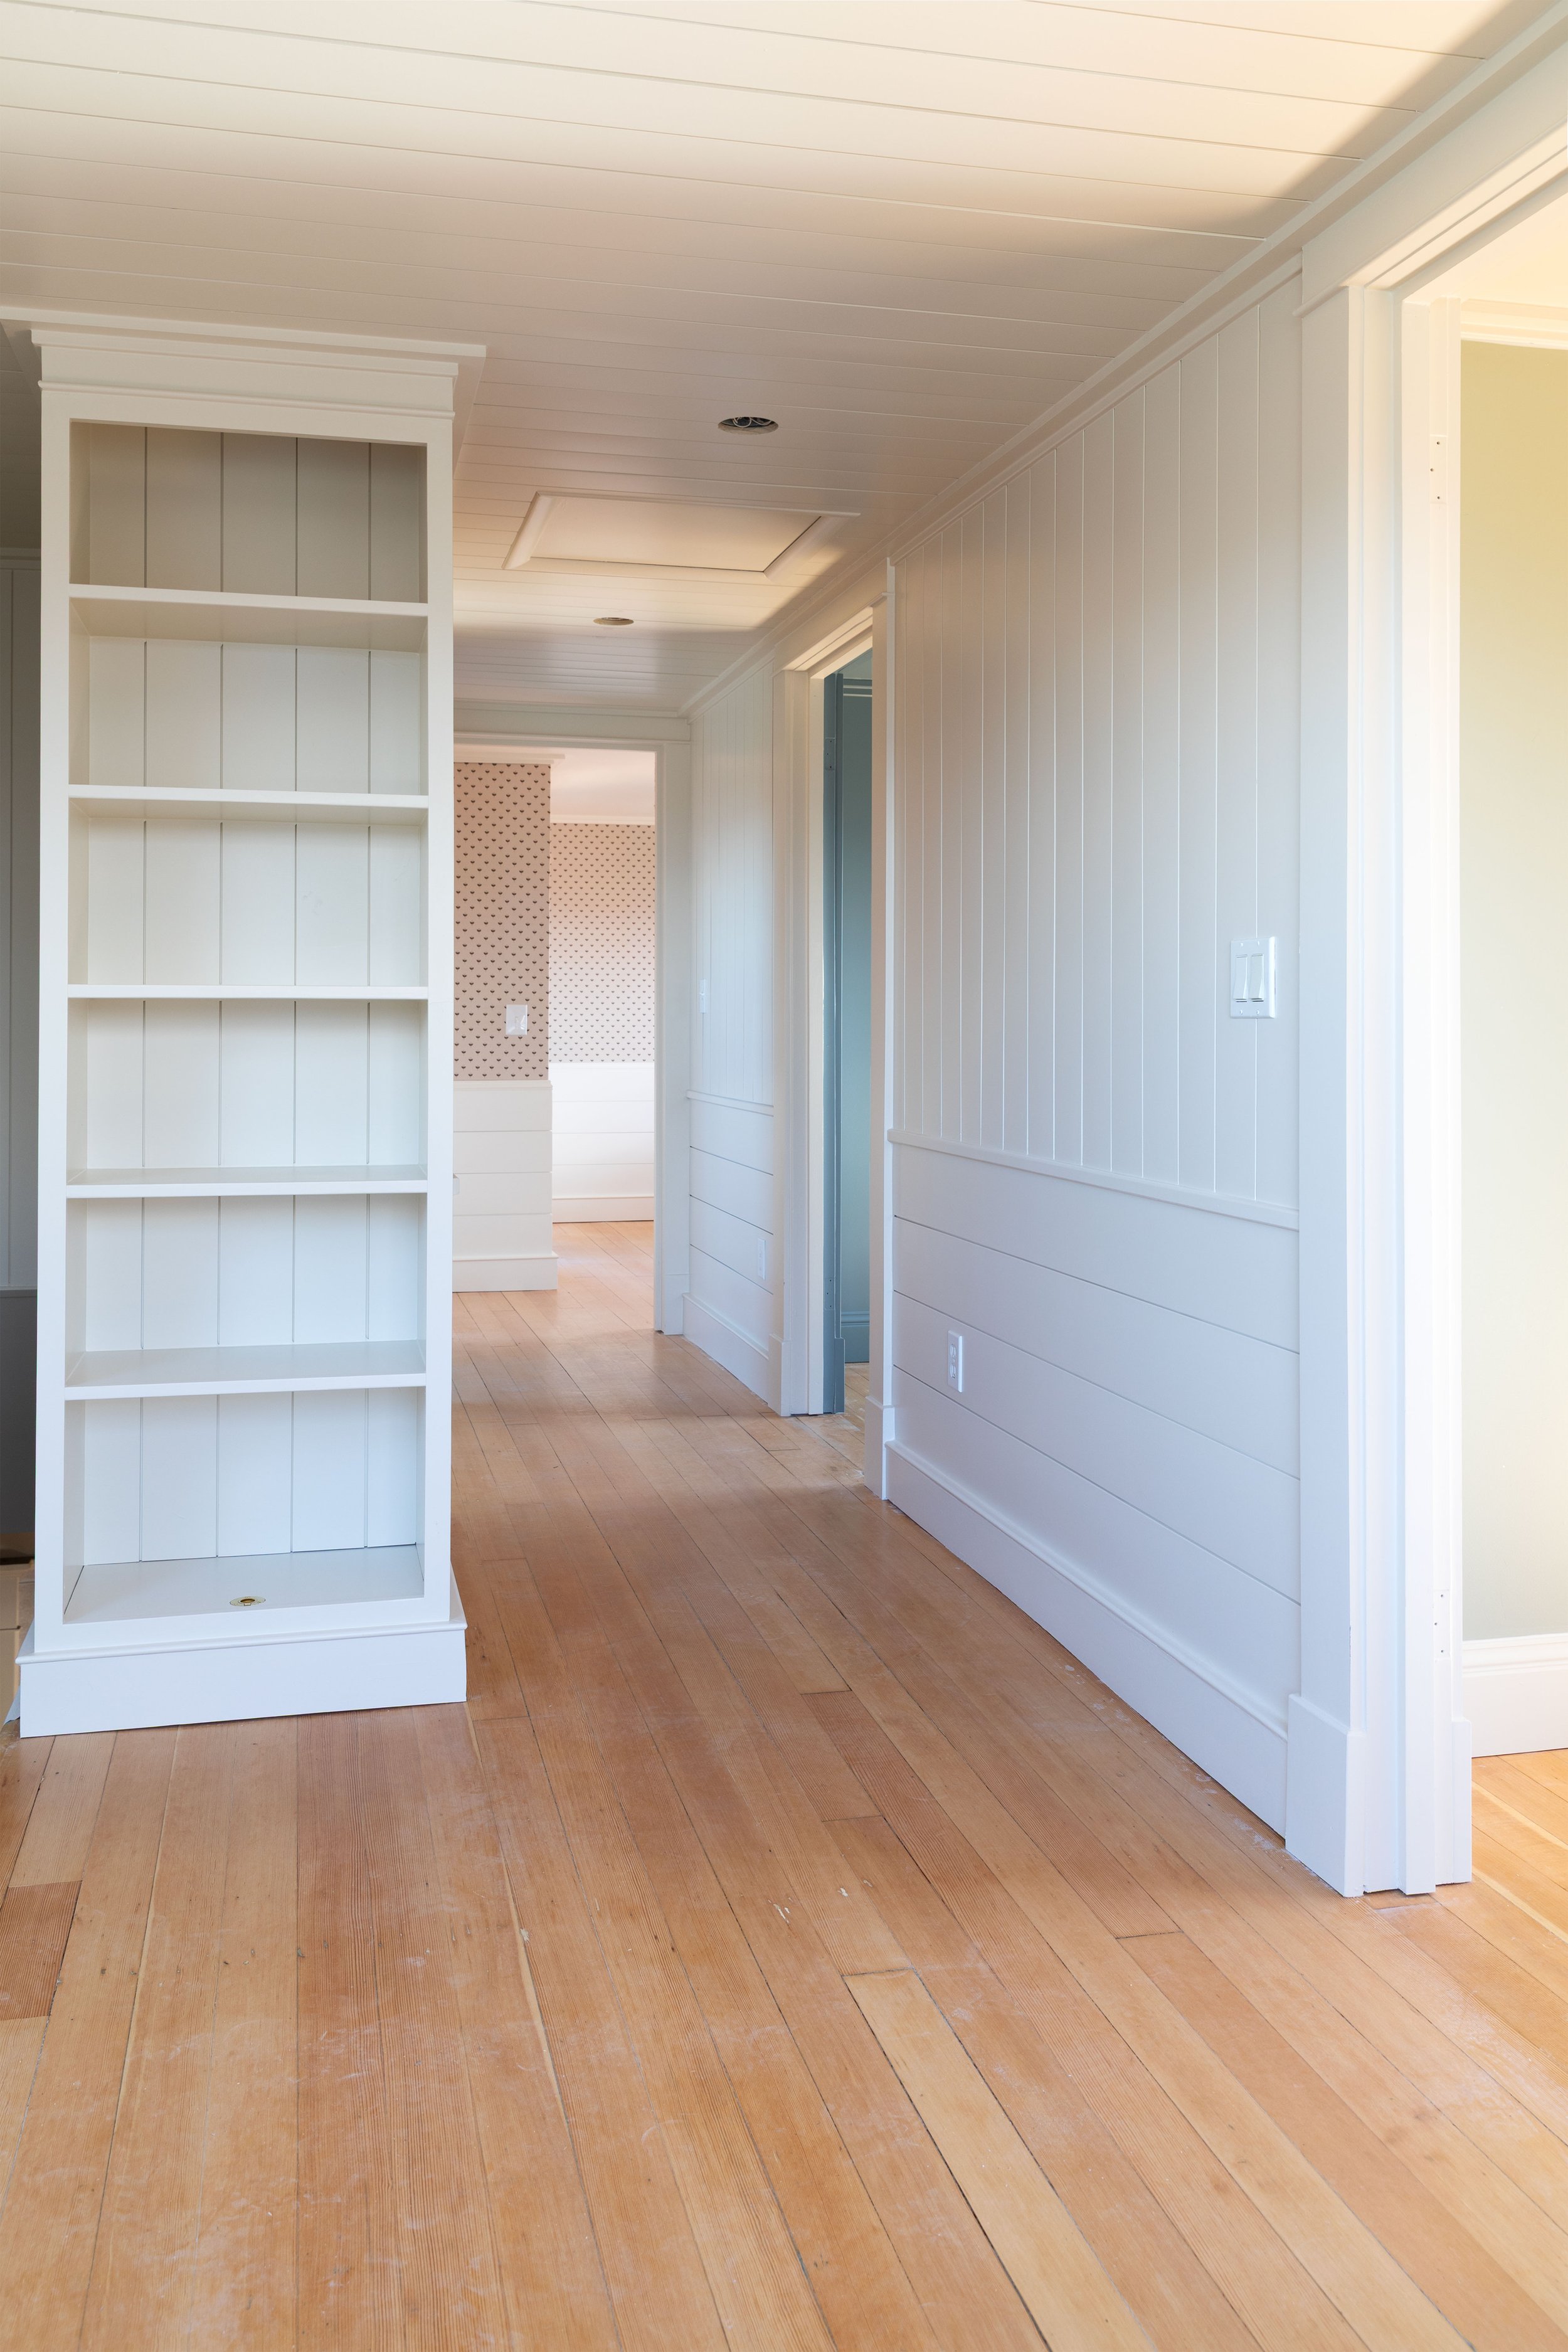
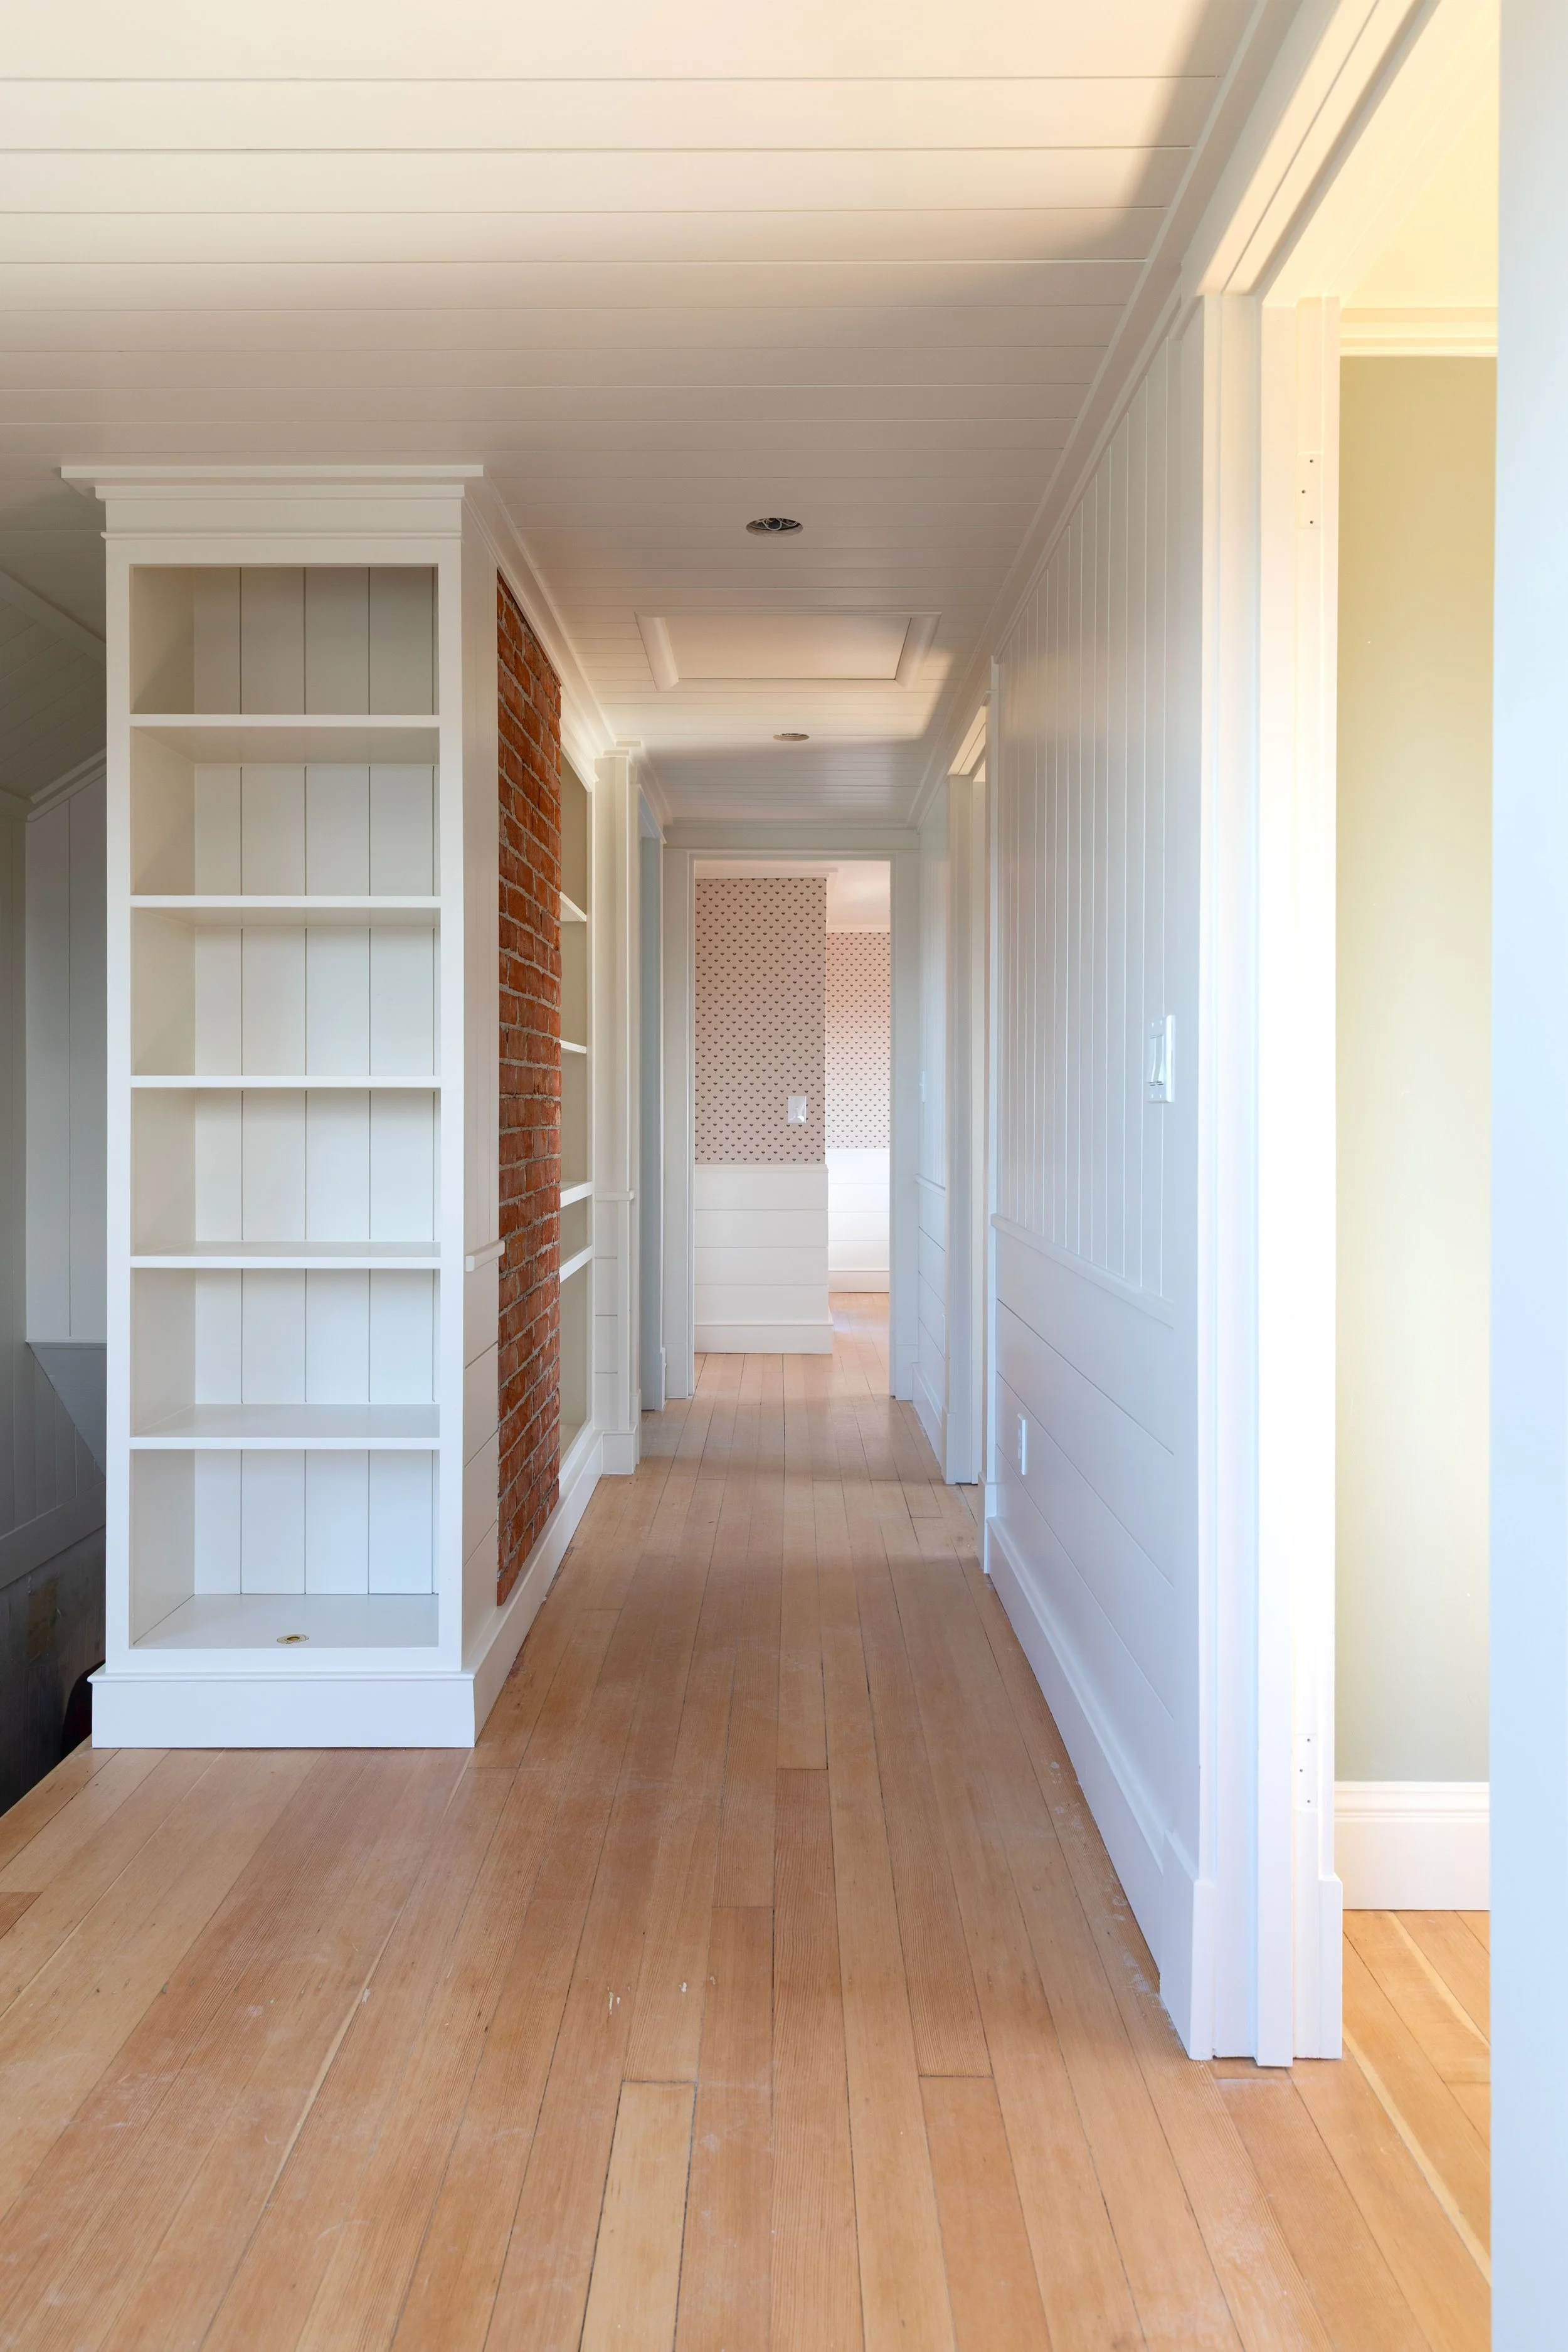
Figuring out where to start and stop the paneling was tricky. In the end, we carried our paneling throughout most of the upstairs:
Hallway
Landing / snug
Bathrooms
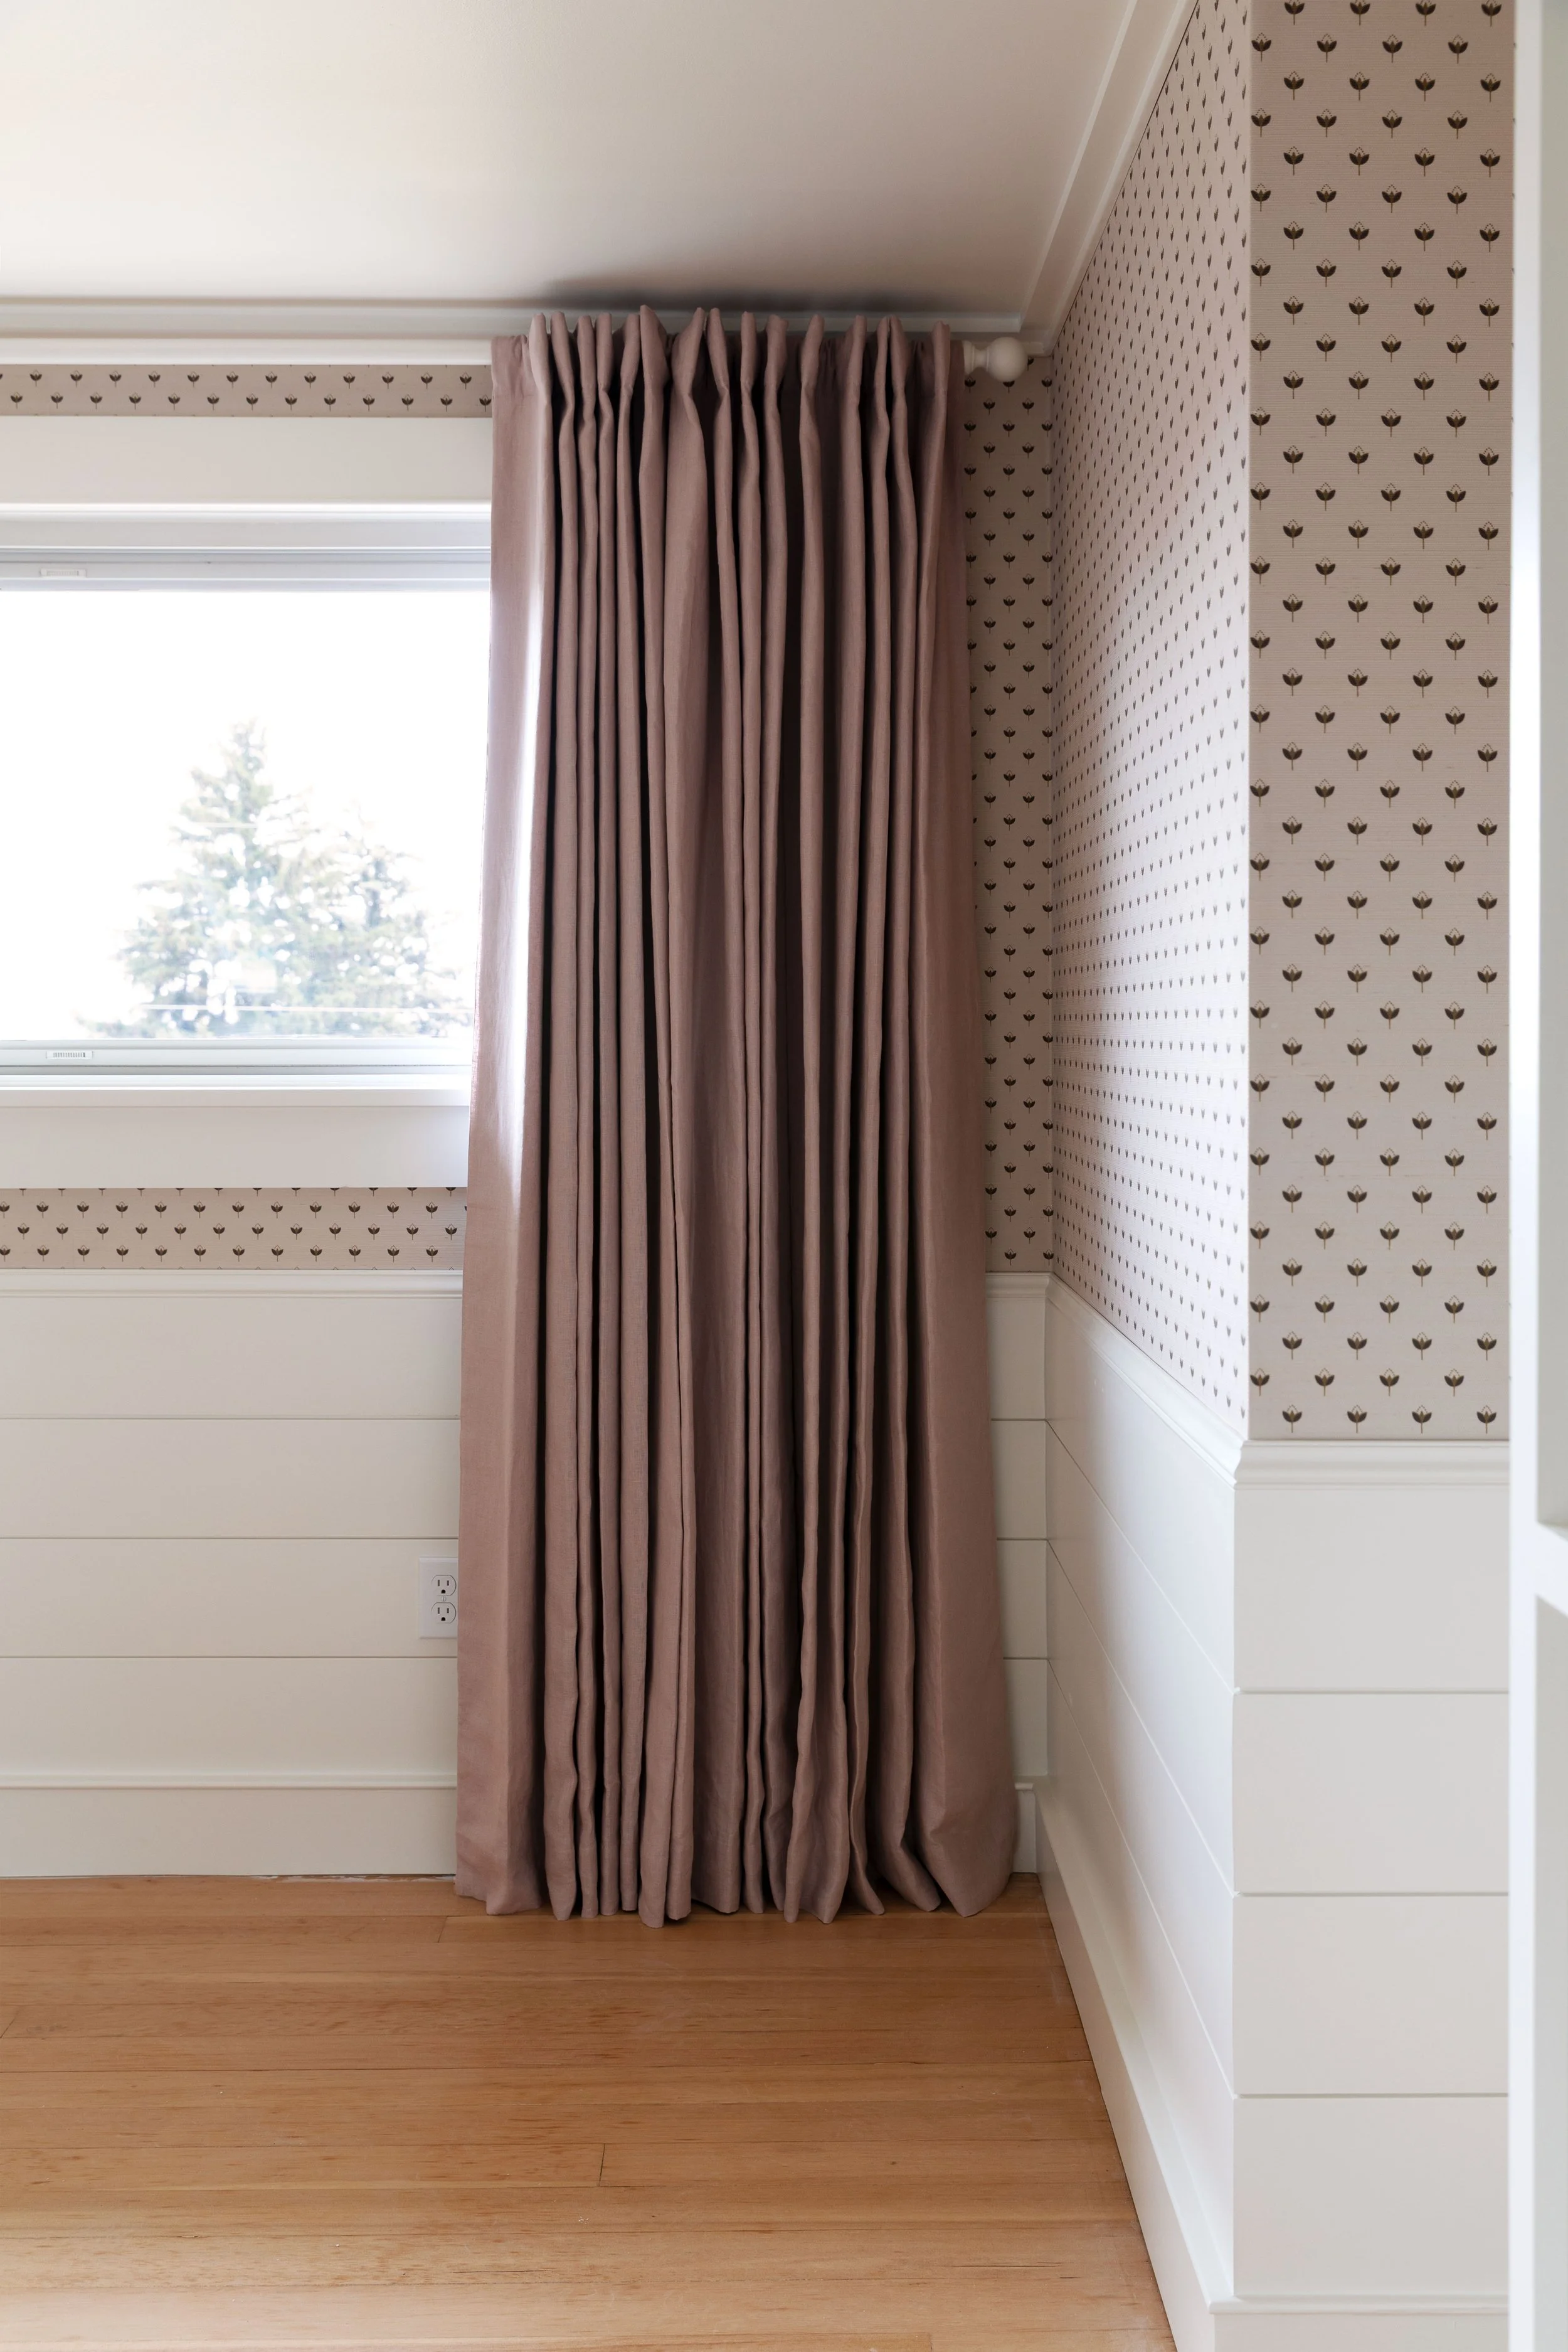
Daphne’s bedroom (installed horizontal wainscot only)
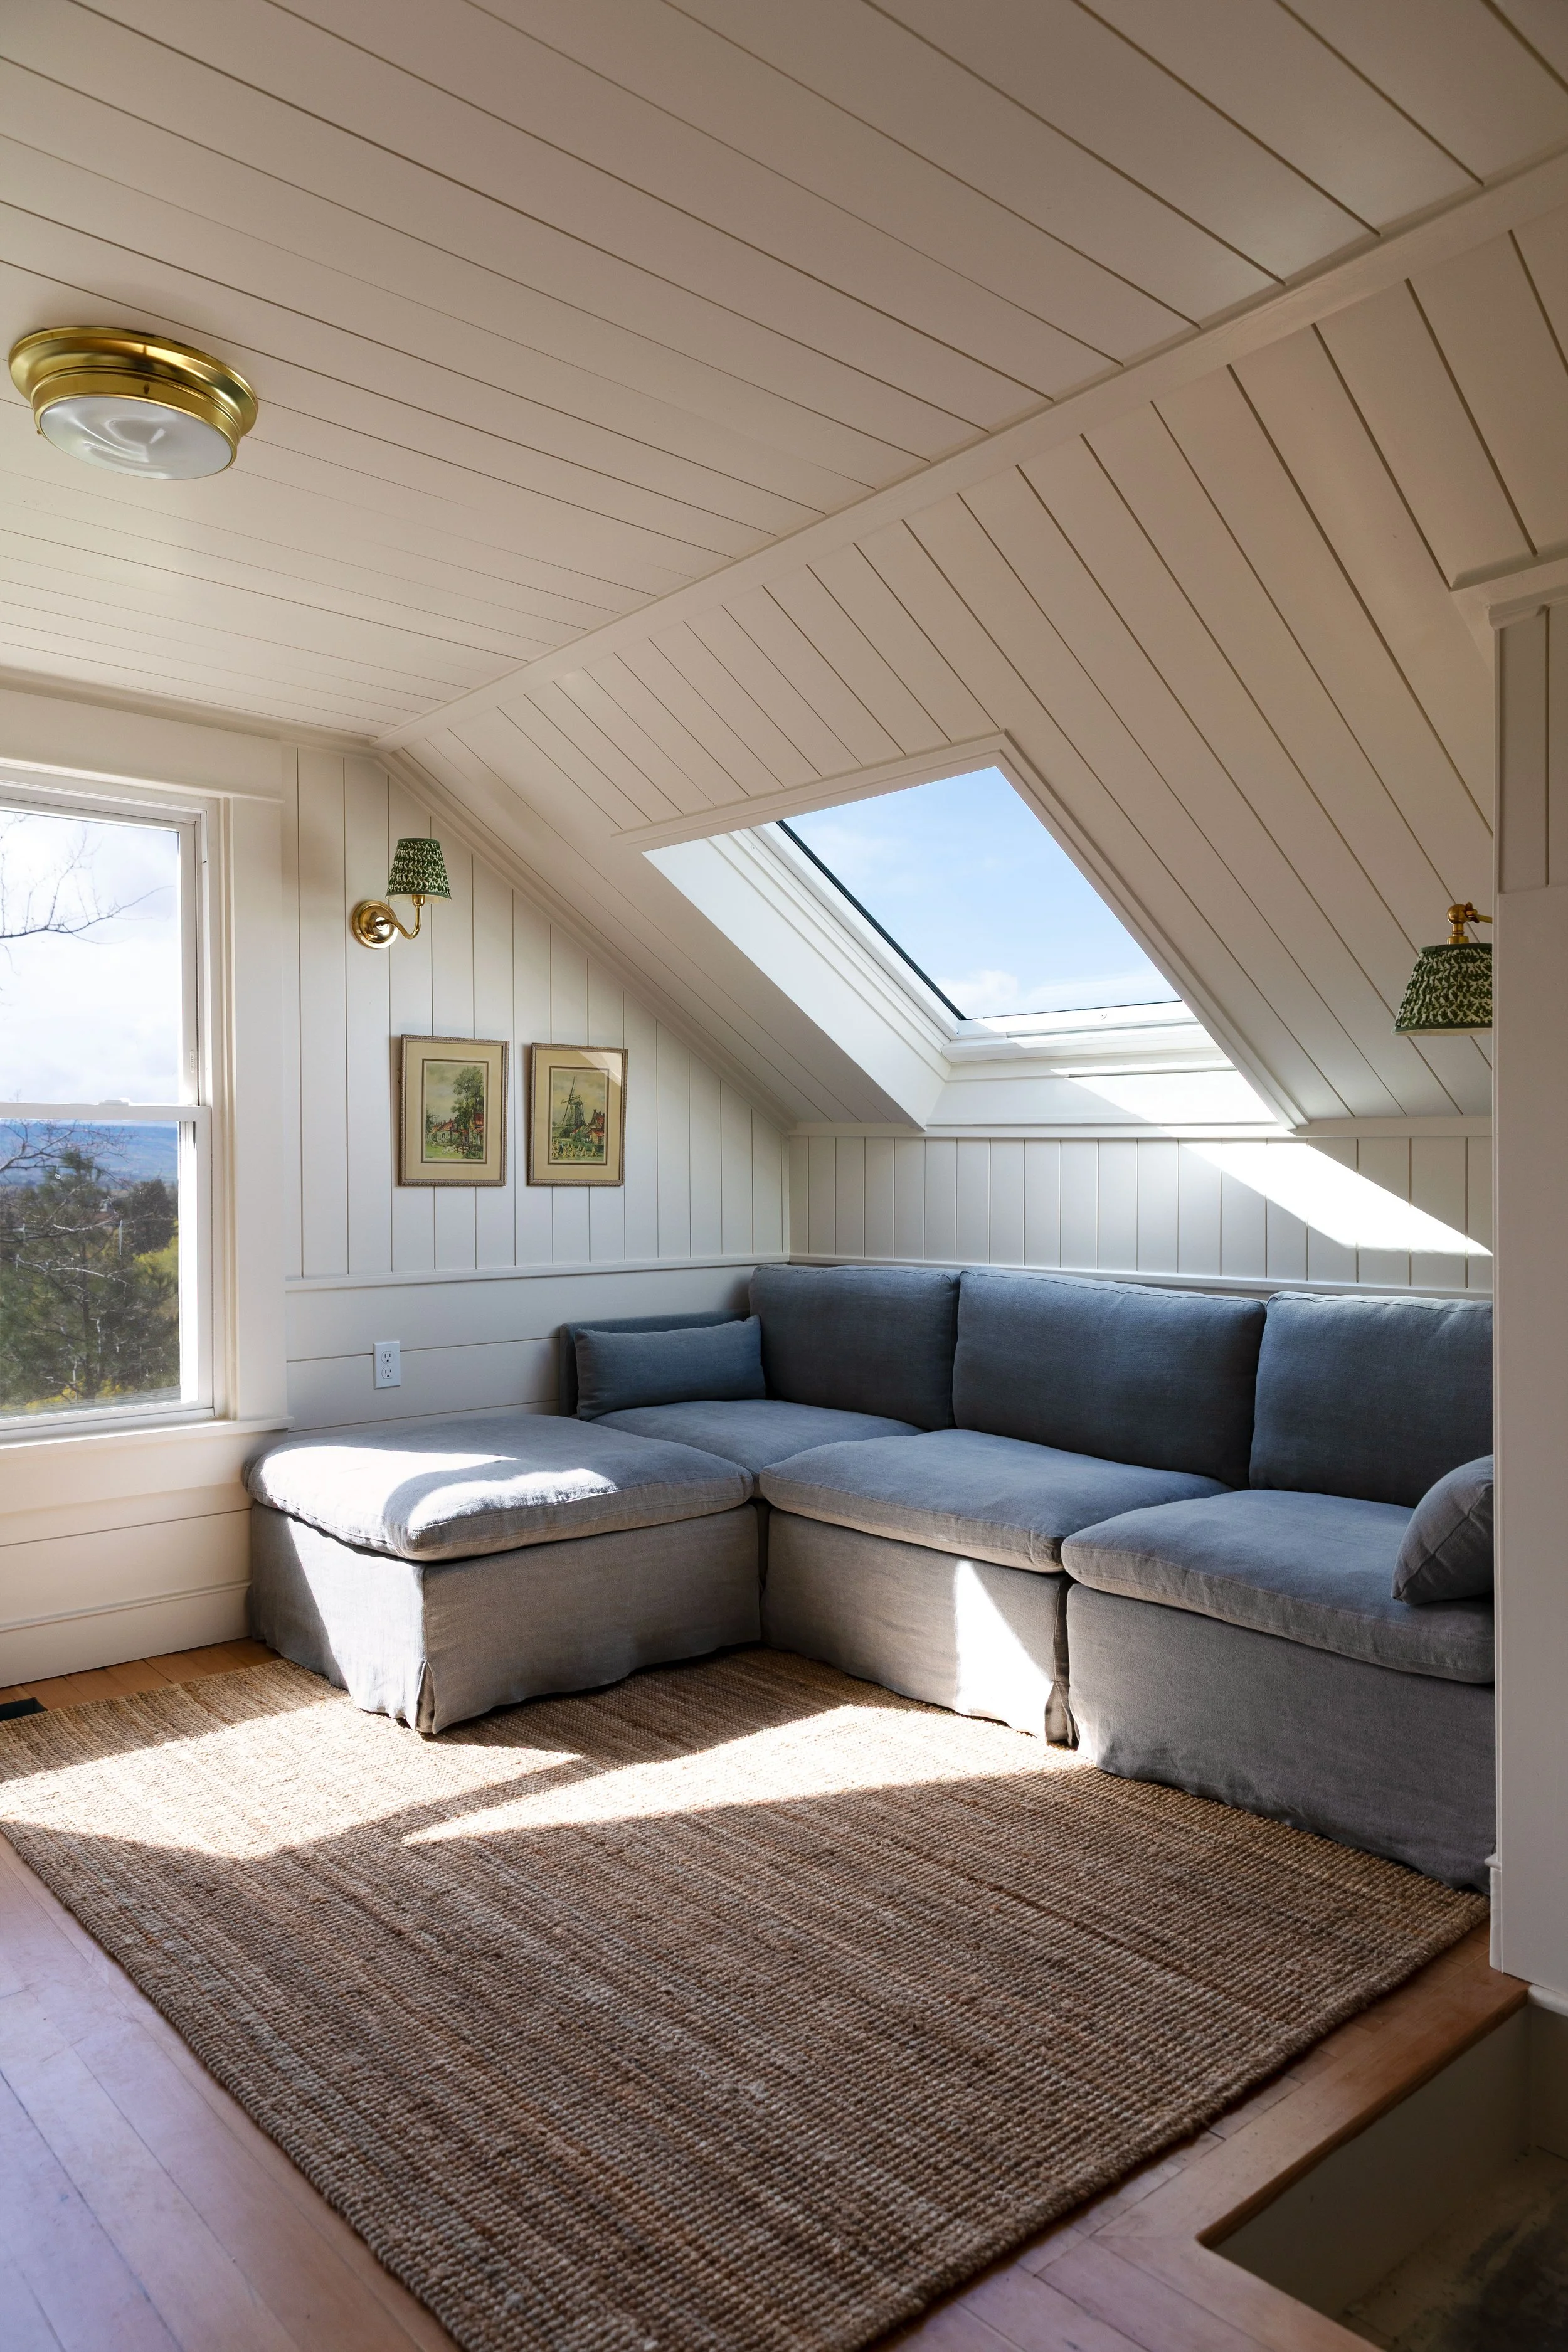
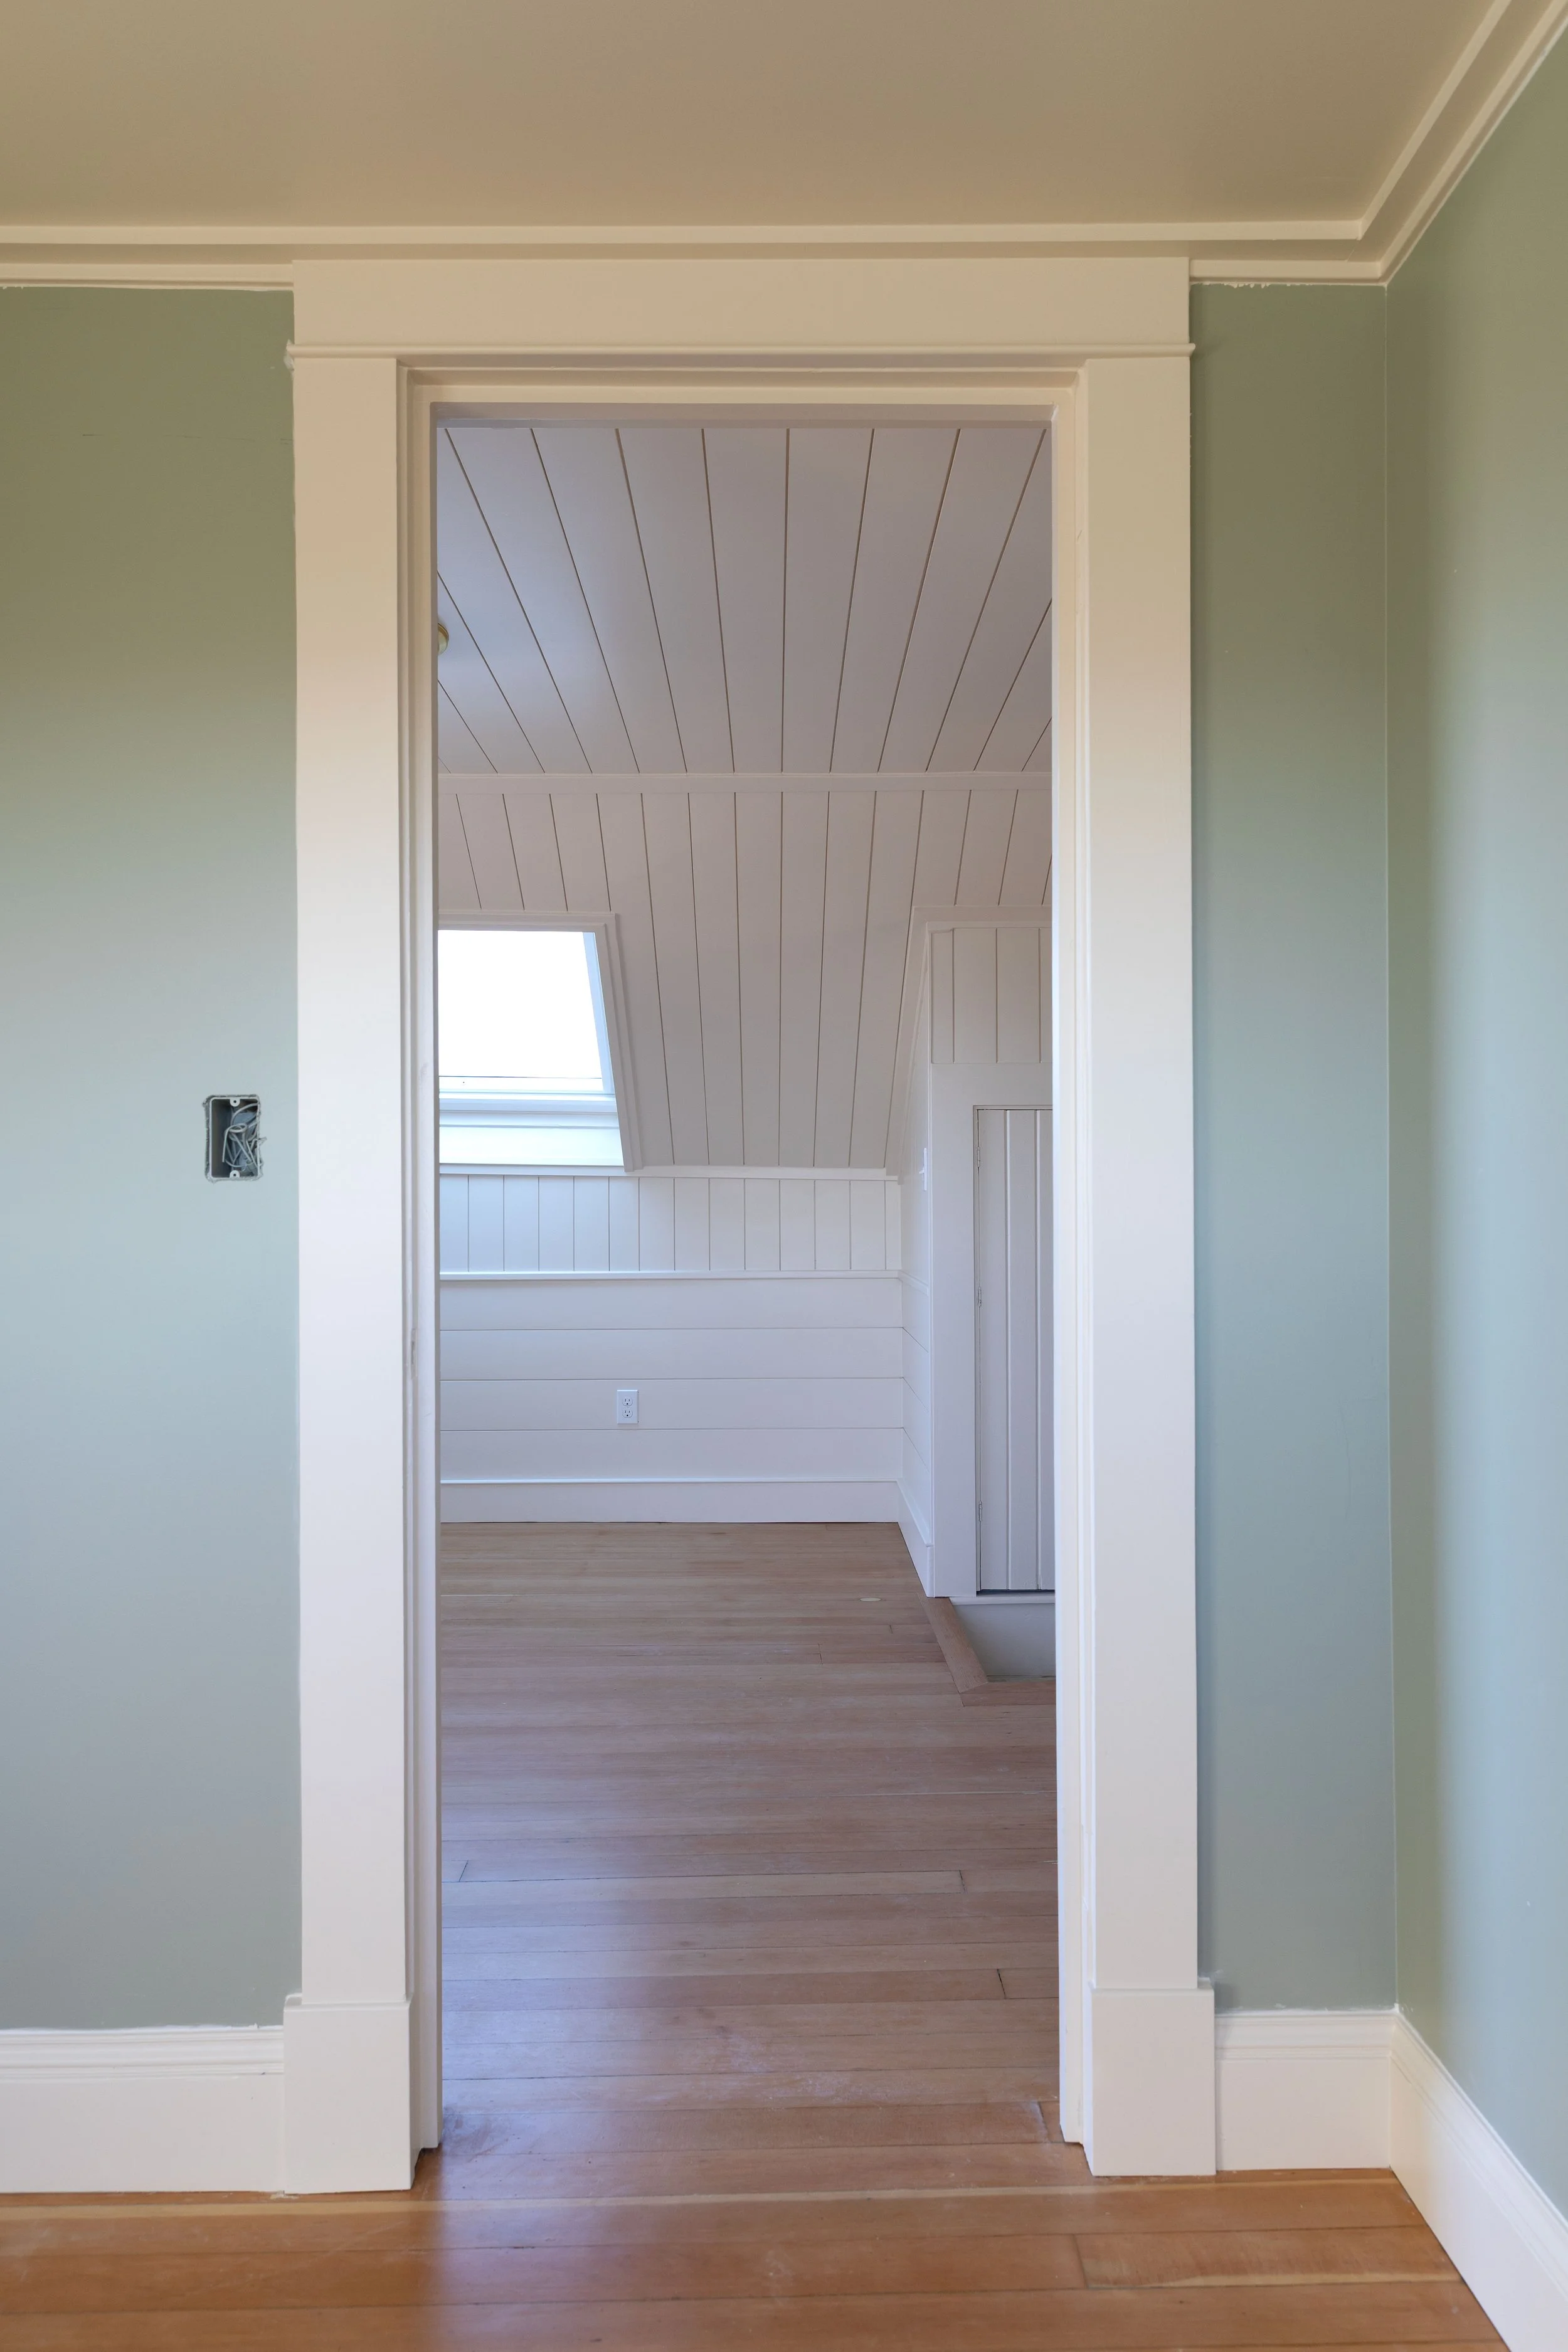
In some areas it’s installed over framing and insulation, and in others directly over drywall. One of my favorite parts about our paneling is how it continues across walls, slopes, and ceilings - it kind of gives you a gentle hug :) And helps the small spaces and short ceilings feel a bit more expansive.
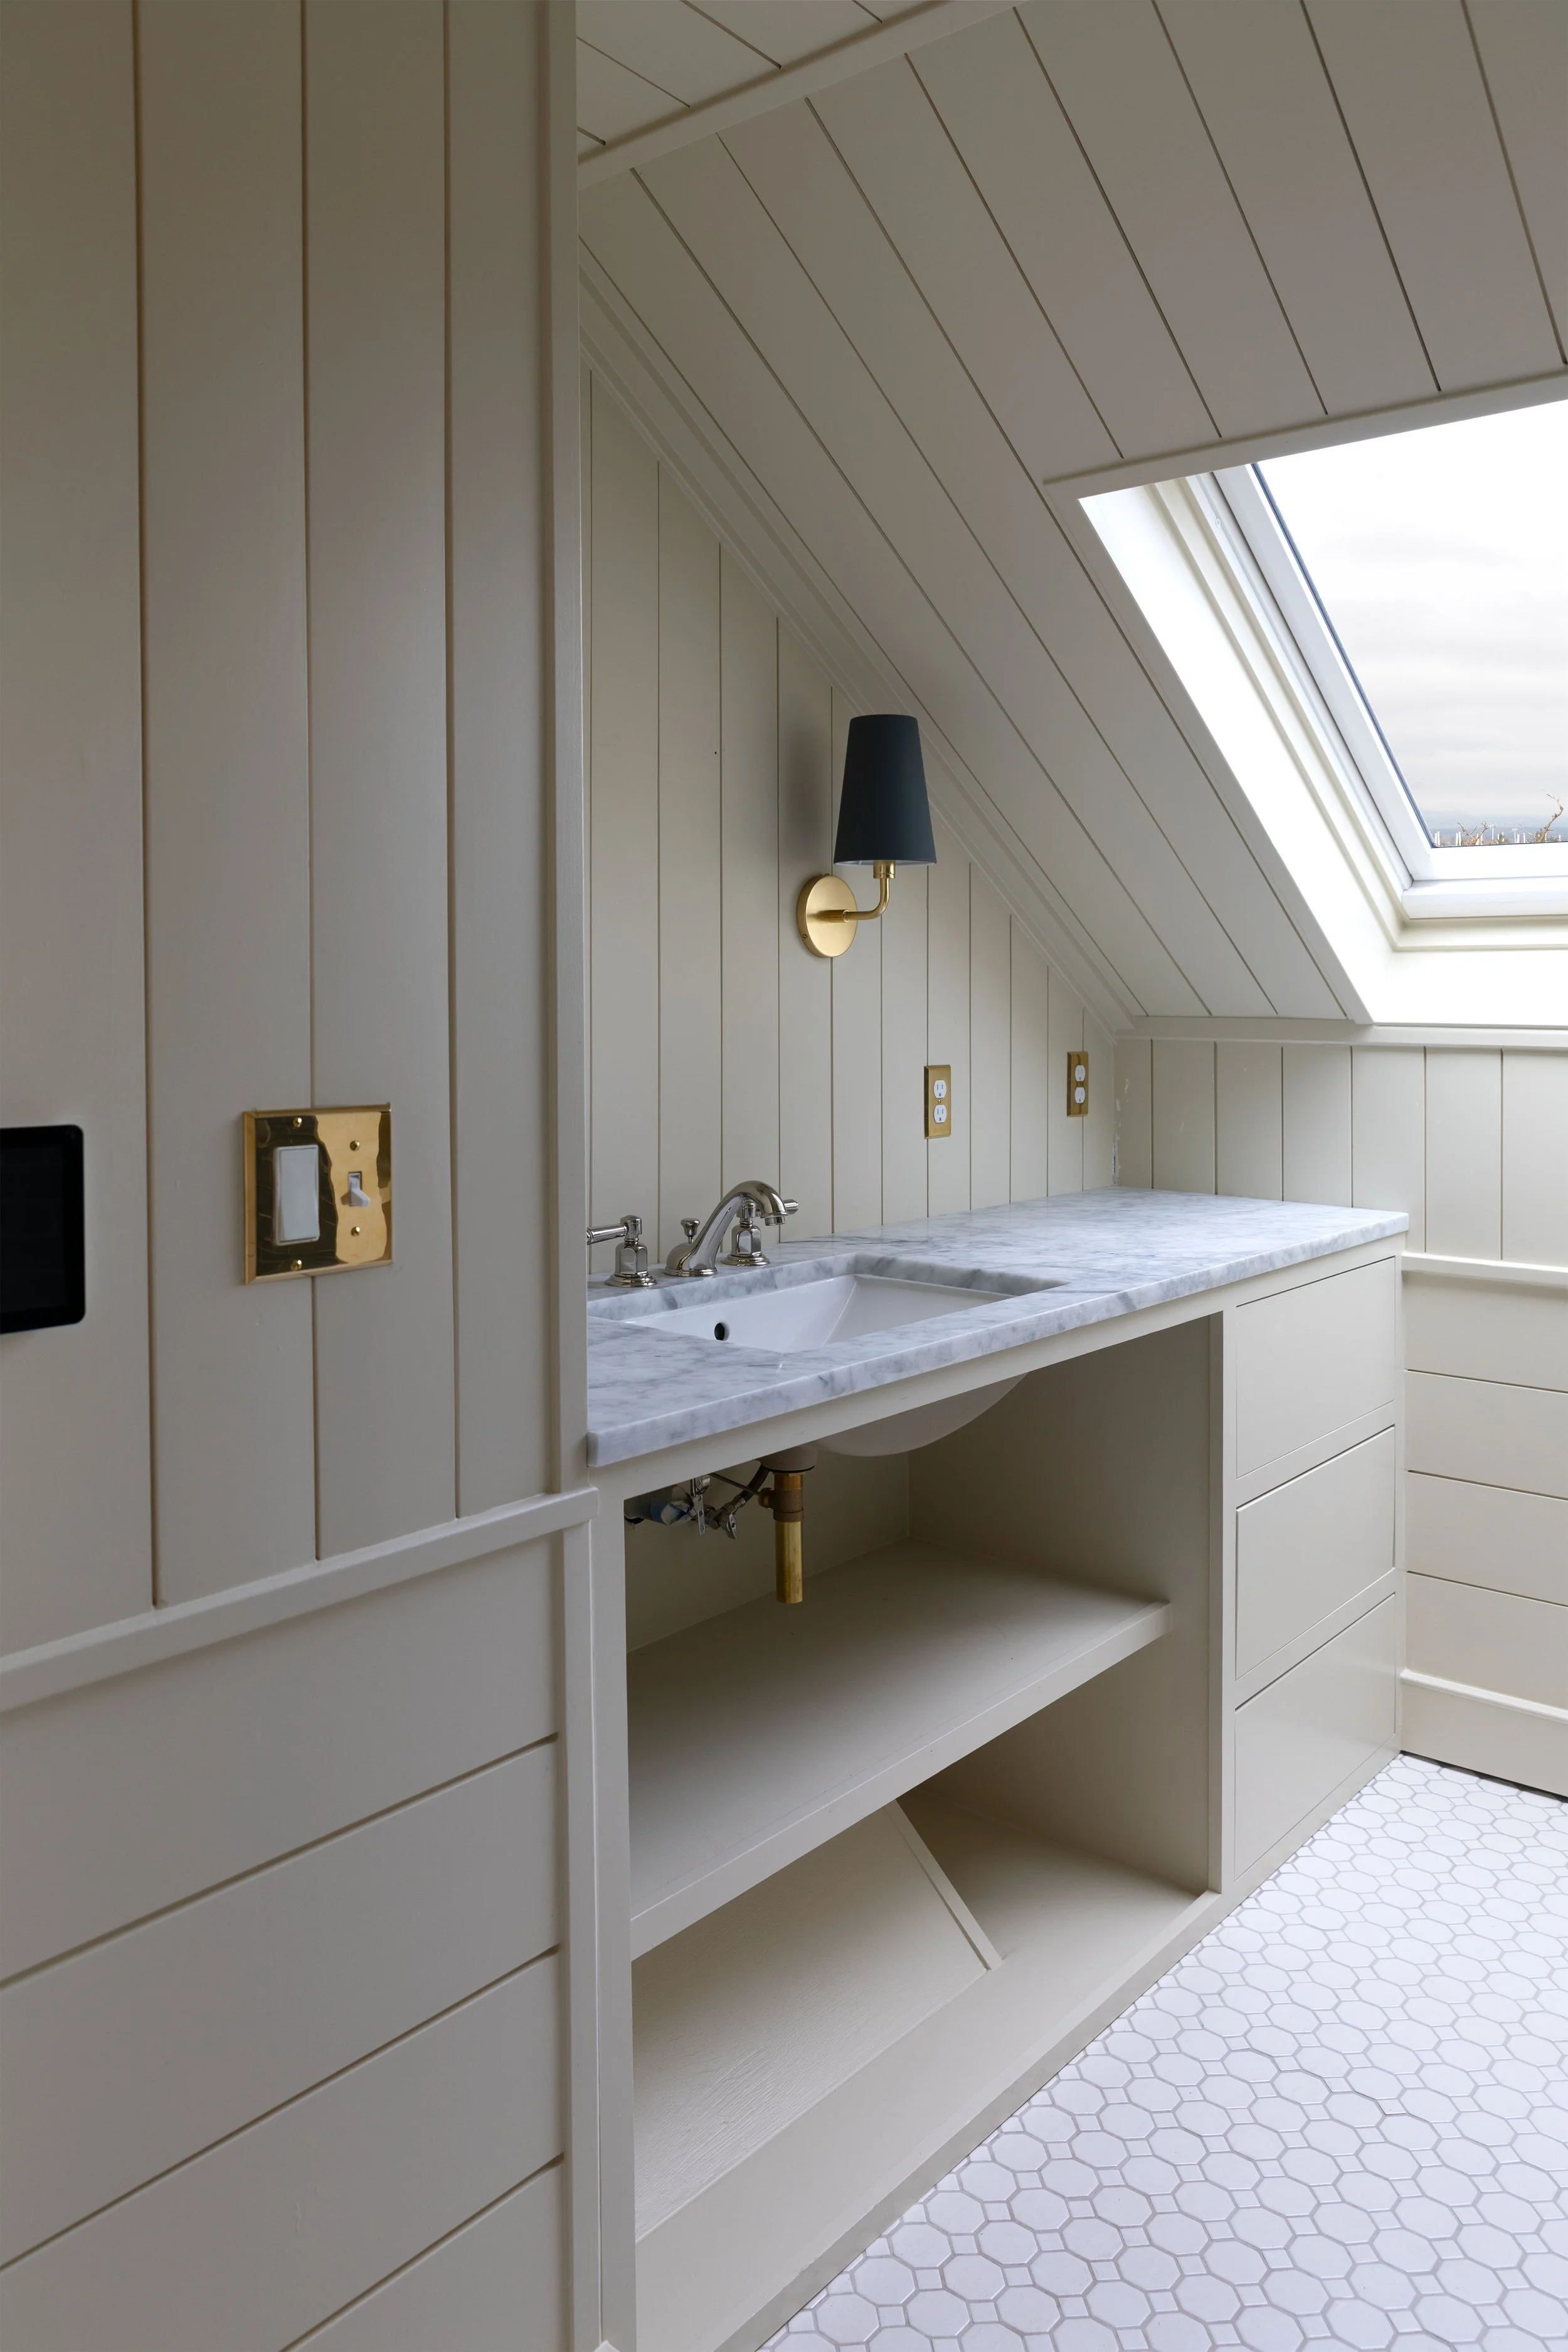
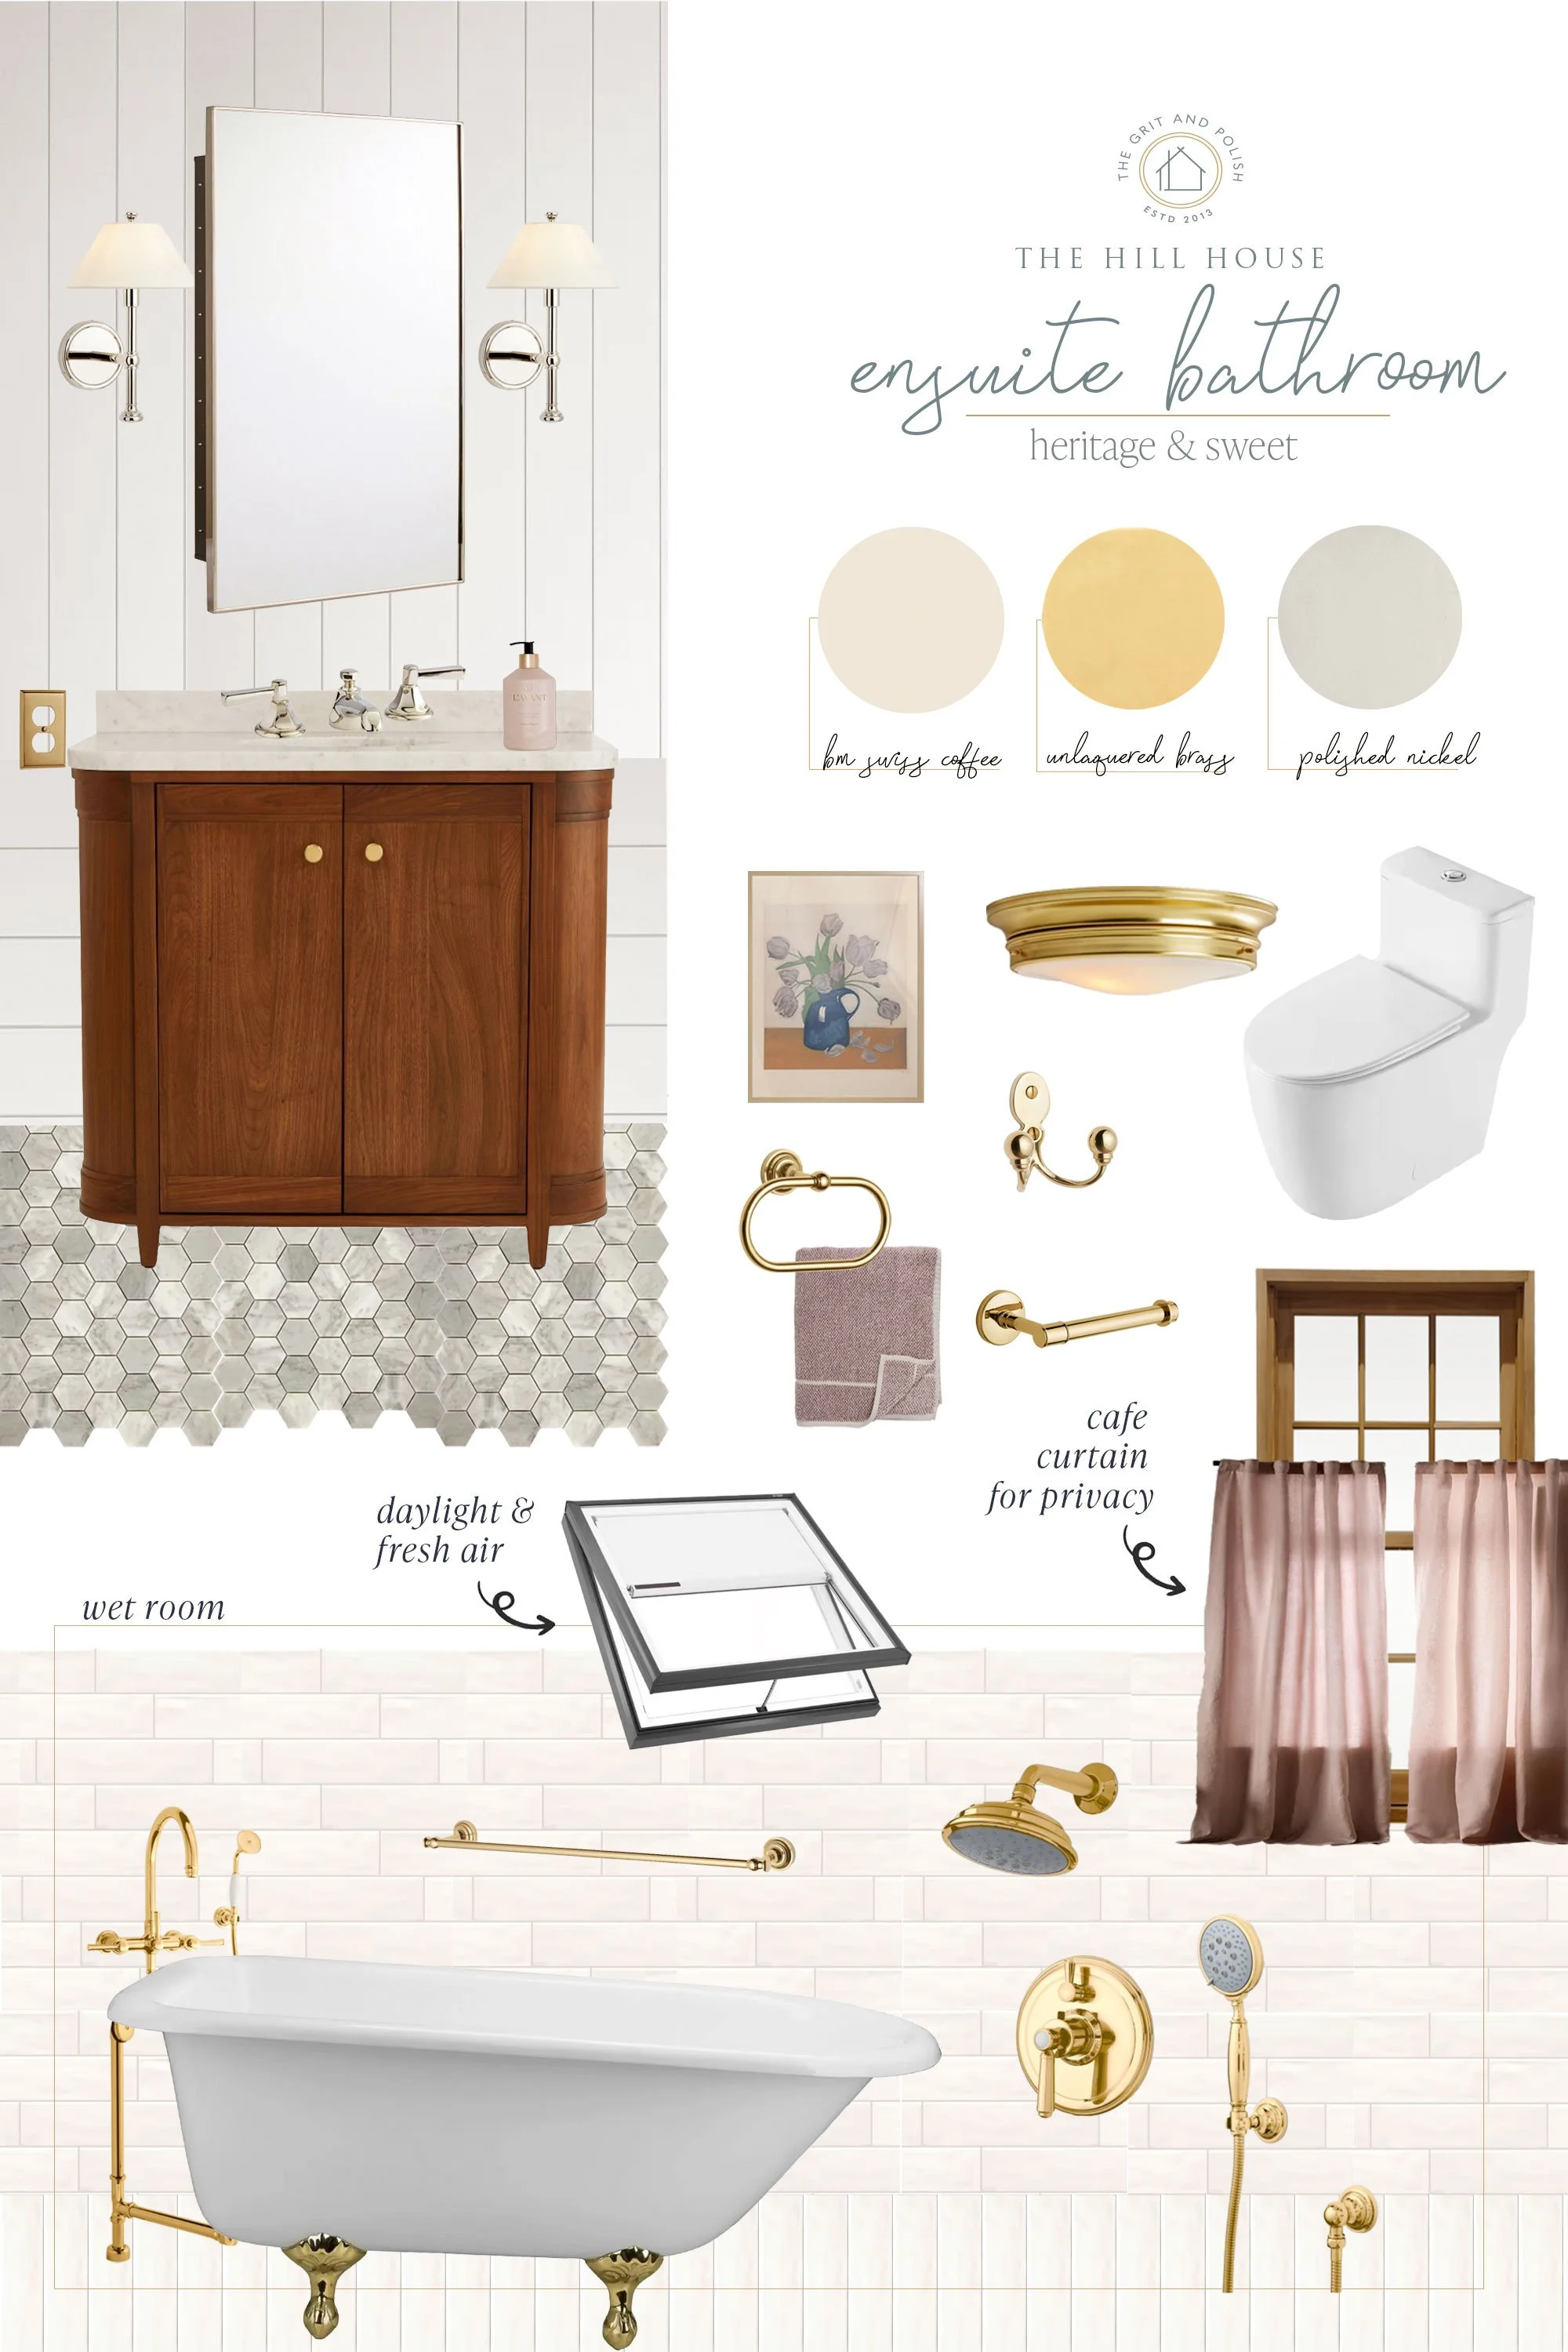
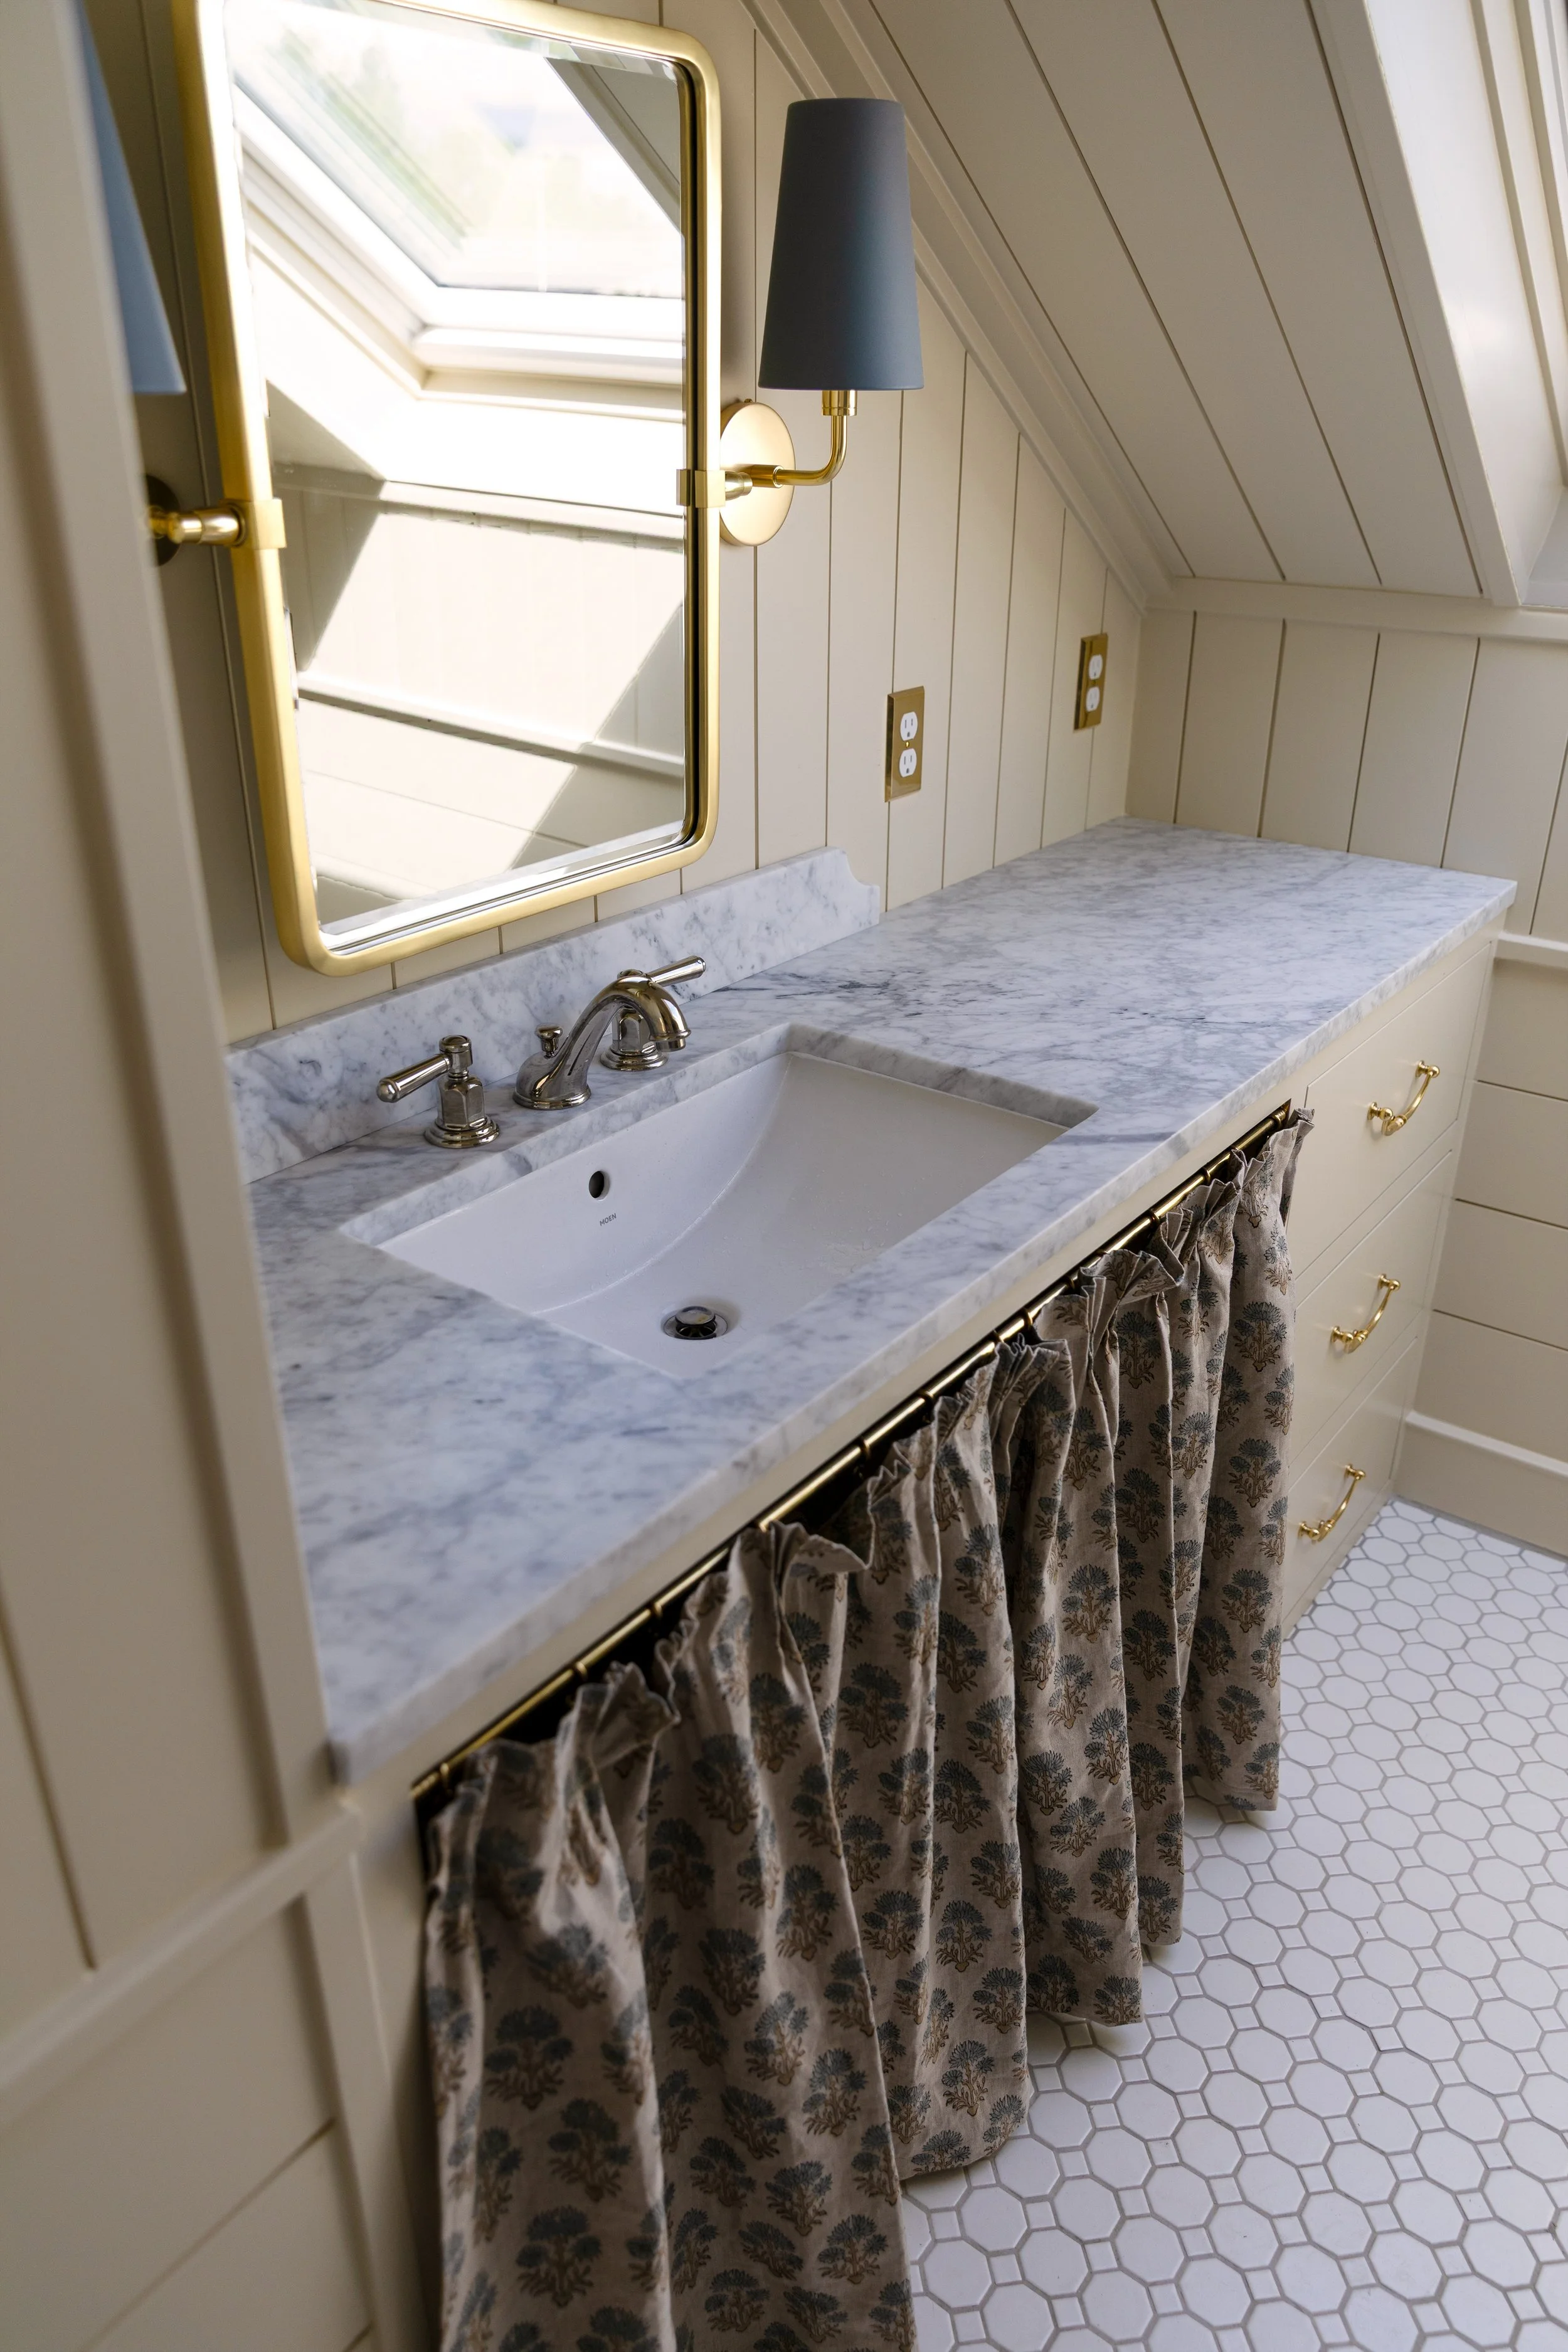
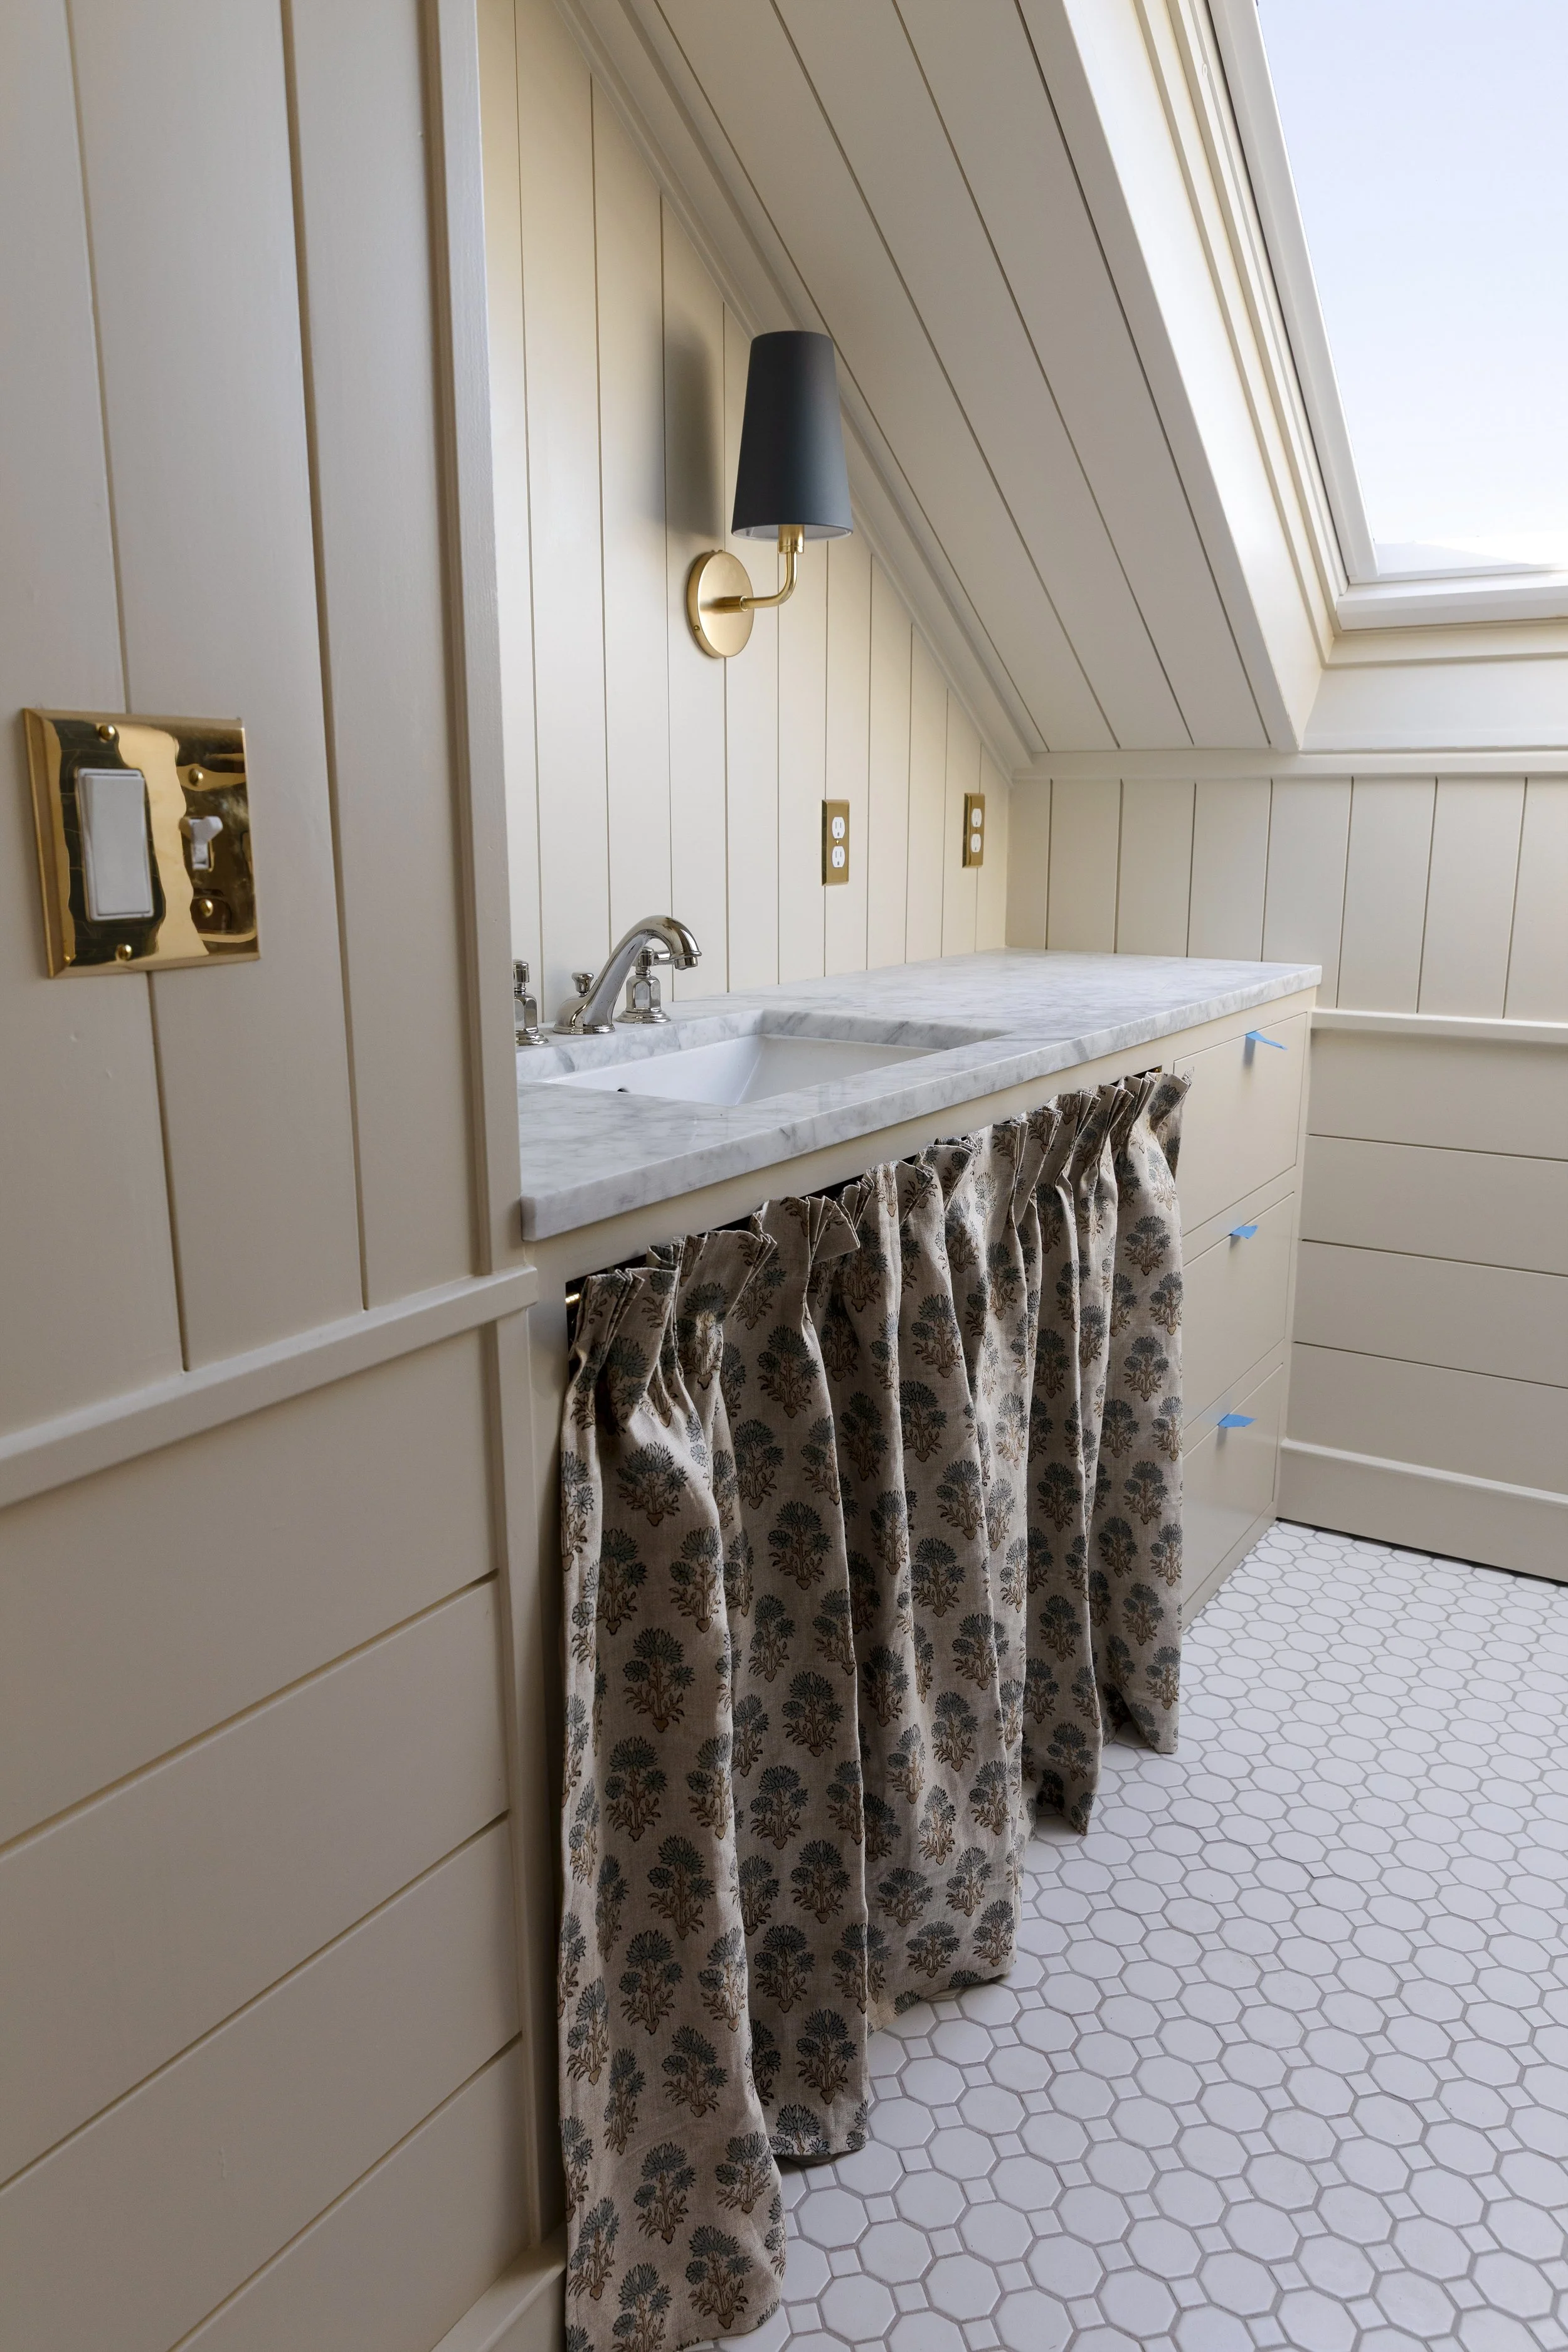
sconce (aged brass, Matte Dark Slate shade), faucet (polished nickel), sink, outlet cover (unlaquered brass), floor tile, skylight, paint
Installation Notes (What We Learned)
A few things to know before you install paneling like our’s….
1. Old Houses Are Not Level (Start Accordingly)
When installing horizontal boards, we always started from the lowest point in the room and worked upward. We shaved boards as needed to keep the base level. If you follow the floor line exactly, your paneling will slowly drift and you’ll notice it.
2. PLan on extra time for fill and caulk
Shiplap install means face nailing each panel (in addition to nailing the tongue) and then filling and sanding prior to paint. That takes time. Plus where the vertical boards meet the horizontal trim, each joint creates a small indent that needs to be carefully caulked and finished. Garrett and I spent days filling and caulking - it felt like the job that would never end! Definitely plan extra time for this step.
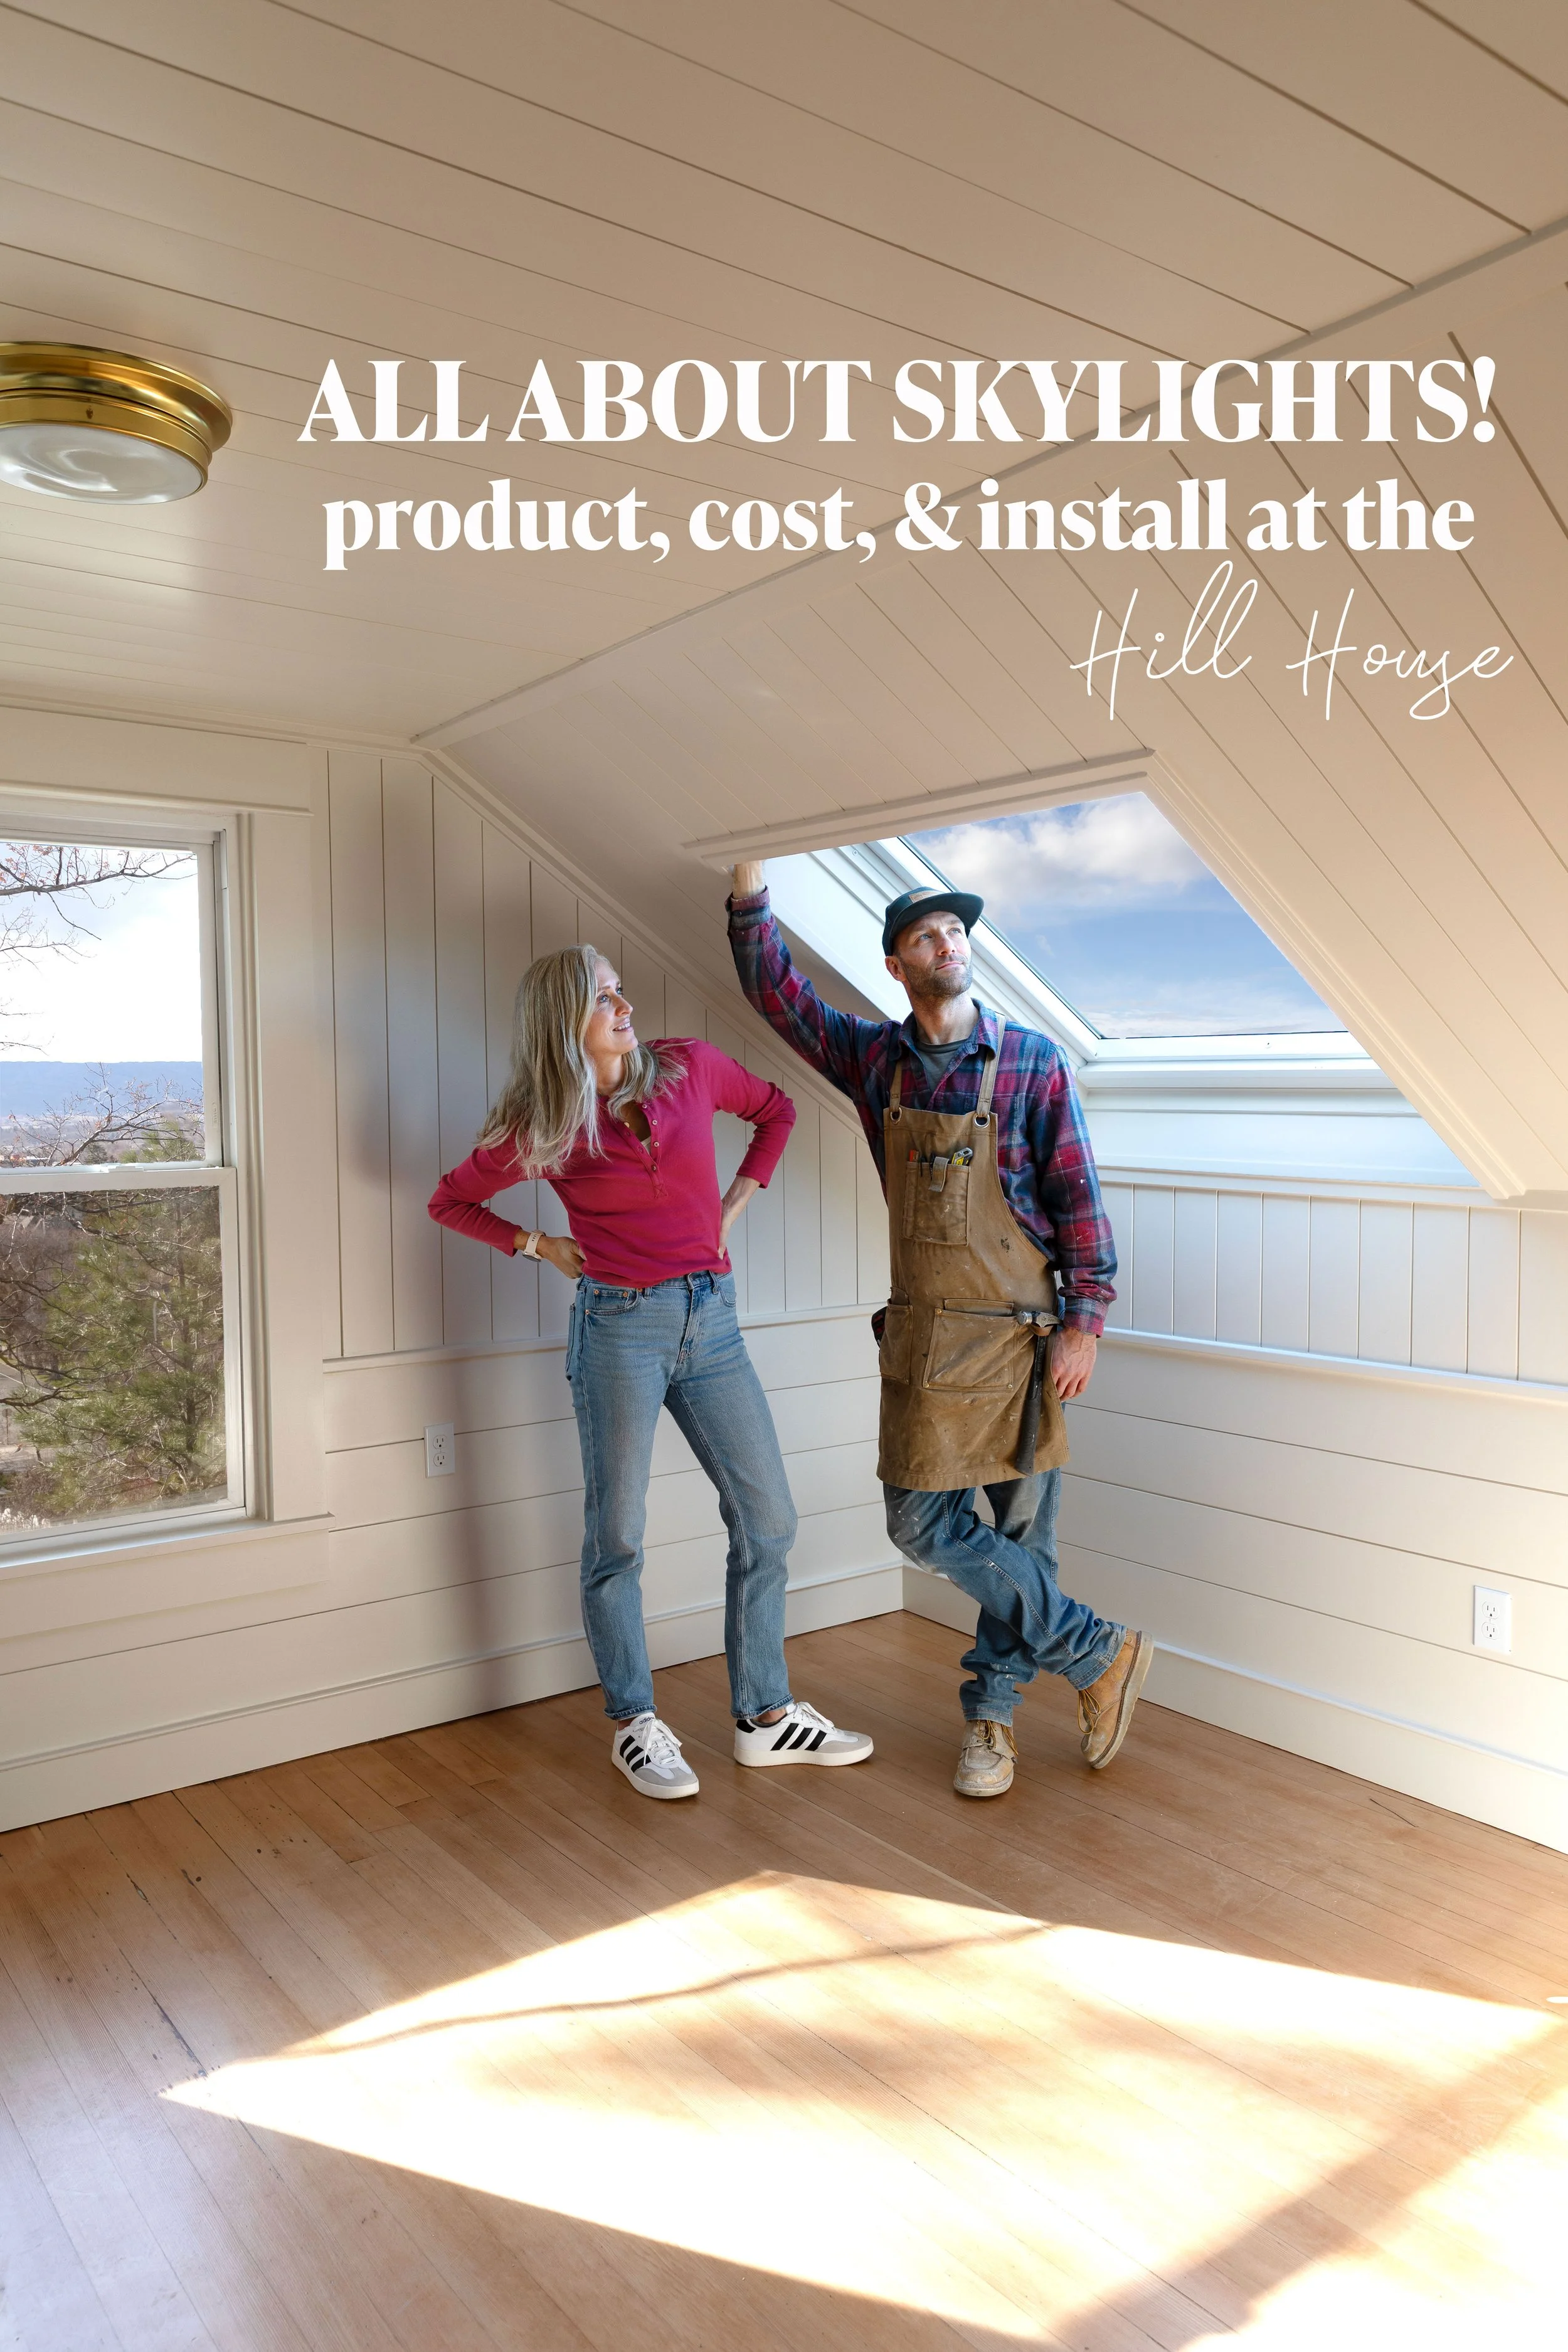
3. Paneling Works Beautifully on Sloped Ceilings
Running boards along the slope creates clean, continuous lines and a finished feeling. Rather than struggle with perfectly cut angles at the intersection of the angled walls with the vertical wall and ceiling, we covered the joint with a small piece of trim. Saved a ton of time!
4. Paneling can be Installed Over drywall or instead of it
Paneling can be installed both overtop of existing drywall OR in place of drywall (directly onto framing). We did both applications here. Note that depending on your design and wall framing, you may need to install blocking to nail the paneling to.
5. this is a user-friendly diy
Garrett would like you to know that when it comes to wall finishes, paneling is DIY friendly. With basic carpentry skills and fairly simple tools, anyone can put up paneling and get a beautiful result (just don’t skimp on the wood filler and caulk!). The same can’t be said for drywall, which requires a fair amount of skill to do well.
6. paneling is budget-friendly
When compared to drywall, paneling is right in there budget-wise. At the Hill House, we hired Edward to drywall the three bedrooms upstairs, costing us $3000 in labor and materials (and yes, hiring out drywall is always worth it!). The paneling would cost 2/3 of that when installed by us. Personally, we like paneling better.
Why Wall Paneling Works So Well in Old Homes
Wall paneling is one of those elements that instantly adds depth and character and works especially well in spaces that have been heavily renovated like our 1970’s upstairs.
It helps create architectural interest without overly ornate trim and a continuous finish that looks polished and cozy. And in rooms where durability is a factor, pine walls beat drywall every time! In our case, the paneling helped the upstairs feel like it belongs in a 1910 home and connect to the downstairs.
How Paneling Works With Trim
One thing we paid close attention to was how the paneling interacted with the rest of the trim. For the most part, we thought of the paneling equivalent to the sheetrock layer on the wall and cased and trimmed accordingly. For us, that meant:
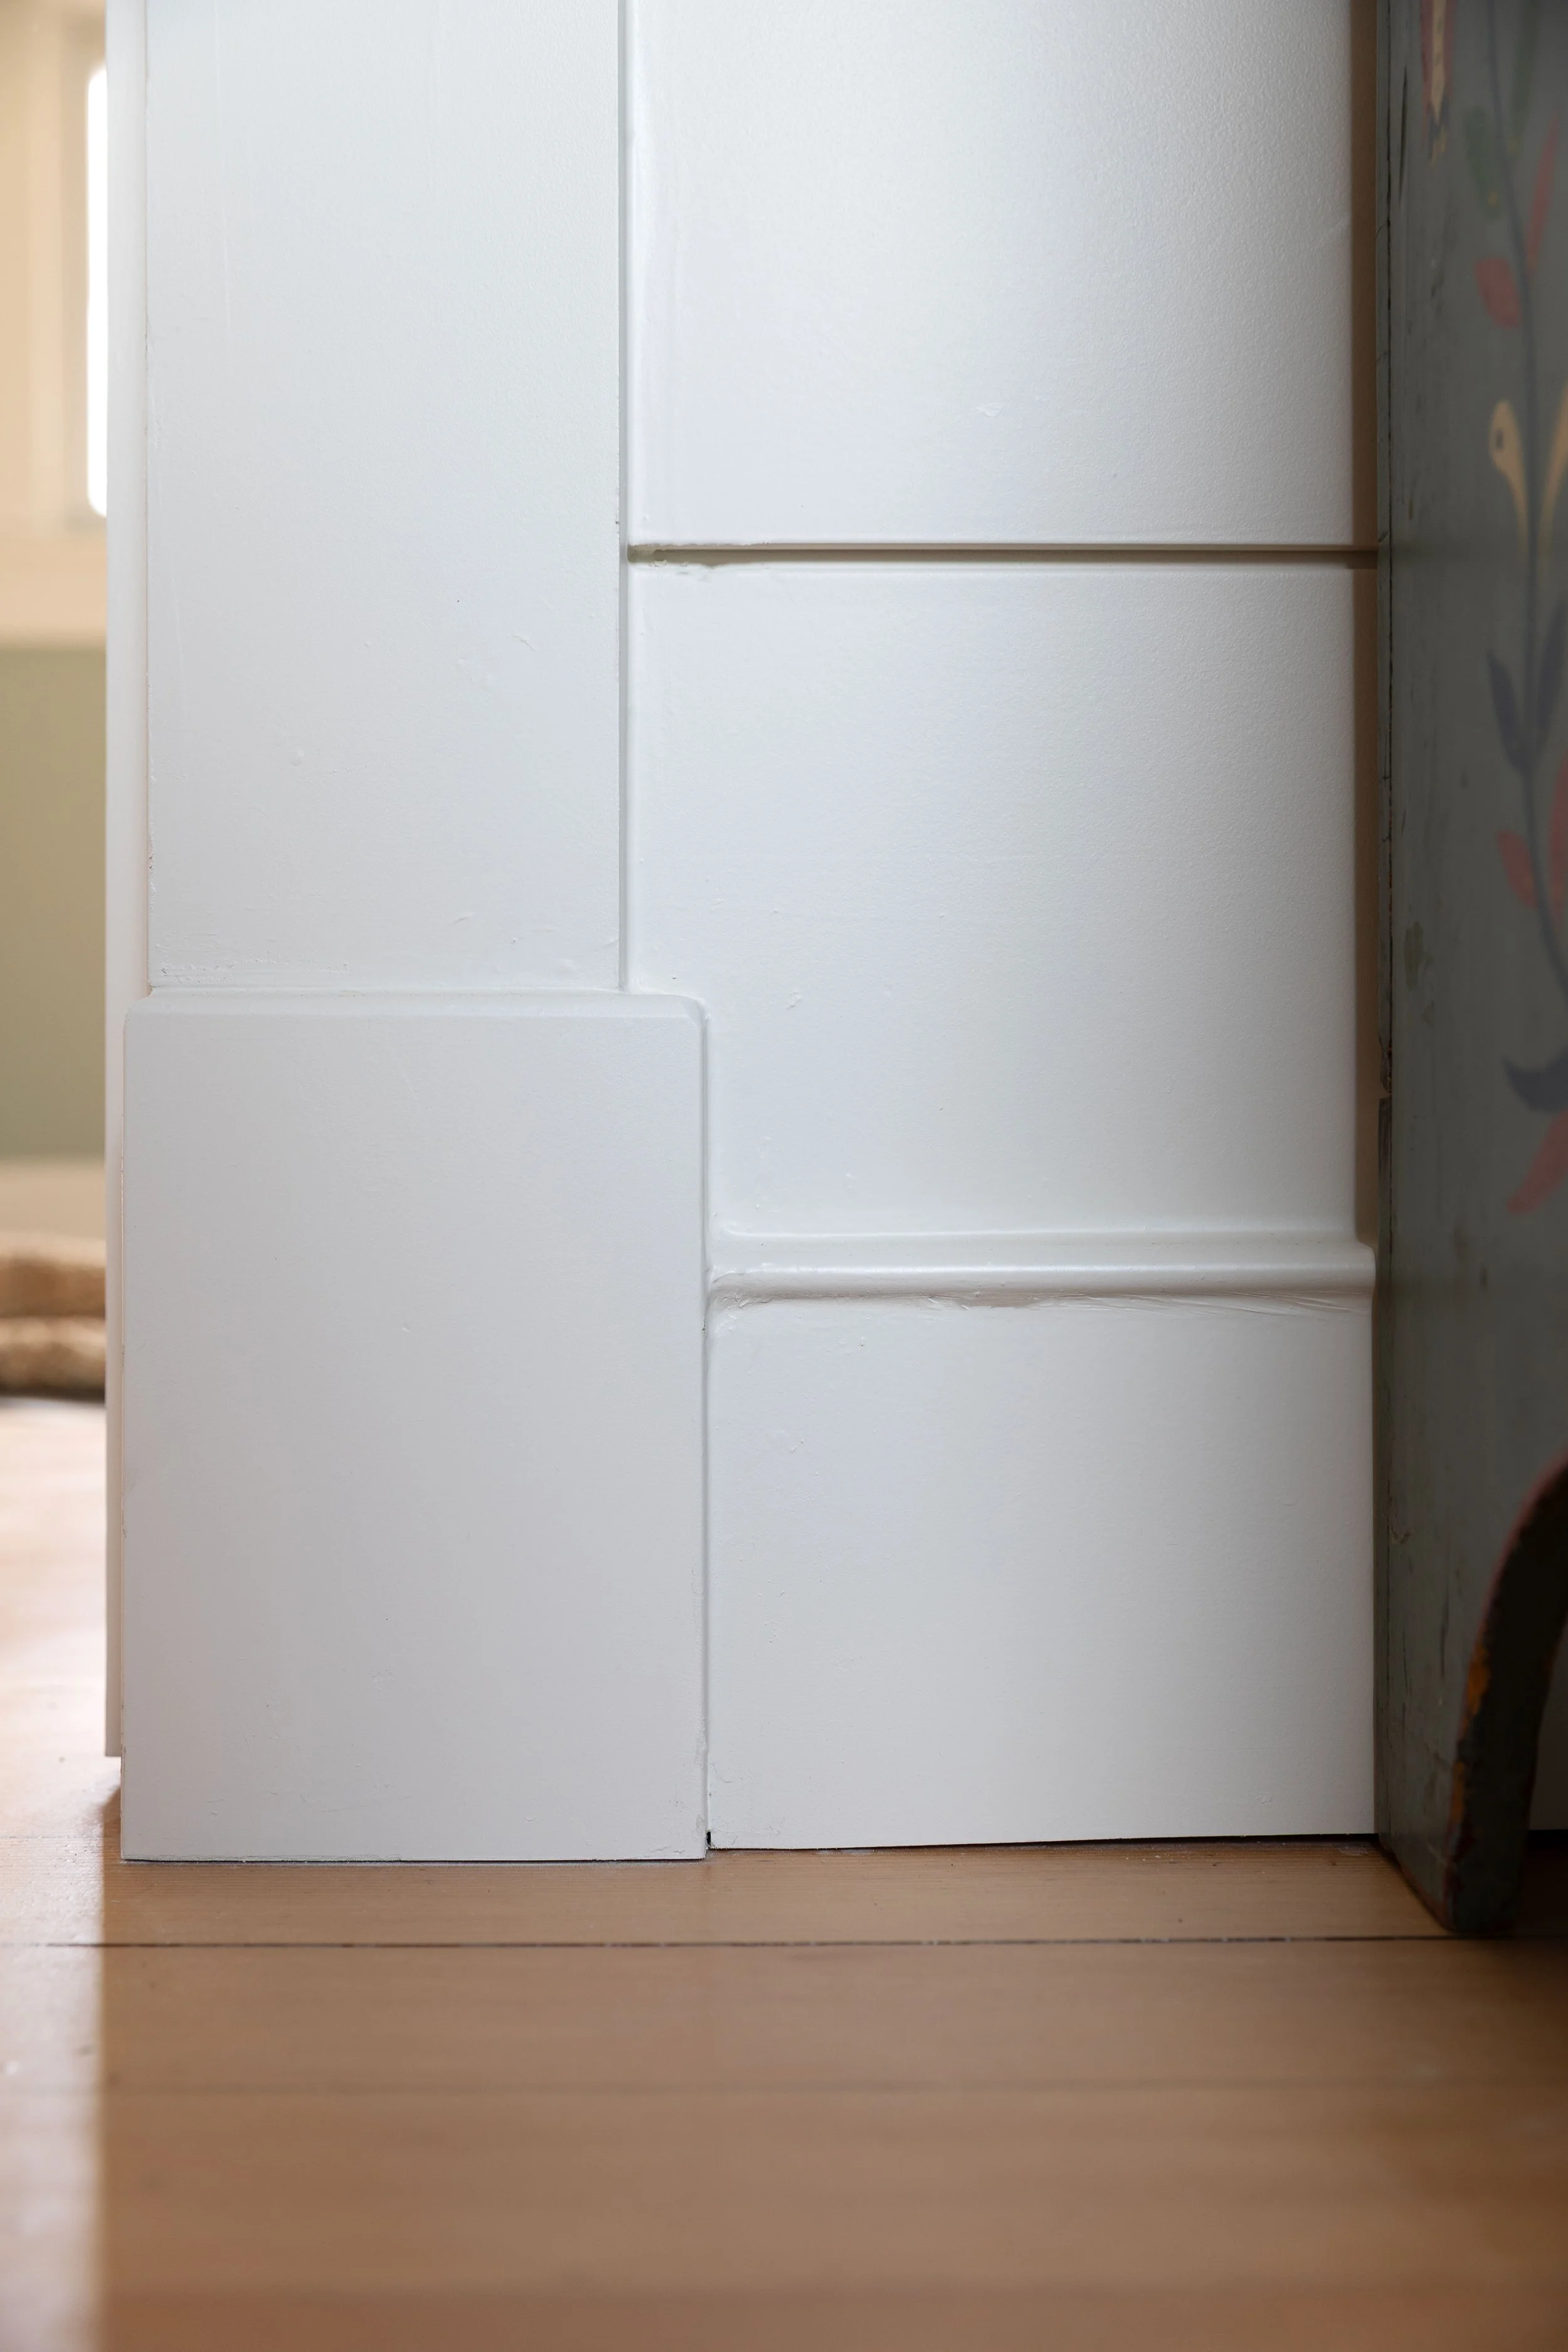
Furring out the baseboards when next to paneling
Adding a crown detail over top of the paneling (bonus: it hides the top edges of the paneling, meaning less precise cuts)
Adding 5/4” plinth blocks around the doorframes that sit proud of the base
Simple window and door casings that sit proud of the paneling and look similar to the original 1910 moldings downstairs
It’s also worth noting that not every room upstairs is paneled. In the spaces we drywalled, we pulled in the same crown detail and the same base. We topped the base in the drywalled rooms with a simple detail piece that we found at our lumber store and looks similar to the original 1910 moldings downstairs (and we used the same piece as a top rail on Daphne’s wainscot). Repetition helps a home feel cohesive!
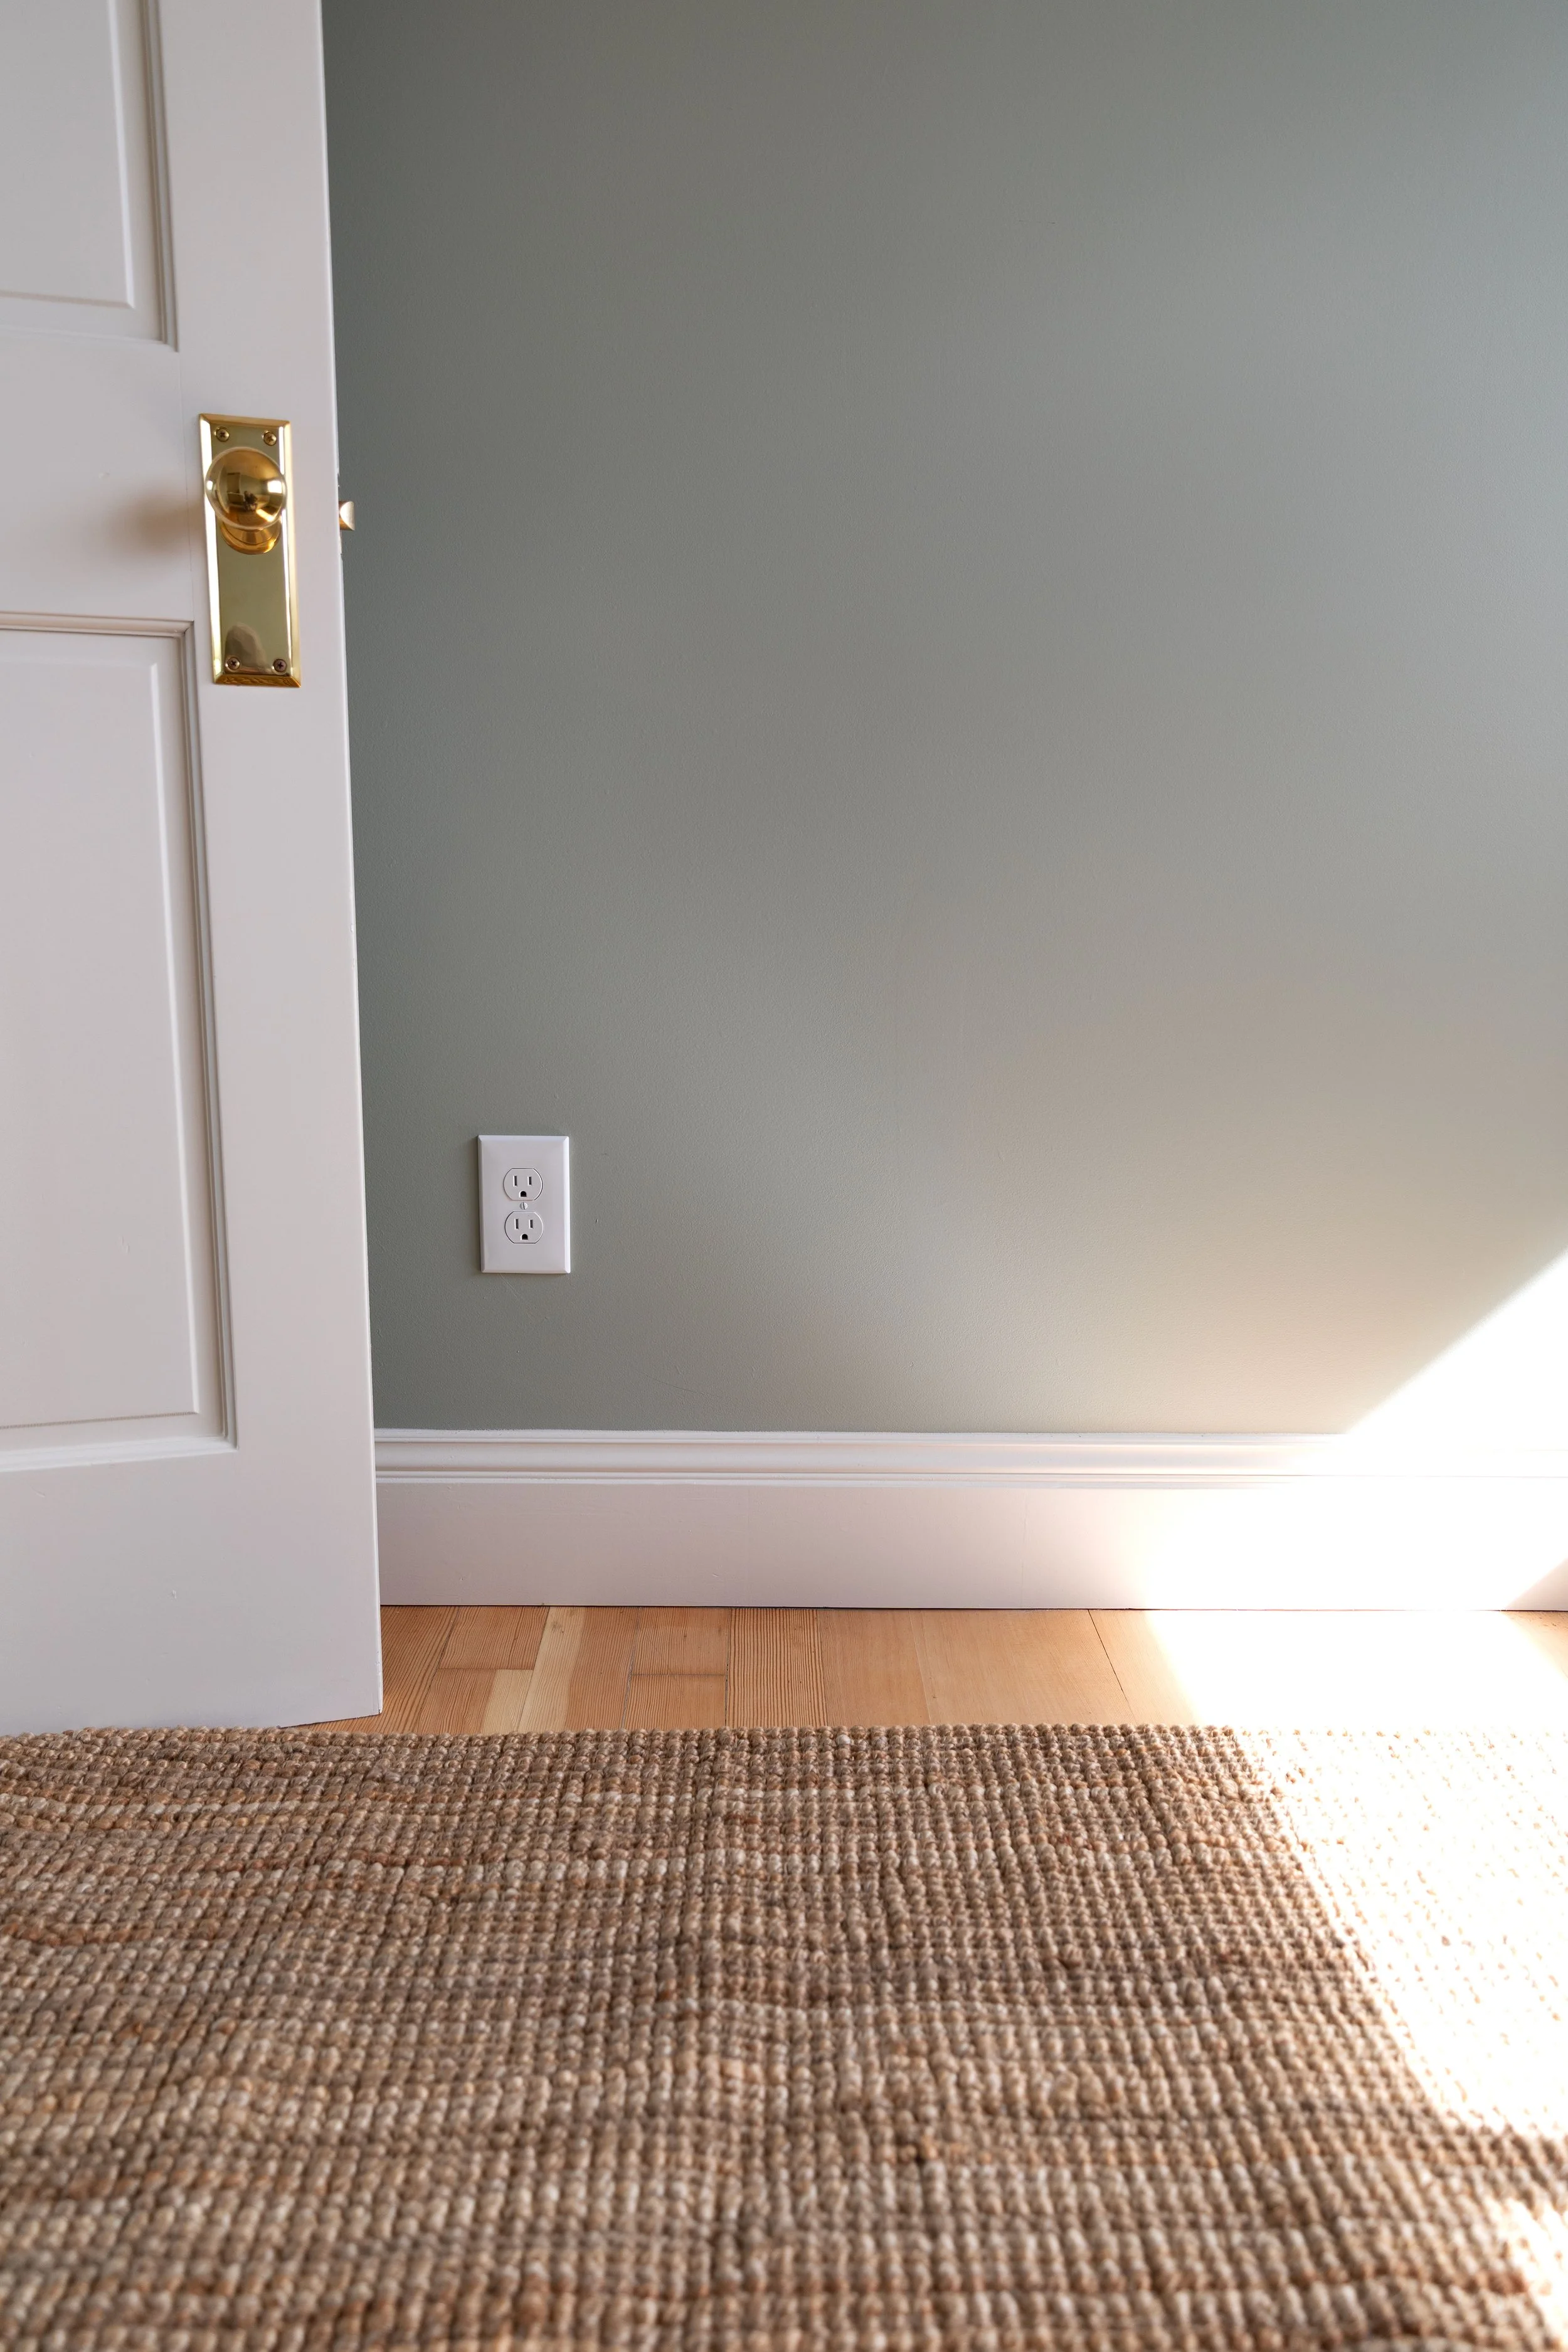
doorknob (unlaquered brass), paint colors

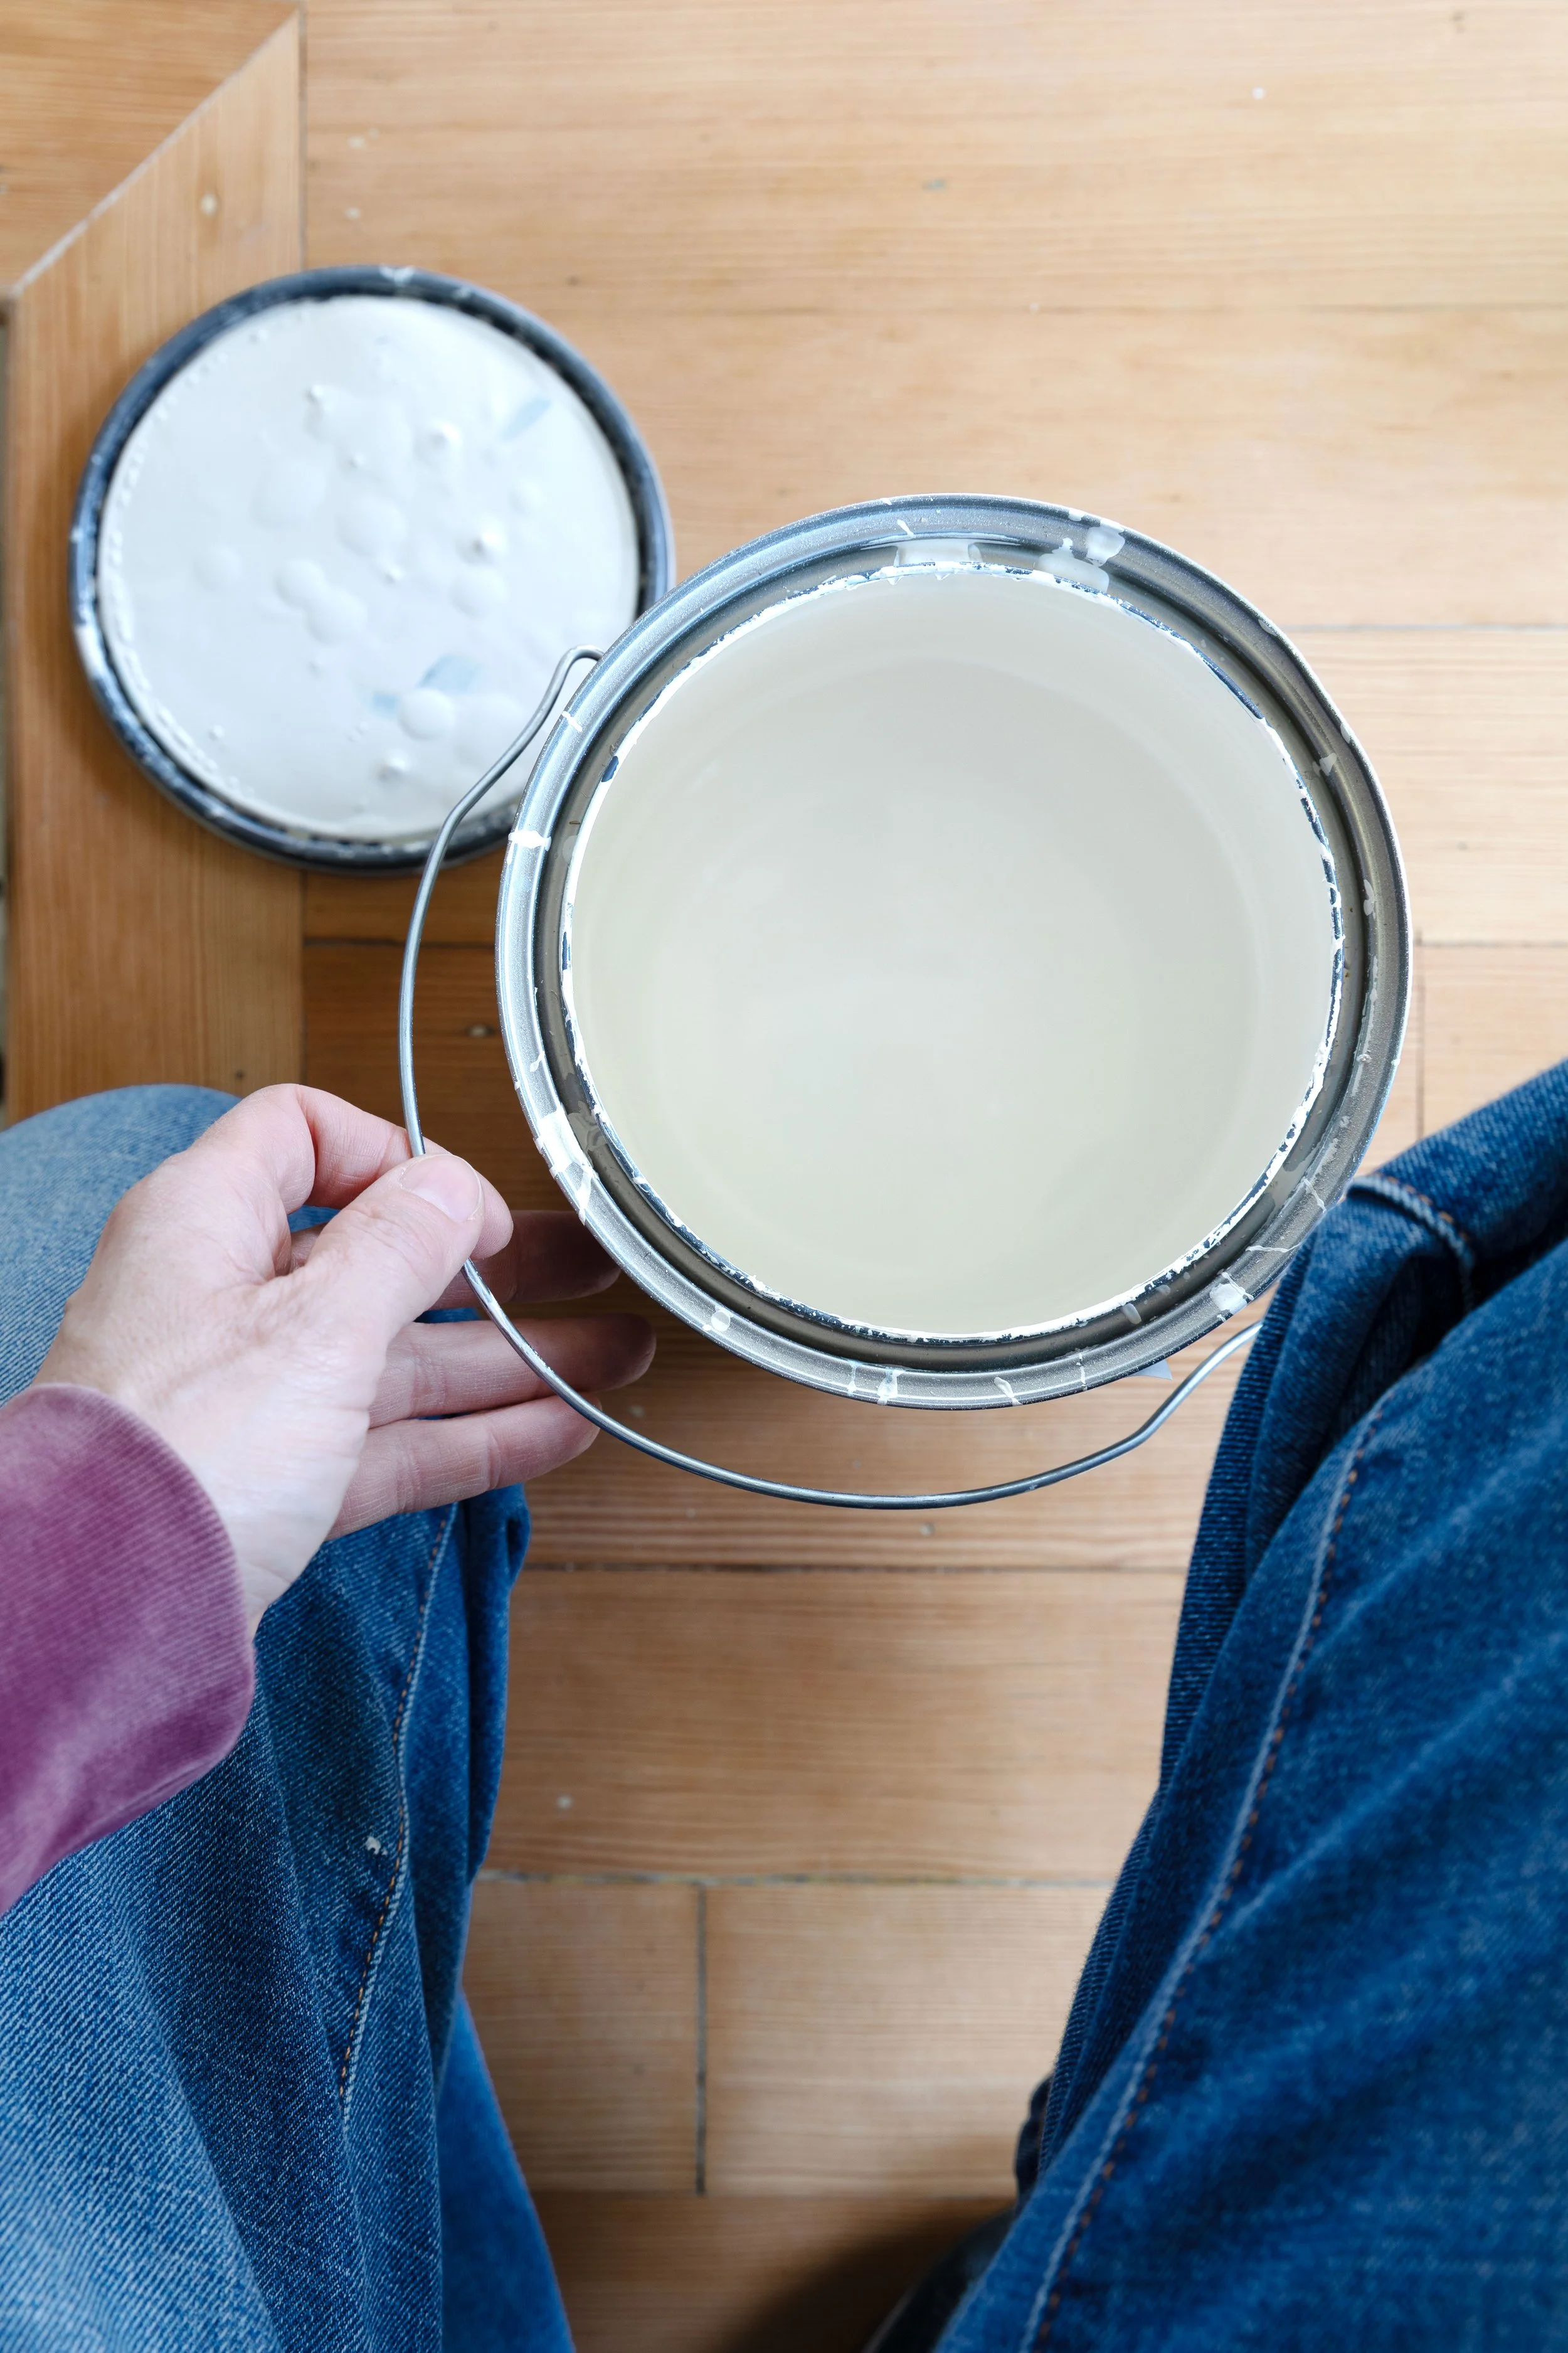
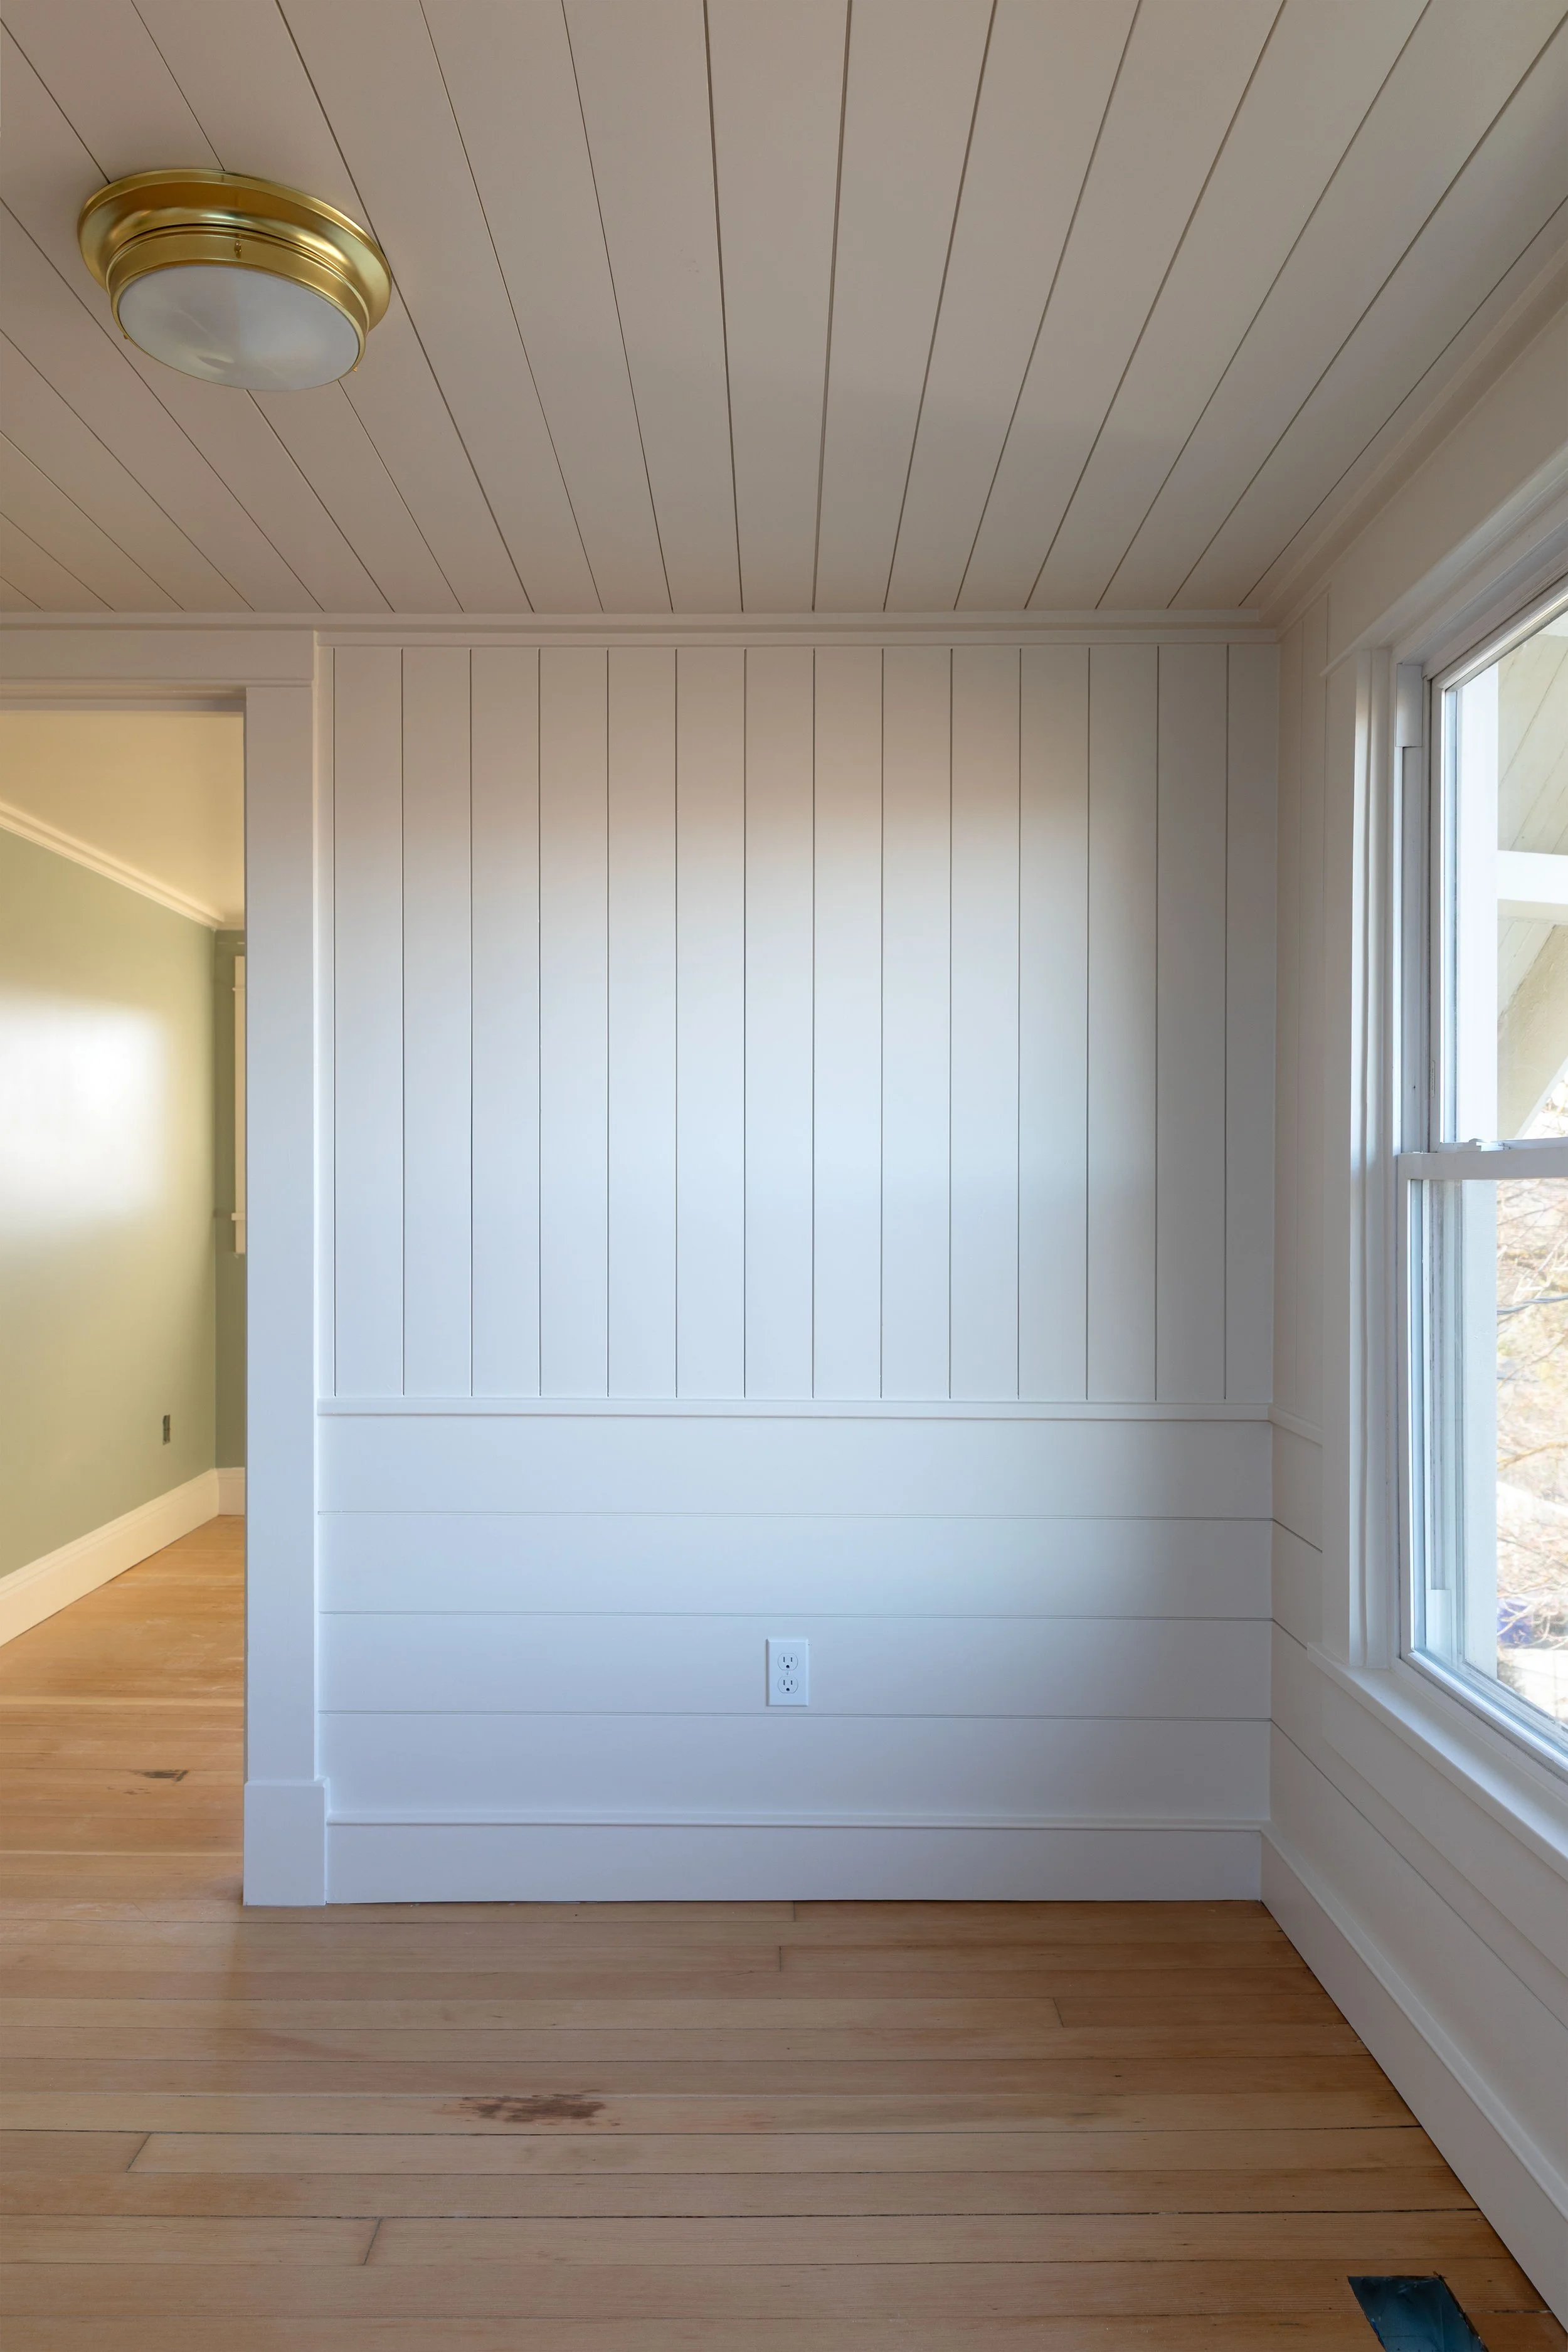
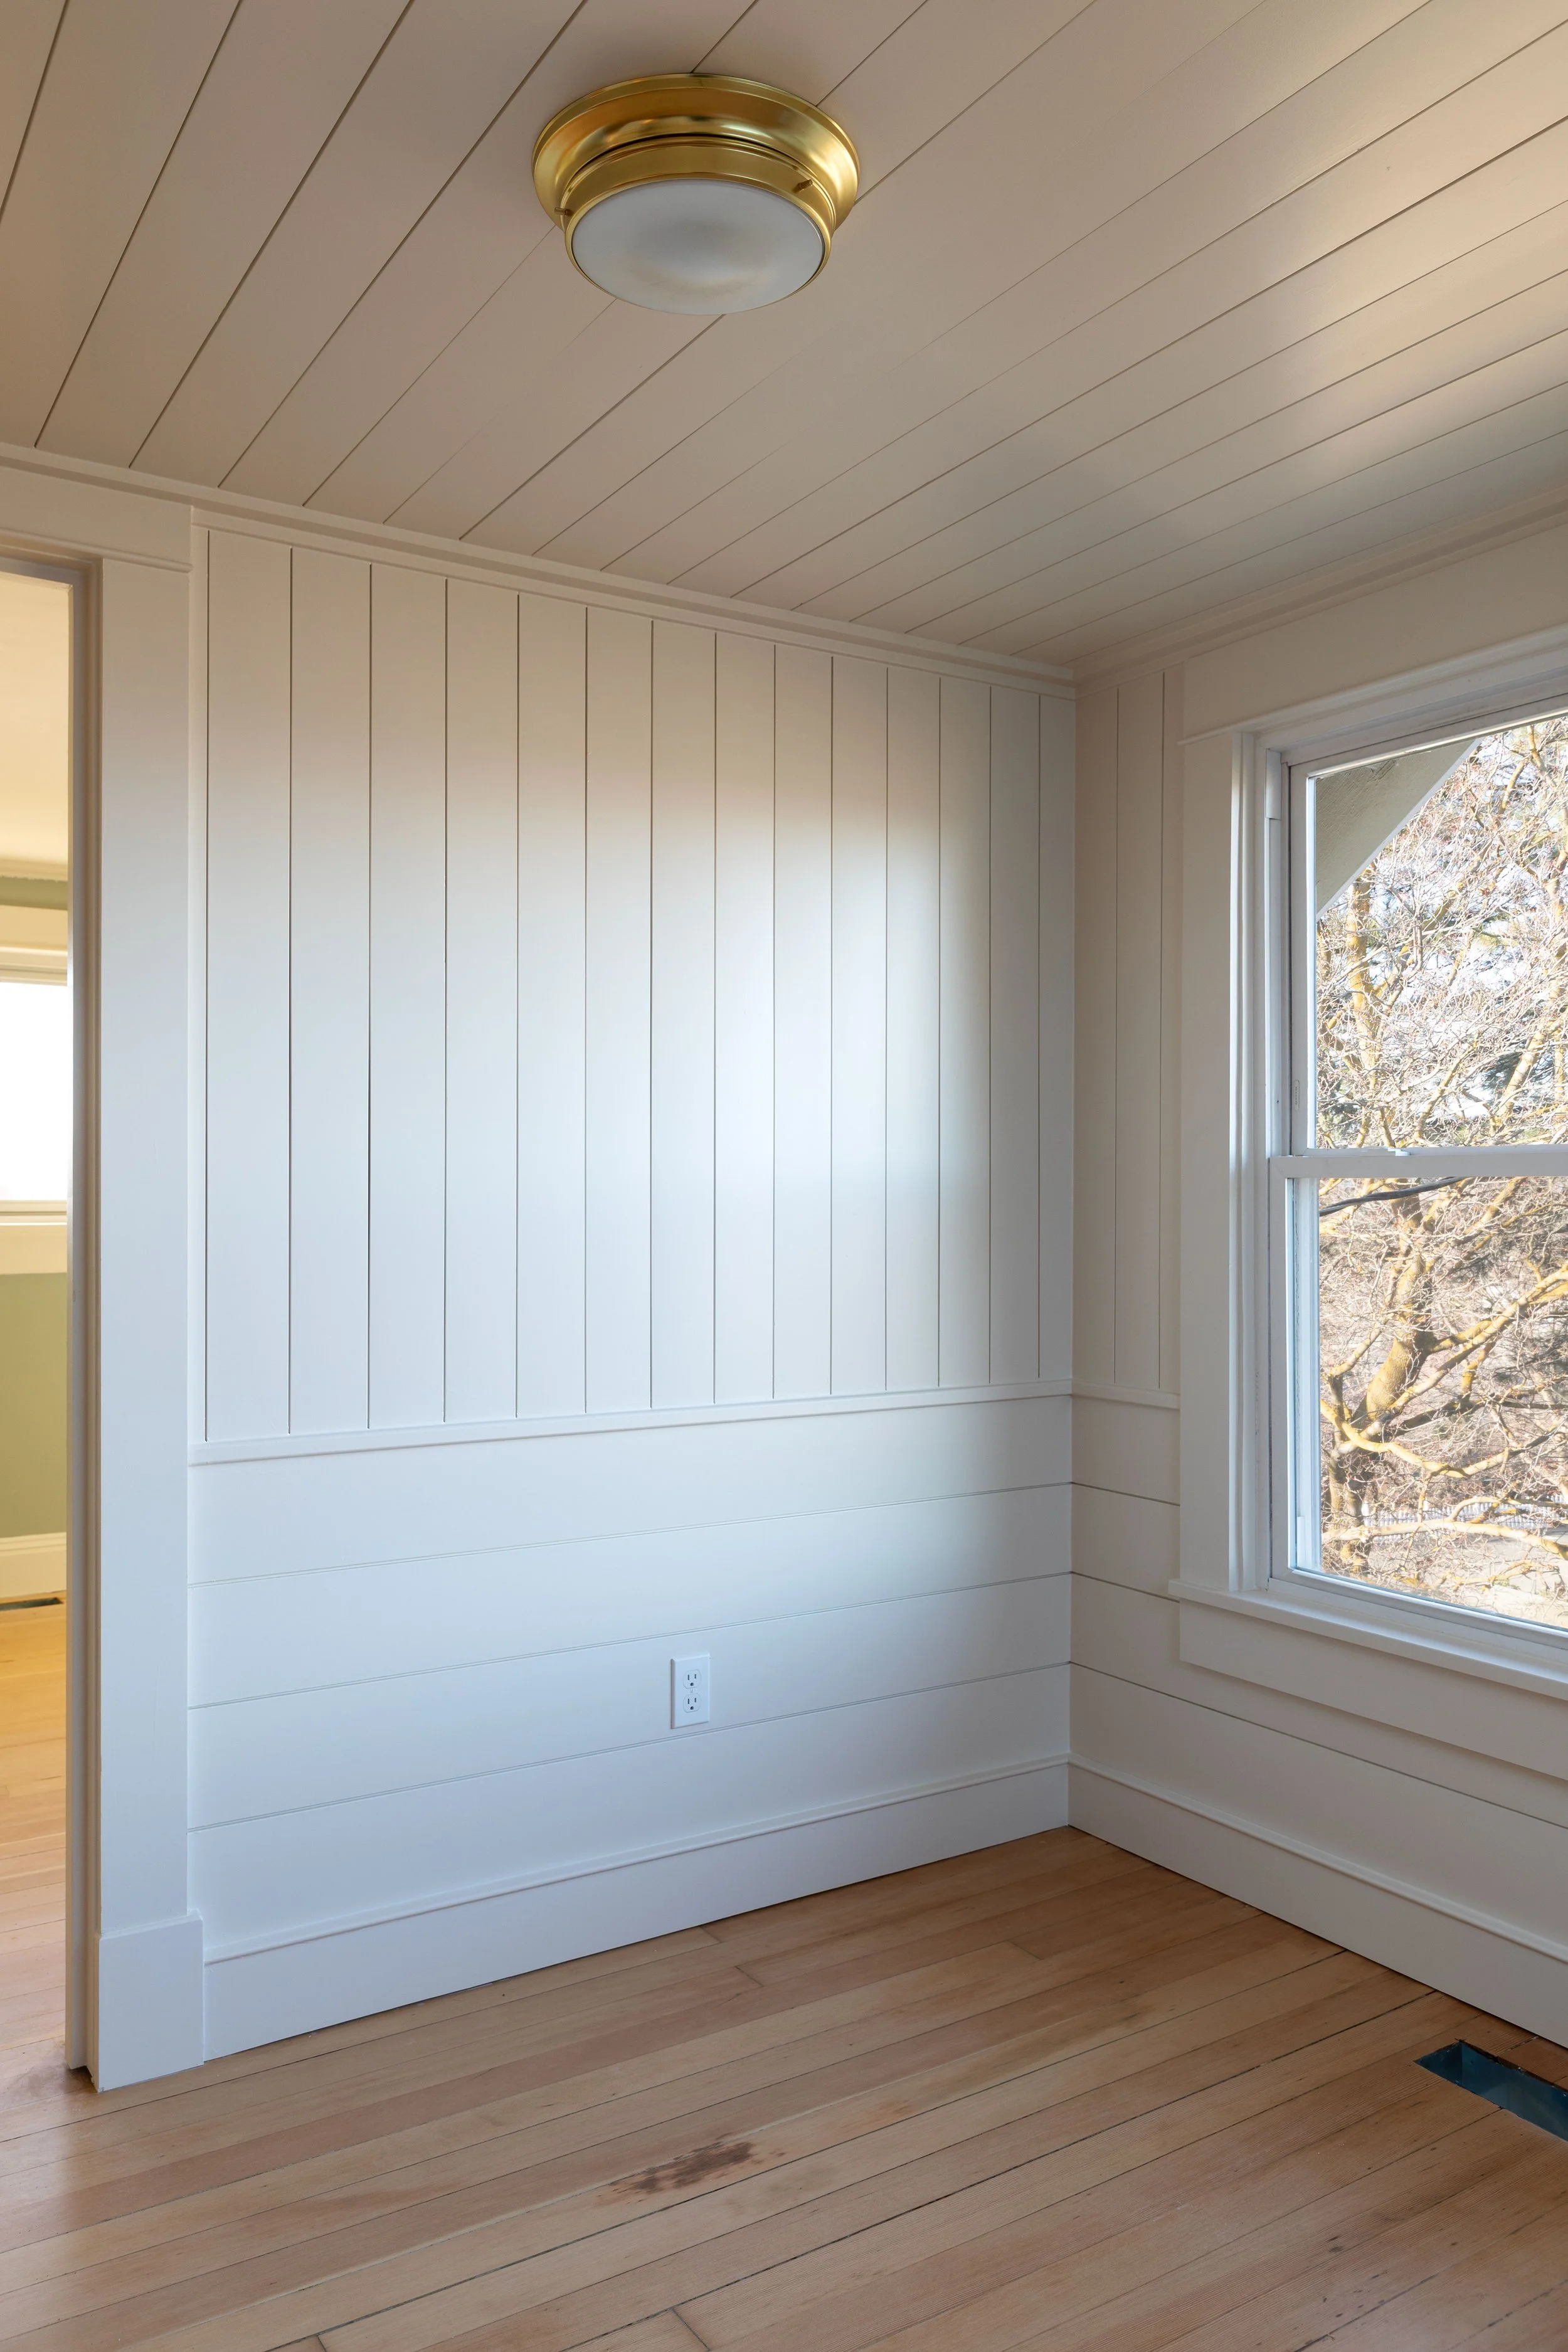
The Finished Look
Now that everything is painted, the upstairs feels calm, bright, and cohesive. The paneling adds just enough detail to keep things interesting without being too much. And compared to where we started… it’s a completely different space.
Is Wall Paneling Just a Trend?
We’ve started seeing this type of paneling (with horizontal below vertical paneling) show up more and more on Instagram and in home tours. Even the Serena and Lily catalog I just got featured walls just like these. But unlike trend-driven details, this feels rooted in something more lasting. Simple, well-proportioned wall paneling has been used in homes for generations, and when done well, it never goes out of style.
Would We Do It Again?
Absolutely!
This is one of those projects that adds real character, feels hisotircaly appropriate, and is a relatively easy DIY. It quietly elevates the whole space. And honestly, it’s the kind of detail I now wish we’d added in more of our past renovations!