Let's Make Paper Stars!
THE FARMHOUSE
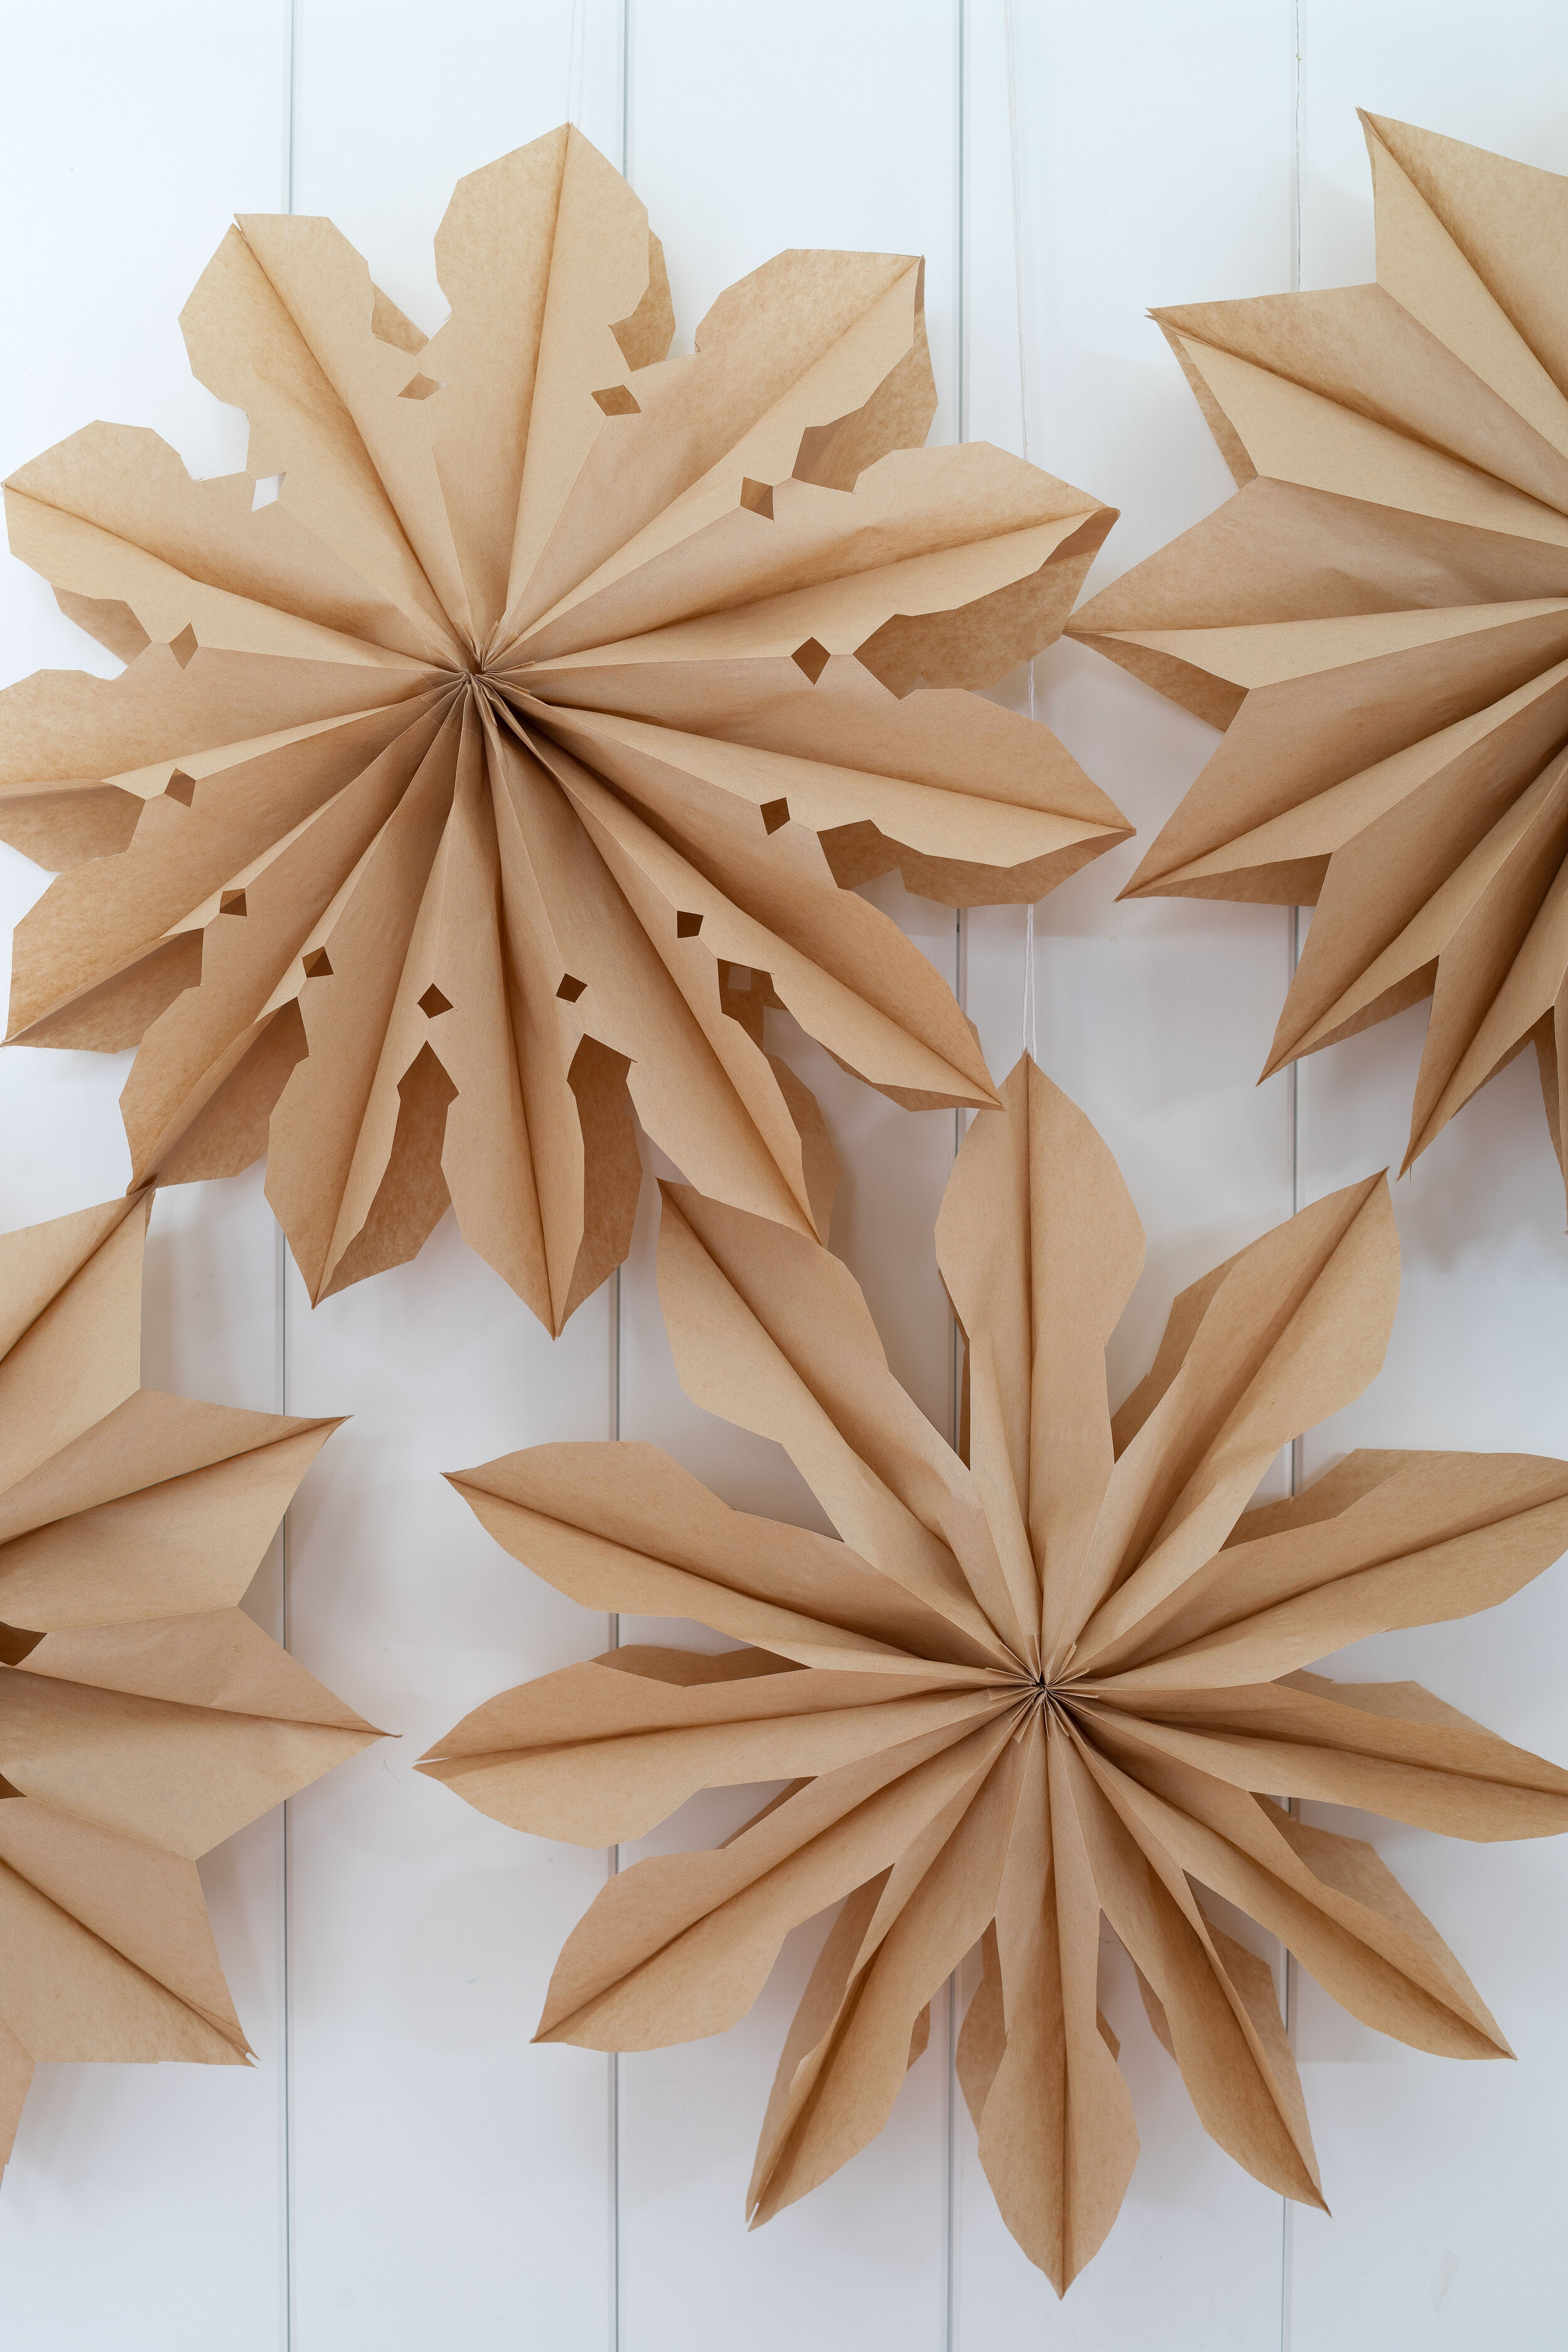
Holiday crafting is still going strong at our house and there’s no end in sight. Last week we shared DIY hanging brass stars and today I wanted to share the simple process for making paper stars. All you need to make these are paper snack bags (yes, snack bags!) and a hot glue gun. They are incredibly easy and quick too! So let’s get started…
I’ve seen lots of people make paper stars over the years (recently @Megan.d.miller, who has a great video tutorial on her instagram highlights), but quite a few people have asked for a DIY so I thought I’d share a photo step-by-step here on the blog.
I made these stars with Kraft paper 6”x9” bags, but you can use white or any color that you can find paper snack bags in. Your local grocery store is a great spot to look for these or you can order from Amazon (linked in the materials list).
paper roll, pendant, kitchen and pantry sources here
read the serendipitous backstory on our hutch here
DIY Paper Stars
Time: 10 minutes
Level: Easy
Materials and Tools
12 Snack bags (we used these 6”x9” bags)
Sharp scissors
Glue gun with glue sticks (I used this gun and these sticks)
Twine or ribbon for hanging
*note we use affiliate links. So if you make a purchase through our links, we may earn a small commission on the sale at no cost to you. Thank you for supporting this blog by shopping through our links
Step 1
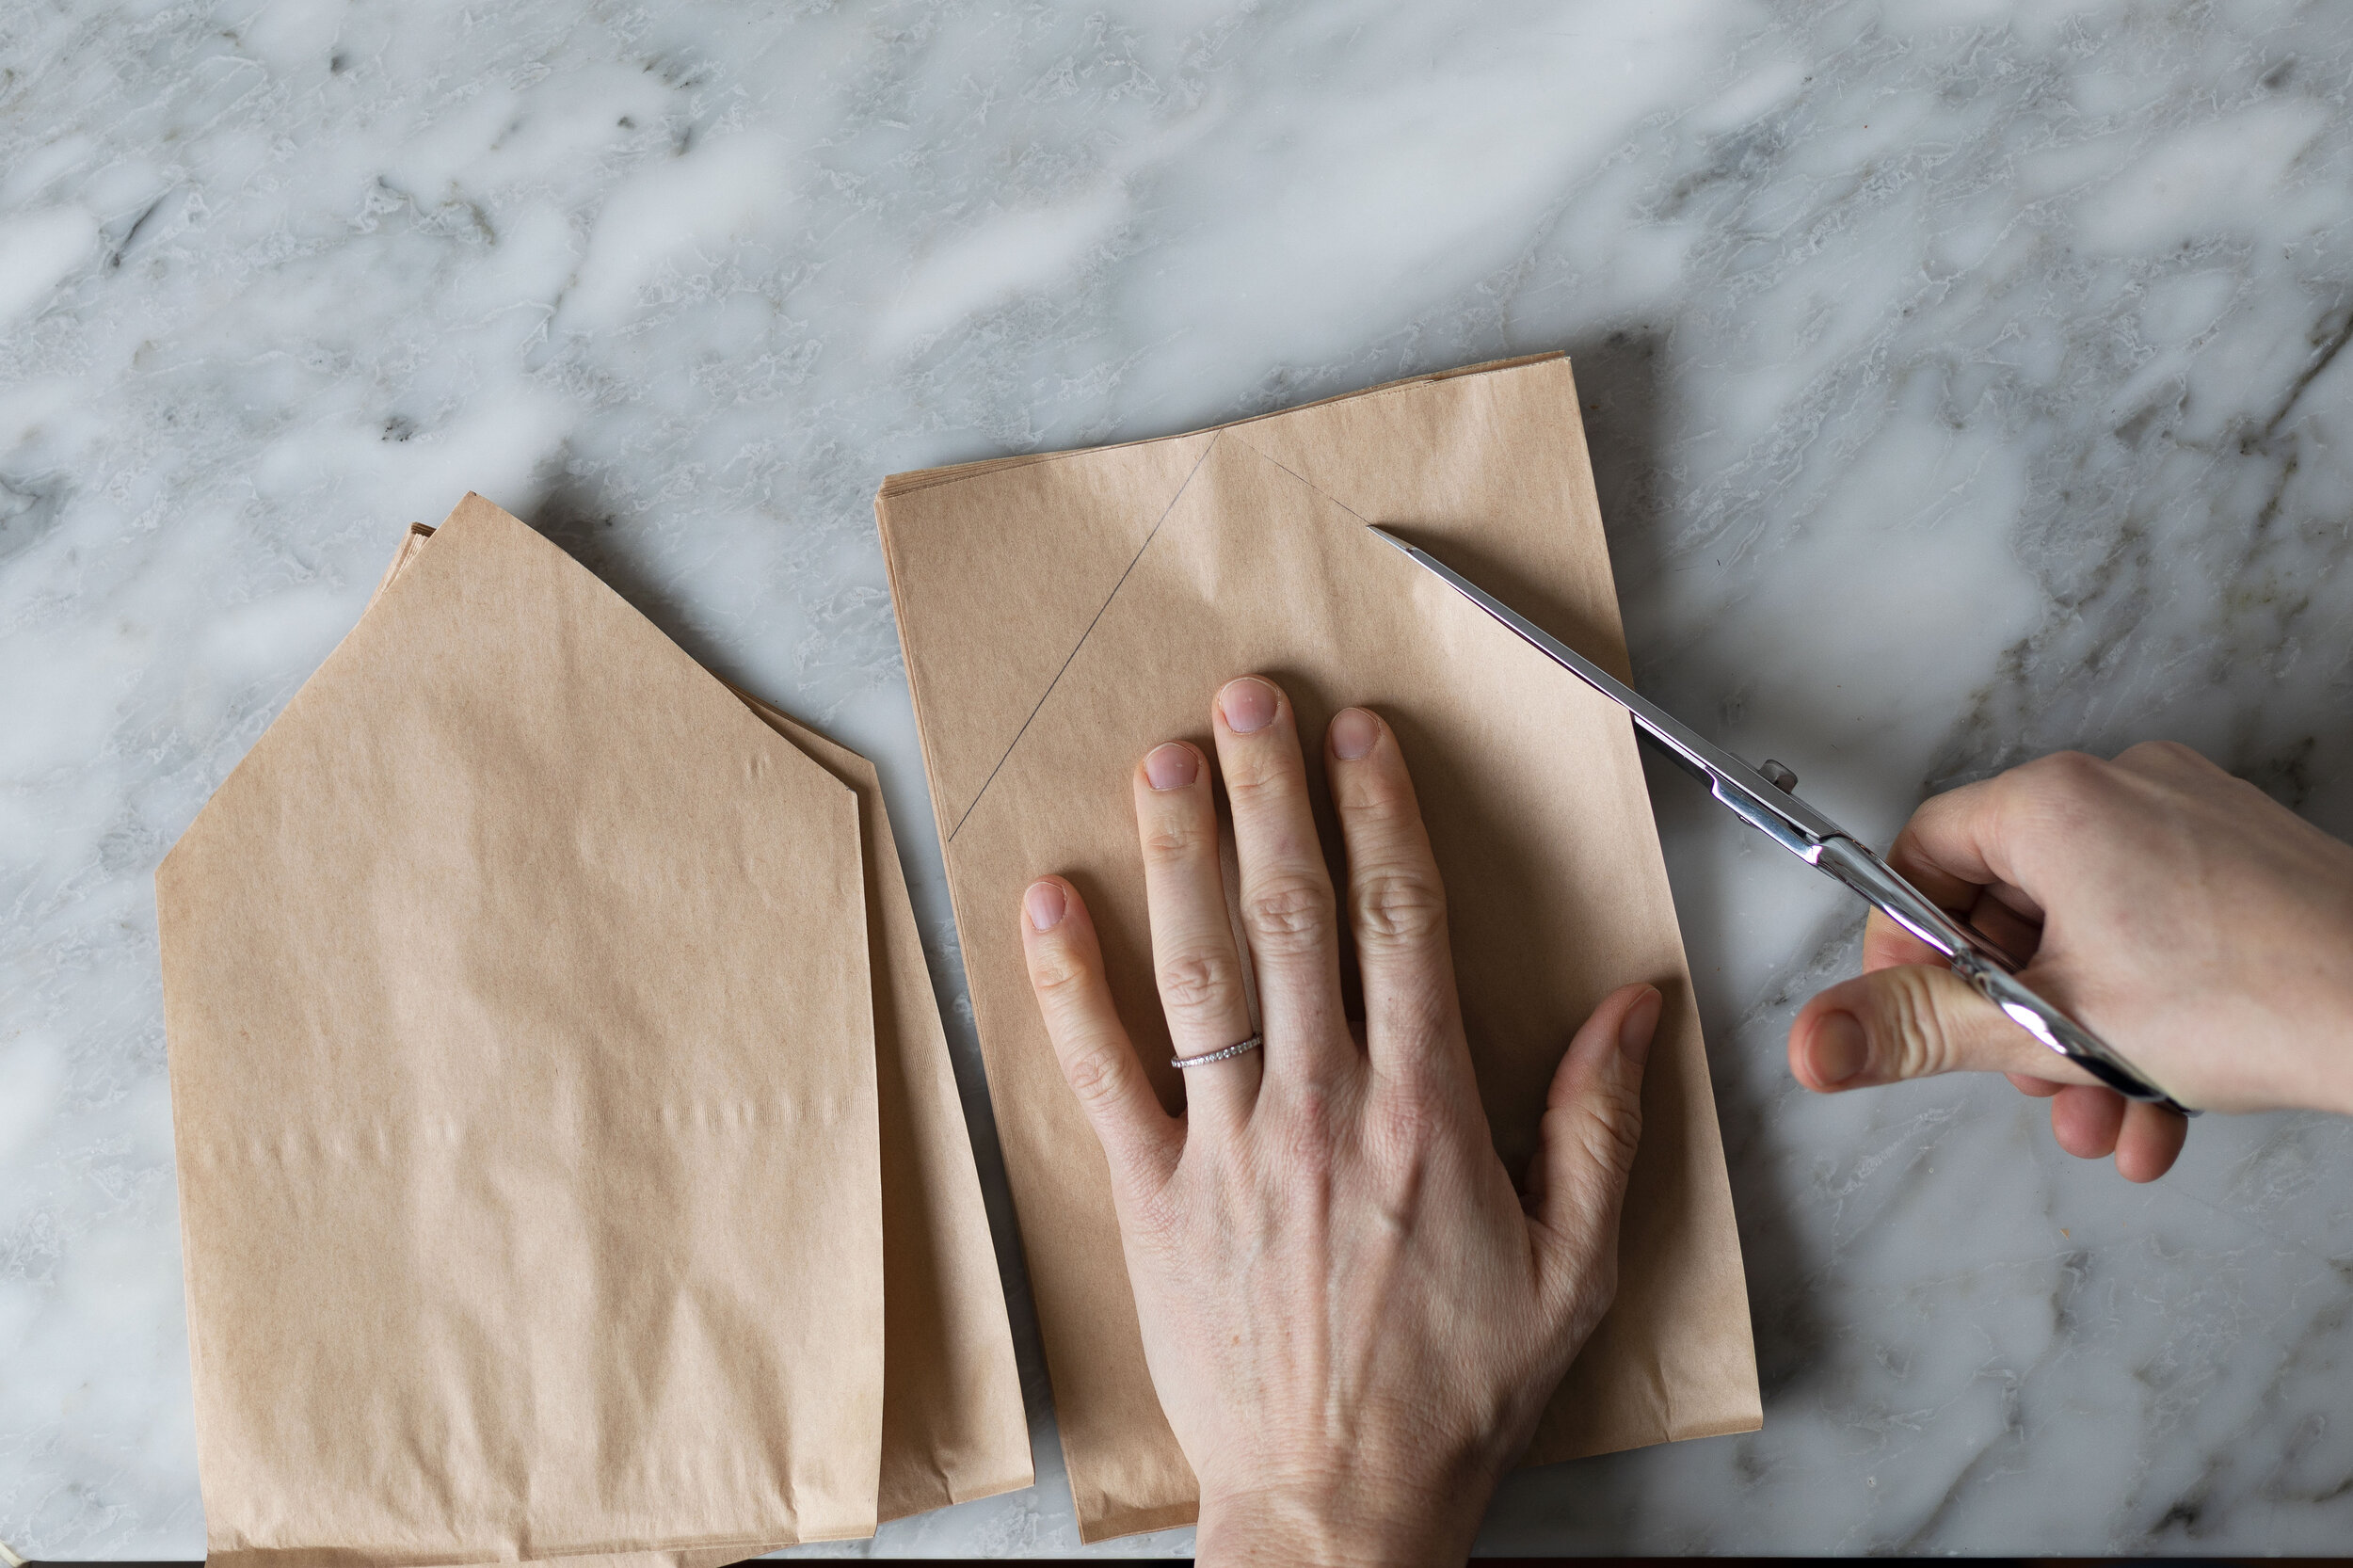
Cut the tops of the bags so both sides are level. Then cut the tops into a triangle.
If you want any other details cut into your stars (like the ones shown above), add them now. For each pattern, I cut it out of one bag and then used it as a template to cut the rest of the bags (in two batches). Like so…
Step 2
Use a hot glue gun to add a line of glue down the center of the first paper bag and then along the bottom. Immediately place the next bag on top of the first, lining up the bottom and sides as best you can. Repeat this process until you have all 12 bags glued together in a stack.
Step 3
Before you glue the final bag, try fanning out your paper bags to make sure they’ll wrap into a star. You can gently use your fingers to pull apart any insides of the bags where the glue might have seeped onto.
Glue the final bag as you did all the others, then fan the bags out and clap the first and last bags together by slipping your hands inside the first and last bag and holding them together for a couple of seconds while the glue drys.
Step 5
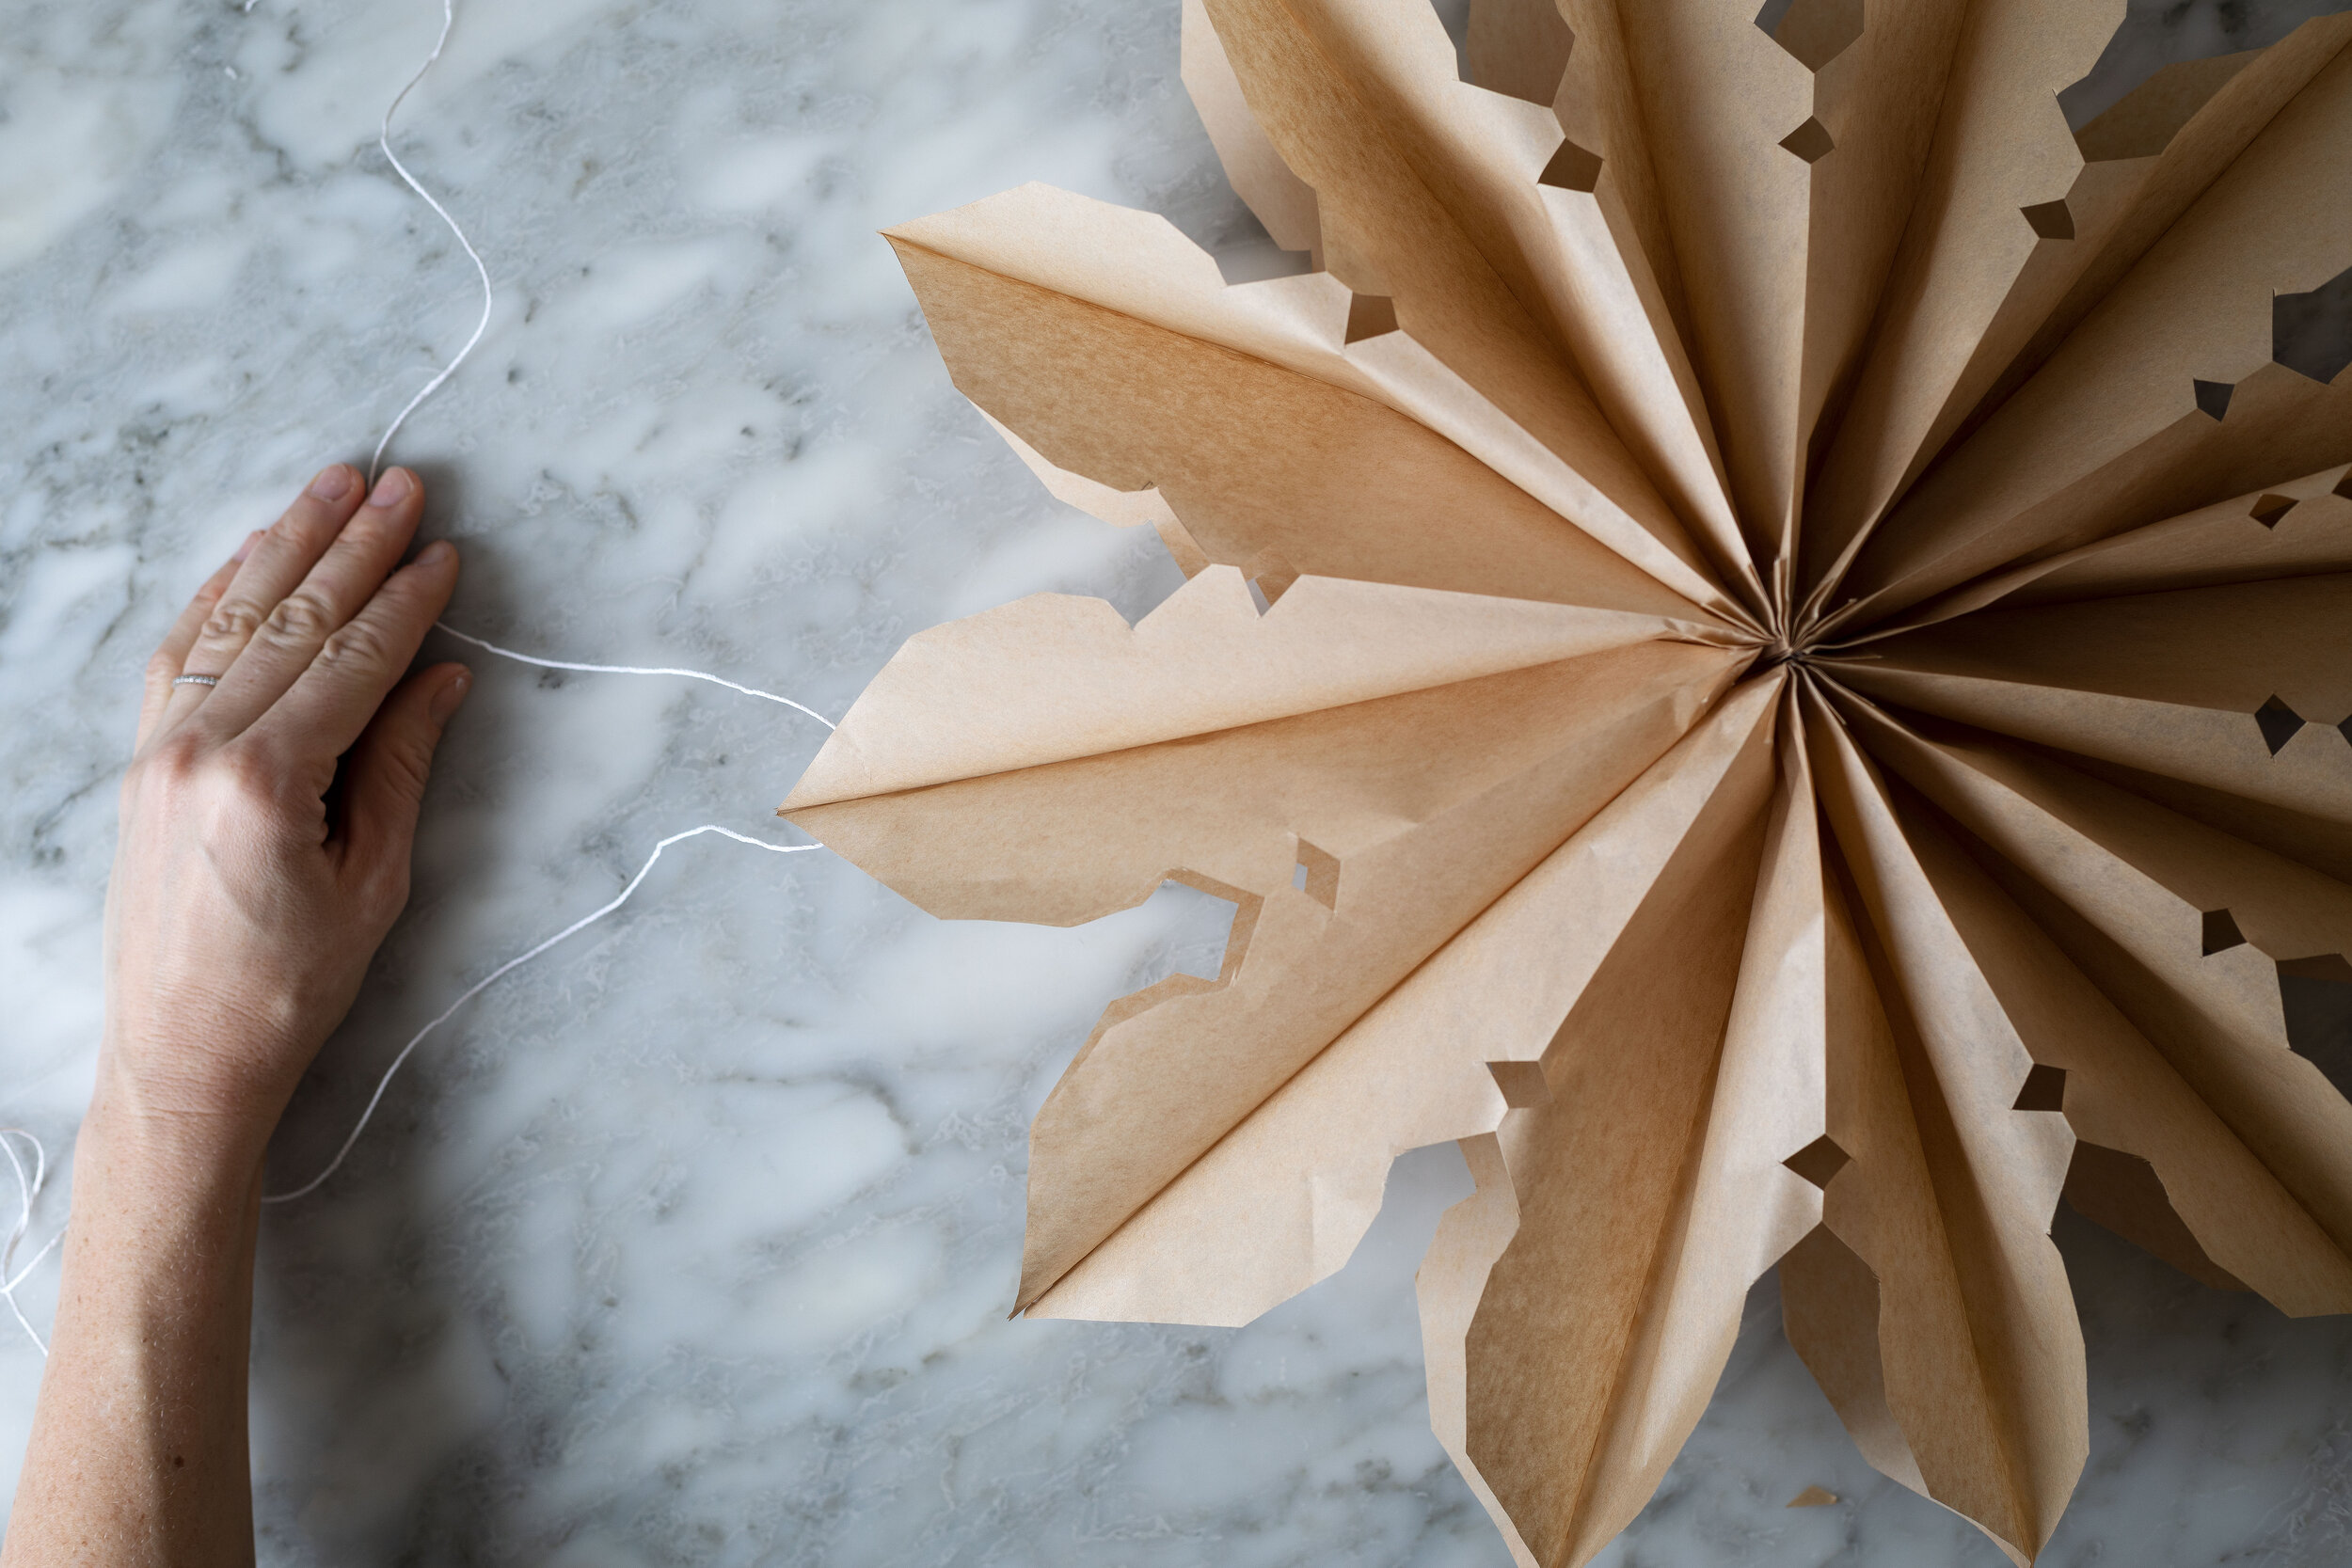
Poke a small hole through the top of the star about an inch down from the point using the sharp tip of your scissors or a needle. String your twine through and hang it up.
And that’s it. Pretty easy, right?!
I will say these stars are a tad delicate so you’ll want to get them hung up right away and out of the reach of young kids and animals.
Happy crafting!


