An Easy (and Inexpensive) Kid's Nature Gallery Wall
THE FARMHOUSE
Our kids are big nature lovers. They’re always collecting feathers and insects and rocks and goodness knows what else. And I find their curiosity awe-inspiring! So I thought we’d switch out the art in their bedroom to celebrate it! Bonus: this new gallery wall only cost $25!
Farmhouse Boys Bedroom // Art + Other Sources
I really love the art we used to have hanging over the boys beds (here and here). But these prints feel more like our kids. I’ve been accused of creating ‘mature’ kid rooms in the past, and I really wanted this space to feel like our kids: youthful, fun, and full of wonder.
This gallery wall didn’t take long to put together. Here’s how I did it…
Materials
washi tape
knife
tape measure
pencil
The art
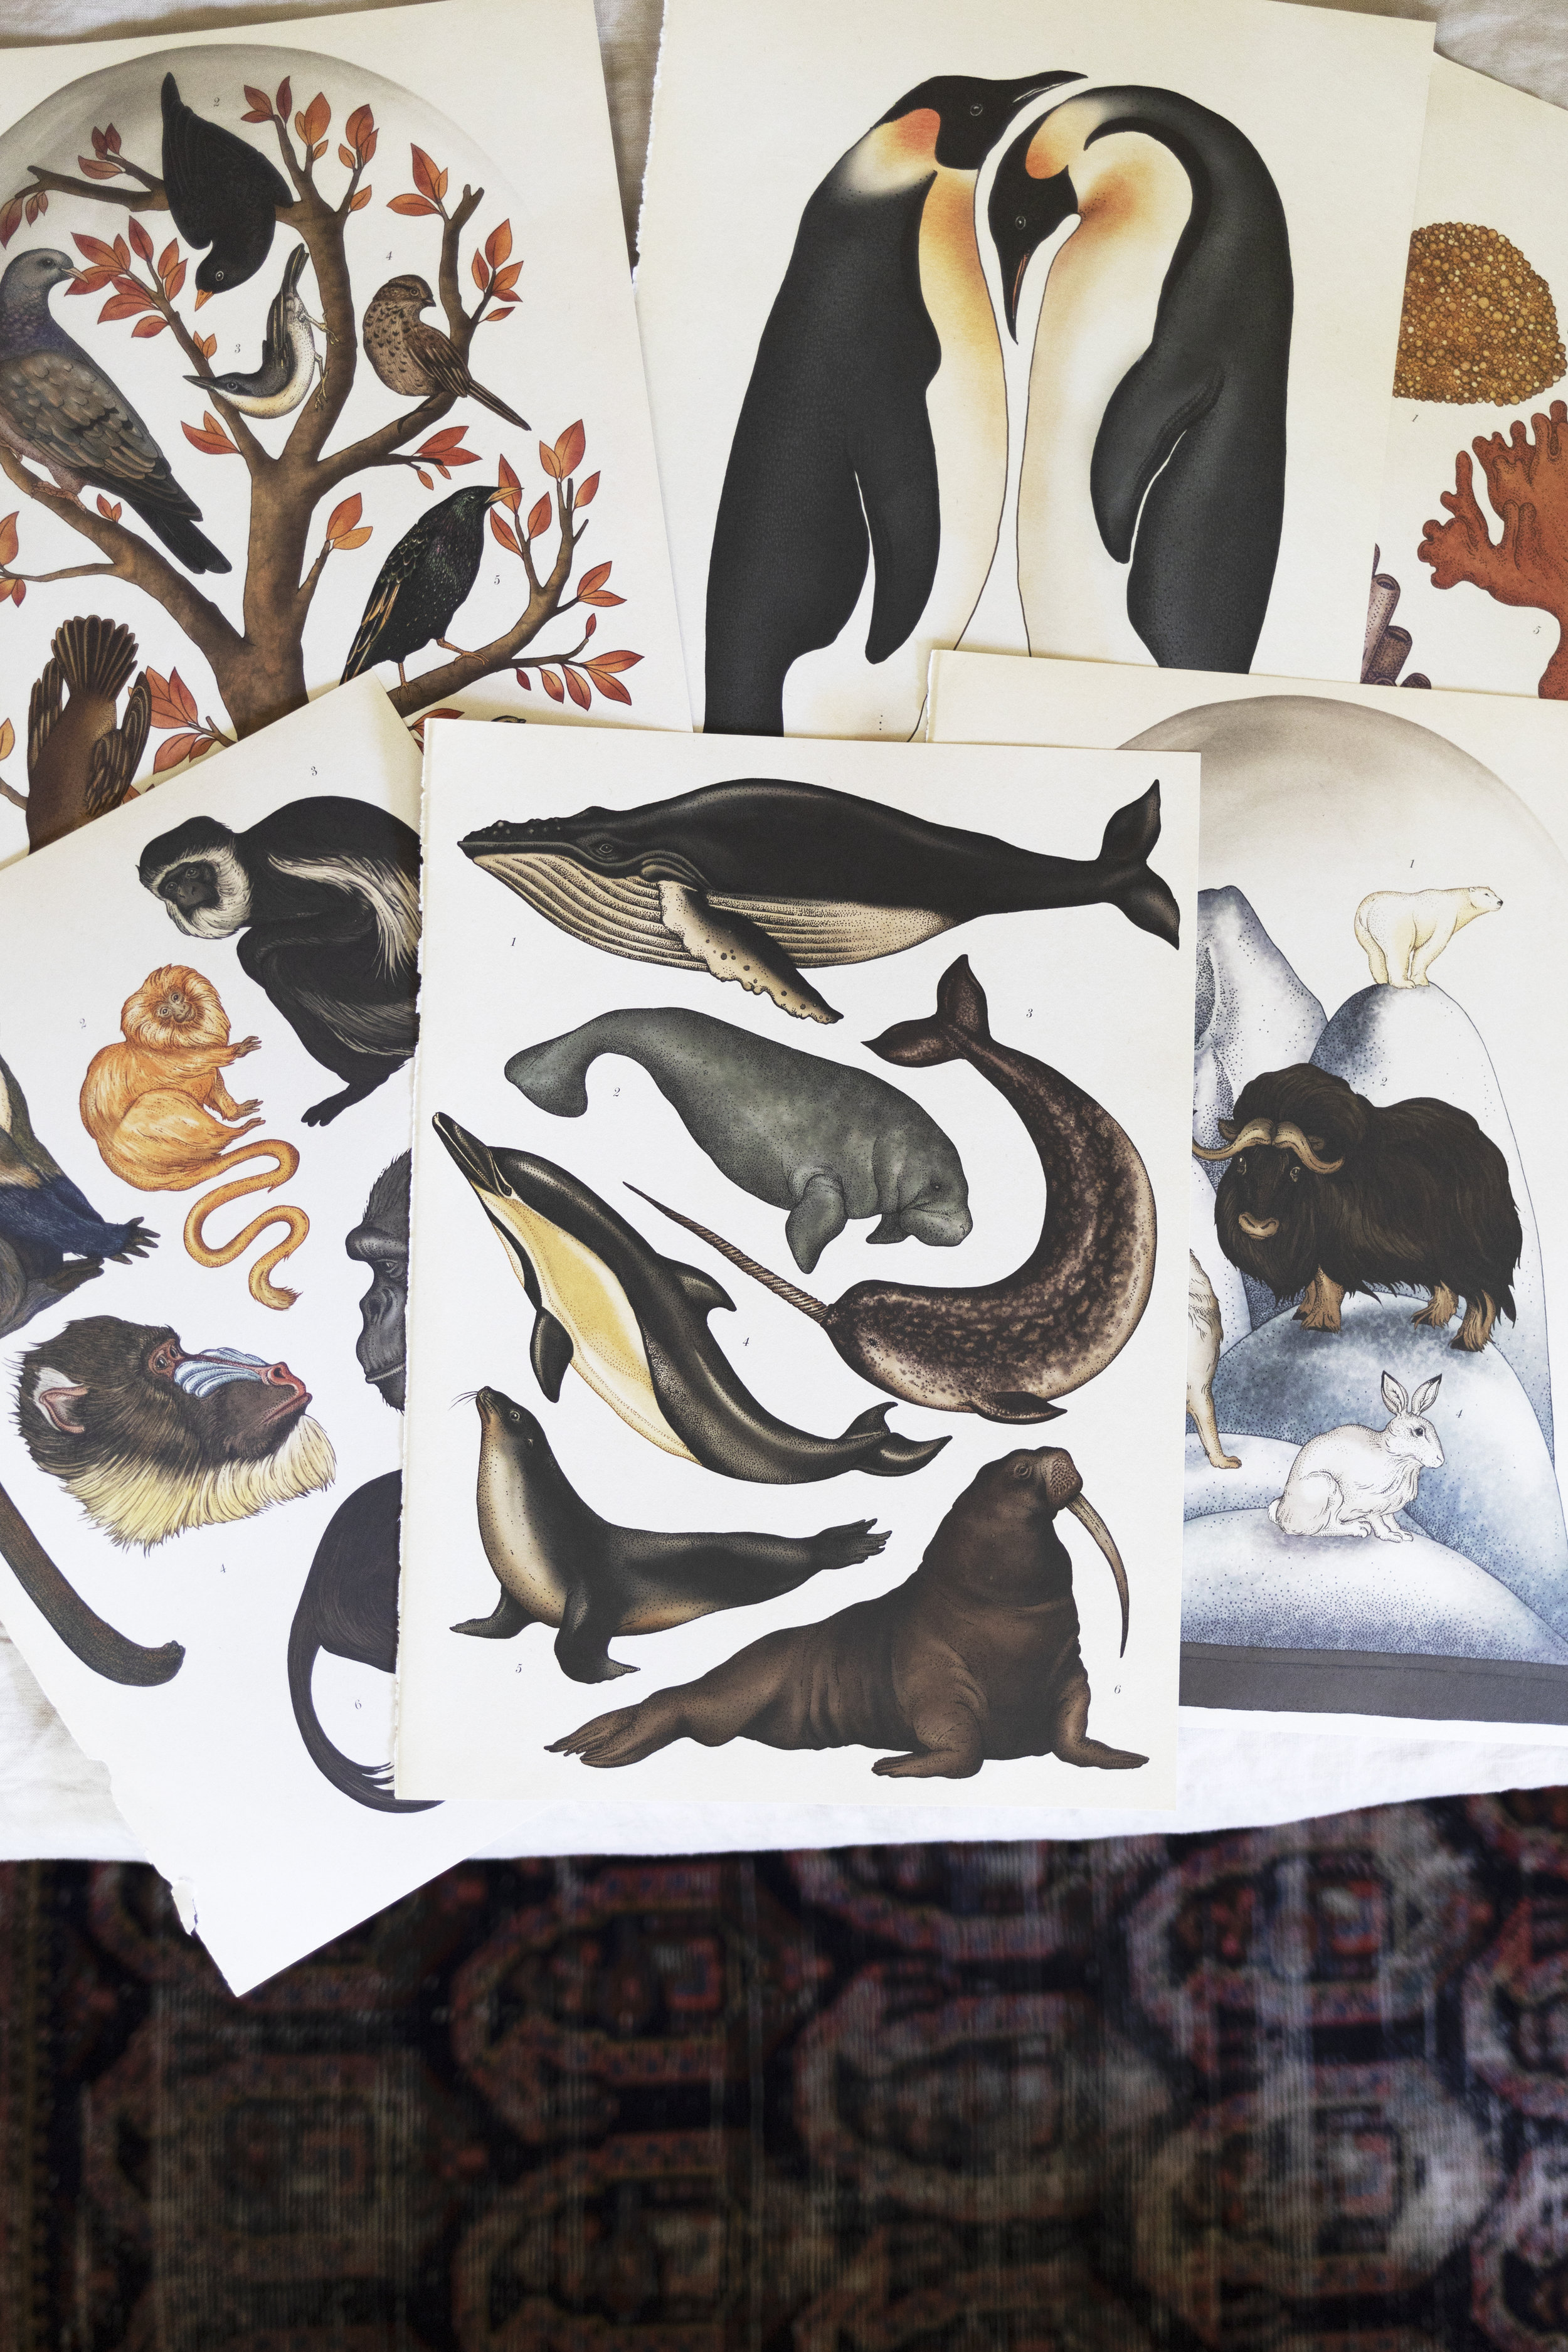
These beautiful illustrations are from the book Animalium, illustrated by Katie Scott and written by Jenny Broom. The duo have a botanical book as well, which I ordered just because I love their work so much.
There are 22 full-page images in Animalium (and so many beautiful smaller ones), and each page is 10 5/8” x 14 1/2”. We hung 14 of the prints, and have enough for a third row if the boys want more. The illustrations are so gorgeous!
I pulled out the pages one day while the kids were away so as not to encourage book-destroying. I ended up needing to use a knife to remove a few of the pages but found that most tore out easily on their own. I didn’t bother cleaning up the tears, since I wanted a casual look.
Hanging
The blue washi tape was leftover from some long-forgotten craft project, but traditional masking tape would have been my second choice. I briefly debated framing the prints, but like I said before, I was going for a youthful and fun look.
To install, I first decided where to center the gallery wall - either on the beds or on the wall. I opted for the beds. So I measured and put a mark at the center of the nightstand. I put the first image at the mark (the owl illustration), and then moved outwards and upwards from there, not bothering to measure or level since I wanted a casual look.
The washi tape requires a good solid push to stick. And I recommend adding a rolled up piece at the back of the illustration for extra security. Another option is push pins, like we used to do in the 90s.
Aren’t these illustrations beautiful?! I made a Pinterest-friendly graphic (below) incase you want to save this project for later. And for those of you looking for a project that’s a little bit bigger - I’ve always loved DIY framed wall murals in kid’s spaces!
*post updated 10-02-2019


