The Products we Used to Finish Our New Butcher Block Countertop
THE POPLAR COTTAGE
We’re big fans of butcher block countertops around here. We’ve used them in 7 of our 10 kitchen remodels and just love the warmth they add to a space. For the Poplar Cottage kitchen, we ordered an unfinished white oak butcher block and when I shared it on IG, I got so many questions about sealers and sanding and finishing so I’m sharing each and every product we used to finish this beauty today. Lets get into it…

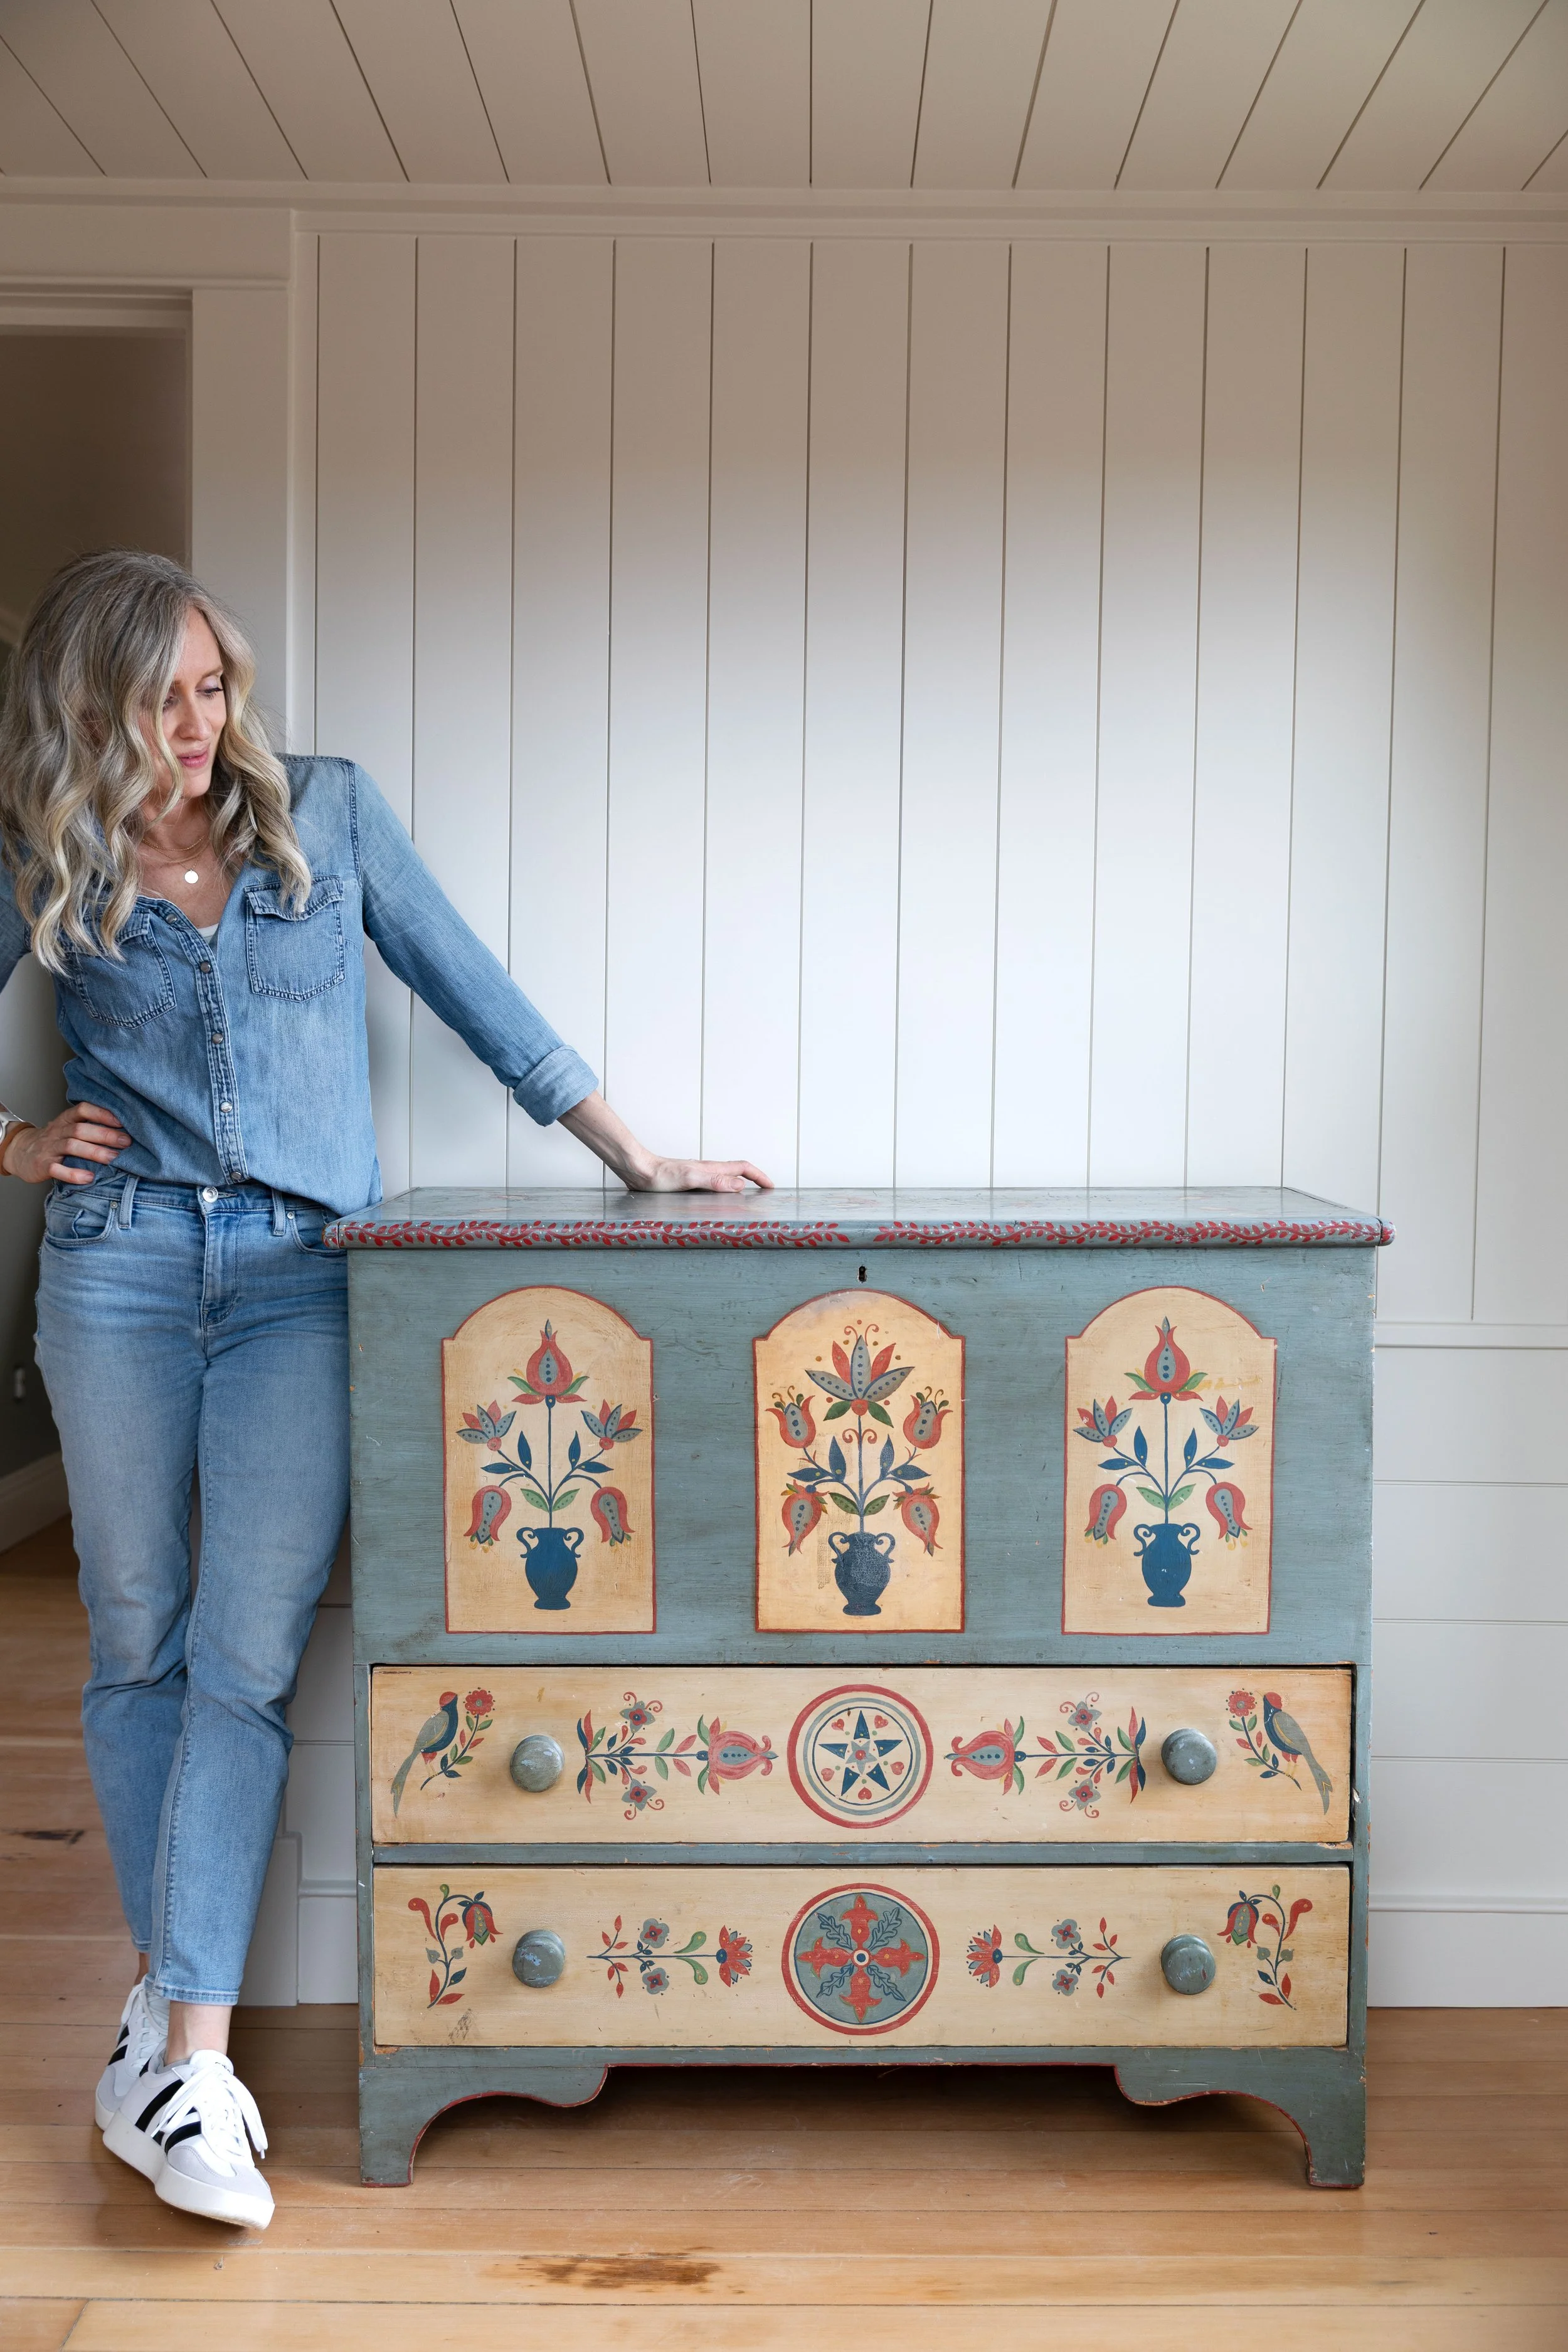
brass knobs, jeans, t-shirt, cabinet color: FB Old White (color matched by SW)
First, the details on our butcher block.
About our butcher block
Once we decided to add some more cabinetry to the Poplar Cottage kitchen we knew we wouldn’t be able to match our existing countertops because our quartz has been discontinued. So we opted for a butcher block. We love the warmth wood brings to a space and this seemed like the perfect opportunity to bring in another natural element to complement our plate rack. Over the years, we’ve tried lots of different species of butcher block (liptus, beech, red oak, end grain white oak, and walnut) and I love them all, but with a white oak plate rack in here and white oak floors, white oak was the cohesive choice. So we ordered it from Uncle Doug’s family company (email us at hello@thegritandpolish.com for his contact info if you’re interested). Here are the details on our cutting board:
species: white oak
1 1/4” thick
edge grain
unfinished
how much does butcher block cost?
Butcher block has a wide range of prices depending on species, thickness, quality, wood grade, etc. And right from the start, Uncle Doug informed us that white oak was really expensive right now. So it was a splurge, but we didn’t want to skimp on the design. The total cost was $750 for this 81”x25” butcher block. If you want to save on butcher block I recommend going with a less expensive species and not sacrificing on the quality!
Will we cut on our butcher block?
NO! This is a countertop and not a cutting board. The products we use for finishing would be a little different if we planned to cut food directly on this butcher block (we’d stick with food grade products like this oil and conditioner).


Install was quite easy for this butcher block countertop. After cutting the countertop to length (we ordered ~1” longer than actual so we could cut to fit) and sanding the sides a wee bit here and a wee bit there using a belt sander to get the perrrrrrfect fit, we cleaned dust off the butcher block with a dry towel. Then we brought it inside and began the finishing process. The hardest part was carrying around the weight of the block - definitely a two person job.


Products we use to finish butcher block
Our process for finishing this butcher block was super easy. Let me walk you through the steps, briefly…
First, we flipped the butcher block over right next to where we were installing it and applied a thick coat of the bees wax conditioner, using an old kitchen towel to rub it on. Finishing the underside is an important step to avoid warping! We didn’t wipe off the extra on this, since we want the wood to absorb more product.
Next, we flipped the butcher block right side up and placed it in position. Our butcher block came pre-sanded so we only had to lightly sand the top with 220grit paper and a sanding pad to get it buttery smooth. Then we cleaned off the dust with a clean towel and applied a generous coat of the bees wax conditioner with an old kitchen towel. We let it sit for a couple hours and then wiped off the excess with the kitchen towel and polished it (hot tip: for unfinished wood like this, I’d recommend leaving the first application of product on overnight to give it time to penetrate). We repeated this process according to the ‘ongoing maintenance’ section below.
Here are the products we used…

Sanding pad
Whatever it is, the way you tell your story online can make all the difference.

Sand paper
Our butcher block came pre-sanded so we only had to use a fine 220 grit paper to get it buttery smooth

Bees wax and orange wood conditioner
We like to use this one since it penetrates into the wood, allowing for a longer finish. Also, it smells great!

Butcher Block Conditioner
This is food grade conditioner made with mineral oil and natural waxes. We’ll use this for ongoing maintenance
Ongoing maintenance
Butcher blocks require periodic conditioning when finished like this. There’s no schedule, just whenever the wood looks dry, which will depend on where you live, the climate of your house, wood species, etc. At first, we end up giving the butcher block a few rounds of conditioner in the first month, doing a light sand if the grain has popped up at all, cleaning the dust with a dry rag, and then applying and leaving the conditioner on overnight if possible. Very quickly, the wood will need less and less conditioner until it’s just a a few times a year. And every so often (annually or so), we’ll try to condition the underside, if it’s accessible.
Once our bees wax conditioner runs out, we’ll switch to the food-grade butcher block conditioner shown above. This isn’t necessary but by then the wood should be adequately conditioned and why not go for food grade.
One thing we love about finishing butcher block countertops with conditioner is that you can easily and quickly fix any part of the wood that’s worn/dry/damaged (like the places that get a lot of use). You can just give it a little sand and conditioner without having to completely refinish the whole countertop.


That’s it! All the products we use to the butcher block. Still considering adding an ogee edge to it like we did to the walnut butcher block in the Farmhouse kitchen. Thoughts?