DIY // How to Build A Shaker Peg Shelf
THE FARMHOUSE
Since building the Porch House kitchen’s shaker peg shelves, we’ve been asked for a tutorial more times than I can count. So when we built something similar for the Farmhouse laundry room, we made sure to document the process. And today we’re bringing you a DIY tutorial. Read on for how to build a shaker peg shelf (or just the shelf part if you want to skip the shaker pegs 😉).
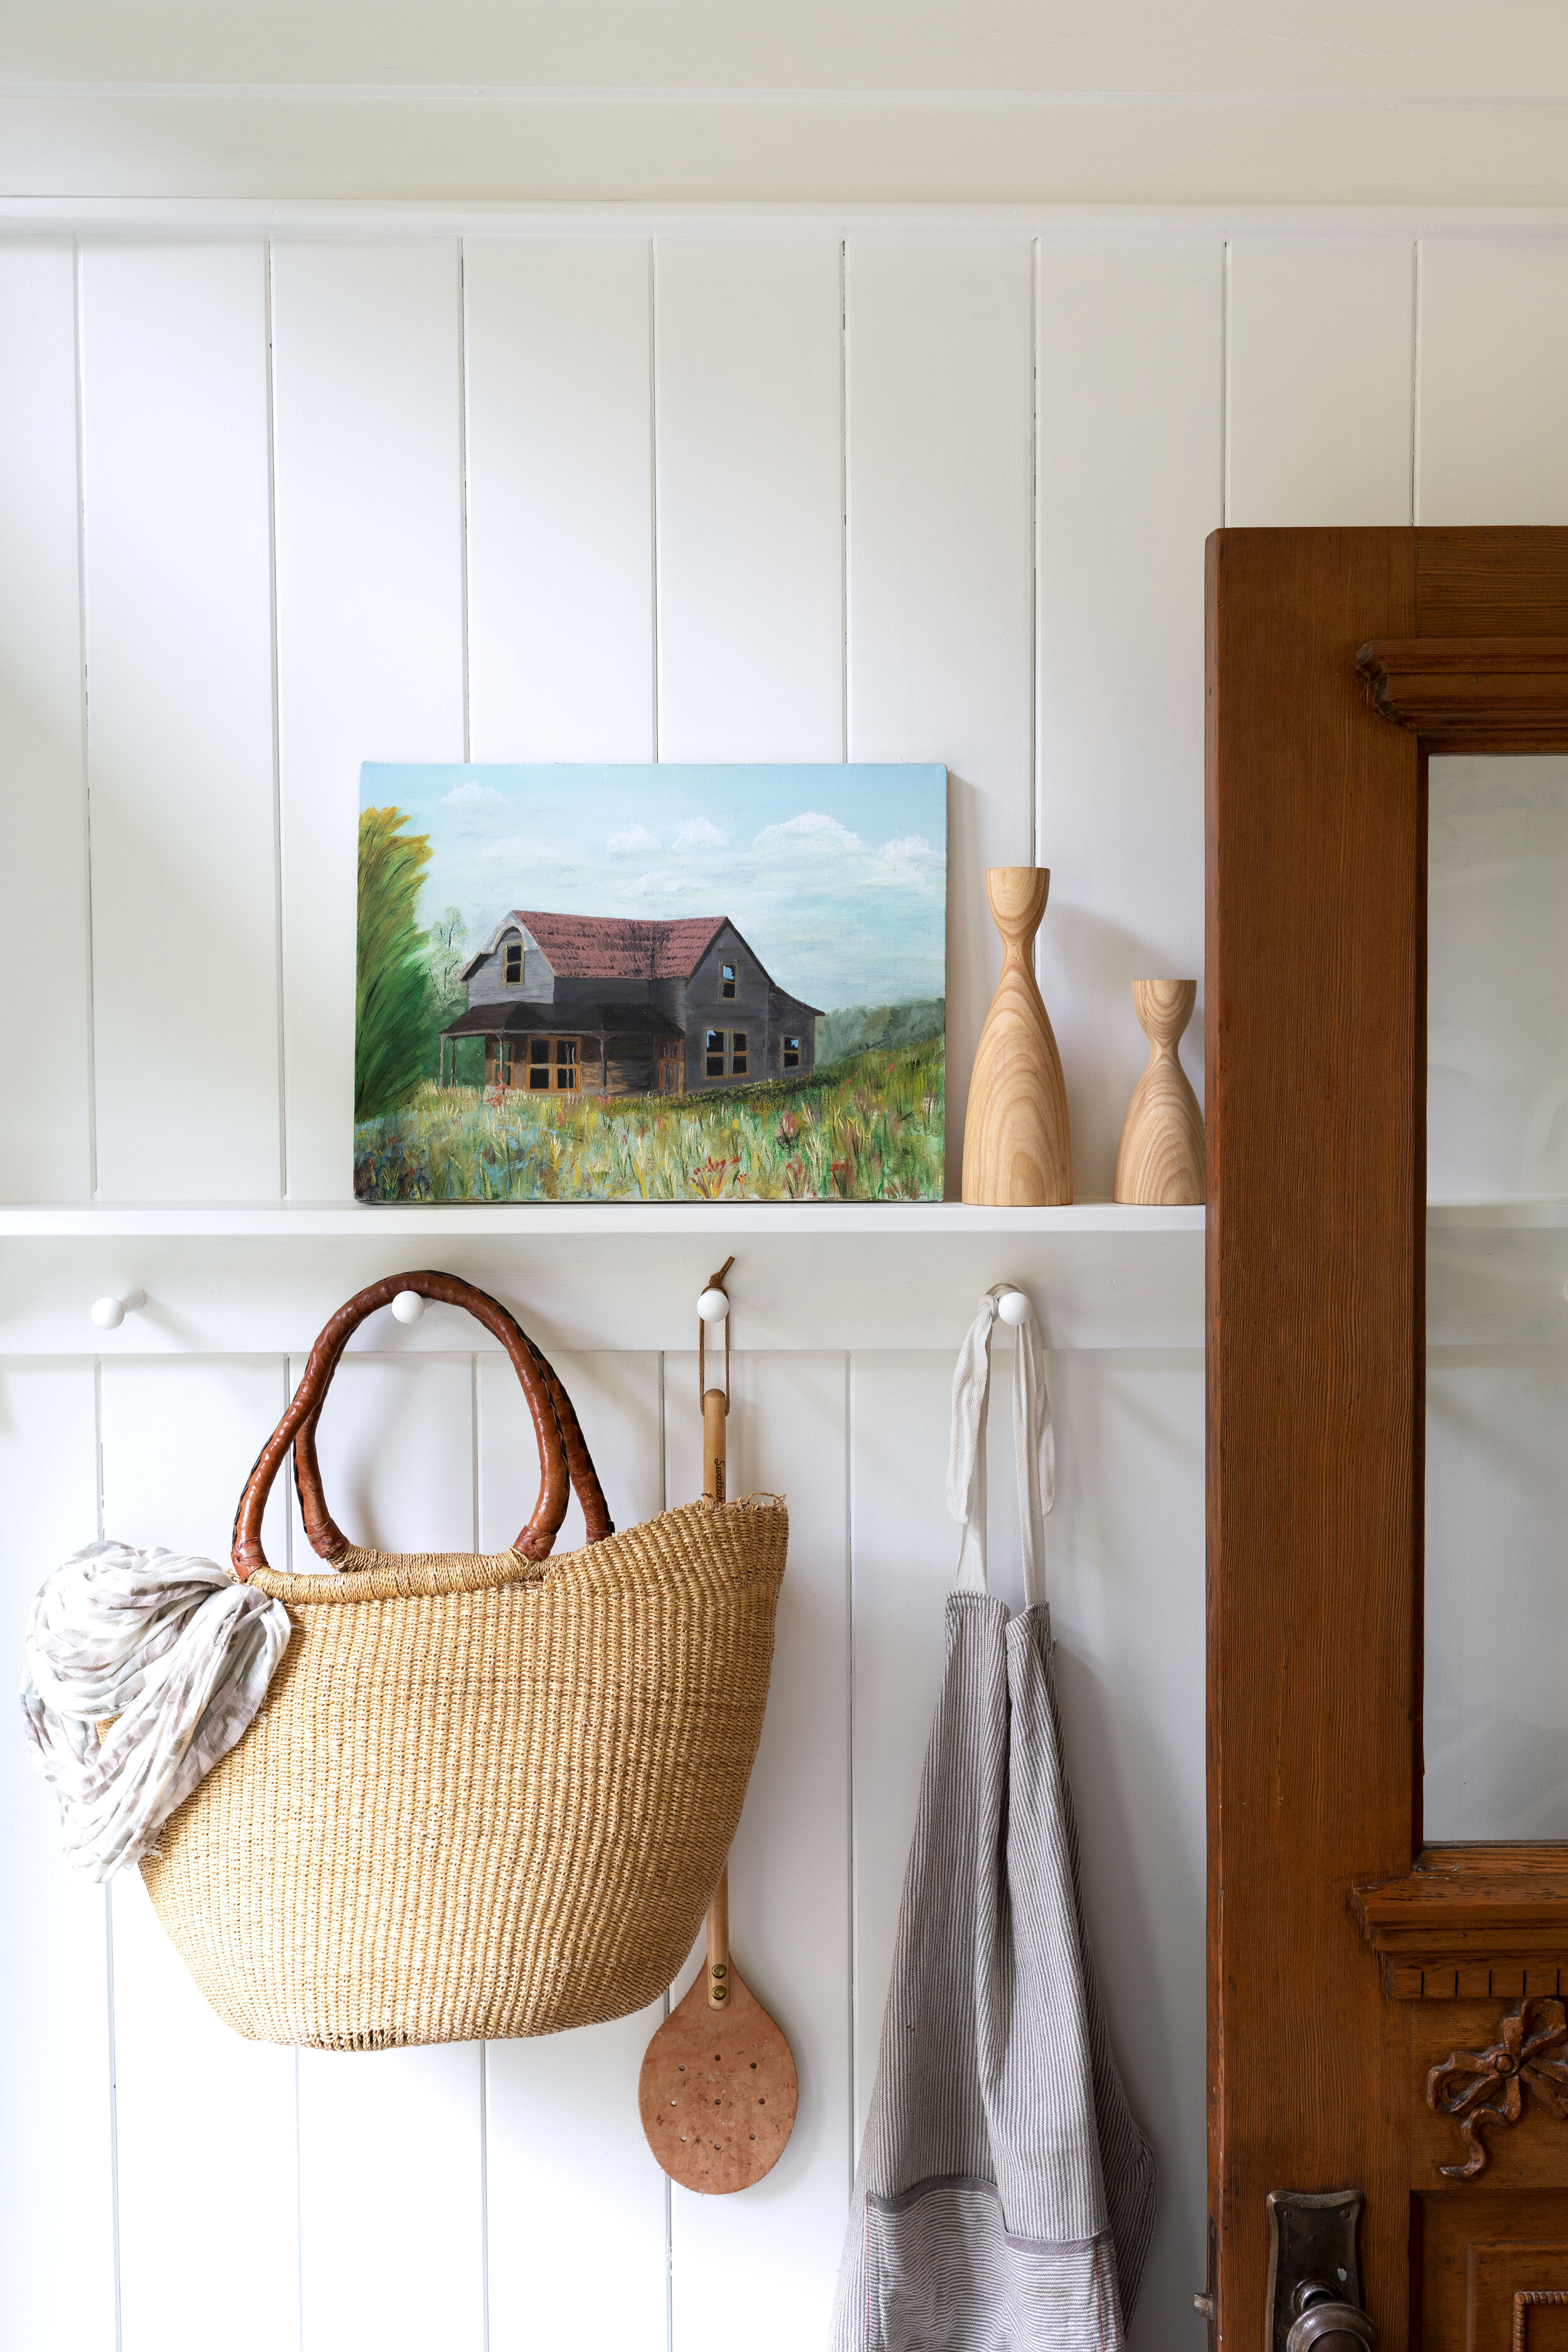
The Farmhouse laundry room / sources here
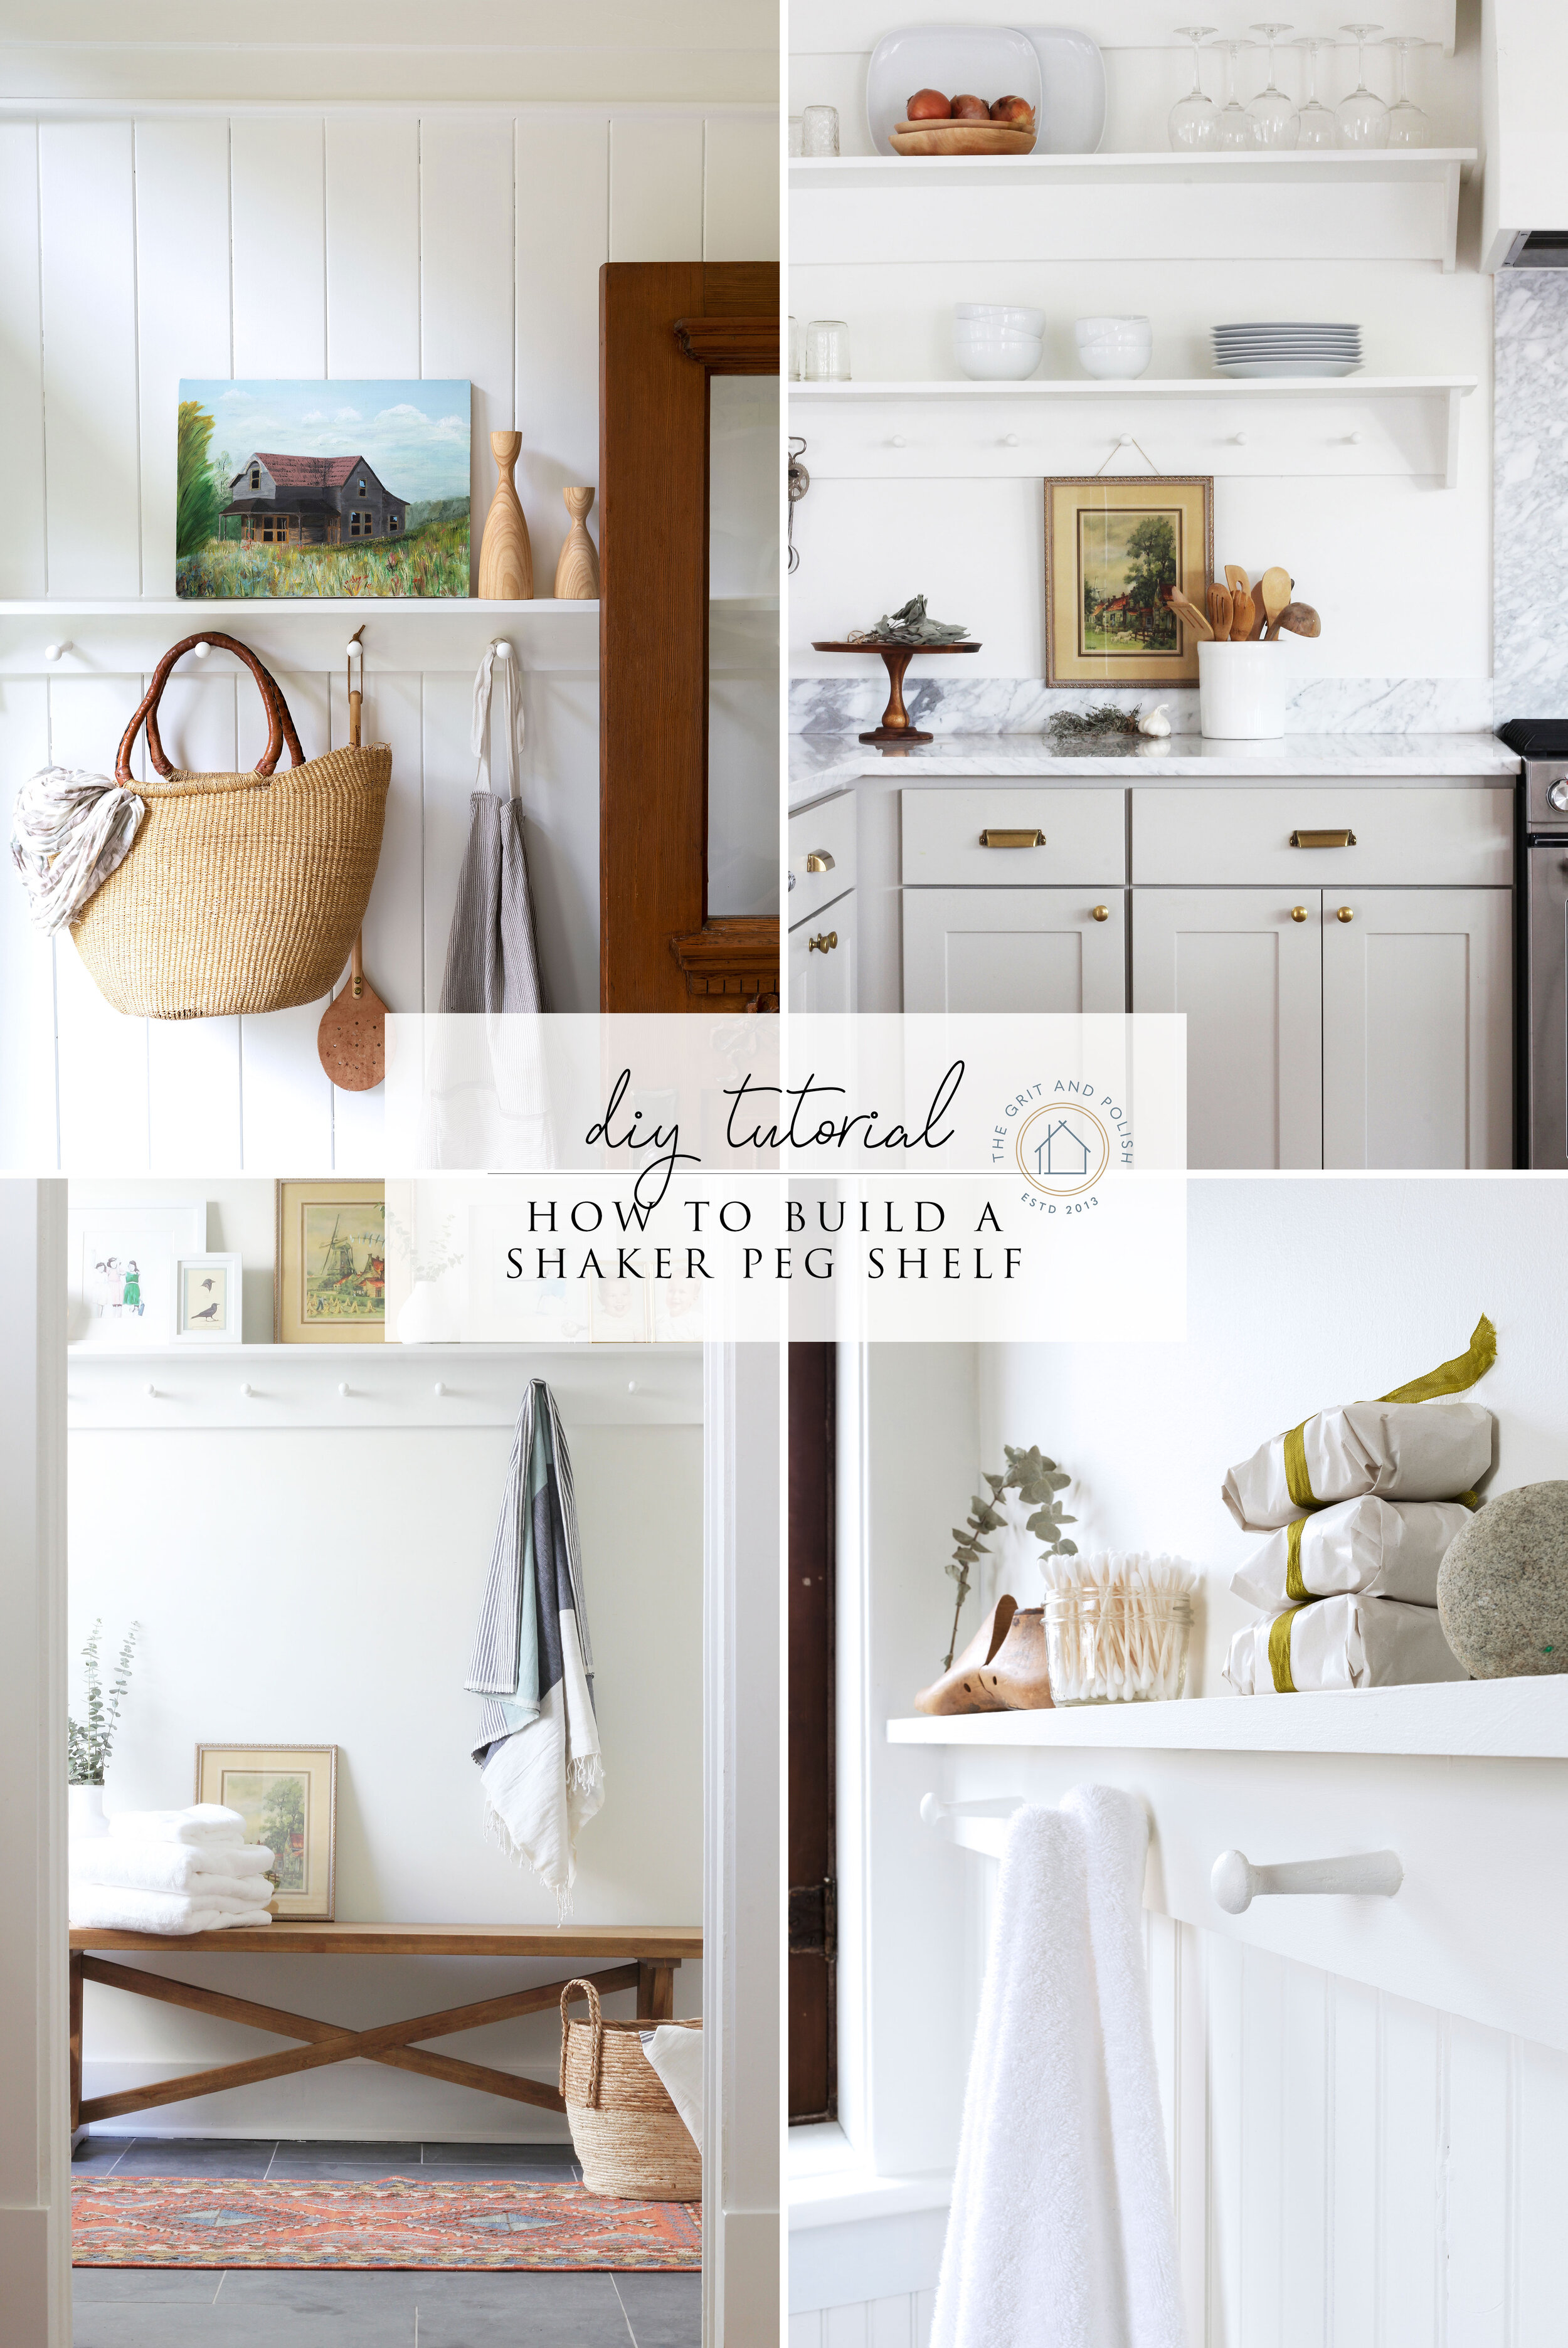
If you didn’t already know, we’re big fans of these shaker peg shelves. We’ve used them at both the Farmhouse and Porch House in kitchens, bathrooms, laundry rooms, and closets. They’re inexpensive, functional, and easy to build. Which is why we keep using them over and over again!
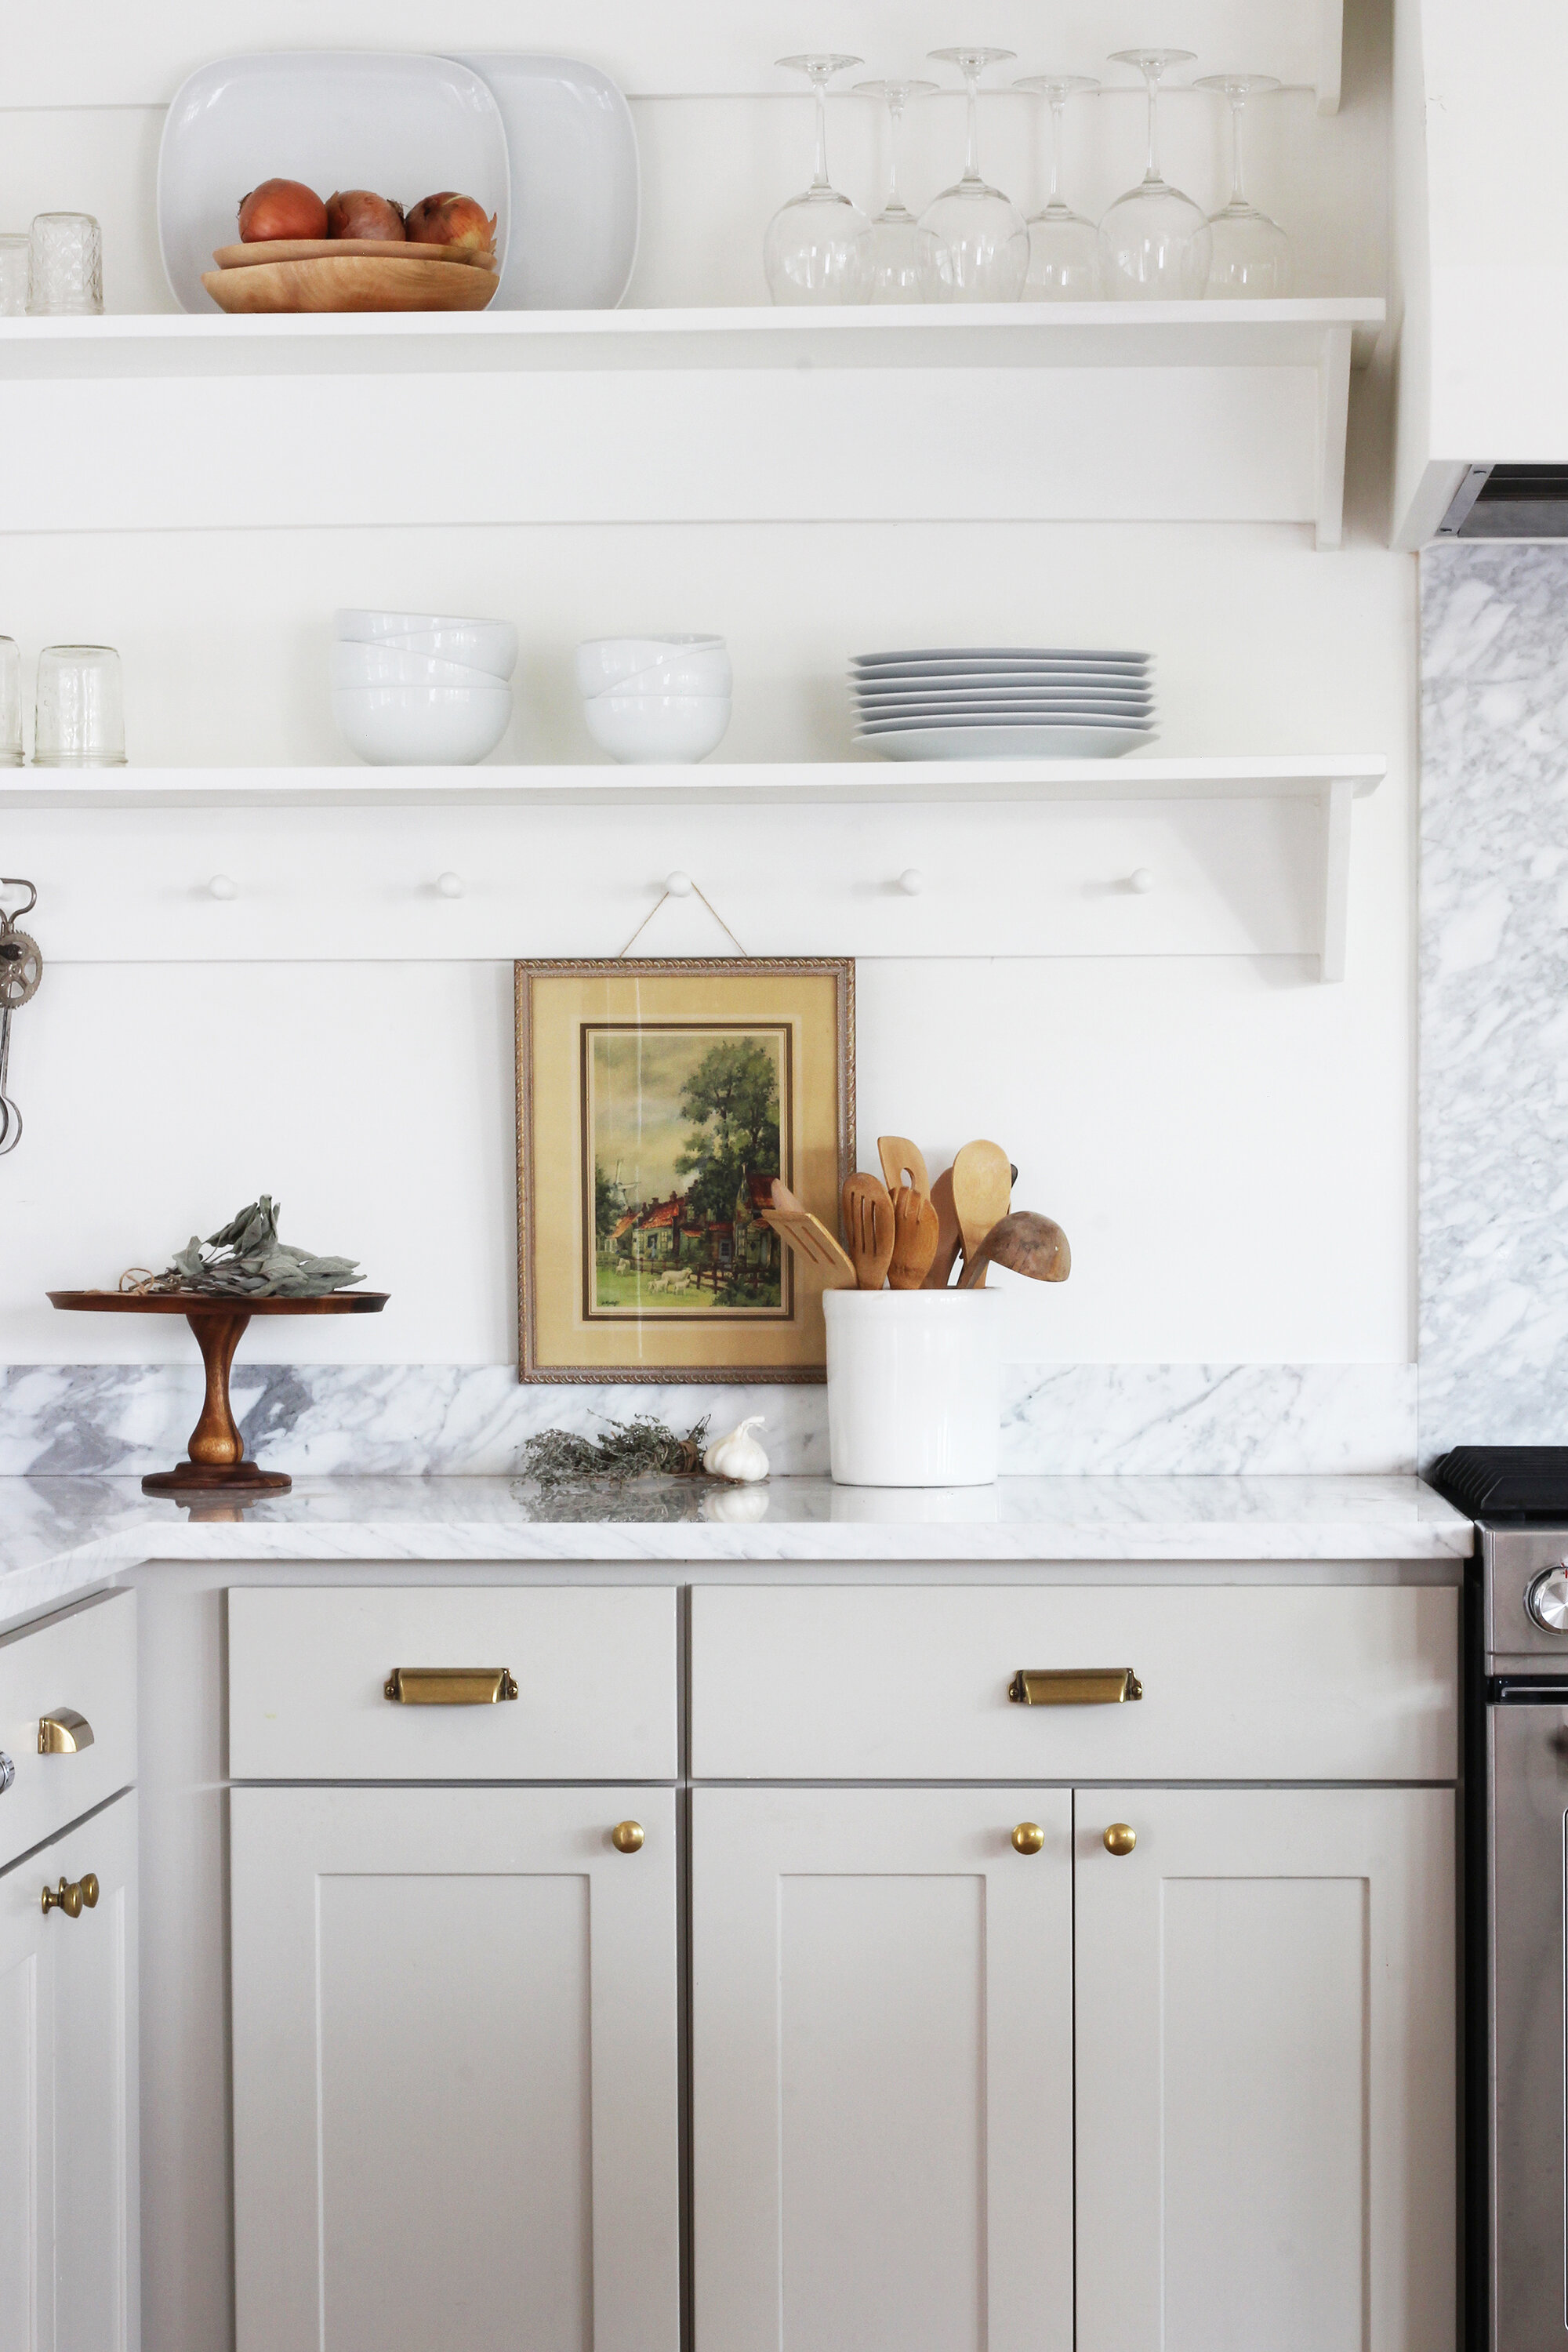
The Porch House kitchen / The Farmhouse main bathroom
DIY // Shaker Peg Shelf
Time: 2+ hours
Level: Beginner
Format: video
Materials
shelf back (we used 4.5” tall pine board)
shelf top (we used a 10.5” deep pine board reclaimed from an IKEA desk)
brackets (5.5” deep by 5.5” tall pine board)
construction adhesive + caulking gun
primer + paint (or whatever finish you want)
tools
tape measure
pencil
cordless drill (we have this set)
1/2” drill bit (or whatever matches the tenon diameter of your shaker pegs)
sander and paper
jigsaw
chop saw
nail gun w/ brad nails (optional)
clamps
steps
Garrett walks you through the steps he took to build this shaker peg shelf in this 3-minute video.
Pretty simple, right?! And if you find yourself needing to build a shelf in place, Garrett has you covered! You can find that tutorial here.
We’d love to hear if you build one of these shelves! Tag us on social media or wherever you share your project!
And if you need any more shaker peg inspiration, check out this post.


