DIY // How to Paint Cabinets by Hand (+ An Update On Our Farmhouse Pantry)
THE FARMHOUSE
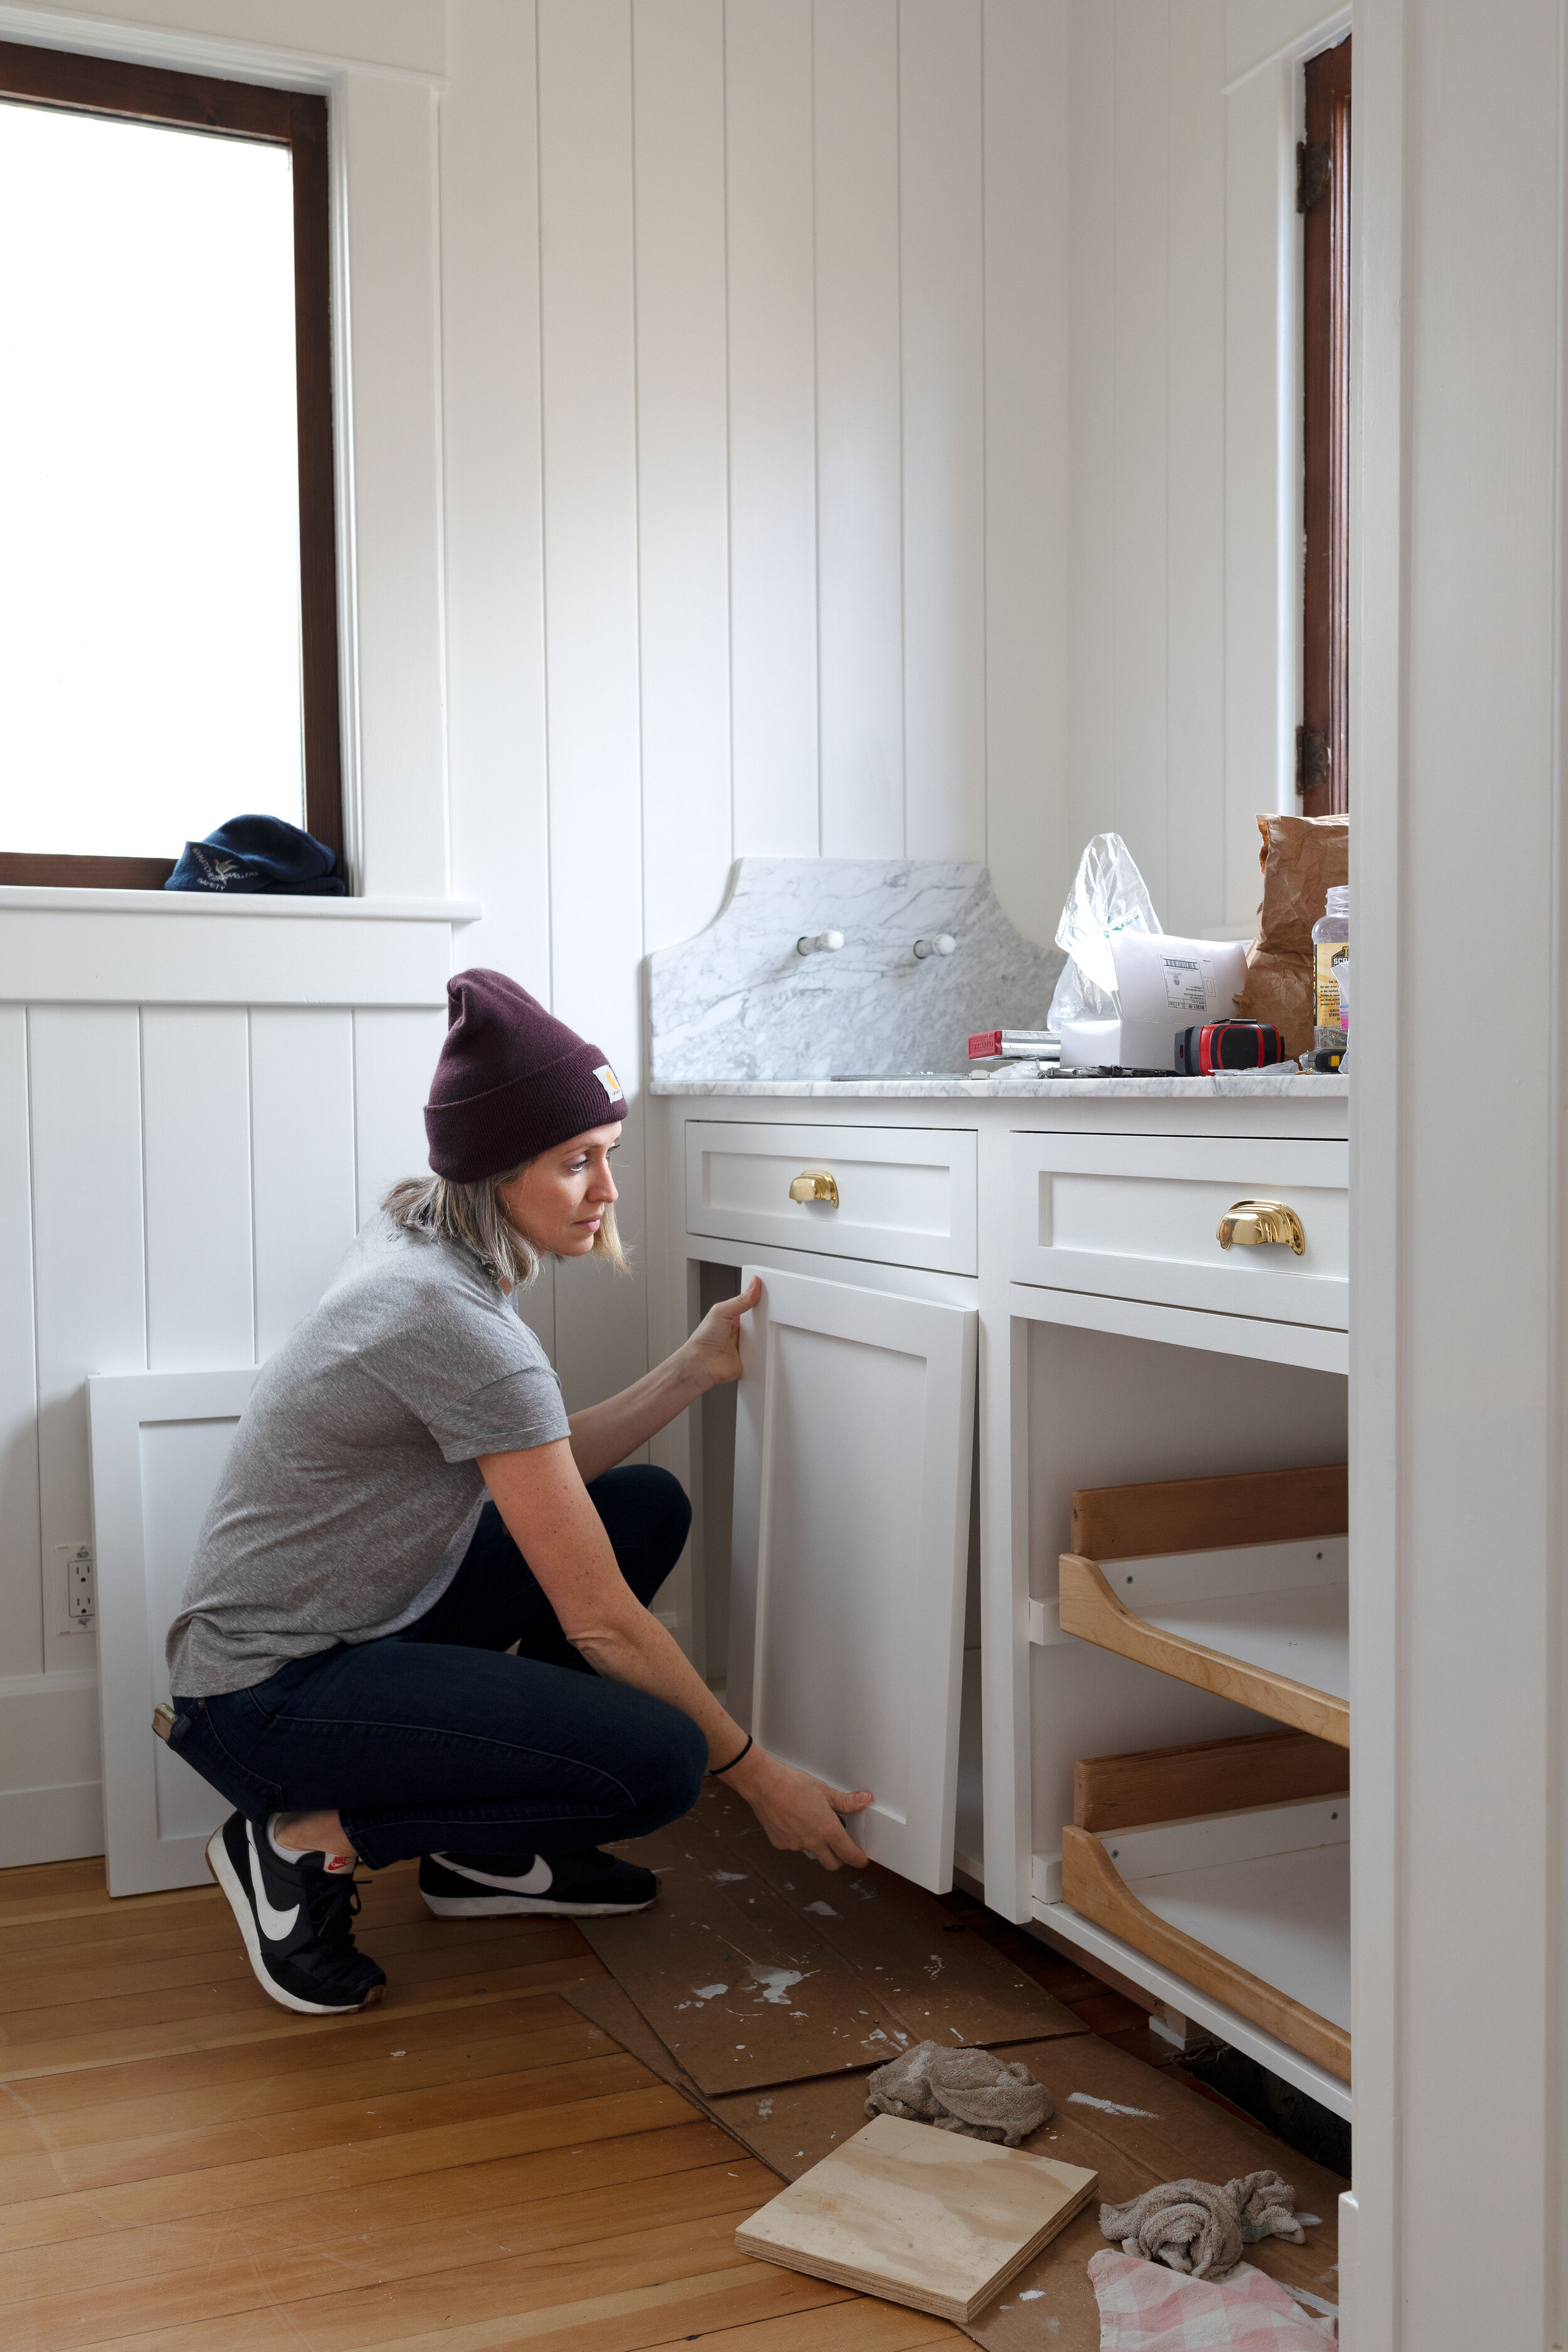
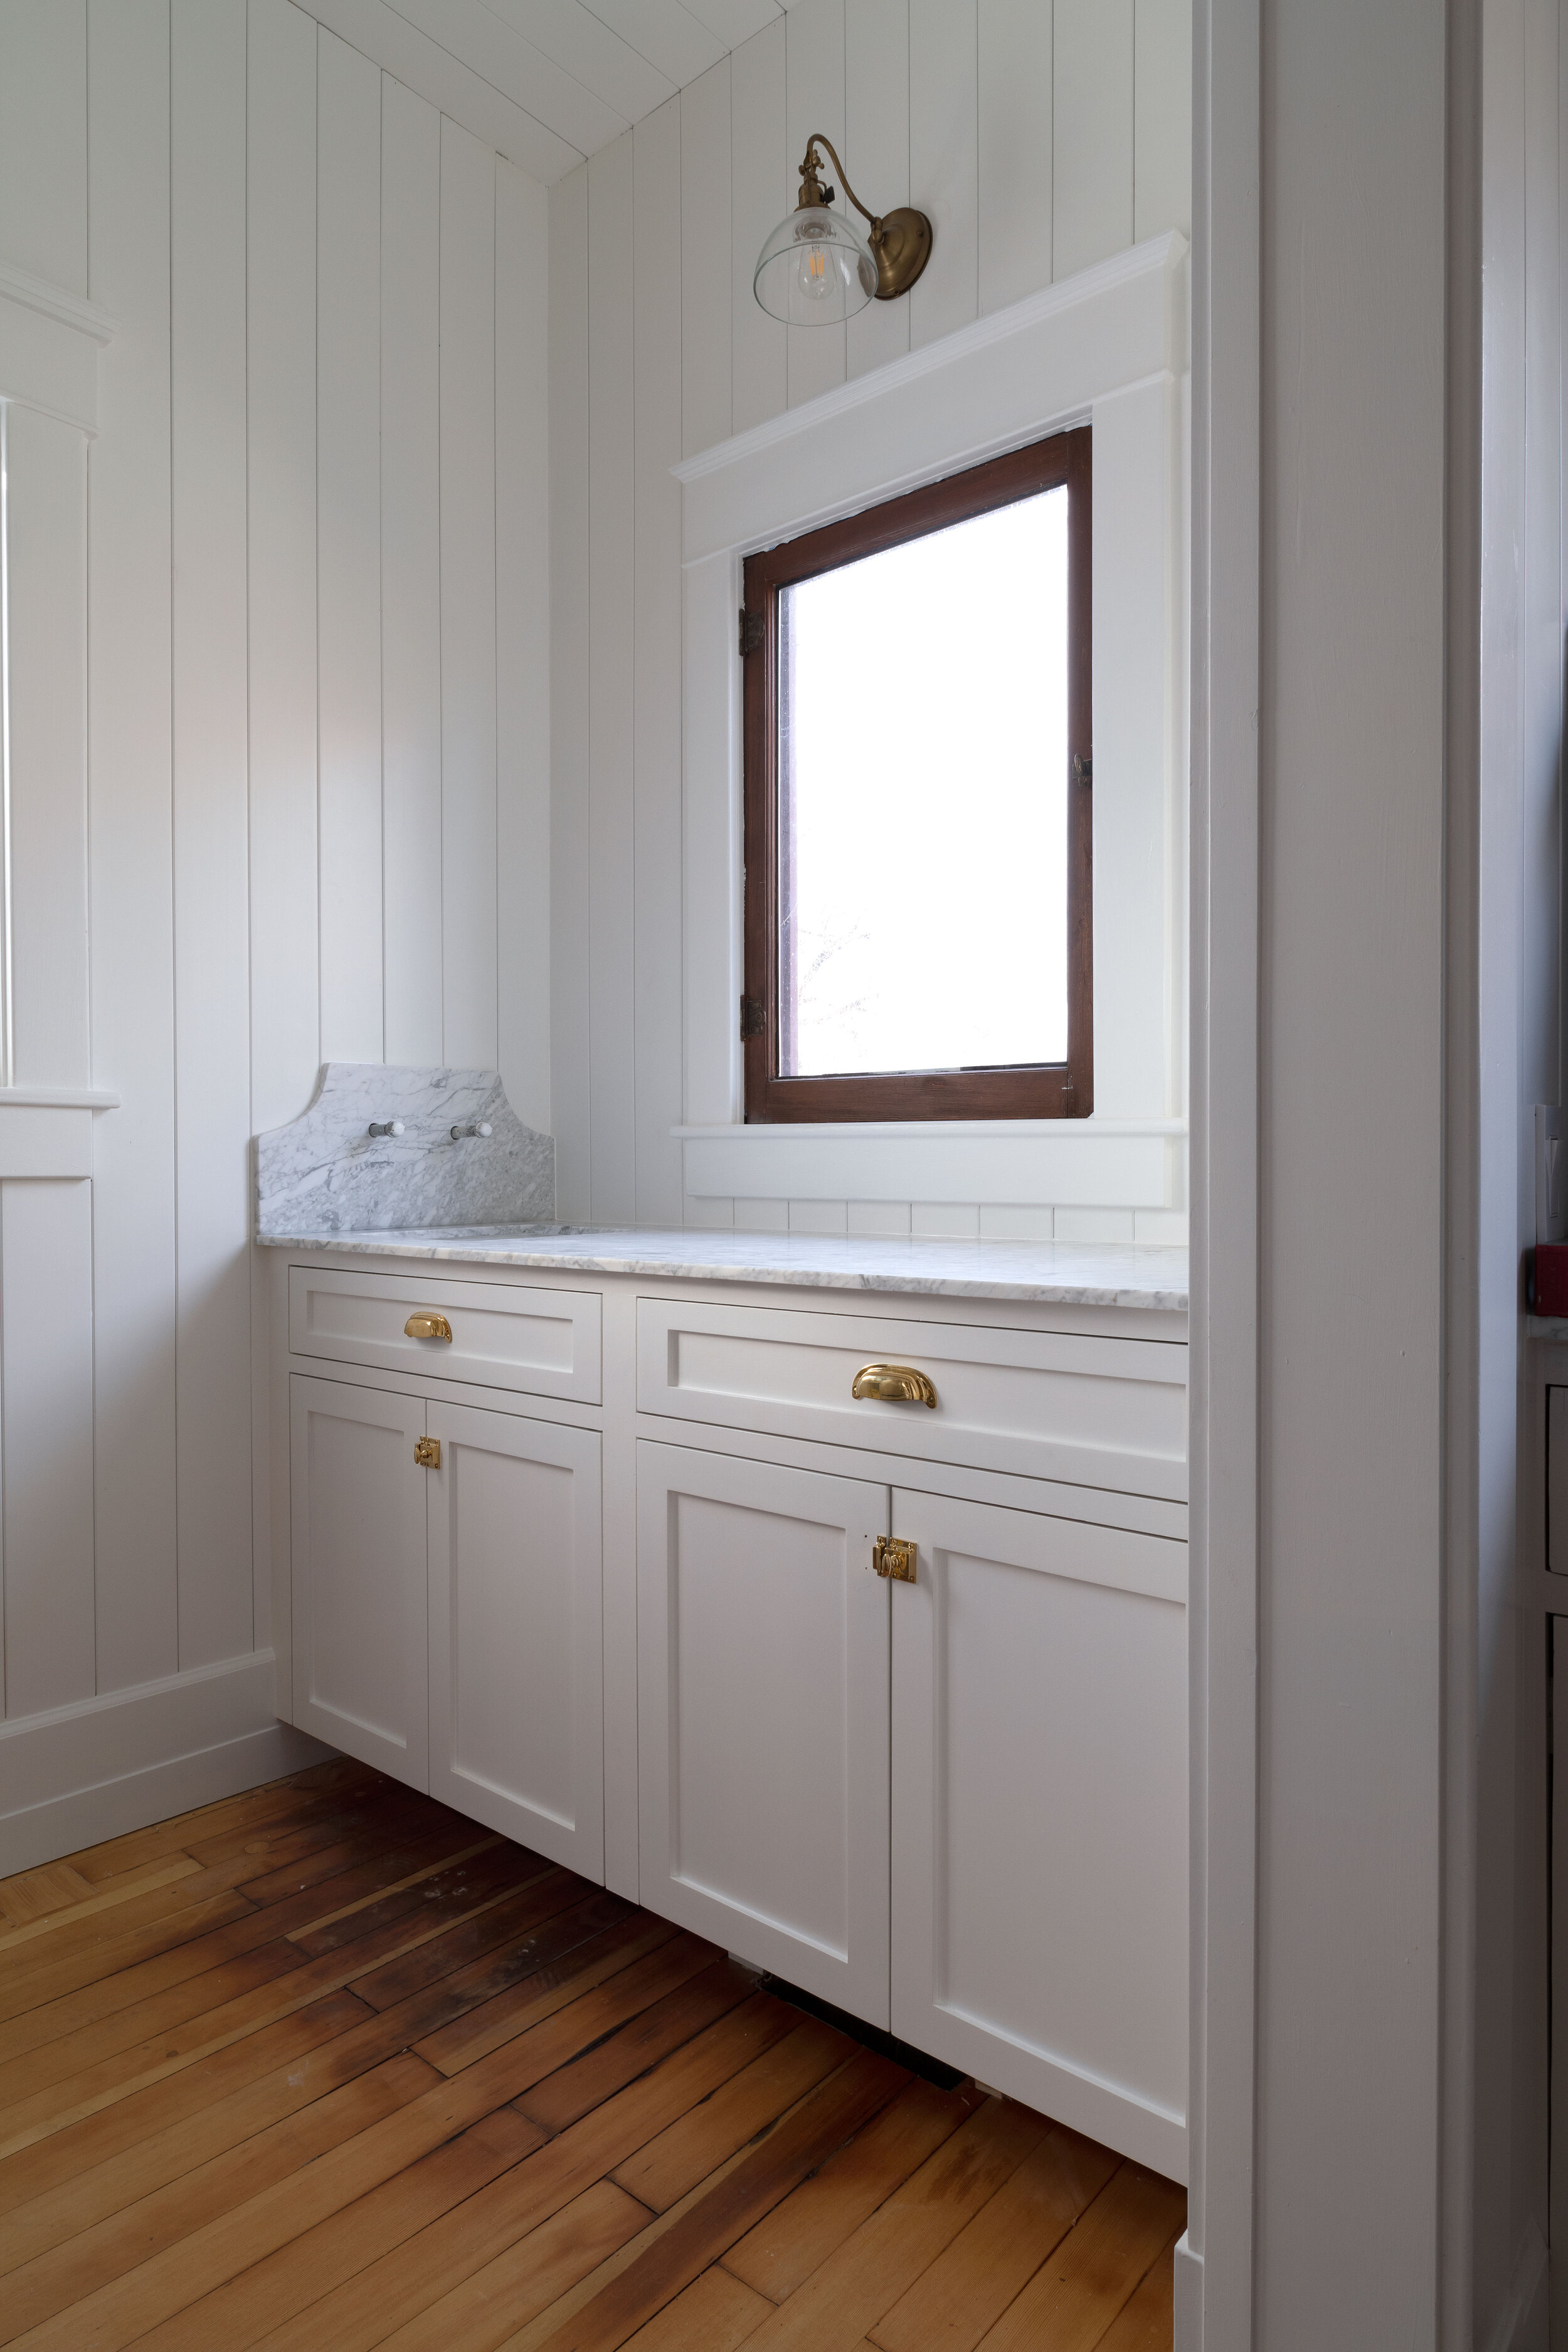
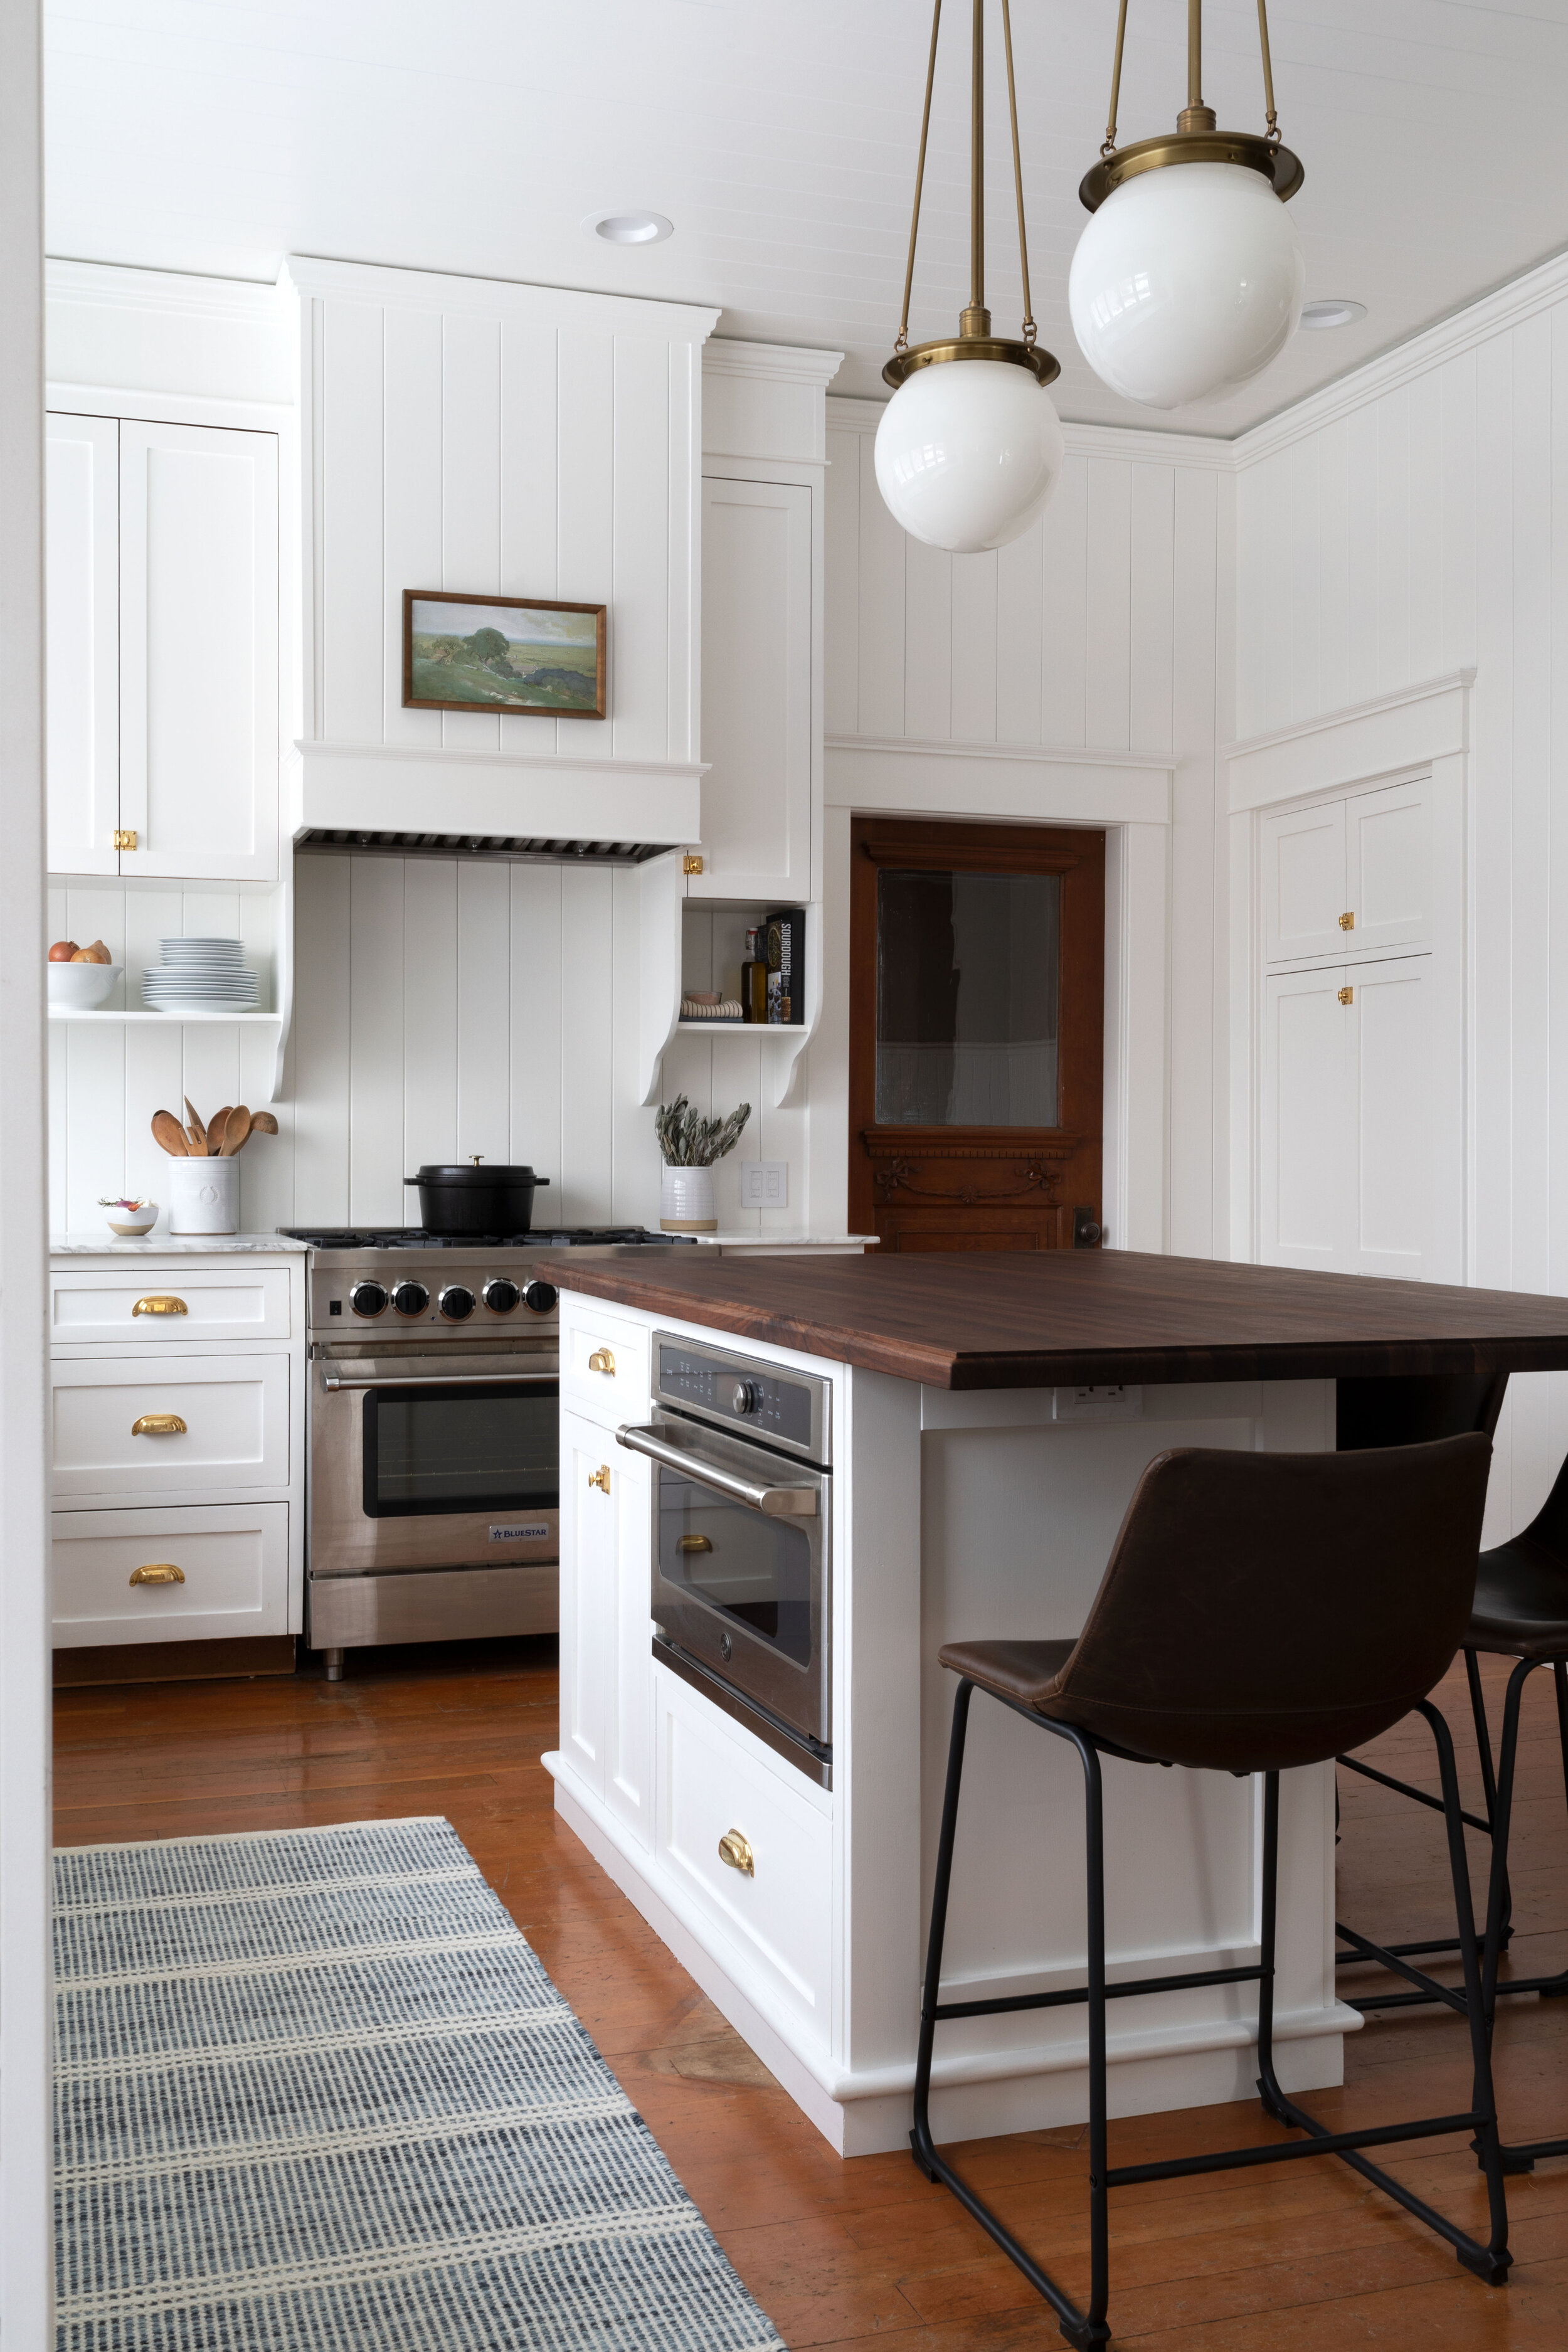
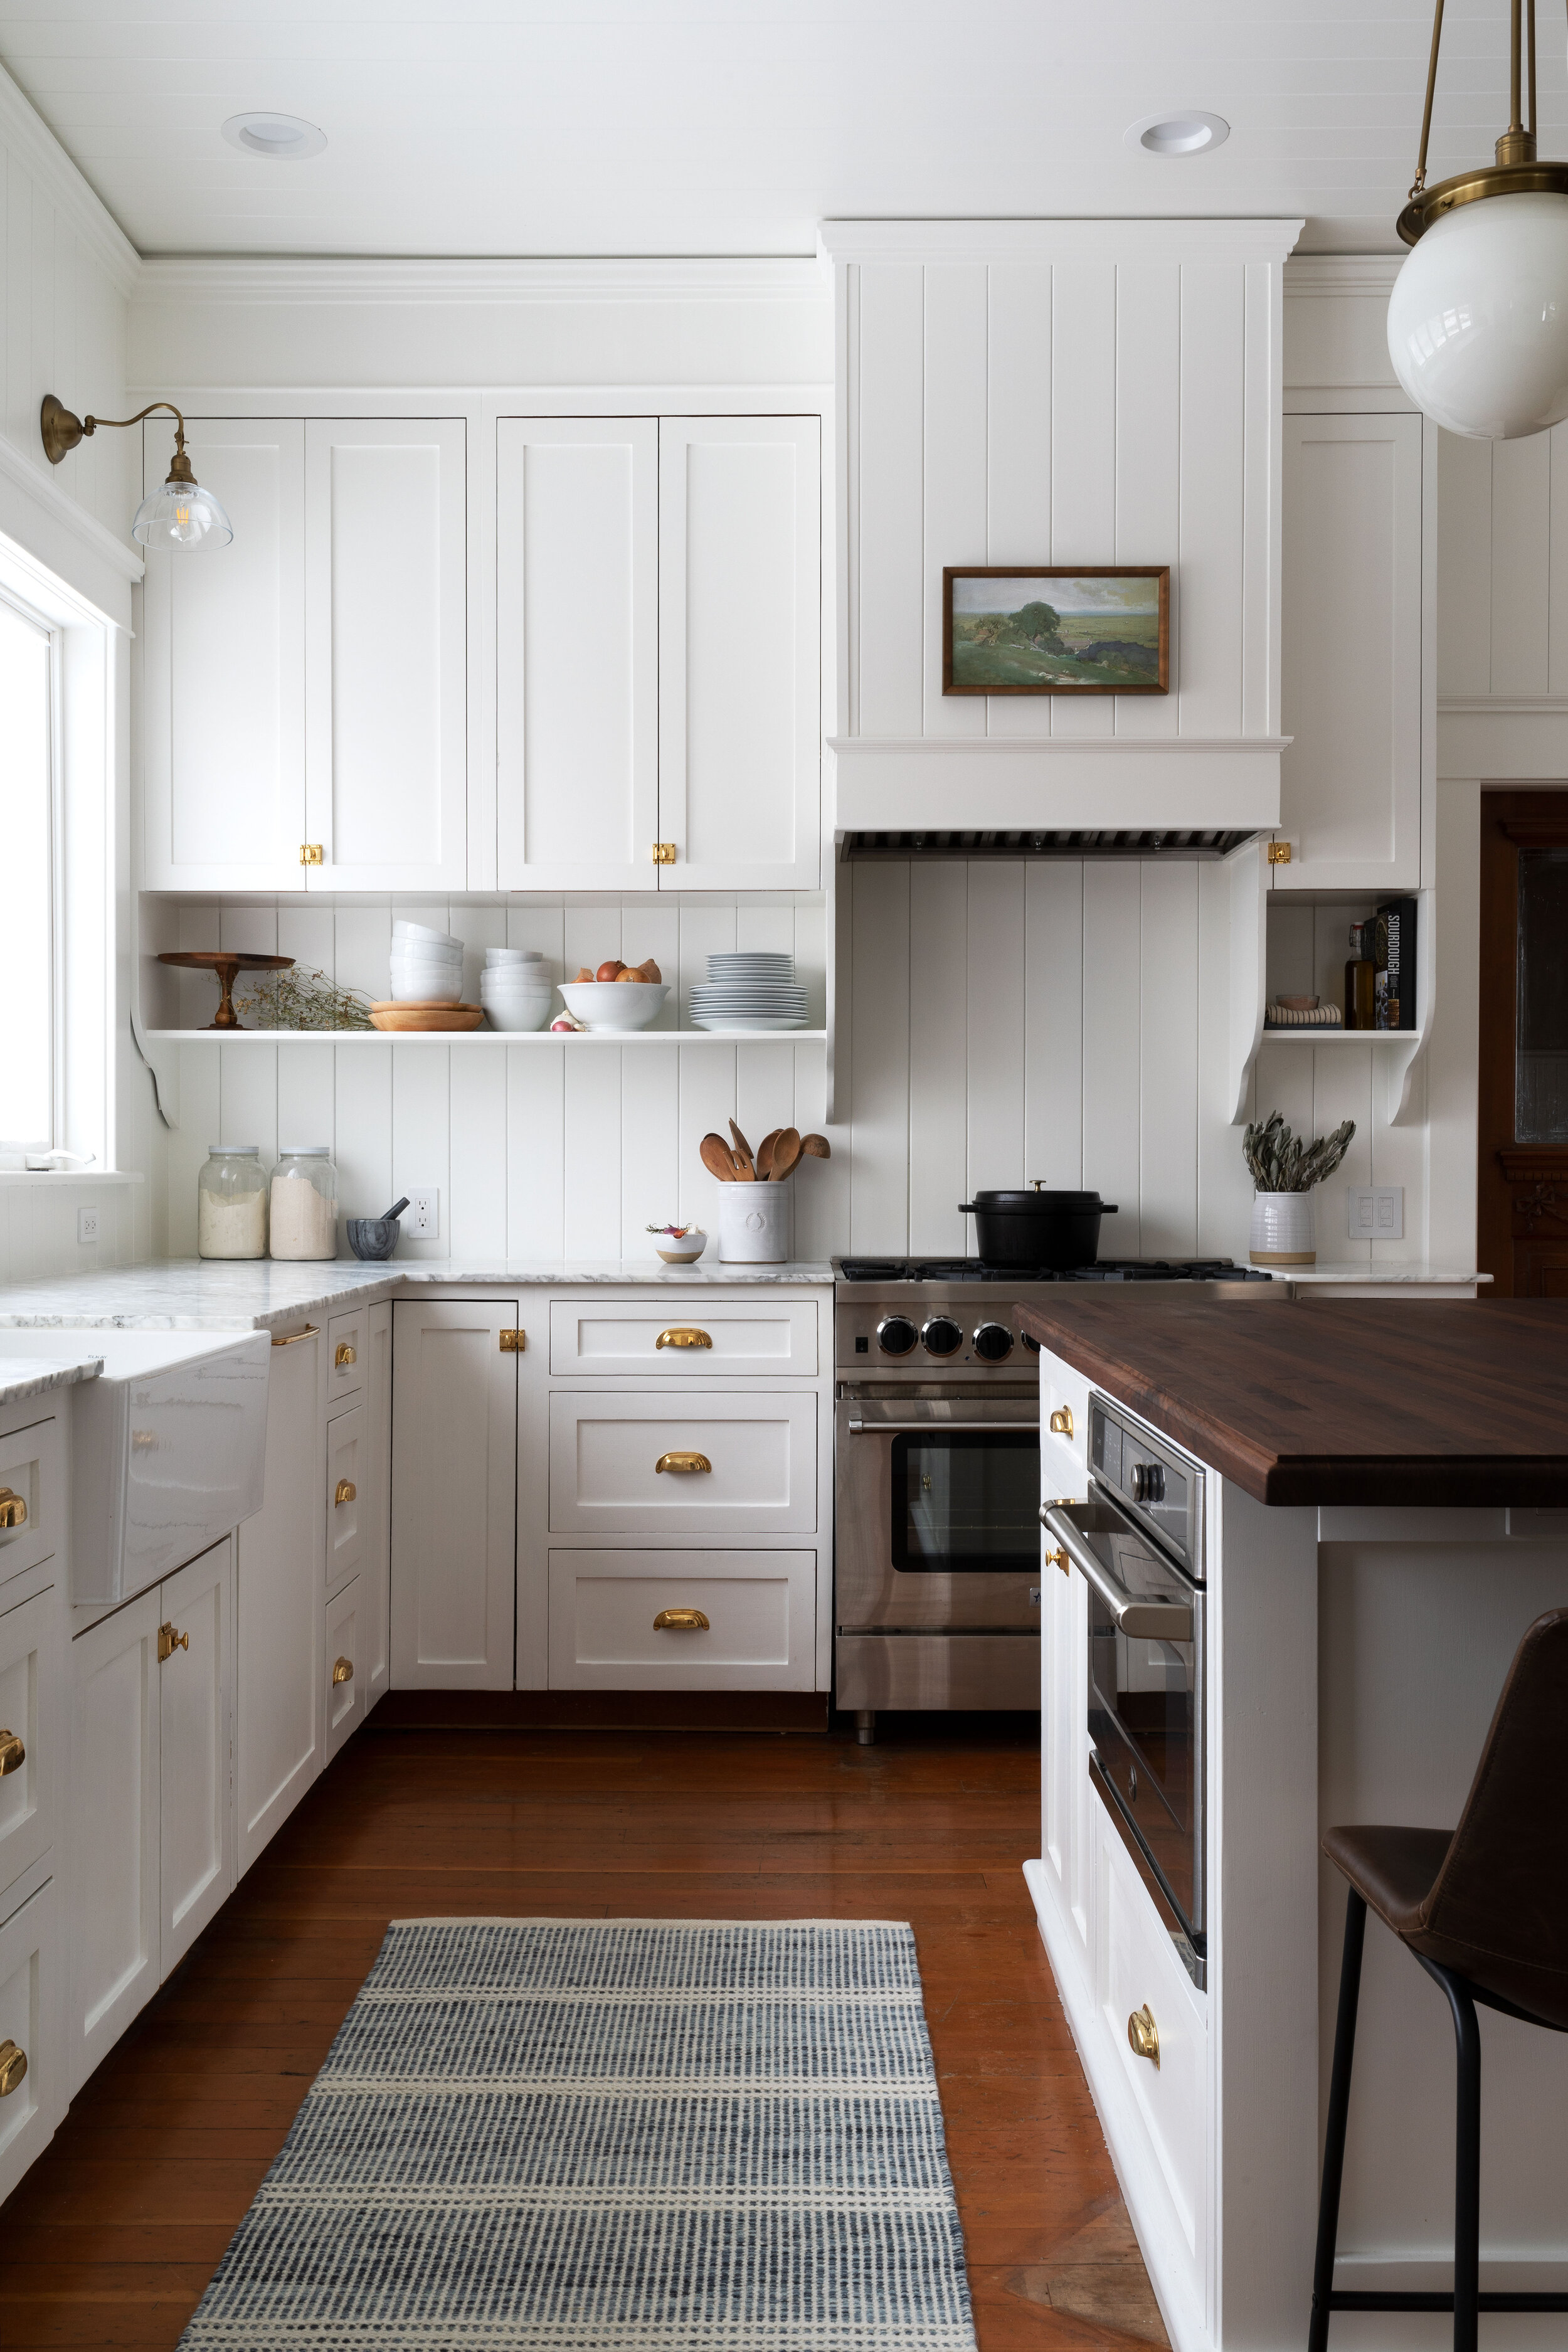
Over the weekend, we painted the pantry cabinets. The Farmhouse is the 9th kitchen where we’ve painted cabinets and we’ve learned a lot each time. So today we’re sharing a DIY on our process for hand-painting cabinets. We’ll talk about when and why we hand paint instead of spraying, our best tips and tricks to get , and share this much-requested tutorial. Be sure to catch Garrett’s trick for making shaker panels easier to clean and better looking! Let’s get into it.
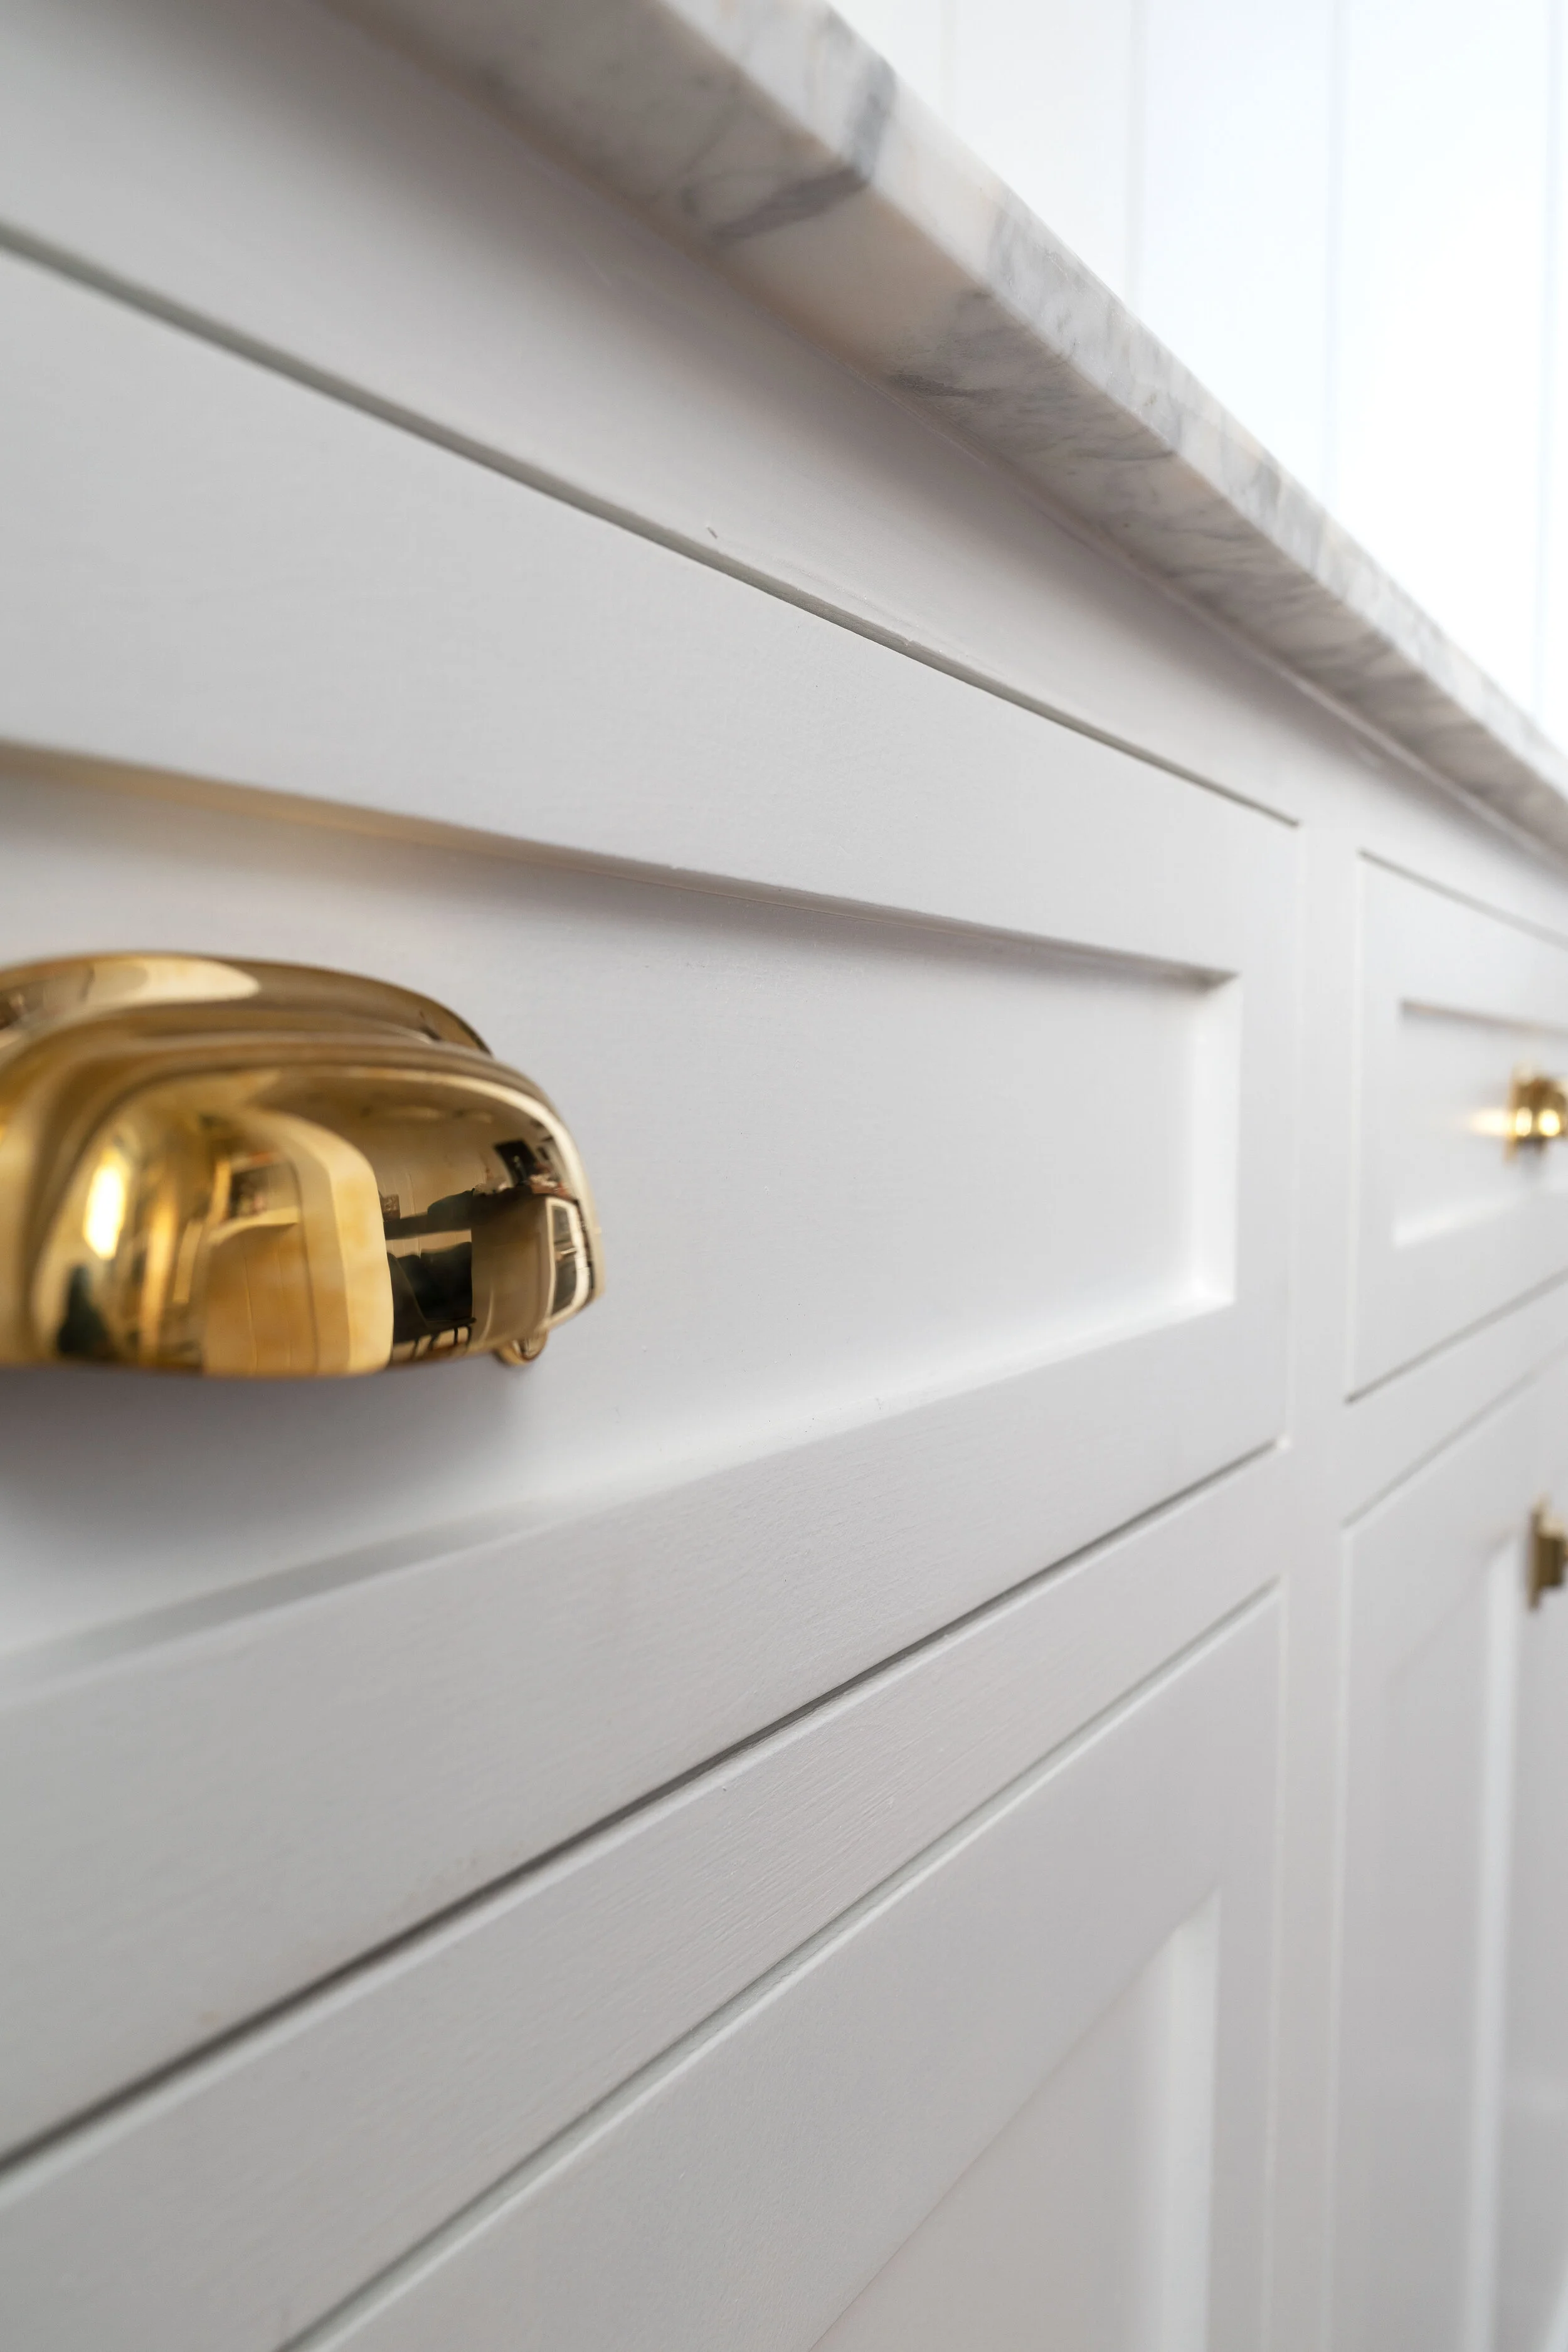
sources: drawer pulls | latches | marble hand-cut by Garrett | hat | shoes
Before we get started, I wanted to mention a few previous posts that go with this post:
Building our base cabinet (yup, Garrett DIY’d it!)
Farmhouse kitchen reveal + sources
Making a curved marble backsplash ourselves
Buying custom cabinet doors (including how much they cost and the site we use)
Why Paint by hand vs. with a sprayer
Spraying cabinets is great when you have the time, energy and space to set up for spraying. But many times we’ve found it’s a lot easier to hand paint them. I’ve also found that I like the look of hand-painted cabinets - there’s something special in the imperfections and hand-done quality. I think they might even feel more authentic in a historic home. But it totally depends on what you’re going for.
DIY // how to paint cabinets by hand
time: 2 days +
Level: beginner
Format: video
Materials
This is what you need to paint cabinets by hand
primer
paint (we use BM Advance in Satin - high quality paint is worth it for cabinets!)
smooth-grit sandpaper (150 or above)
caulk (optional)
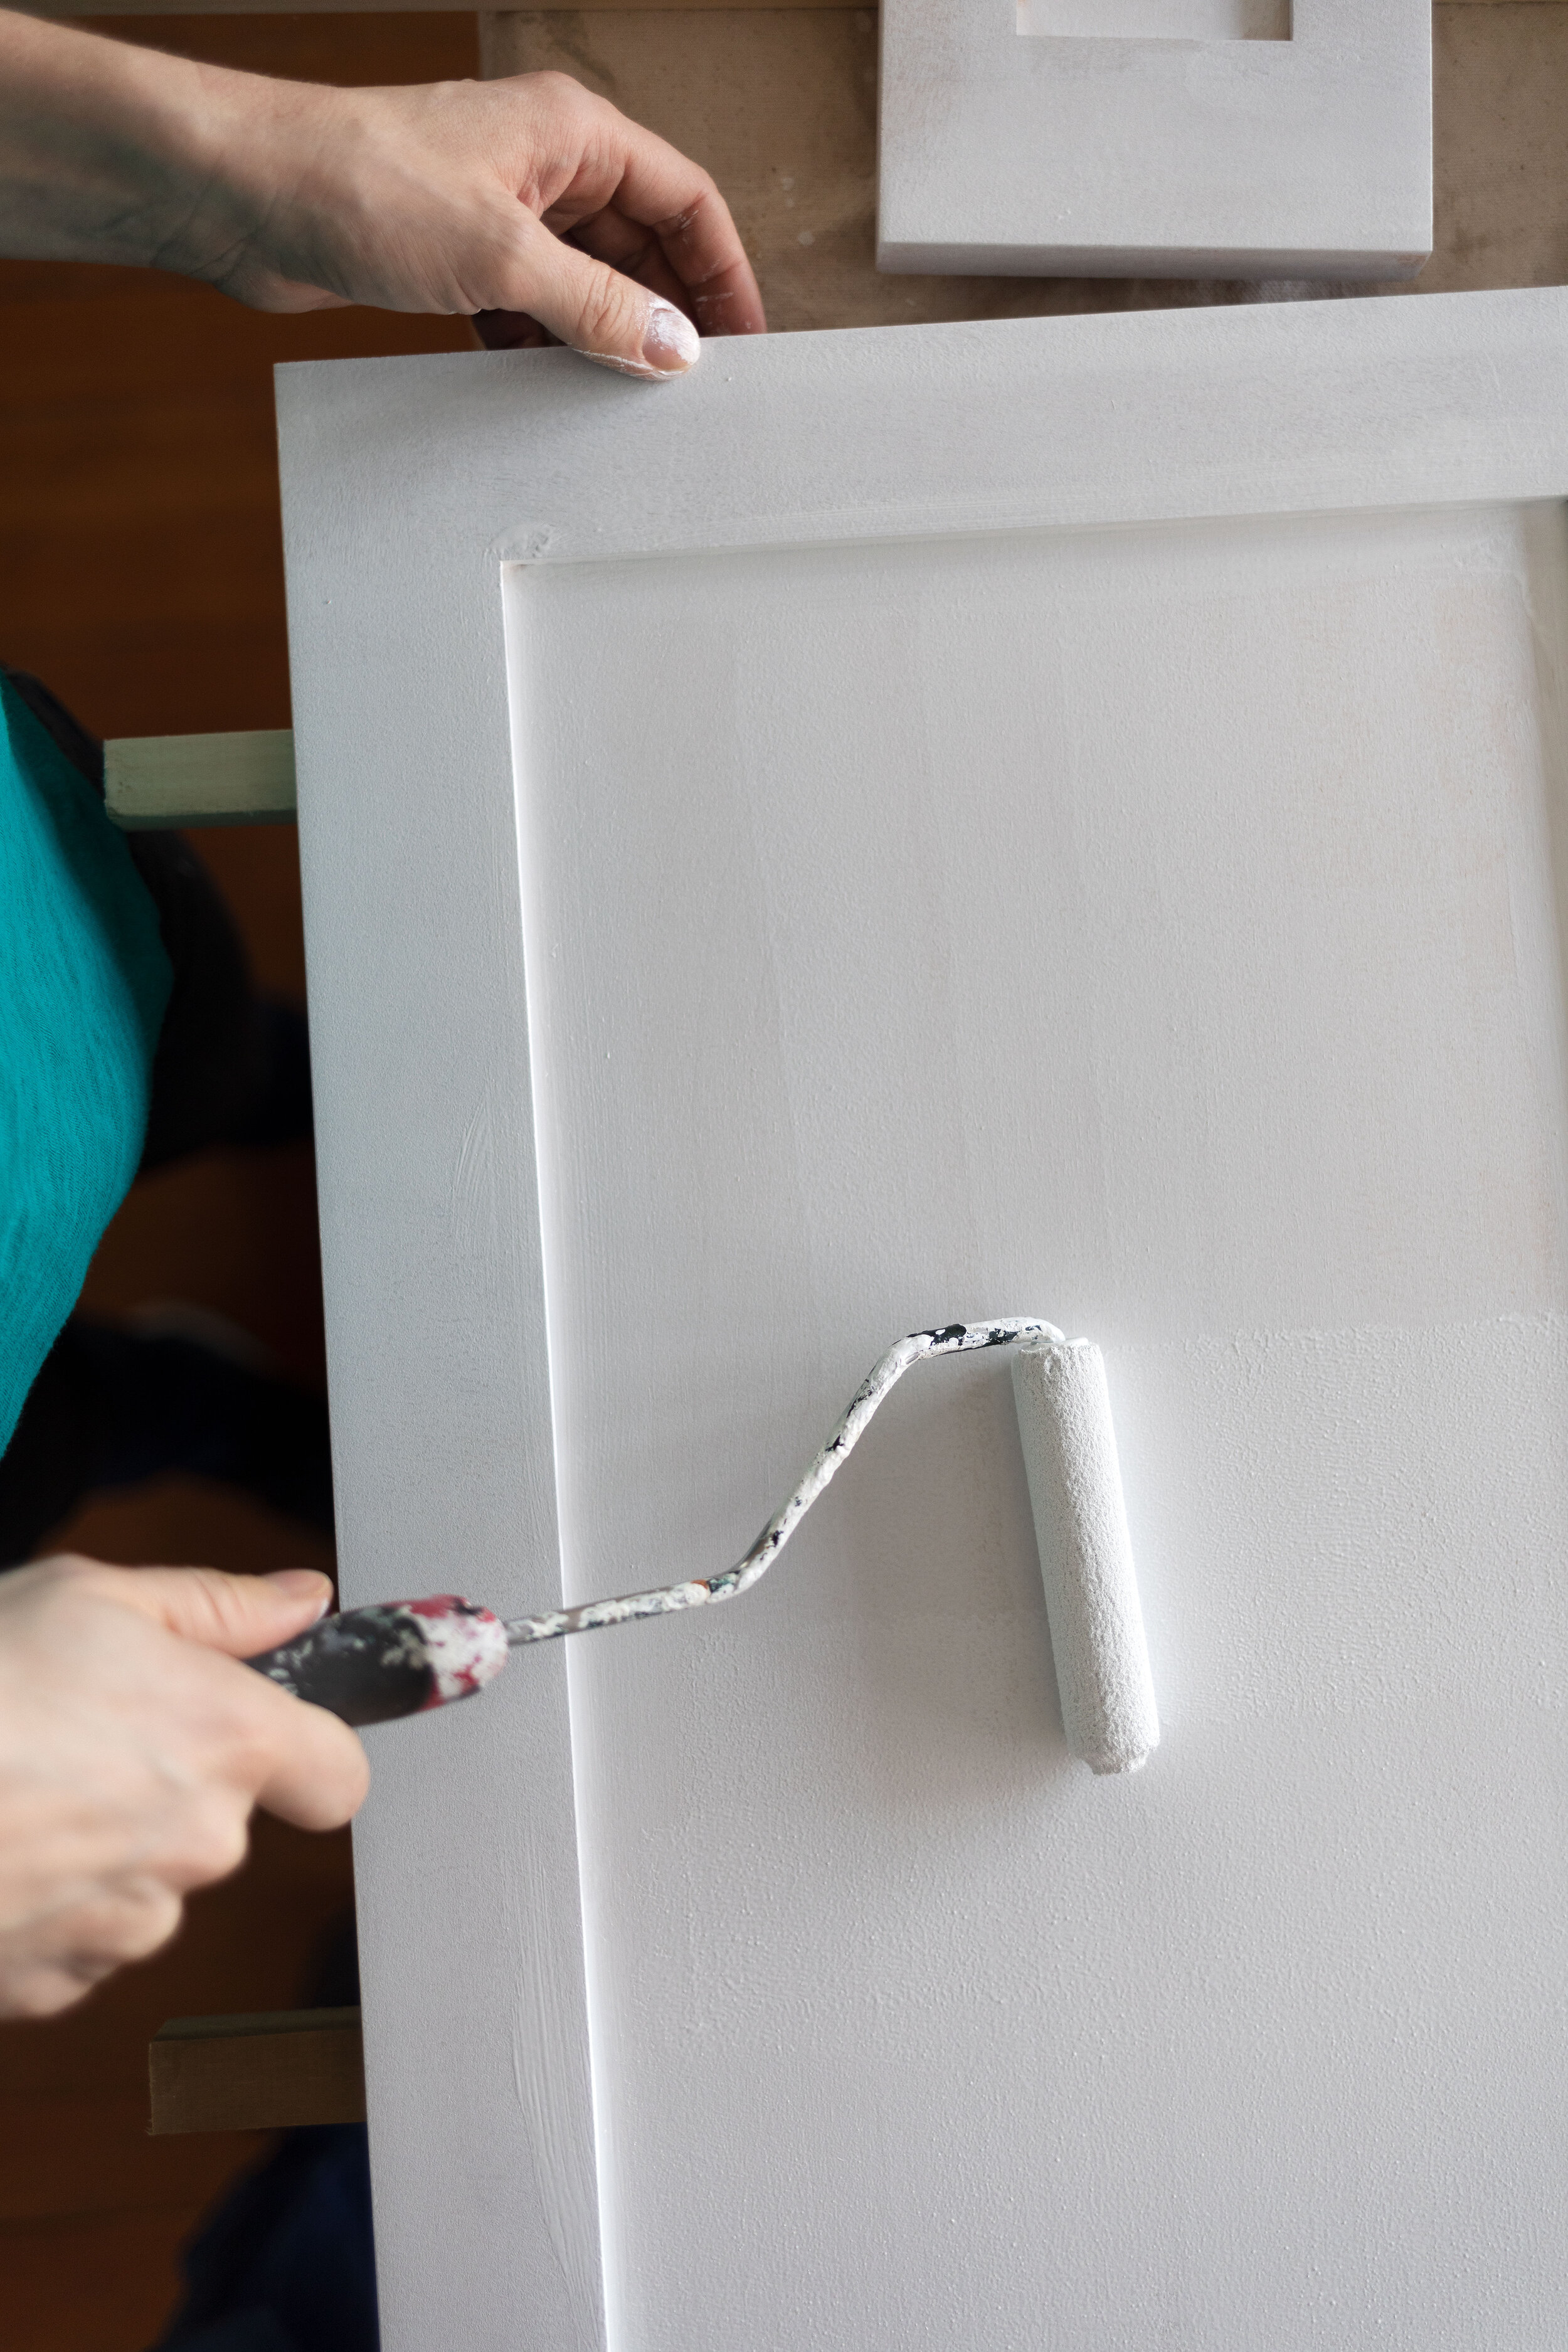
roller tray and smooth nap roller (the roller leaves slight texture) OR
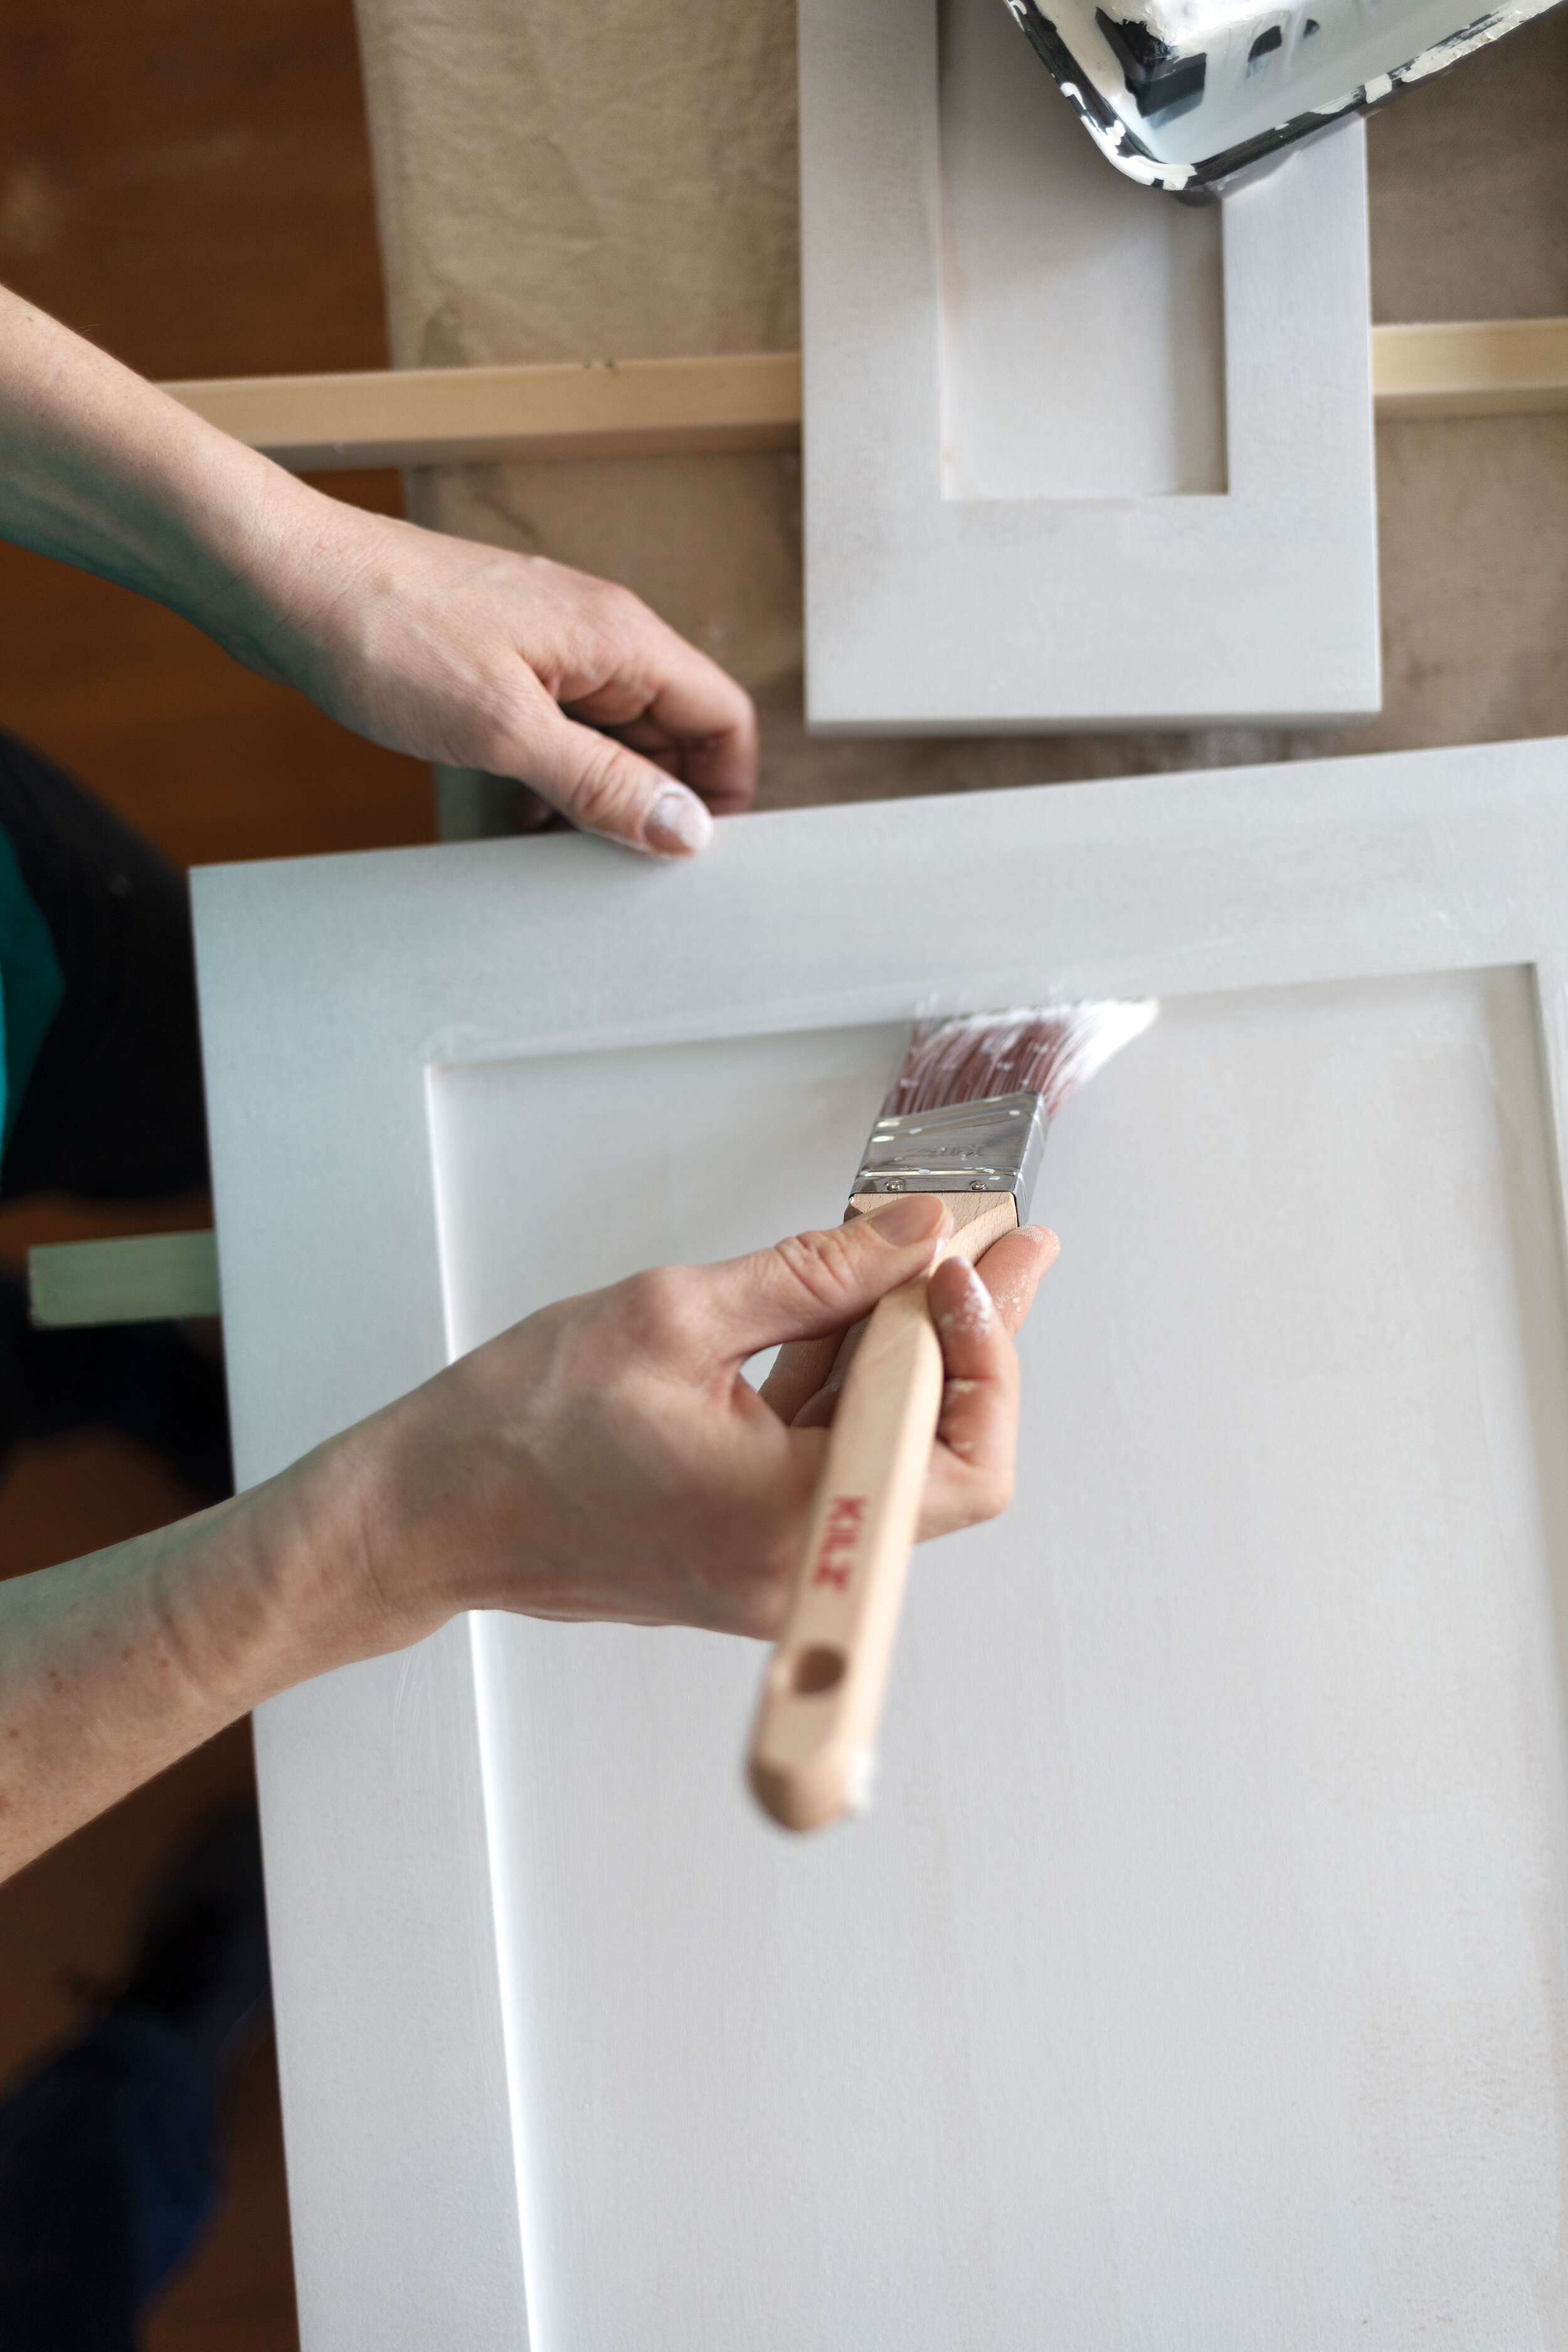
wide brush (the brush leaves slight brush marks)
Prep
You’ll want to remove cabinet doors and drawer fronts for painting. Hardware (hinges and pulls/knobs/latches) should also be removed if possible. If your cabinets are already painted or have a wood finish, you should sand the cabinets before painting. We usually take the door and drawer fronts outside, put on a mask, and lightly sand them with a palm sander. (We lightly sand the cabinet boxes in place.) The goal is to scuff the existing surface, NOT remove the it. That will allow the primer to adhere better. Speaking of primer, we used a basic primer we had on hand, but if your cabinets have an existing paint or finish on them, you’ll want to get a good stain blocking primer. I recommend talking to the employees at the paint store about your project and they can recommend the right product.
Clean the cabinets really well to remove all the dust.
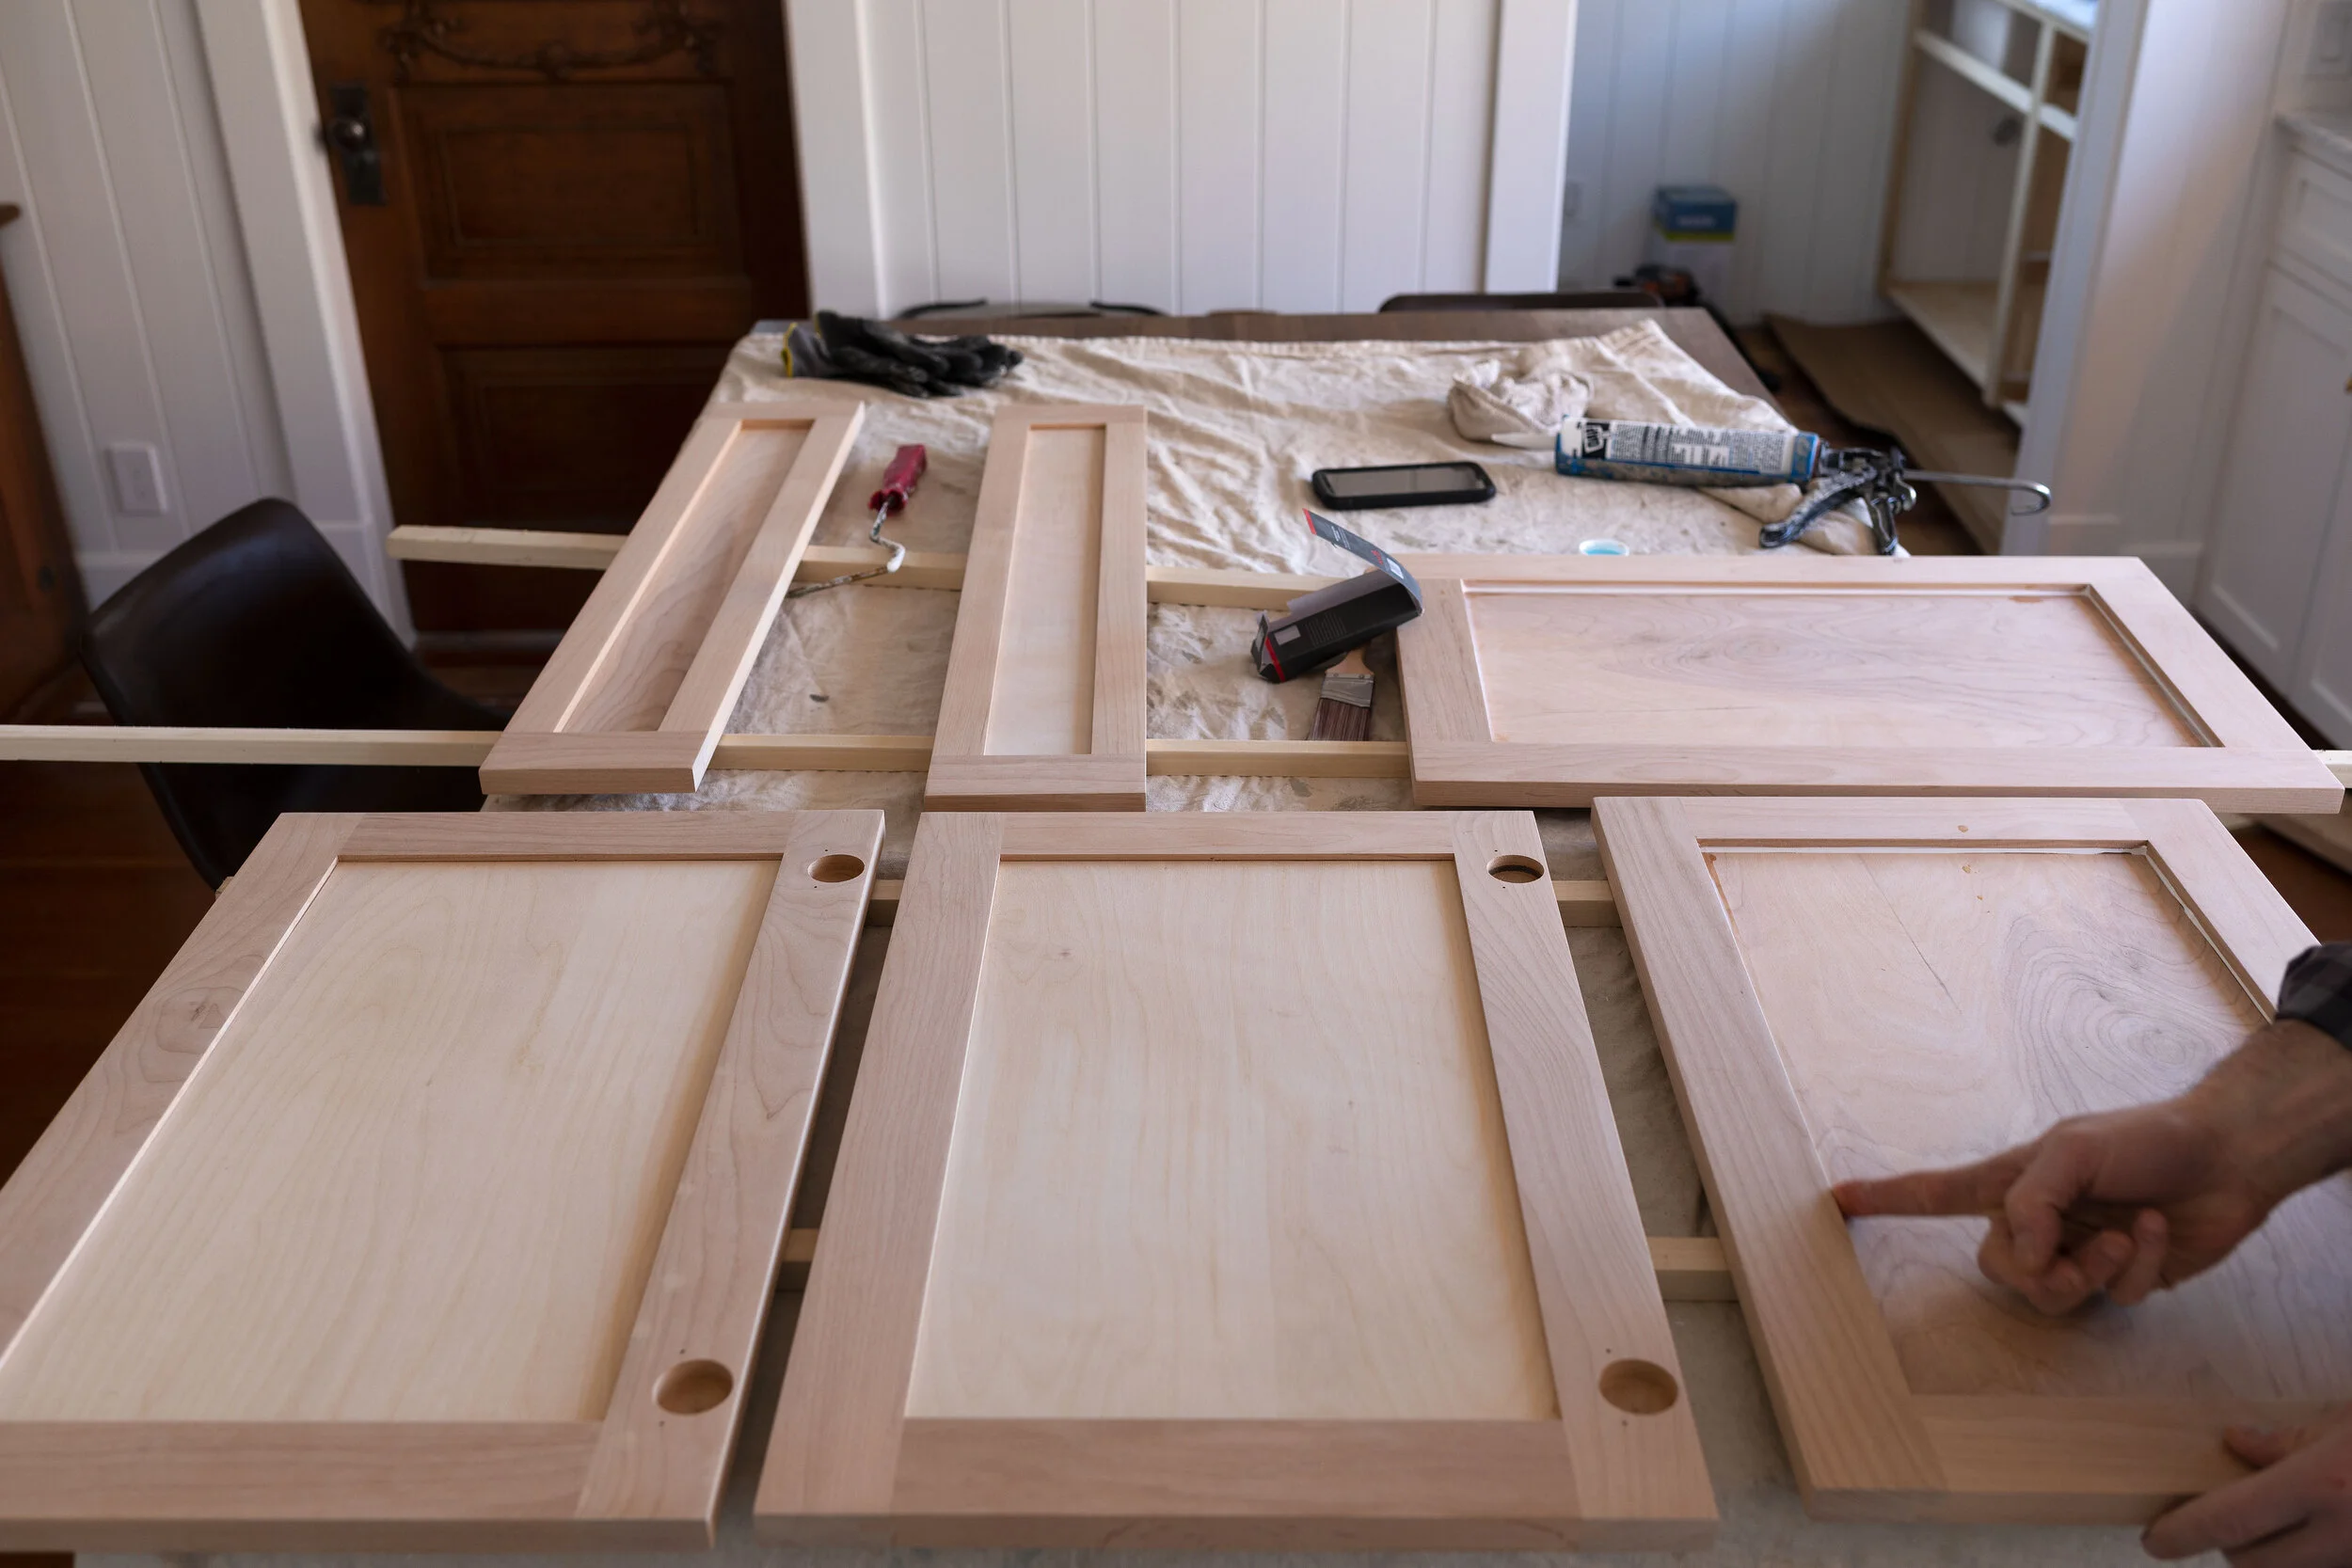
Lay out cabinet and drawer fronts in a spot prepped for painting. We laid out a tarp on our kitchen island and 1” wood furring strips and then set the doors and fronts on those. The 1” elevation allowed us to paint the sides and not have the cabinets touch the tarp.
Now let’s talk primer and paint…
Priming and Painting cabinets
We put togther a 7-mintue video detailing the process and sharing our best tips. We’re trying something a little different with this video - it’s shot on our iPhone and less formal than most of our videos - and we’d love to hear what you think. We’re hoping this format provides more information and real-life action, despite being a little less polished.
Follow the same process for the cabinet boxes (obviously those won’t get removed 😉). Note that cure time of paint can be a lot longer than dry time (BM Advance is 16 hours) so you might want to wait a few days before hanging or installing hardware.
Once the paint is dry and cured, reinstall your cabinet doors and drawer fronts.
Tips
Caulk the shaker peg seams for a cleaner look and easier cleaning later
Consider tinting your primer if you’re using a dark paint color
Between coats, use plastic wrap or ziplock bags over paint, rollers, and brushes. If it’s more than a couple hours, toss your bagged brush and roller into the fridge.
a pantry update and a look at our painted cabinet!
And for those of you wondering about the faucet, I ended up order three faucets from last week’s faucet round up. Number 3, the steal option, was delayed and won’t be here for another week. Number 5, is gorgeous but turned out to be non-adjustable (oops) so has to go back. And so we ordered number 6, expect we found it with cross handles. We’re pretty into number 6 (although we might wait until the steel option to arrive before deciding).
sources: faucet | drawer pulls | latches | marble hand-cut by Garrett
Okay, that’s all for today! Let us know if you have any more questions about painting cabinets in the comment section below. And if you’re curious about how to color match your existing kitchen cabinets, check out Sarah’s post here.
*post updated 7/5/20


