Our Farmhouse Primary Bathroom Reveal
THE FARMHOUSE
Our primary bathroom is done!! Crafting this space over the last 13 months has been a labor of love and we’re thrilled with how it turned out! It’s been such a fun and rewarding project and we’re so thankful for all your encouragement and support along the way. I have a giant post for you today full of photos and sources and details on this crafted, historic bathroom, so let’s get going…
all sources are at the bottom of this post
Before the remodel, this bathroom was an awkward and inefficient space. But it had a lot going for it…plenty of space, great natural light, tall ceilings, big windows, and some of the original wood moldings. A previous owner had done the heavy lifting of bringing up plumbing supply lines and adding drains and turning what was once a fourth upstairs bedroom into this bathroom. Here’s what it looked like before demo last year.
As far as functionality goes, the bathroom had a lot to be desired. There was only one pedestal sink, zero storage, an angled toilet, and a built-in tub with no shower. We knew we could make it so much more functional and bring back some of the house’s 1912 historic charm, so we set out to do just that.
The design
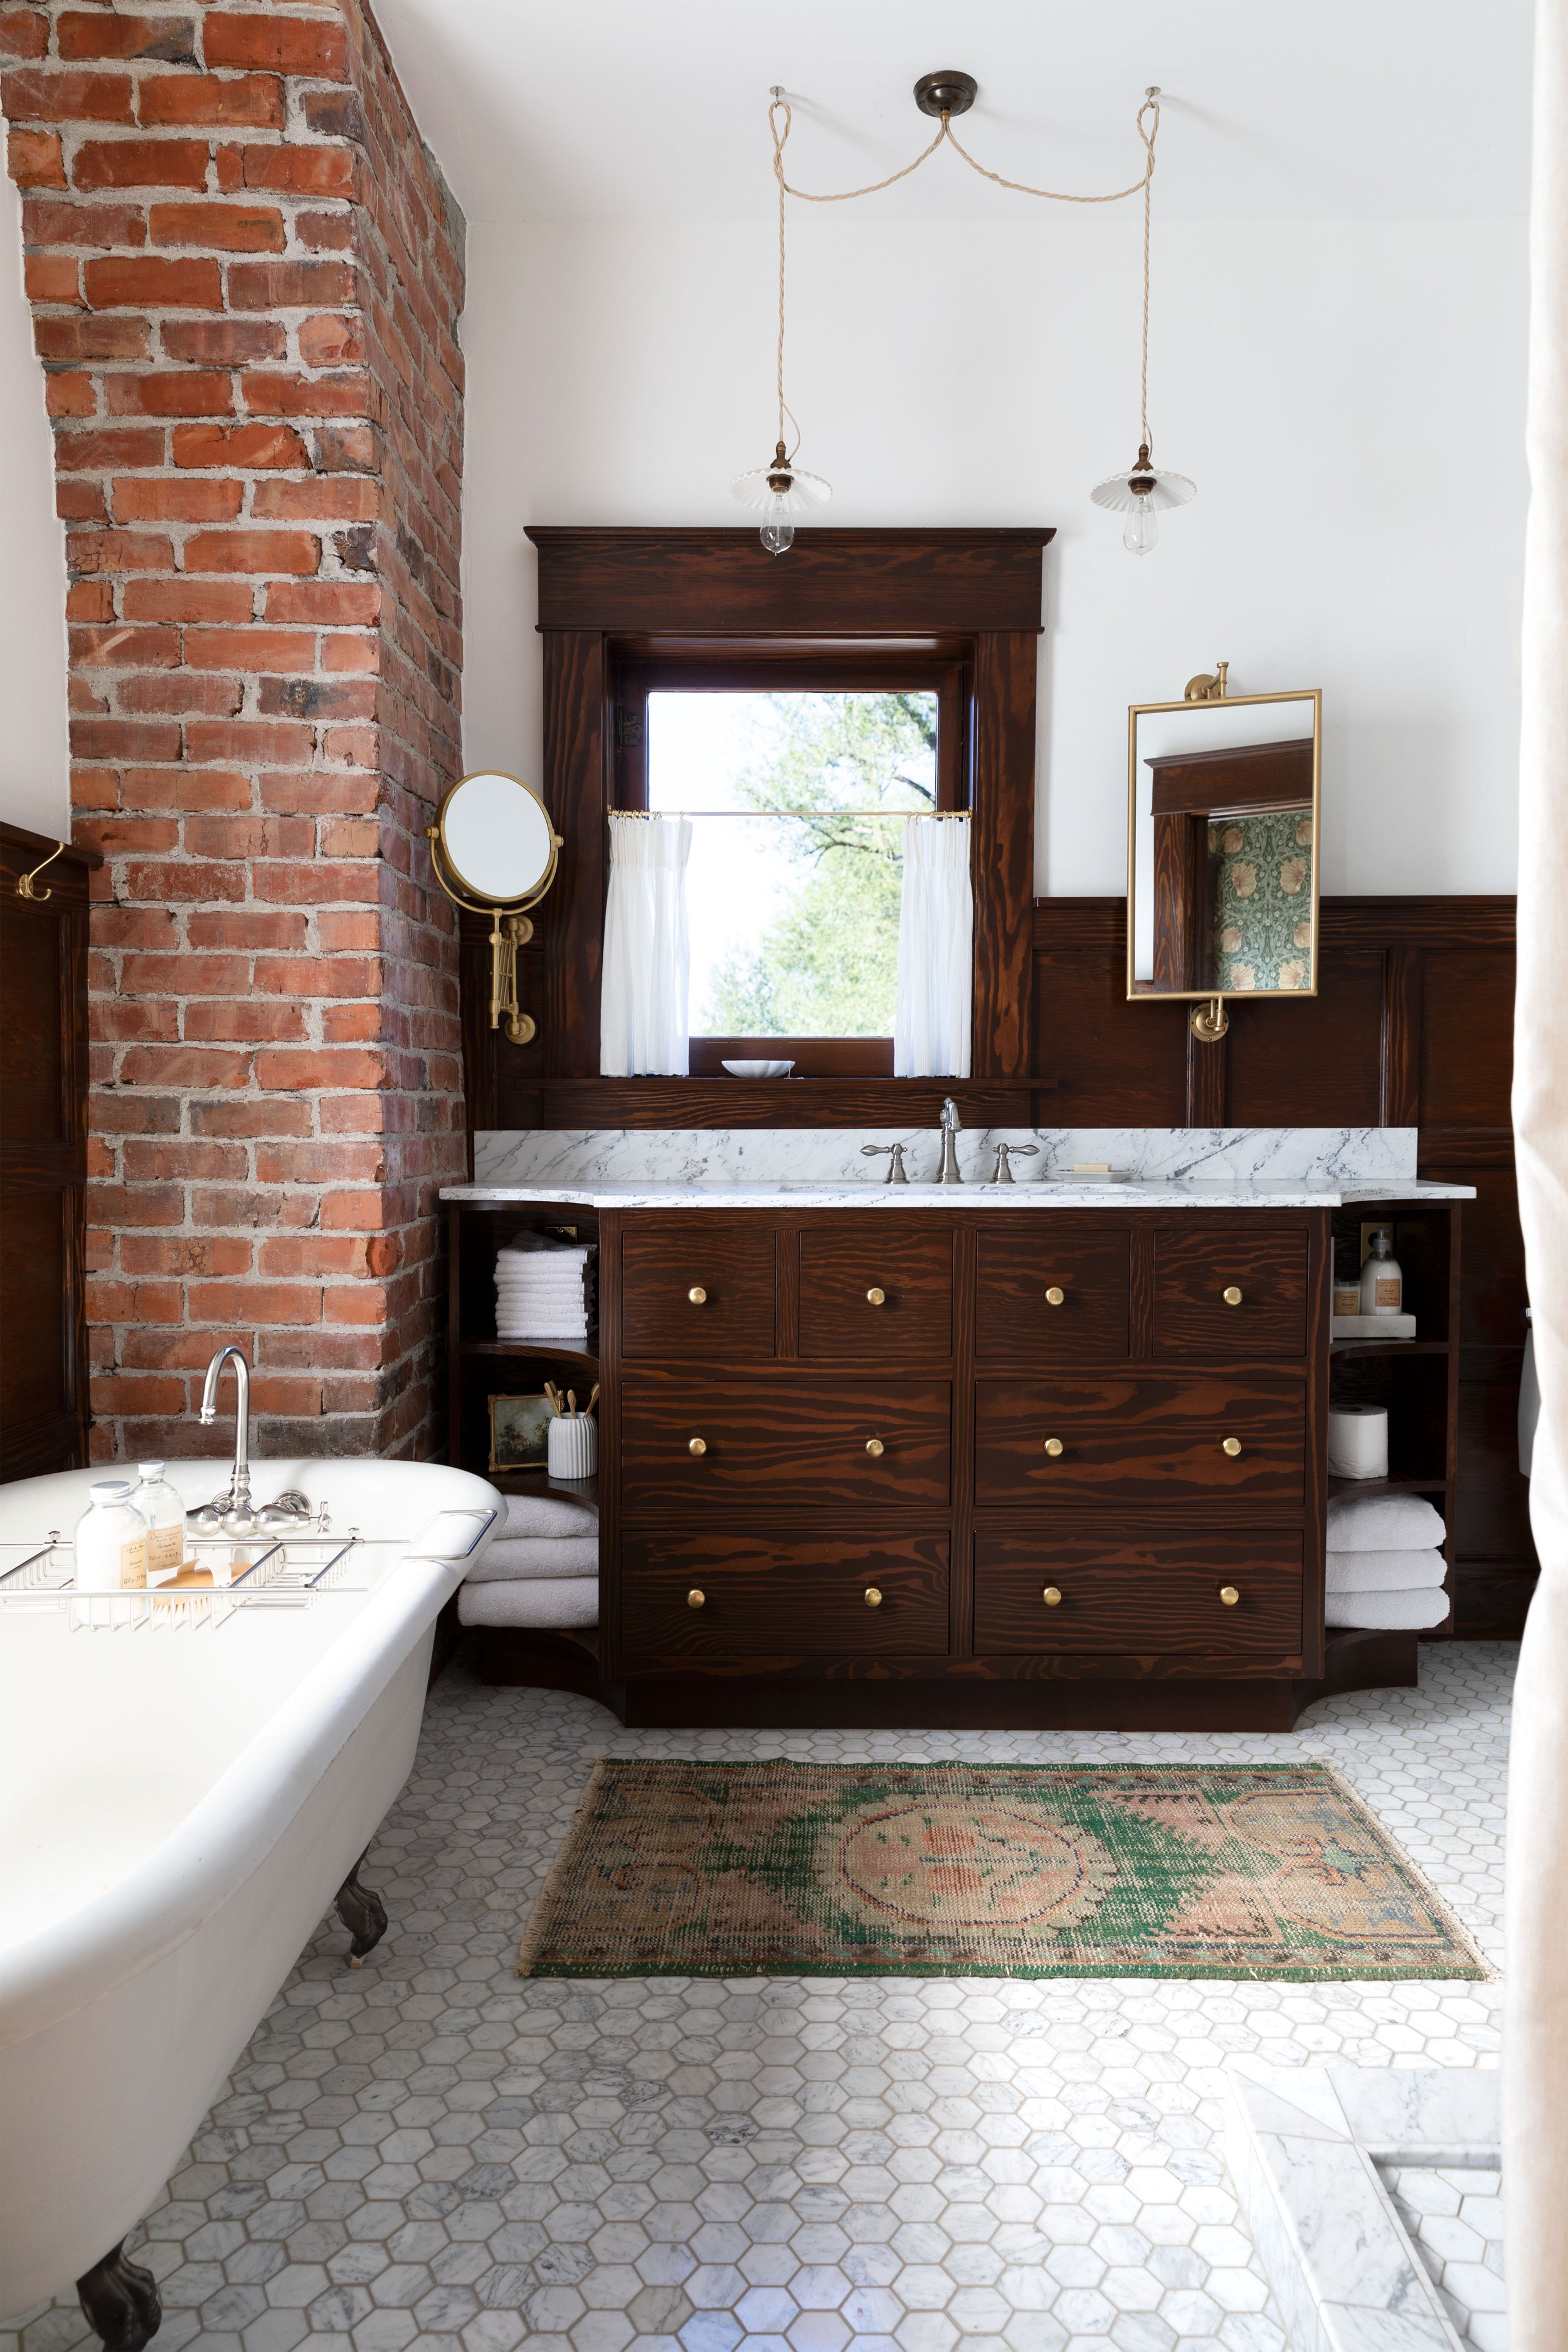
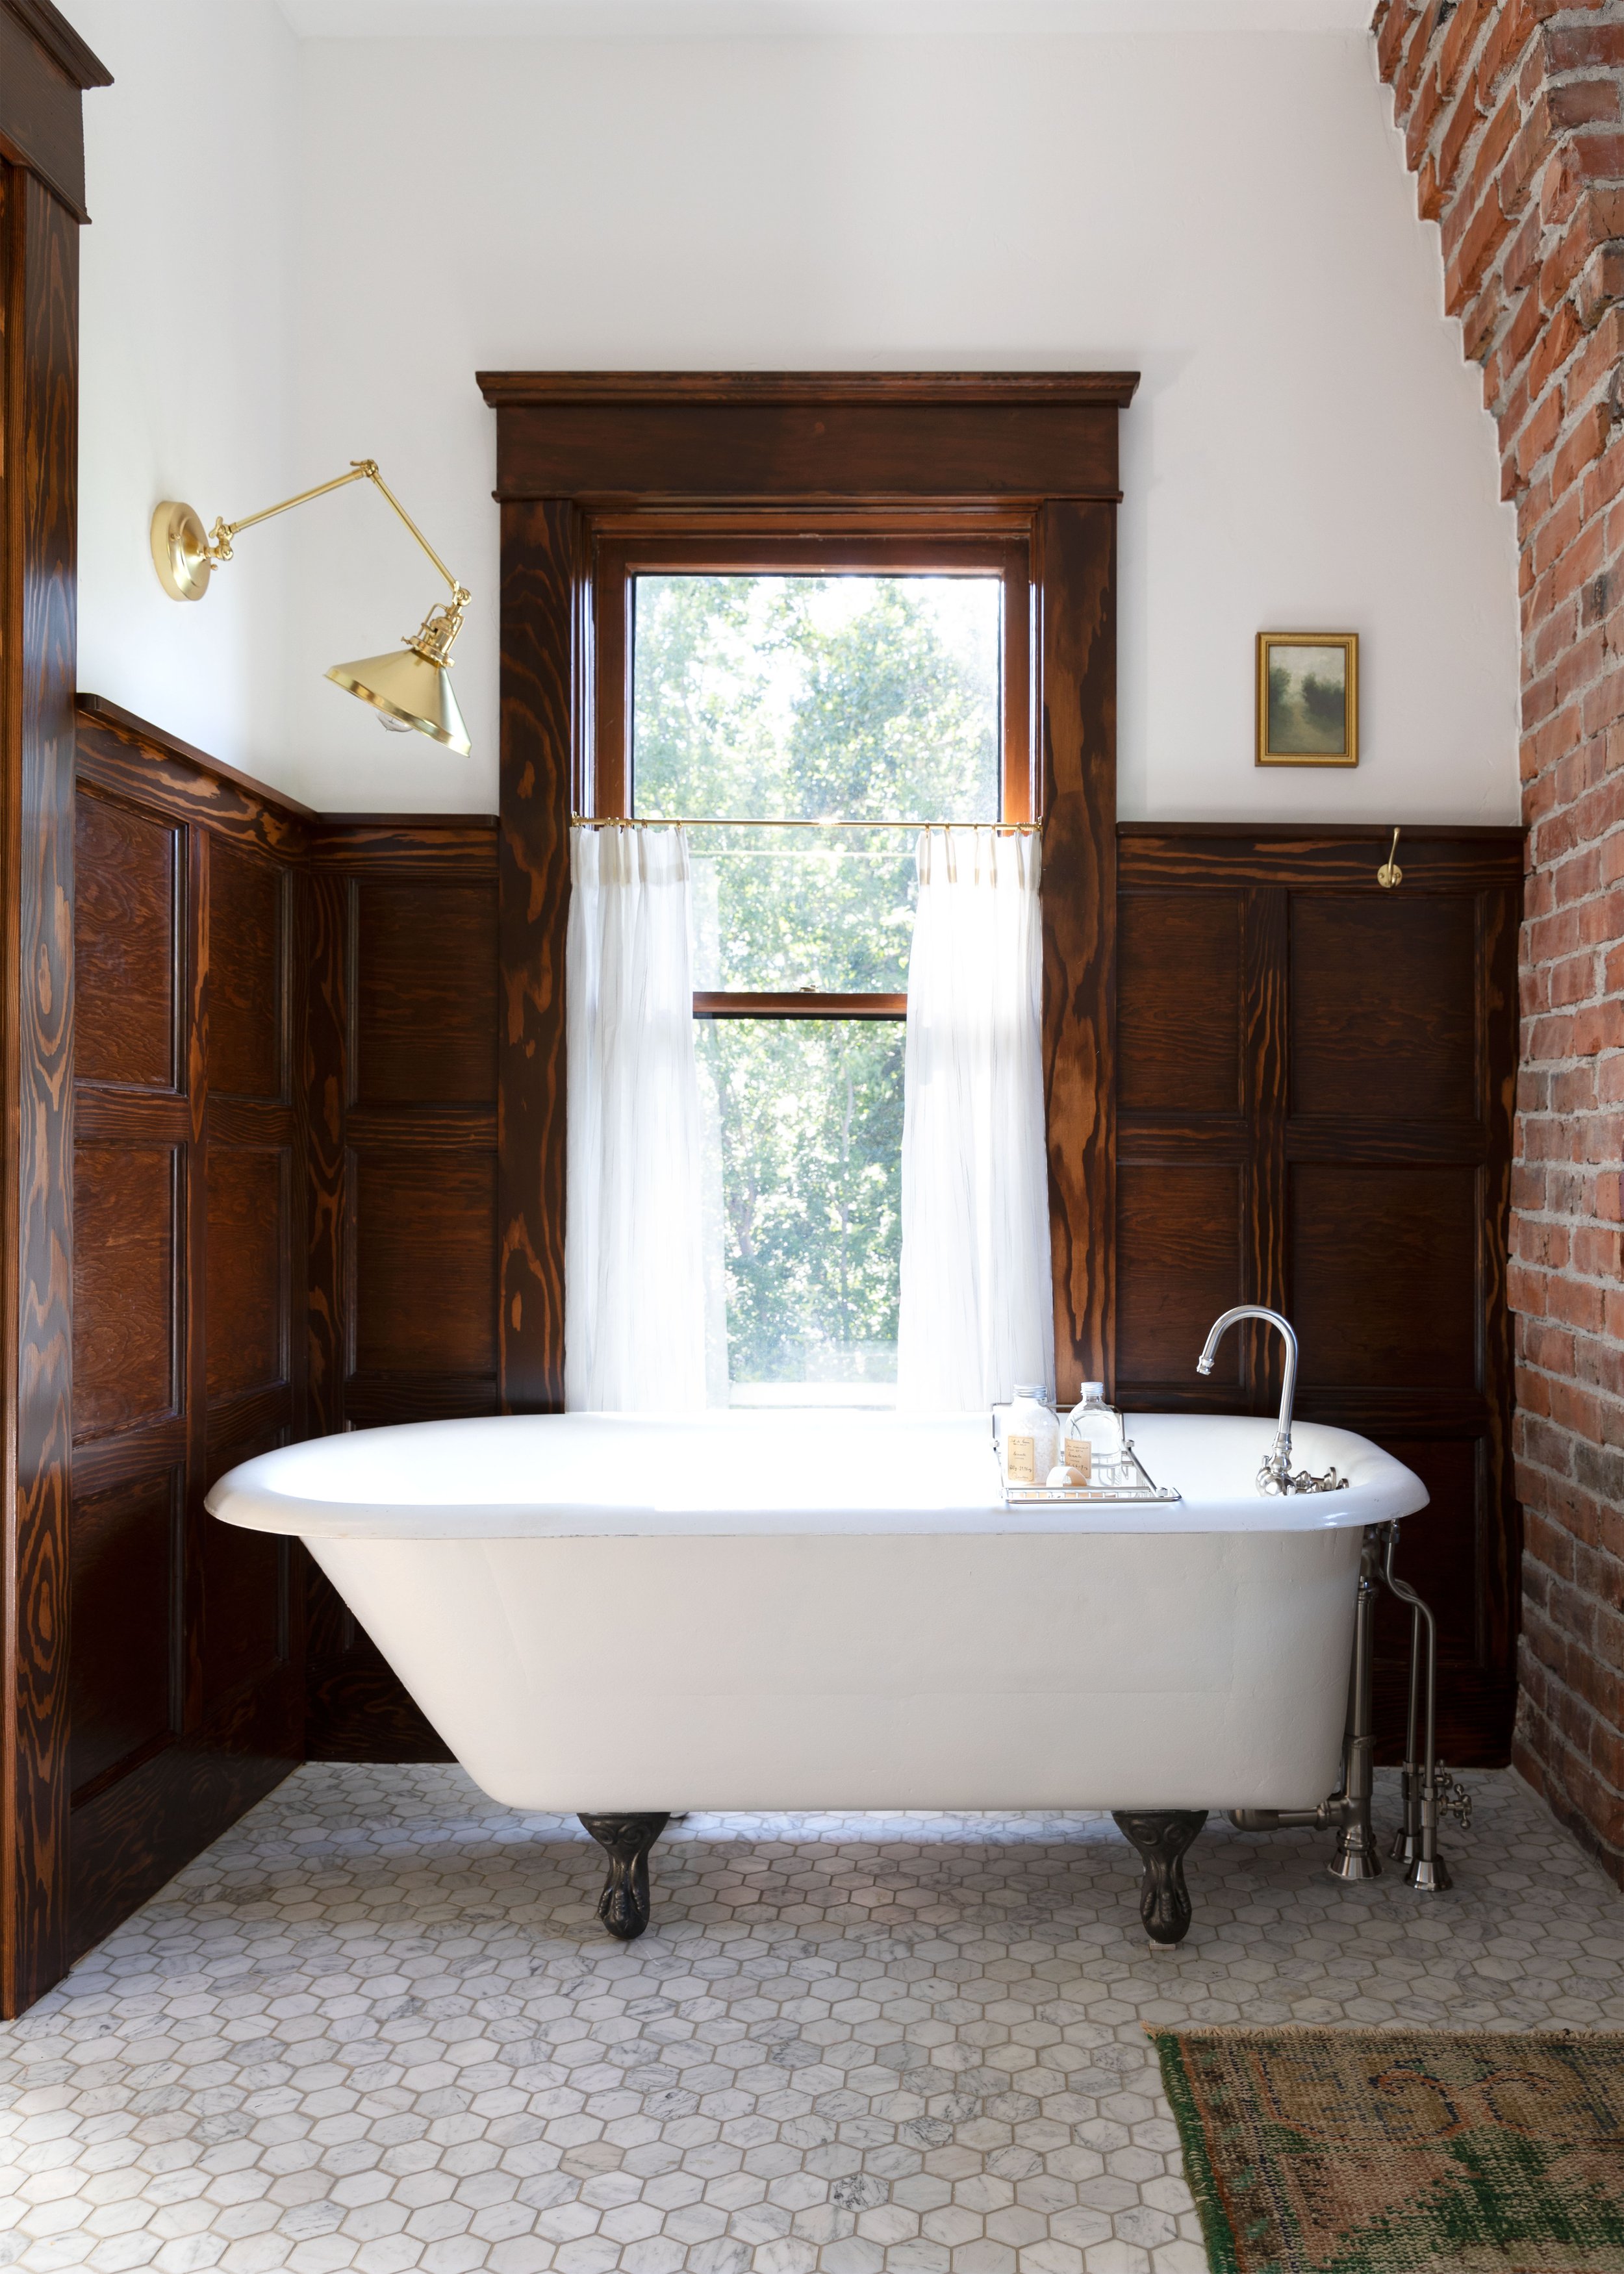
The goal of our bathroom remodel design-wise was to make it look alllllmost original to the house. We picked out all the finishes accordingly, selecting timeless and traditional materials, shapes, and products. Hexagon and subway tiles. A clawfoot tub. Marble countertop. Brass hardware. Wood wainscot and vanity. Exposed brick chimney. Lots of nostalgia there!
And from there, we kept things simple with a color palette of white and wood with brass and marble accents.
The woodwork
I think we can all agree that the star of the show in this bathroom is the woodwork. We hired a local woodworker, Aaron Munson of AM Woodwork and Design, to build us the custom vanity and wainscot. And boy did he deliver. He ordered custom flat sawn fir plywood to blend in seemlessly with all the old-growth fir moldings we have throughout the house. He matched the wainscot dimensions and profiles to the paneling we have on our original staircase. And we fretted together over every single detail, reworking things until they were just right. So much thought, talent, and precision went into Aaron’s work and I’m eternally grateful.
The Tub & Shower
One of the big goals with this remodel was to have room for our original cast iron clawfoot tub and also have a shower. And since I’ve always dreamed of taking baths while looking out over our country view, we rearranged the bathroom/closet/hallway floor plan to accommodate the tub under the window. Unfortunately a snafu with the rough-in plumbing (you can read about that here) meant we had to swap the original clawfoot tub for a new (to us) smaller 5’ clawfoot, but in the end I got a tub under the window and I’m happy!
Adding a shower in here was a huge upgrade. And it’s sure a pretty tile! The tiles all came from The Tile Shop and Garrett and I designed and installed them in a classic-but fresh pattern. You might be surprised to see a shower curtain instead of glass, but after getting expensive glass bids and being told I couldn’t get the frameless look I wanted, Garrett and I decided to just throw up some shower curtains. Zero regrets so far - it’s an absolute joy to shower in!
Details
The charm of this bathroom, for me at least, is in the details. The curved marble countertop. The lines of tile in the shower’s curb. The bright brass hardware against the dark wood. The airy DIY cafe curtains. Really getting to craft these renovations is what it’s all about for Garrett and I. We pour our heart and time into the little details and really try to do right by these old houses. It’s what makes renovating so much fun.
So here are some more of my favorite details in this bathroom…
The off-center window over the vanity situation
The off-center window over the vanity situation was the trickiest part of this bathroom remodel design-wise, but funny enough, it turned out to be one of my favorite parts. I love how the mirrors work with the window and it’s an absolute joy to look out over this country view every time I brush my teeth.
Sources
Vanity + Wainscot (custom)
Countertop, marble (remnant from here)
Shower 1: Exposed shower system + head
Shower 2: 12” shower arm + head + volume control + thermostatic shower valve
bath salt + bath foam + brush*
Articulating sconce (aged brass)* + LED Edison bulb
Pendants (6 7/8”, narrow pleats) + LED Edison bulb
Overhead fixture (aged brass, 8 1/2” opal)* + LED bulb
Artwork over toilet: landscape + roses
Landscape over tub by Tess Brown + frame
Artwork on shelf by Laurel-Dawn Latshaw*
Wood toothbrushes + container*
Articulating mirror, lacquered burnished brass (more options here)
Cafe curtain rod + clips + fabric + DIY tutorial
hooks (aged brass)*
Vintage rug from this shop (more options here)
*denotes products provided gratis
Previous posts
Get caught up on bathroom remodel posts: demo + floor plan, are 2 sinks better than 1?, wood wainscot inspo, on the hunt for rectified hex tile, bathroom progress + mood board, the floors are tiled!, the board and batten is (almost) done!, all the tilework, all about epoxy grout, extension makeup mirror roundup, DIY marble countertop, shower fixtures are in…, a reader found us the perfect mirror for our off-center vanity situation, finishing the bathroom millwork, all the lighting we picked for our bathroom, we made a mistake
Thanks for cheering us on during this bathroom remodel! It’s a million times more fun with you in our corner. Thanks for being here!
xx
-Cathy and Garrett

