All about our exterior porch stain
THE FARMHOUSE
Over the past few weeks our house has gotten a fresh coat of paint and oh my gosh it looks so much better! We’ll be sharing the full transformation soon, but today I wanted to talk about the front porch. We actually used a stain on this deck surface per our painter’s recommendation and we have all the products and details for you. Let’s get into it…

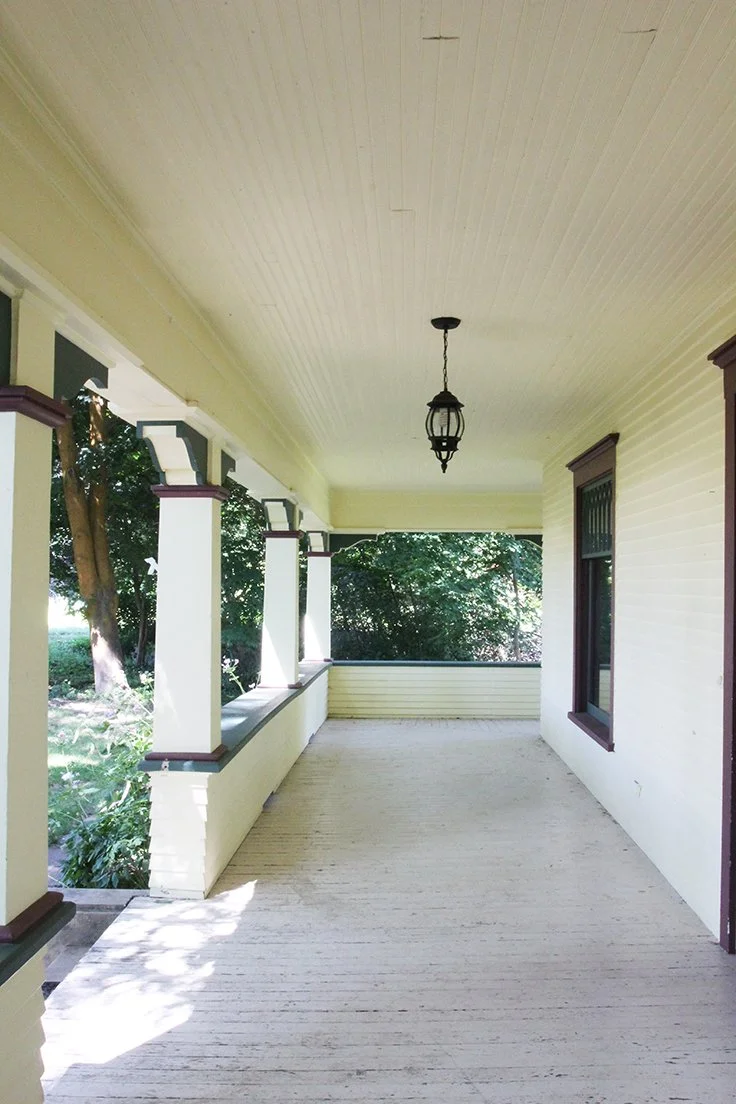
Before…
Here’s a ‘before’ photo of the deck from when we bought the Farmhouse back in 2016. During the six years in-between we’ve pressure washed and cleaned but never painted, and looking back, I’m wondering why not?!?!
Prep
To prepare the deck José, our painter, pressure washed and scraped the surface to remove any loose paint and dirt. He blew it off and got to work on the paint.
Product
José recommended using a “water stain” for the deck rather than an exterior paint. He said it will hold up better and he’s the professional so we listened. Our local Sherwin Williams was out of the product he liked so we found the same type product at another store. We used PPG Flood acrylic stain, which went on looking like a paint. Fingers crossed we get some good wear and tear out of this product, but with the heavy wear this surface sees, I anticipate needing to re-stain it every couple years.
Picking a color
Probably the hardest part of the entire process was picking a color! Okay we didn’t actually do the work (we hired José to prep and paint the house for us) but this was definitely the most stressful part. We sampled 9 colors that we had on hand from previous projects and they’re all so pretty. Have a look…
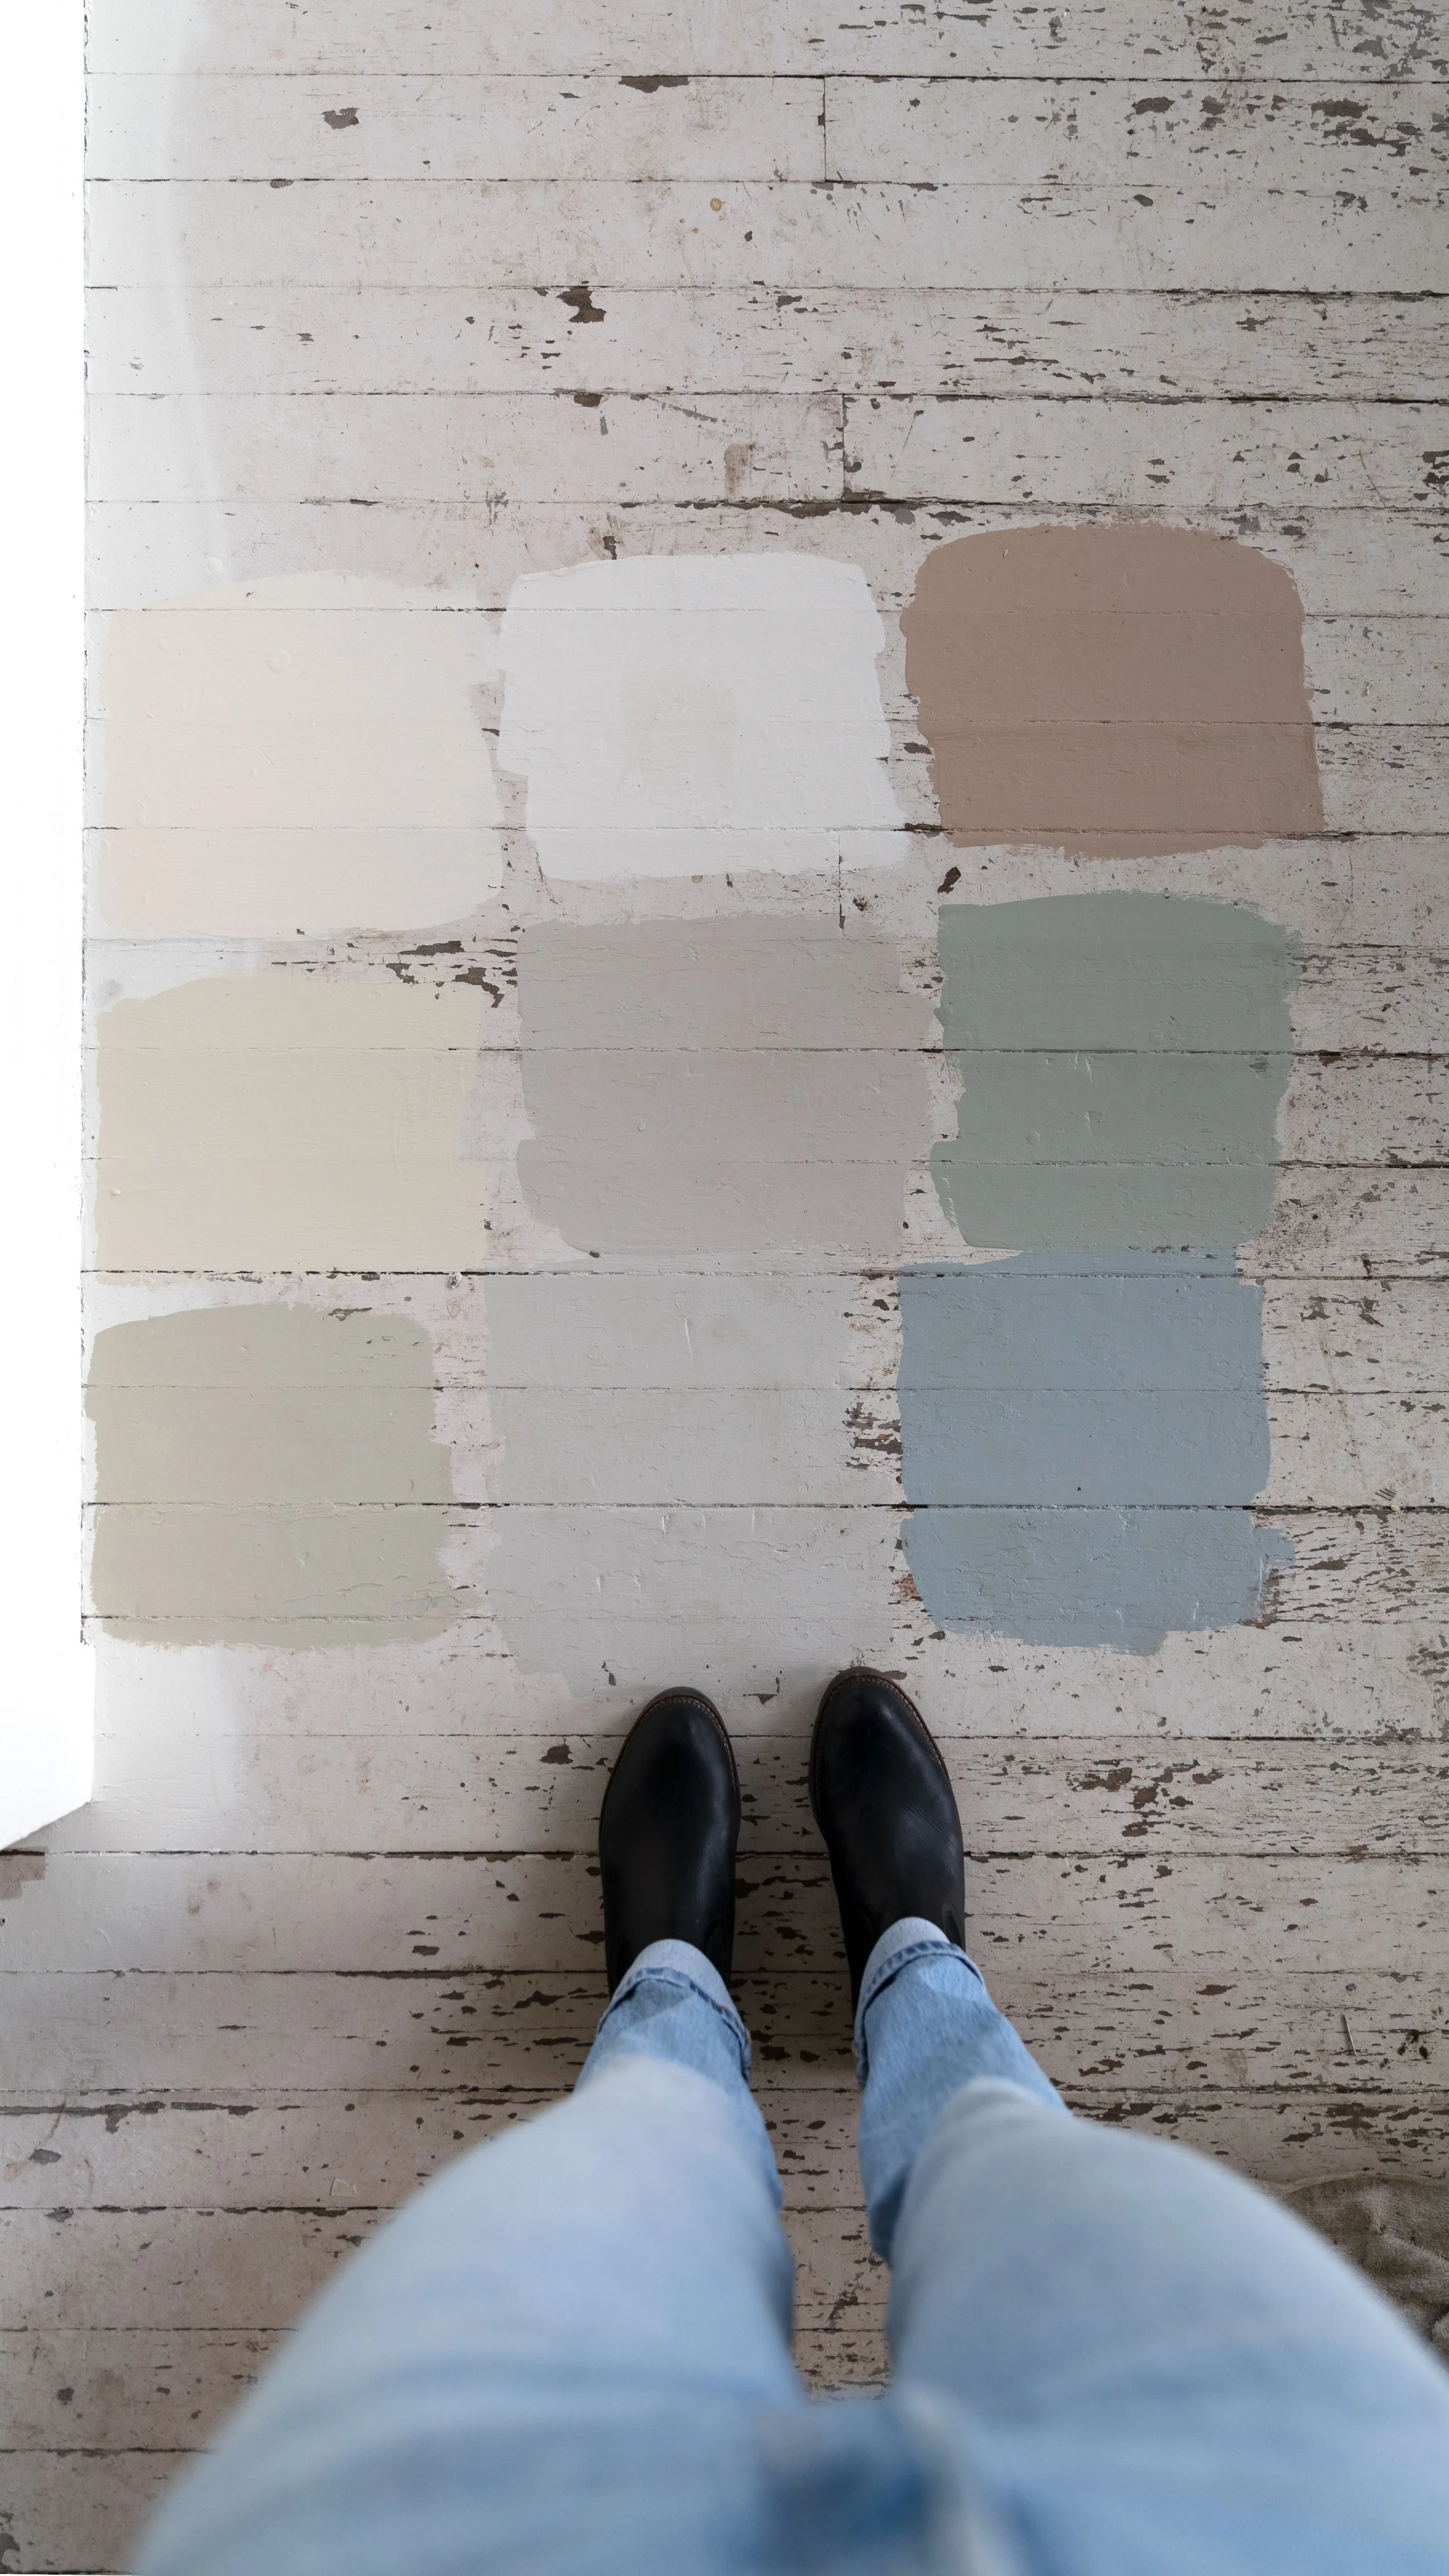

We ended up picking Elephant’s breath, a warm purple-ishy gray. It looked really nice against the house color and window color. I do wish we had sampled it next to the concrete steps too, because it looks different next to the cold gray concrete (which are perpetually dirty), but oh well.
Final Color Selections
Speaking of color, we kept it simple when deciding colors. Mostly because I like simple and but also because simple is easier to get right than complex IMO. Most of the decks on old houses that I’ve seen in our area tend to have gray decks, and while I wasn’t married to that, I did like how the gray colors we sampled played with the white and green on the house. Here are the three colors we selected…
Body + Trim: SW Dover White
Window Sashes: SW Laurel Woods
Deck: F&B Elephant’s Breath

Application + Timeline
This project went really quickly. We didn’t use any primer and only one coat of stain. José would have preferred to spray the paint, but it was windy (as it often is here ;) so he used a roller and painted small sections and then came back over it with a dry brush to make sure the texture was smooth. From start to finish the deck took maybe 4 hours to prep and paint and I’m wishing I had done it years ago!
The biggest inconvenience was that we couldn’t walk on the deck for a couple of days after the paint went down. But 100% worth it!