We Cut the Quartz Backsplash for Poplar!
THE POPLAR COTTAGE
sconces, hardware, curved hood
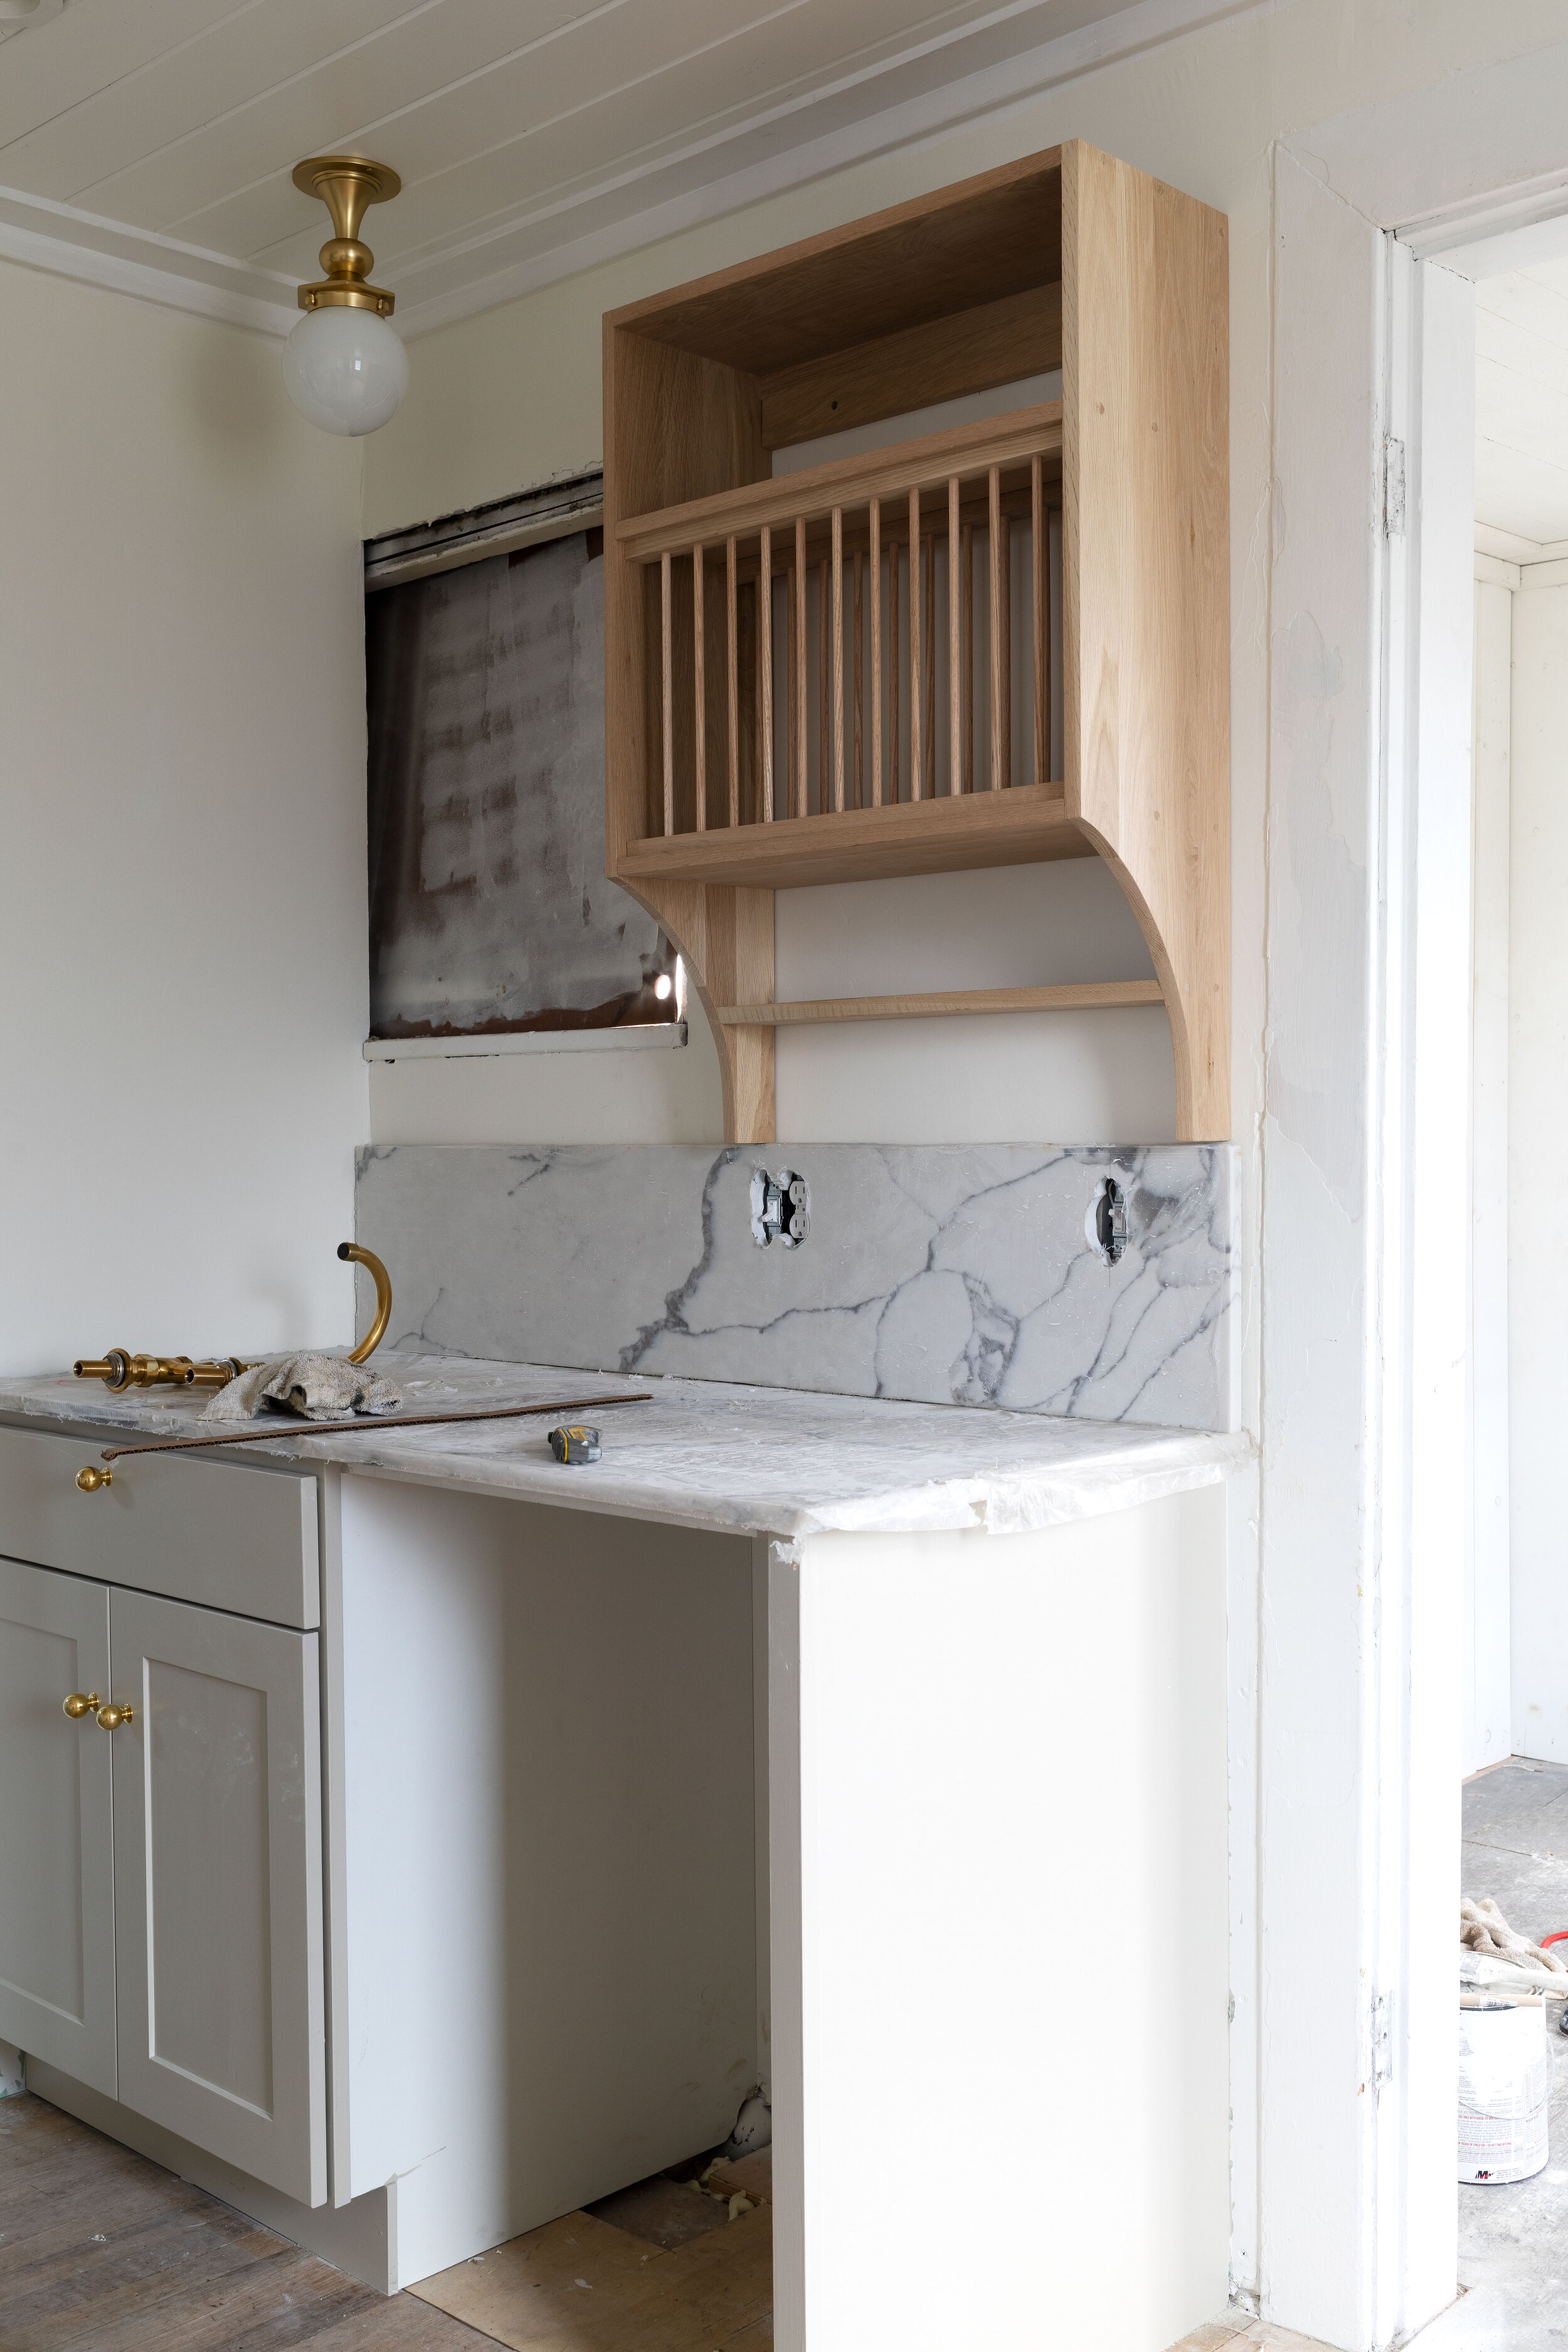
The quartz countertops and backsplash are almost done at Poplar and looking really good! Garrett fabricated these (despite saying he would never do another stone countertop fabrication again…ha!), and yes, you can fabricate stone countertops. But it’s definitely not a DIY for the faint of heart. Today we wanted to share a little about the process and the design and how they turned out!
We used 2cm quartz for this project, which they called Victorian White at GS Cabinets in Seattle (which they apparently already discontinued…dang!). I’m actually more of a ‘real marble’ girl at heart, but our stone place had stopped carrying marble awhile ago so we decided to try out quartz. So far, Garrett likes that it’s harder and more consistent than marble, making it easier to fabricate. And the movement of this quartz feels really organic to me, so I’m happy with it too.
psst… catch up on this kitchen remodel with these posts: the custom oak plate rack I designed, how we customized stock cabinets, paint colors we considered for the cabinets, curved plater hood vent DIY, kitchen layout, picking a color for the hardwood floor finish
Backsplash material
We actually debated between tile and stone for this backsplash. I didn’t want the stone to read too heavy and formal for this small cottage. And the tile definitely lightened things up and made the kitchen more playful. Here were the two options we considered:
On the left: FB elephant’s breath cabinets and zellige tile backsplash (from Home Depot)
On the right: FB Old white and Victorian White quartz backsplash (from GS Cabinets in Seattle)
In the end, we liked the stone paired with the final cabinet color best, so went with that.
Backsplash height
Once we decided on the stone backsplash, we took stock of the quantity of quartz we had (three 9’x26” sections plus a 9’x4” backsplash section) and did some number crunching to see what height of backsplash we could achieve without running out of quartz.
We ended up taking one 26” countertop section and cutting off a 3” x 9’ piece for the long shelf on the stove wall and then we split the remaining 23” in half to create two 11.5” x 9’ backsplash sections. One for each side of the kitchen once cut to length. Here’s what the tall backsplash and shelf sections look like…
We still have enough quartz to do a shelf over the sink side of the kitchen, but are waiting to see how the spacing is when the faucet goes in. But I’m not sure if we need it there or not. Thoughts?
Stone Fabrication
I should backup for a sec and share about the fabrication process. Garrett has fabricated countertops for 4 of our remodels now, and it’s definitely not his favorite task, nor something he would take on if our town had a reasonably-priced stone fabricator. But he’s gotten pretty good at it and I like that we’re able to get exactly what we want when he fabricates (like curves and shelves). Here’s what the fabrication process looked like for this kitchen…
Curved backsplash detail
Next, we started working on the side wall backsplashes. I knew I didn’t want an 11.5” backsplash on those walls, because I thought it would feel too heavy for this small space. But how to transition from the taller height down to a 3” or 4” backsplash?
We cut out some cardboard and started playing around with a curve shape to take the backsplash from 11.5” down to 3”. I like to repeat details in a space, so traced the curve of the plate rack onto the cardboard and used that as a general guideline for the shape. Once we were happy with the cardboard shape, Garrett transferred it onto plywood to use as a cutting guide.
We played around with a curve detail on the end of the backsplash (like a rabbit’s foot), but opted to bring it to the edge of the countertop and leave it squared off. The reasoning there being that the square edge references the other square edges of the backsplash. Plus we can always curve the end later, but we can’t square it up again.
Then Garrett did the hard part of actually fabricating curves in the quartz. (The video above shows what that process looked like.) And this is how they came out…
And that’s where we’re at. The stone is still really dirty from the cutting process in these photos plus we need to cut out the sink and faucet holes and decide if we want a shelf on the sink side. But we’re close! I have to admit that I’m still thinking on that long swoop above the 12”-deep cabinets. It feels a little unbalanced when looking at it straight on. But I do like that it matches the sink side wall swoop. And even more, I love my husband and he hates cutting stone, so I won’t mess with it unless it’s really bothering me later on and I have an easy fix in mind. Renovation, like marriage, is about compromise 😉 But even with that small caveat, I’m really loving these countertops and backsplash! What do you think?


