Recreating Historic Trim in our Primary Suite
THE FARMHOUSE
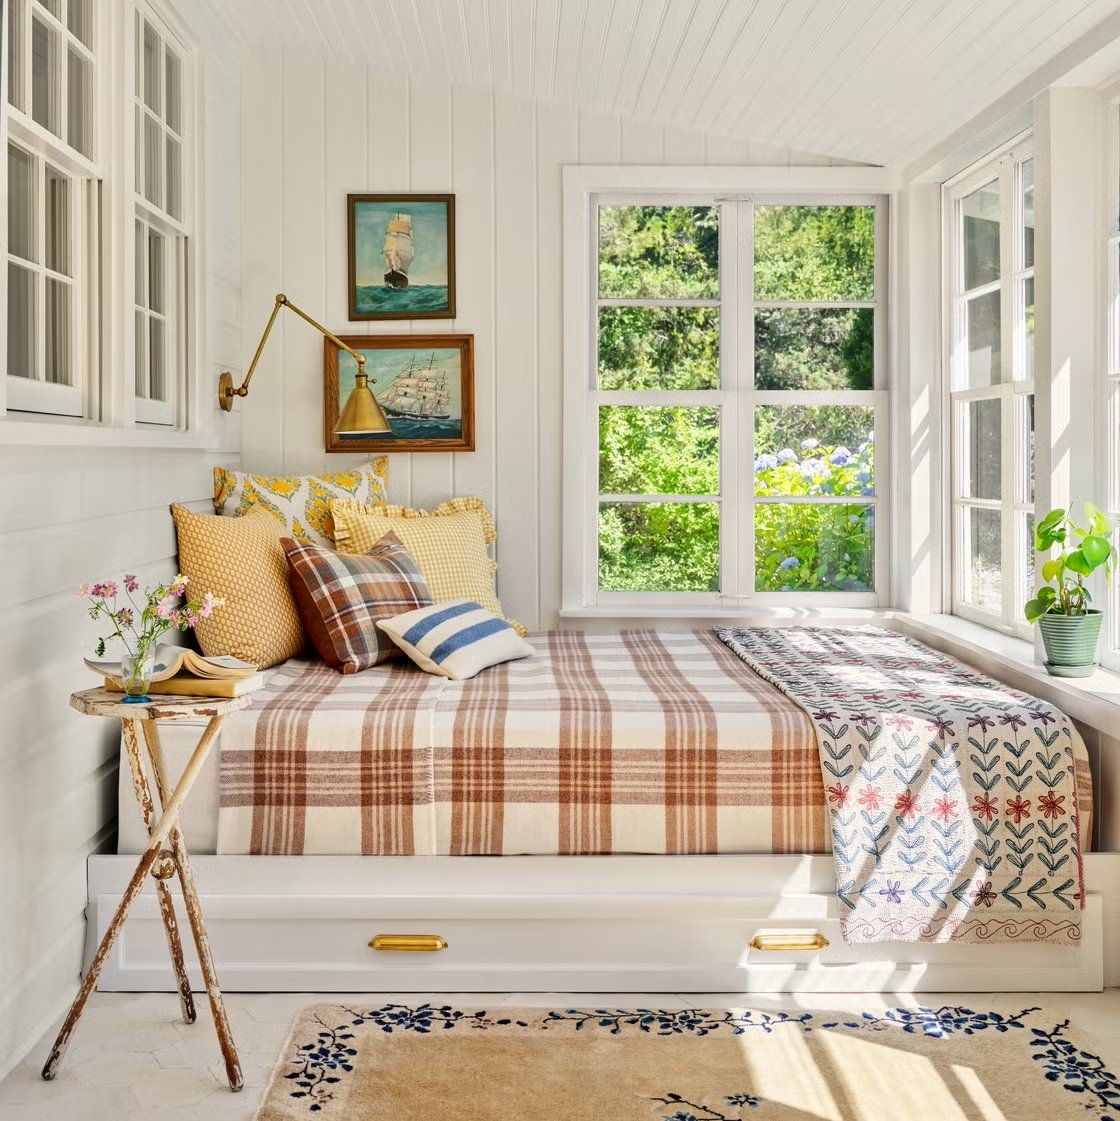
We’re so lucky to have beautiful, unpainted, original millwork in our 1912 Farmhouse. It’s one of the things that made us fall in love with this home when we first saw it six years ago. So when it came time to add two new door ways into our primary suite remodel, that meant recreating the beautiful millwork…
knobs, tile, rug (from this shop), light
The answer: the headers in the second photo above are old, everything else is new. Could you tell?
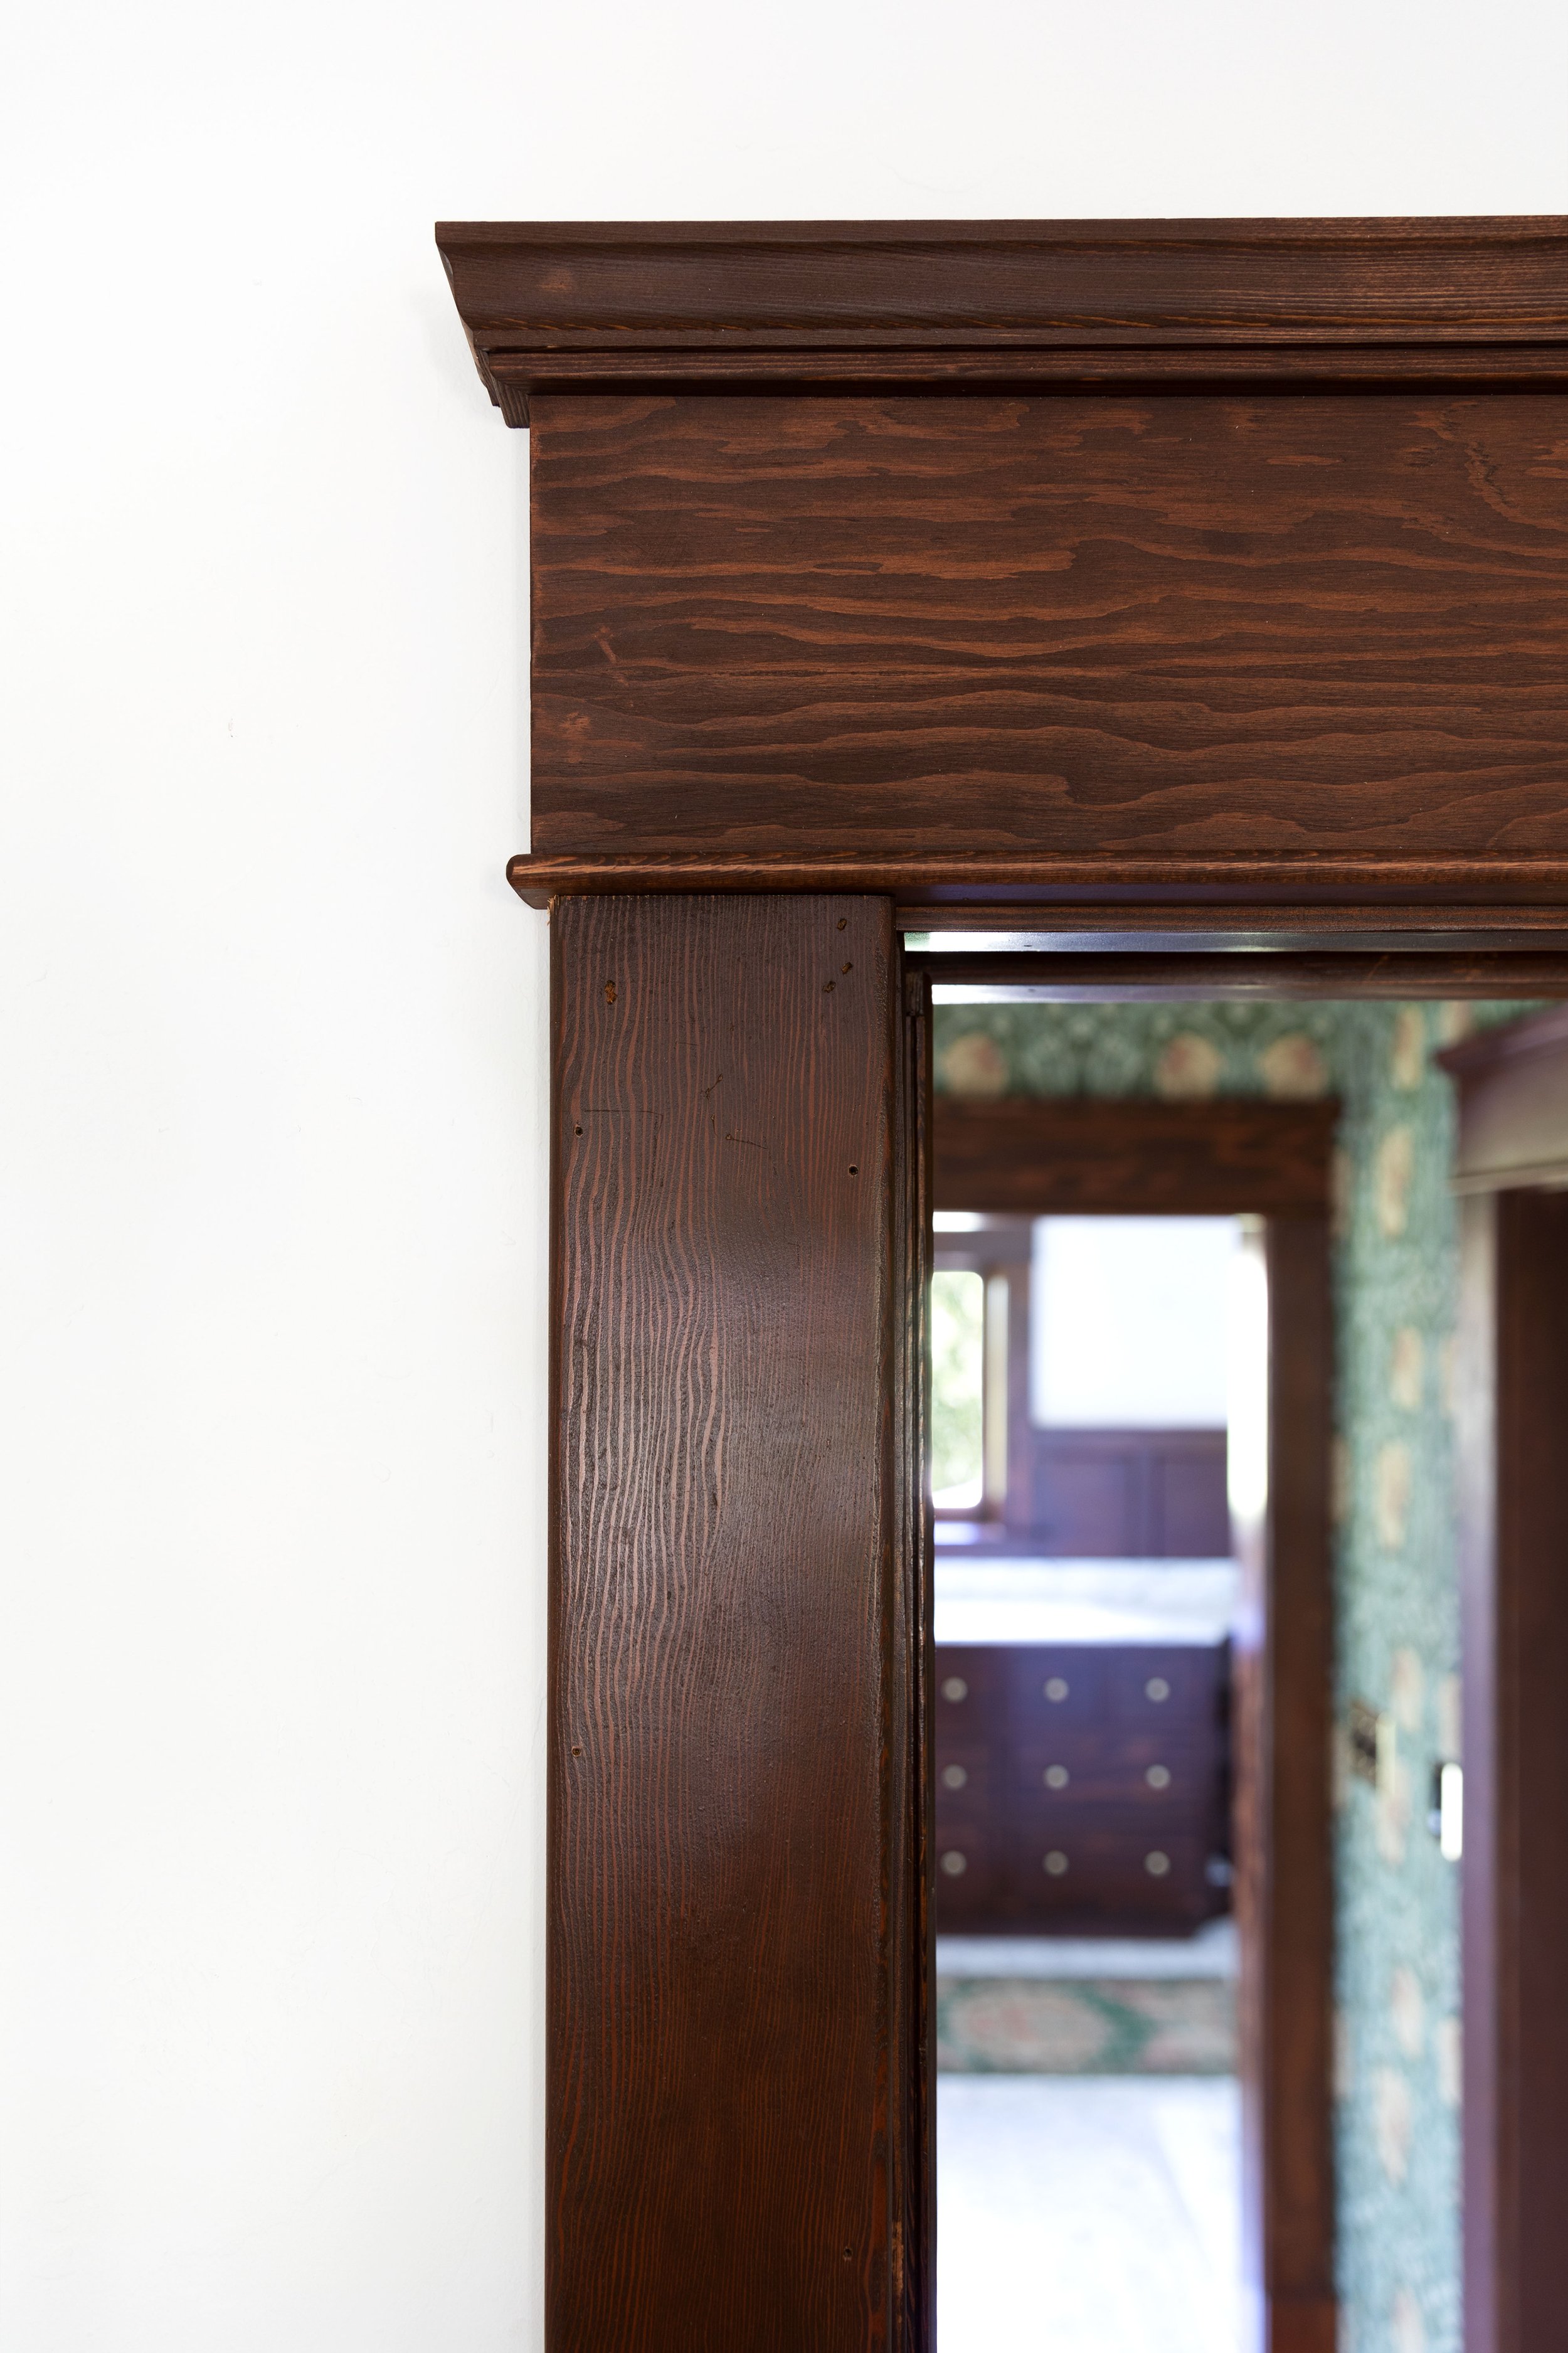
When the headers are laid right next to each other, it’s easier to tell, but they sure are close. The one on the left is new (missing the sash bead at the bottom) and the one on the right was built in 1912.
IMO moldings like these headers are a big part of what give old homes their special charm/character/je ne sais quoi and they’re a great way to add a little of that into new homes, too. So today I wanted to share exactly how Garrett created these.
Molding profiles in our header
Here are the three moldings Garrett used to create this header profile.
Crown - Alexandria Moulding, profile #03244
Stop - Metrie, profile # profile #MH86510
Sash bead - Metrie, profile #H9532
To assemble the headers, Garrett cut the 1x7 out of leftover wainscot wood and then layered on the stop and crown, making sure the mitered corners lined up perfectly, and then nailing it together with a brad nailer. He then cut the sash bead, sanding the edge and corner so it matched our old woodwork perfectly. Some of the 1x7s were made from plywood so Garrett mitered the ends and glued the seam together so you wouldn’t see the layers of the plywood edge (picture below shows the face and edge of the plywood header).
Tools used to assemble the headers
Garrett test fit each of the headers in their locations and made adjustments before finishing the wood.
Nail holes were filled with wood filler and the woodwork was finished using this stain and top coat.
And voila!
Character for daysssss :)


