What Our Garden Renovation Cost
THE FARMHOUSE
We didn’t exactly have a budget going into our garden project. It was more like a spend-as-little-as-we-can-while-still-making-it-beautiful type situation. And now that everything is done, I wanted to share the final number.
Keep reading for a breakdown of expenses as well as a few tips on how we kept our expenses so low. And in case you were expecting a full reveal of this space…I promise, it’s coming. Just as soon as the vegetables grow a bit more and the berries ripen…
You guys, our garden renovation cost just over $2,000! Here’s where the money went…
budget breakdown
$250 5/8-minus gravel base, 15 Tons, delivery included
$80 Compactor rental (to compact 5/8-minus)
$250 Pea gravel, 15 Tons, delivery included
$300 16” concrete patio pavers
$0 Raised Beds (reclaimed wood)
$0 Soil (reused onsite dirt + DIY compost)
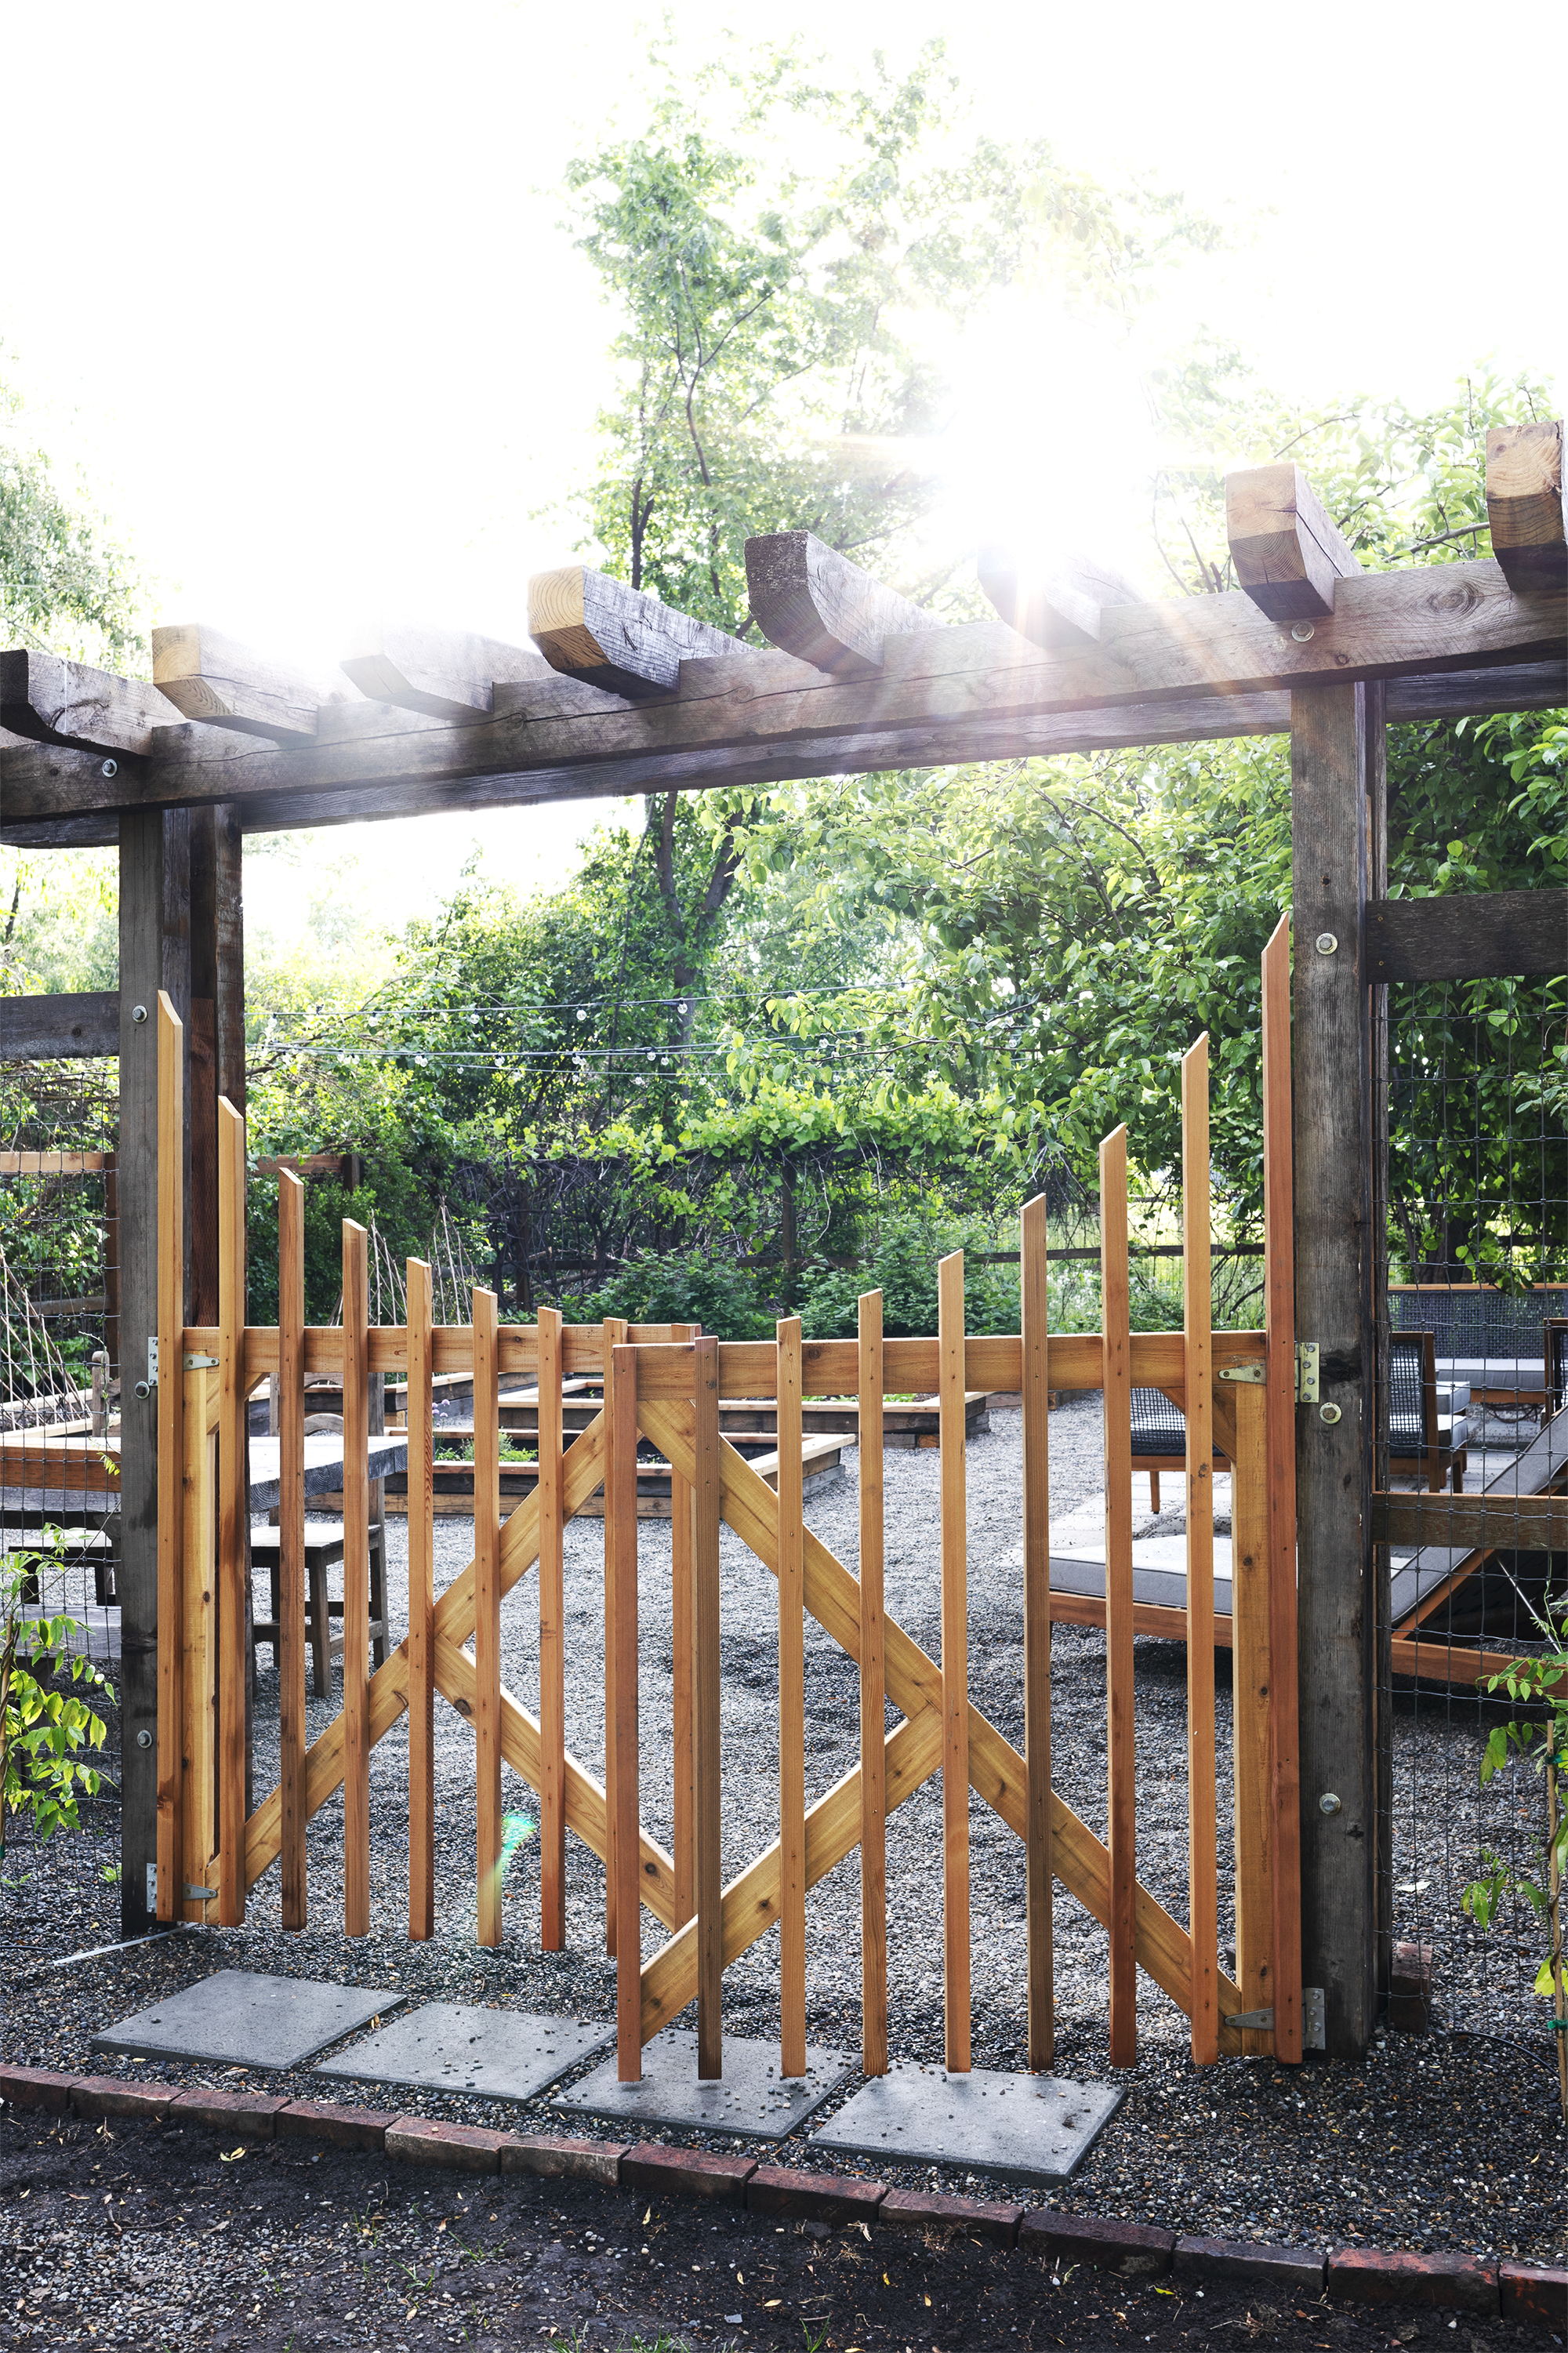
$650 cedar for gate + bed tops
$0 Arbor (reclaimed wood)
$150 plants + seeds
$85 willow pyramids
$200 String lights
$30 Irrigation
$50 Frost-free faucet (Look at that alliteration!)
$40 Sand, 2CY, we hauled
$130 Weed barrier and misc small parts
$2,175 Total*
*furniture excluded from this renovation breakdown, but if you're curious…the beautiful patio furniture was provided by The Company Store; the table was a DIY we completed 9-ish years ago; and the dining chairs came from an antique store in Hood River last year (four chairs for $65).
*we used a rented backhoe to level the dirt, fill the boxes, and dig a trench to the garden (for potable water and electricity) but I didn’t include the cost here since we had rented the backhoe for our kitchen project and wouldn’t have rented it for the garden alone (we would have just used our tractor). Renting the backhoe just for the garden project would have cost around $150-$250.
Two grand is a lot of money, but considering how much we love this space, it feels like chump change. Our garden went from an overgrown, ignored area to our number one hangout spot at the Farmhouse. We’re basically living out here! For us, it was worth every penny and then some.
I brought my camera out here the other morning and wanted to share a few photos of what the garden looks like in action.
Tips for a budget garden reno
Here are a few ways we kept costs down on this reno…
One // Reduce, Reuse, Compost
The wood for the arbor and raised beds (excluding the unweathered cedar) is reclaimed. That’s a fancy way of saying it came from a wood pile at my in-laws. If you don’t happen to have in-laws with a fabulously weathered wood pile, try sourcing your wood from a salvage shop.
Other things we didn’t buy: the irrigation system piping, supply lines, conduit, soil, compost, and I’m sure I’m forgetting something else. We tend to keep leftover supplies when we finish a project, so the majority of these materials came from previous houses. The soil in the raised boxes came from dirt from the garden and a bit of Nana’s famous compost.
Two // DIY
This wouldn’t be a Garrett and Cathy project if it wasn’t DIYed. We did all the work ourselves for this project, which came to a pretty substantial amount of labor in the end. I can’t even guess at the number of hours, but Garrett and I were both working on it a ton for 4 weeks. We’re lucky to have that kind of time to dedicate now that we don’t work, but when we did have 9-5 jobs, these projects just took a little longer and were relegated to nights and weekends.
Three // Work with the space you have
We didn’t have to build a fence or find mature grapes for this makeover, they were already here. And thankfully they were quite lovely. Of course we improved upon the fence, trimmed back the grapes, built a wider gate and arbor, but what I’m trying to say is, if you can work with what you have, you’ll save money. The same principal applies for interior spaces as well.
Four // Nothing Fancy
We opted for basic materials in this garden. Instead of crushed granite or another specialty rock, we opted for basic pea gravel. We also chose the most basic 16” cement pavers we could find, which were the cheapest option.
I snapped that last photo the other morning after the sprinklers were on (and the string lights, irrigation, and exterior border were finished). This space sure has come a long way! Unfortunately I didn’t take any ‘before’ photos of the garden (I know…I’m the worst blogger ever). But here’s a photo from the day we moved in, 3 years ago.
Can’t wait to watch this garden grow this summer and share the whole reveal with you soon (ish).
pssst: The Company Store’s giveaway for a set of the same furniture as our’s is still going on. Click here to enter!


